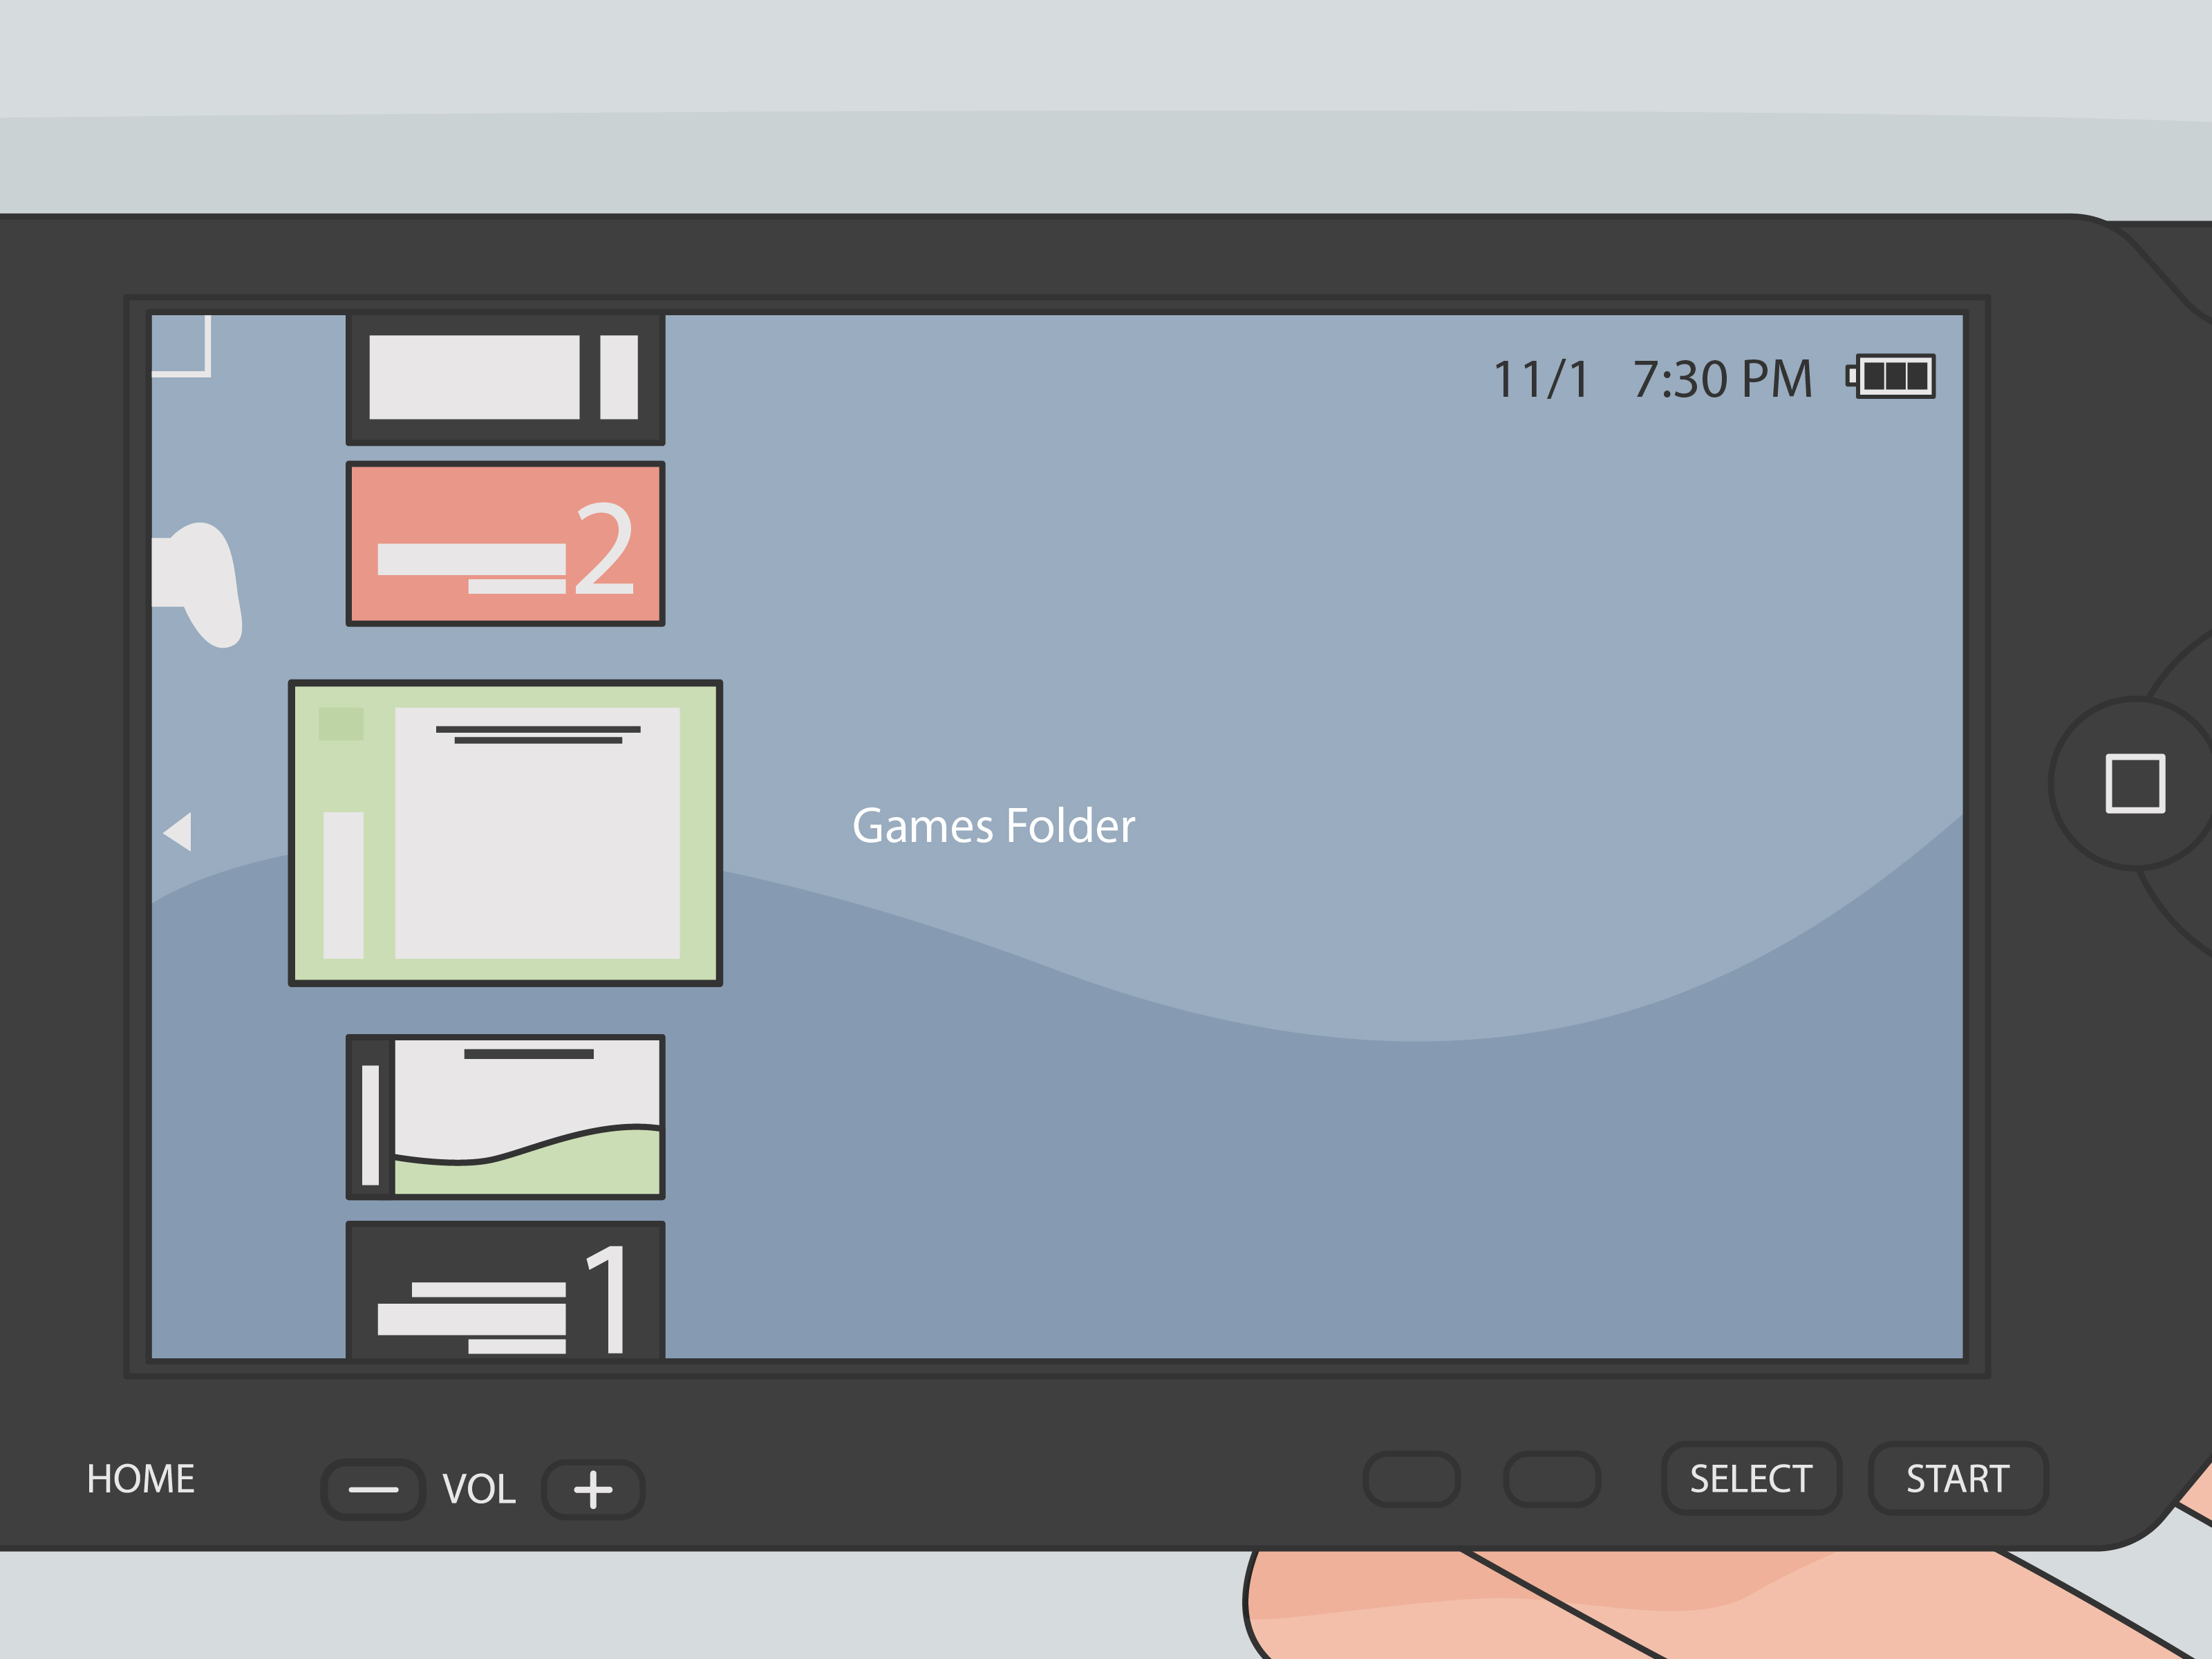

If you still have a PSP in 2026, congratulations: you own one of the coolest little handhelds ever made. It was sleek, weirdly futuristic, and somehow made loading screens feel dramatic instead of annoying. The only catch is that getting a downloaded game onto a PSP is not always as obvious as “drag file here, enjoy.” Sometimes it is that easy. Sometimes it absolutely is not.
The good news? There are still three reliable ways to transfer a downloaded game to a PSP. The best method depends on what kind of game file you have, what PSP model you own, and whether you are moving an official PlayStation Store purchase, a re-download tied to your account, or a homebrew or personal backup file on a compatible setup.
Below, you will find a simple breakdown of all three methods, when to use them, what folders matter, and how to avoid the classic disasters: the PSP not being recognized, the game not showing up, or the memory stick acting like it has suddenly forgotten how technology works.
Before You Start: Know What Kind of Downloaded Game You Have
Before transferring anything, pause for one tiny but very important reality check: not all “downloaded PSP games” behave the same way.
Official PlayStation Store purchases
These are the cleanest option. If the game was purchased through your PlayStation account, you usually transfer it through Sony’s approved workflow, such as a PC transfer utility, a PS3 copy process, or a re-download from your account’s download list where supported. In other words, the system expects these files and usually knows what to do with them.
Homebrew apps or games
These are fan-made or independently distributed applications and games. They usually come as folders containing an EBOOT.PBP file and are commonly placed inside the PSP/GAME directory on the memory stick.
Personal backup files
These are generally discussed as ISO or CSO files and are typically used only on PSP systems already configured to run them. On those setups, the files are usually copied to a root-level ISO folder. That is a big distinction: a stock retail PSP is not the same thing as a PSP already set up for homebrew or backup loading.
If that sounds fussy, welcome to the PSP ecosystem. It is charming, but it definitely has “some assembly required” energy.
Way 1: Transfer the Game Directly with a USB Cable
This is the most common way to transfer a downloaded game to a PSP, and for many people, it is the easiest. You connect the PSP to a computer with a Mini-B USB cable, put the handheld into USB mode, and then copy or transfer the game to the correct location.
What you need
- A PSP with enough battery life or connected power
- A compatible Mini-B USB cable
- A computer running Windows or Mac
- A Memory Stick Duo, Memory Stick Pro Duo, or PSP Go internal storage
- Your downloaded game file or account-linked content ready on the computer
How to do it
- Insert your memory stick into the PSP if your model uses one.
- Turn on the PSP.
- Connect the USB cable to the PSP and your computer.
- On the PSP, go to Settings > USB Connection.
- Wait for the computer to recognize the PSP as removable storage.
- Open the PSP drive on your computer.
- Copy the game to the correct folder, depending on file type.
- Safely eject the PSP from the computer before disconnecting.
- Exit USB mode and check Game > Memory Stick or Game > System Storage.
Which folder should you use?
This is where many transfers go sideways.
- Official transferred content: Usually handled by Sony’s transfer or copy command rather than manual drag-and-drop.
- Homebrew and EBOOT-style packages: Usually go in
/PSP/GAME/. - ISO or CSO backup files on compatible setups: Usually go in
/ISO/at the root of the card.
If your game does not appear after transfer, the issue is often not the file itself. It is usually one of three things: the wrong folder, the wrong file format, or a PSP that is not configured to run that file type.
Why this method is great
USB transfer is convenient, requires almost no extra gear, and works for both normal memory-stick access and many official Sony transfer workflows. It is also the easiest way to move files back and forth when you are organizing saves, game folders, themes, or other content.
Common problems
If the PSP is not recognized by the computer, try another cable first. Seriously. Many old Mini-B cables look innocent while behaving like tiny traitors. Also, some PSP models can act up with USB charging enabled, so turning USB Charge off in system settings may help if the connection keeps failing.
Way 2: Use a Memory Stick Reader or Adapter
If you do not want to connect the PSP itself, you can remove the memory stick and plug it directly into a computer using a Memory Stick reader, compatible slot, or an adapter. This method is often faster, especially when moving larger game files.
When this method makes sense
- Your USB cable is missing, damaged, or suspiciously decorative
- Your PSP USB port is unreliable
- You are copying lots of files at once
- You want to clone or restore a full memory card
- You are using a microSD-to-Memory Stick adapter setup
How to do it
- Turn off the PSP and remove the memory stick.
- Insert the card into a Memory Stick USB reader, compatible computer slot, or adapter.
- Open the storage device on your computer.
- Drag the game files to the appropriate directory.
- Eject the card properly from the computer.
- Reinsert the memory stick into the PSP.
- Go to Game > Memory Stick and check whether the title appears.
Why people love this method
Direct card access skips the handheld entirely, which can be faster and simpler. It is also handy if you are upgrading storage. Many PSP owners copy the complete contents of an old card to a computer, format a new card using the PSP, and then copy everything back to the new card’s root. That keeps saves, themes, media, and compatible game files together instead of forcing you to rebuild your handheld one folder at a time like a digital archaeologist.
A very important warning
Do not casually format the Memory Stick on your computer and assume the PSP will be thrilled about it. The safer move is to format the card on the PSP itself first so the correct folder structure is created. Then transfer your files onto that freshly prepared card.
Best for large transfers
If you are moving several downloaded games, especially larger files, this can be the most efficient method. It also reduces wear on an old USB port, which is nice because replacement parts are not exactly hanging on store shelves next to chewing gum anymore.
Way 3: Transfer Official PSP Purchases Through a PS3 or Account-Based Sony Workflow
This is the best method for legitimately purchased PlayStation Store content. If you downloaded a compatible PSP game through Sony’s ecosystem, you may be able to transfer or re-download it through account-linked tools such as a PC transfer workflow, the PSP download list, or a PS3 copy process for compatible purchases.
How the PS3 method works
- Sign in on the PS3 using the same PlayStation account that owns the game.
- Connect the PSP to the PS3 with a USB cable.
- Insert the memory stick if required.
- On the PSP, choose Settings > USB Connection.
- On the PS3, find the compatible game in the Game section.
- Choose Copy and follow the prompts.
- After the transfer finishes, launch the game from Game > Memory Stick or System Storage.
What about PSP Go?
The PSP Go is its own tiny rebel. It includes internal system storage and can also copy downloaded content from system storage to Memory Stick Micro media. If you are working with a PSP Go, you may see both storage locations depending on how the game was originally downloaded or backed up.
Can you still re-download old purchases?
Previously purchased PSP content may still be available through your account’s download list, depending on your account history and transfer path. That is excellent news for anyone trying to rescue older digital purchases instead of hunting down a UMD or rebuilding a library from scratch.
Why this method matters
If the game came from Sony’s storefront, this is the most reliable and most “official” route. It keeps activation, account ownership, and compatibility lined up correctly. It is less of a hack and more of a tidy paper trail, which is the rare kind of paperwork gamers can appreciate.
How to Troubleshoot a Game That Does Not Show Up on the PSP
If the transfer finishes but the game still refuses to appear, run through this checklist:
1. Check the folder path
The game may simply be in the wrong place. A file in Downloads does not magically become a PSP game just because you believe in it.
2. Confirm the file type
An extracted folder is different from a ZIP archive. An EBOOT package is different from an ISO. The PSP is picky, and frankly, that is on brand.
3. Safely eject the storage
Always eject the device properly. Pulling the cable early is a classic way to get incomplete transfers and corrupted files.
4. Make sure the memory card is healthy
Fake or failing memory sticks are still a real issue with older hardware. If transfers are slow, random, or constantly corrupted, the card may be the problem.
5. Do not format on the PC unless you know what you are doing
Formatting the card through the PSP is usually the safest move because it creates the folder structure the system expects.
6. Know your firmware limits
A stock PSP handles official content differently from a homebrew-ready PSP. If the file type and the system setup do not match, the game will not launch no matter how neatly you copied it.
Which Transfer Method Is Best?
Here is the quick answer:
- Use a USB cable if you want the easiest all-around method.
- Use a Memory Stick reader if you want faster copying or your PSP’s USB connection is flaky.
- Use PS3 or Sony’s account-based workflow if the game is an official PlayStation Store purchase.
For most people, USB is the first thing to try. For power users, a card reader often becomes the favorite. For legit digital purchases, the Sony route is the least dramatic and usually the most dependable.
What the Experience Is Really Like: 500 Extra Words on Living With PSP Game Transfers
Transferring a downloaded game to a PSP is one of those tasks that sounds simple when someone explains it in one sentence and then becomes a minor adventure the moment you actually sit down to do it. The experience is part tech support, part nostalgia trip, and part emotional negotiation with 15-year-old hardware.
For many players, the first feeling is excitement. You find the PSP in a drawer, charge it, hear that little startup sound, and suddenly your brain is back in a different era. Then you remember you need a specific cable. Not just any cable. Not “whatever was nearest the printer.” A proper Mini-B data cable. This is usually where the scavenger hunt begins.
Once the cable situation is solved, the next phase is the folder phase. Every retro handheld enthusiast knows this feeling: you are staring at a storage drive full of folders with names like PSP, MUSIC, PHOTO, and maybe ISO, and you are trying very hard not to make things worse. It feels oddly high stakes. One wrong move and you are convinced the console will explode into polite disappointment.
And yet, once it works, it feels fantastic. There is a strange satisfaction in watching a file copy over to old portable hardware and then seeing the game icon appear exactly where it should. It is not just convenience. It is a little act of preservation. You are keeping a piece of gaming history alive with nothing more than patience, a memory card, and some mild stubbornness.
The process also teaches you to respect details. Safe eject matters. Folder names matter. Card formatting matters. On modern devices, software usually hides the messy parts. The PSP does not. It is more honest than that. It basically says, “Here is the storage. Here are the files. Please do not get creative.”
There is also a surprisingly human side to the experience. A lot of people transferring games to a PSP are not doing it because it is the fastest way to play. They are doing it because the PSP still feels good in the hands. The buttons click right. The screen has personality. The whole machine feels like a tiny declaration that portable gaming can be both stylish and slightly dramatic.
Of course, frustration can still show up. A file might not appear. A memory stick might be fake. A cable might charge but not transfer data. You might spend 20 minutes fixing a problem that turns out to be one missing folder. That is classic PSP ownership. But that frustration is also part of the reward. When it finally works, it feels earned.
In that sense, transferring a downloaded game to a PSP is not just a utility task. It is part of the ownership experience. You are not only moving a file. You are reviving a device, rebuilding a library, and proving that great handheld gaming did not stop being great just because the calendar became rude.
Conclusion
If you want to transfer a downloaded game to a PSP, the best method depends on the kind of file you have. A USB cable is the easiest general option, a Memory Stick reader is often the fastest for large transfers, and the PS3 or Sony account-based route is the most reliable for official PlayStation Store purchases. Once you understand the difference between those workflows, the process becomes much less mysterious and a lot more manageable.
The biggest secret is not really a secret at all: use the correct folder, use the correct transfer method for the file type, and let the PSP create its own storage structure whenever possible. Do that, and your handheld has a very good chance of behaving like the portable legend it still is.