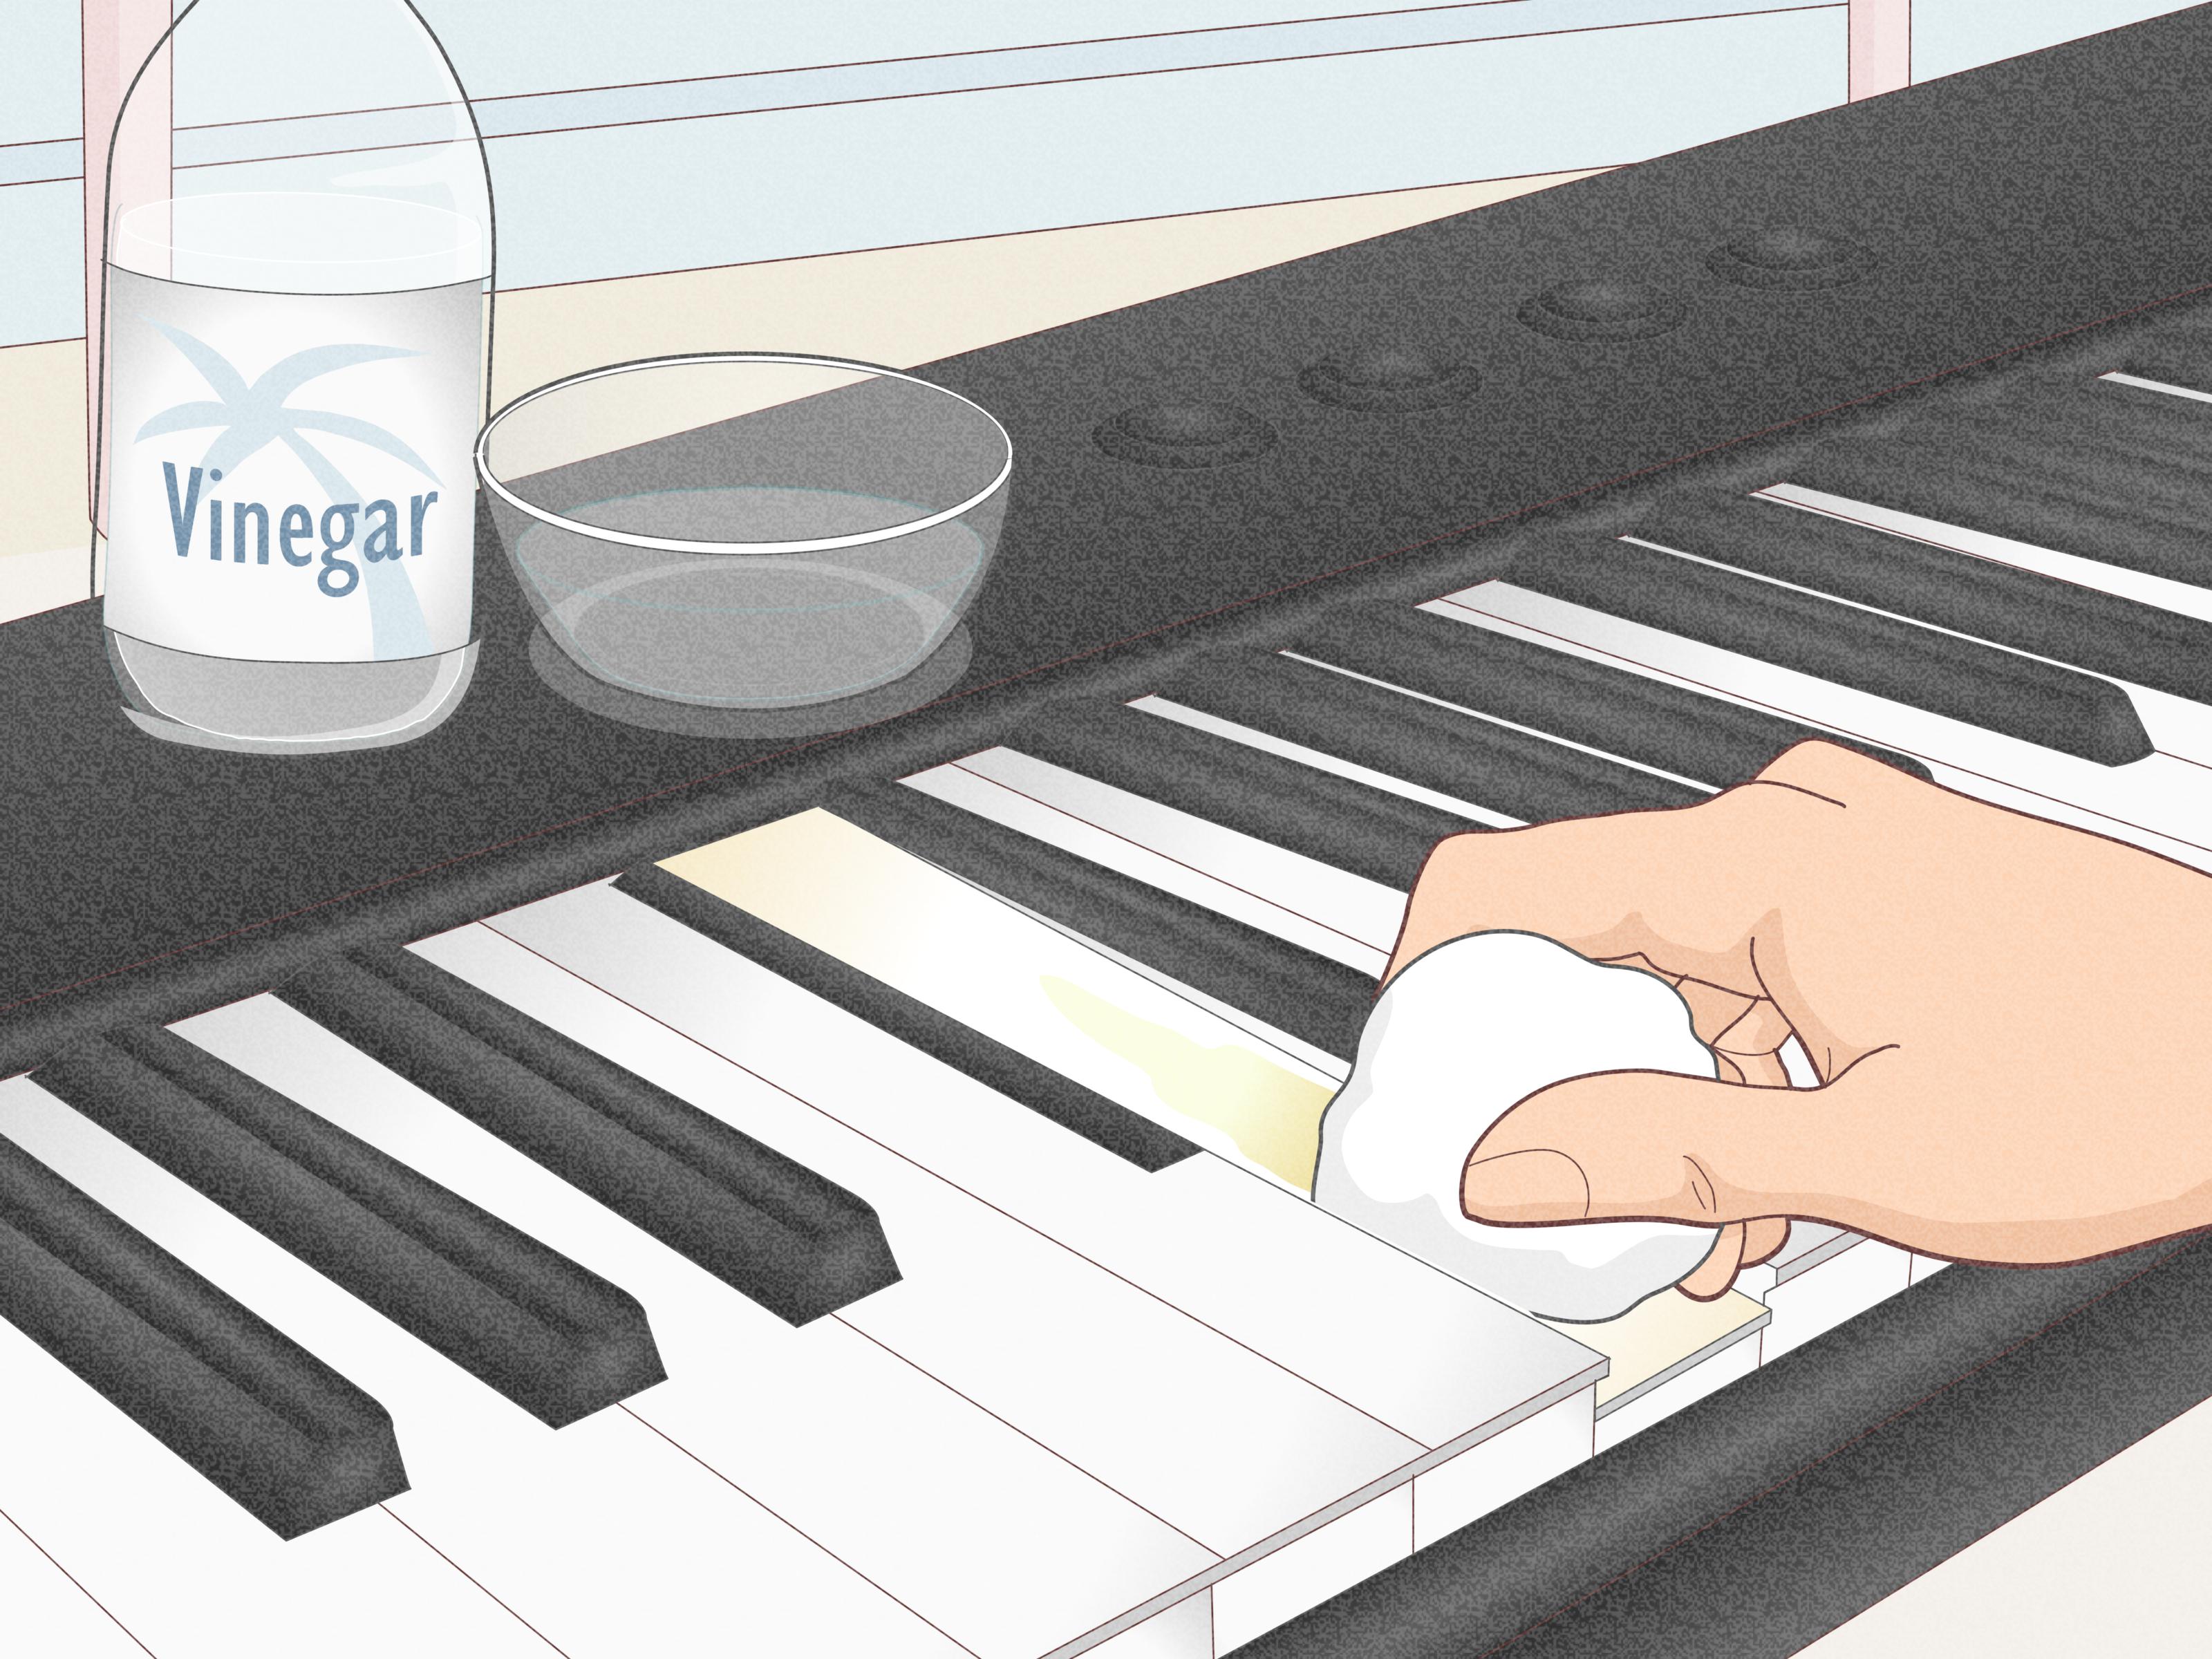

Yellow piano keys have a way of making even the most elegant instrument look like it has been living in a smoky jazz club since 1948. Sometimes that vintage glow is charming. Other times, it looks less like “classic concert hall” and more like “forgotten garage sale keyboard.” The good news? In many cases, you can clean yellow piano keys safely at home with gentle supplies, patient hands, and a firm refusal to treat your piano like a bathroom sink.
The key word here is gentle. Piano keys are not kitchen counters. They sit above delicate wood, felt, glue, key bushings, and action parts that absolutely do not want a surprise shower. Whether your keys are modern plastic, older ivory, or a digital piano keyboard, the safest cleaning methods use minimal moisture, soft cloths, mild soap, and careful drying. For deep yellowing, especially on antique ivory, a qualified piano technician is often the smartest person in the room.
This guide explains easy ways to clean yellow piano keys, how to tell what kind of keytops you have, what products to avoid, and how to prevent discoloration from coming back like an unwanted encore.
Why Do Piano Keys Turn Yellow?
Piano keys can yellow for several reasons, and the cause matters because the cleaning method that works for one type of key may be a terrible idea for another. Think of it like laundry: white cotton socks and a silk tie do not want the same treatment.
Common Causes of Yellow Piano Keys
Skin oils and dirt: Hands naturally leave oils, sweat, lotion, dust, and tiny debris on the keys. Over time, that buildup can create a dull yellow or grayish film.
Smoke and indoor air pollutants: Tobacco smoke, cooking residue, candles, fireplaces, and airborne grime can settle on keytops and stain them gradually.
Sunlight and age: Some plastics yellow as they age, especially after long exposure to ultraviolet light. Ivory behaves differently and can sometimes yellow when kept in darkness for long periods.
Wrong cleaners: Bleach, citrus cleaners, strong alcohol, abrasive powders, and furniture polish can discolor, crack, dull, or damage keys. They may also harm the piano finish if they drip or splash.
Material aging: Older ivory, celluloid, and certain vintage plastics naturally change color. Cleaning can improve surface grime, but it cannot always reverse chemical aging.
First: Identify Your Piano Key Material
Before cleaning yellow piano keys, figure out whether they are plastic or ivory. Modern acoustic and digital pianos usually have plastic or synthetic keytops. Older acoustic pianos may have ivory, especially instruments built before ivory restrictions became standard.
Signs Your Keys May Be Ivory
Ivory keytops often have a fine grain, a slightly warm feel, and a visible seam because many ivory keytops were made from two pieces: a front head and a longer tail. You may see a thin horizontal join line near the back of the visible white key surface. Ivory can also look slightly varied from key to key, while plastic is usually more uniform.
Signs Your Keys Are Plastic
Plastic keys usually look smoother and more consistent. They often have no seam, feel less porous, and may be brighter white when new. Digital pianos almost always use plastic or synthetic key surfaces.
If you are unsure, do not experiment with aggressive whitening methods. A piano technician can identify the material quickly and prevent a cleaning project from becoming a repair bill with a soundtrack of regret.
Supplies You Need to Clean Yellow Piano Keys
You do not need a laboratory, a hazmat suit, or a dramatic cleaning montage. For basic piano key cleaning, gather simple, gentle supplies:
- Two or three soft white microfiber cloths
- A small bowl of lukewarm water
- A drop or two of mild dish soap or neutral detergent
- Cotton pads or cotton swabs for edges
- A dry lint-free towel
- Optional: over-the-counter hydrogen peroxide for disinfecting, used carefully and sparingly
White cloths are best because colored cloths can transfer dye, especially onto porous ivory. Avoid paper towels, rough sponges, magic erasers, scouring pads, bleach, ammonia, vinegar-heavy mixtures, citrus cleaners, furniture polish, and anything that smells like it could strip paint from a fence.
Easy Method 1: Dry Dust the Keys First
Start with dry cleaning. Dust and grit can scratch keytops if you rub them around with a damp cloth. Use a clean microfiber cloth and gently wipe the keys from the back of the keyboard toward the front edge. This direction helps keep moisture and dirt from being pushed down between the keys.
Work in small sections. Clean several keys, then move on. If the piano has black keys that are painted or made from ebony-like material, use a separate cloth for black and white keys. This helps prevent dark residue from smudging onto the white keytops.
Easy Method 2: Use Mild Soap and Barely Damp Cloth
For everyday yellowing caused by grime, mild soap and water is the safest place to begin. Mix a tiny amount of mild dish soap into lukewarm water. Dip a microfiber cloth into the solution, then wring it out thoroughly. The cloth should feel barely damp, not wet. If water drips when you squeeze it, it is too wet for piano work.
Step-by-Step Cleaning
- Turn off digital pianos before cleaning.
- Lightly dampen a white microfiber cloth with the mild soap solution.
- Wipe a few white keys at a time from back to front.
- Avoid letting moisture run between keys.
- Immediately dry the cleaned keys with a separate dry cloth.
- Repeat slowly until the keyboard is clean.
This method removes surface oils, fingerprints, and light yellow film. It may not completely whiten aged plastic or deeply yellowed ivory, but it can make the keyboard look fresher and feel much better under your fingers.
Easy Method 3: Clean Edges With Cotton Swabs
The tiny spaces near the front lip and sides of keys can collect grime. Use a cotton swab that is barely damp, not soaked. Gently clean the visible edges, then dry the area immediately with a cloth. Do not poke liquid down between keys. Piano keys are not teeth, and cotton swabs are not dental tools for the action mechanism.
If grime is stubborn around the key edges, repeat the mild soap method rather than using force. Patience is safer than pressure.
Easy Method 4: Disinfect Without Overdoing It
If multiple people play the piano, disinfecting may be useful. However, disinfecting and whitening are not the same thing. Some manufacturers and piano-care sources recommend hydrogen peroxide for disinfecting piano keys, while others advise avoiding alcohol because it can crack or damage certain materials. The safest approach is to follow your piano manufacturer’s guidance whenever available.
Safe Disinfecting Tips
- Never spray disinfectant directly onto the keys.
- Apply disinfectant to a cloth or cotton pad first.
- Use only a small amount.
- Wipe from back to front.
- Dry the keys immediately.
- Avoid bleach-based and citrus-based products.
For antique ivory, cracked keytops, or pianos with unknown materials, skip disinfectants unless a technician approves. In many homes, clean hands before playing and a gentle wipe after use are enough.
How to Whiten Yellow Plastic Piano Keys
Plastic piano keys can yellow because of age, light exposure, smoke, and chemical changes in the plastic. Surface dirt usually responds to mild soap. Deeper yellowing may not fully reverse with home cleaning. That is not a personal failure; it is chemistry being dramatic.
Best Home Approach for Plastic Keys
Start with dry dusting, then clean with mild soap and water. If the keys still look yellow but feel clean, the discoloration may be inside the plastic rather than on the surface. At that point, do not reach for bleach or abrasive cleaners. Bleach can damage key surfaces and may create uneven discoloration. Abrasives can dull or scratch plastic, making the keys collect dirt faster later.
Some restoration methods for yellowed plastic involve stronger chemicals, UV exposure, or polishing compounds. These are best left to experienced piano technicians because mistakes can create blotches, melted-looking spots, or permanently cloudy keytops.
How to Clean Yellow Ivory Piano Keys
Ivory is porous and more sensitive to moisture than plastic. It can absorb oils and stains, and it may yellow with age or lack of light. Because ivory is a natural material attached with adhesive, heavy moisture can loosen keytops or cause warping.
Gentle Ivory Cleaning Method
Use a dry white microfiber cloth first. If needed, use a barely damp cloth with clean water or a very mild soap solution. Wipe gently from back to front, then dry immediately. Do not soak ivory. Do not leave wet cloths sitting on the keys. Do not scrub like you are trying to remove a parking ticket from a windshield.
What About Toothpaste?
Some piano-care guides mention plain white toothpaste as a traditional ivory-cleaning trick because it contains mild abrasives. However, this method carries risk. Gel toothpaste, colored toothpaste, whitening toothpaste, and gritty formulas can stain or scratch. If you try it on a low-value instrument, use only a tiny amount of plain white toothpaste, test one small area first, wipe gently, remove residue completely, and dry immediately. For valuable antique ivory, let a professional handle it.
Can Sunlight Help Ivory Keys?
Indirect sunlight may help reduce yellowing in ivory over time, but direct sunlight can damage finishes, dry out materials, and harm plastic keys. If your piano has ivory keys, simply opening the fallboard occasionally in a bright room may help. Do not park the piano in harsh sun like it is trying to get a beach tan.
What Not to Use on Yellow Piano Keys
The fastest way to make yellow keys worse is to attack them with harsh cleaners. Avoid these products unless a piano technician specifically recommends them for your instrument:
- Bleach or bleach wipes
- Citrus cleaners
- Furniture polish
- Ammonia-based cleaners
- Strong solvents
- Soaking-wet cloths
- Colored cloths on ivory
- Rough sponges or abrasive pads
- Spray bottles aimed directly at the keyboard
Also avoid cleaning all 88 keys in one wet marathon. Clean a small section, dry it, inspect it, and continue. Pianos reward calm people.
How to Clean Black Piano Keys
Black keys need attention too, but they can transfer color or finish residue if cleaned carelessly. Use a separate dry cloth first. If needed, use a barely damp cloth with water only or a very mild soap solution. Wipe gently and dry immediately.
Do not use the same damp cloth on black keys and then white keys. That is how you accidentally give your white keys gray eyeliner.
Cleaning Digital Piano Keys
Digital piano keys are usually plastic, but the electronics underneath make moisture even more concerning. Turn the instrument off and unplug it before cleaning. Use a barely damp microfiber cloth, never spray cleaner directly, and dry each section right away.
If your digital piano has textured synthetic ivory keytops, be extra gentle. The texture can hold dirt, but aggressive scrubbing can dull the surface. A mild soap solution and repeated light passes are safer than one heroic scrub.
How Often Should You Clean Piano Keys?
For a piano played daily, a quick dry wipe once or twice a week is a good habit. A gentle damp cleaning once a month may be enough for most homes. In teaching studios, churches, schools, or shared practice rooms, keys may need more frequent cleaning because more hands mean more oils, germs, and mysterious snack dust.
Simple Maintenance Schedule
- Before playing: Wash and dry your hands.
- After playing: Close the fallboard if your piano has one.
- Weekly: Dust keys with a soft cloth.
- Monthly: Clean with a barely damp cloth if needed.
- Yearly: Ask your piano technician about deeper cleaning during tuning.
How to Prevent Piano Keys From Turning Yellow Again
Prevention is easier than restoration. Keep the piano away from smoke, heavy cooking fumes, direct sunlight, and high humidity. Wash hands before playing, especially after using lotion or sunscreen. Close the keyboard cover when the piano is not in use, but occasionally allow ivory keys to see indirect daylight if appropriate.
For households with kids, snacks near the piano are the enemy. Crumbs between keys can invite sticking, buzzing, and the kind of mystery that makes piano technicians raise one eyebrow.
When to Call a Piano Technician
Call a professional if the keys are deeply yellowed, cracked, loose, chipped, sticky, uneven, or antique. Also get help if the piano has ivory keytops and financial or sentimental value. A technician can remove keys safely, clean areas you cannot reach, polish keytops properly, replace damaged coverings, or recommend restoration.
Professional key whitening and polishing may cost more than a bottle of soap, but it is cheaper than replacing damaged keytops after a DIY experiment goes full science fair.
Extra Experience: What Actually Works When Cleaning Yellow Piano Keys
In real life, cleaning yellow piano keys is less about finding a magic whitening potion and more about understanding what kind of yellow you are dealing with. The first kind is surface yellowing. This is the common stuff: finger oils, dust, old residue, smoke film, and everyday grime. It often looks uneven, especially on the middle keys where people play most often. These keys usually feel slightly tacky or dull. A mild soap solution and microfiber cloth can make a surprisingly big difference.
The second kind is material yellowing. This is deeper and more stubborn. Plastic can age from the inside, and ivory can change color over decades. When that happens, basic cleaning improves hygiene and feel, but it may not restore bright white color. This is where many people get impatient and start searching for stronger cleaners. That is also where trouble begins.
A practical experience-based approach is to clean one small section first. Choose a few keys at one end of the keyboard, where mistakes are less noticeable. Dust them, clean them with a barely damp cloth and mild soap, dry them, and then wait until the next day. Look at the keys in natural light. If they look better and feel smooth, continue with the rest of the keyboard. If they look cloudy, streaky, or unchanged, stop and reassess.
Another useful habit is to use more cloths than you think you need. A dirty cloth simply moves grime around. When cleaning a neglected keyboard, one cloth may become gray or yellow quickly. Switch to a fresh cloth instead of rubbing harder. Gentle repetition beats aggressive scrubbing almost every time.
For older acoustic pianos, remember that the visible keytop is only part of the story. Under the keys are wood, felt, balance pins, front rail pins, and action parts. Moisture can travel downward and cause swelling, sluggish movement, or residue buildup. That is why every serious piano-care recommendation repeats the same boring but important rule: damp cloth, not wet cloth. Boring rules are often the ones that save instruments.
One of the best “cleaning products” is actually clean hands. Students, kids, and casual players often sit down after eating chips, applying lotion, or using hand sanitizer that has not fully dried. Those residues build up quickly. A simple hand-washing rule before practice keeps keys cleaner and reduces the need for deep cleaning.
For ivory keys, patience matters even more. Ivory has a character that many pianists love, but it is not as forgiving as plastic. If the yellowing is part of the ivory’s age, you may choose to preserve the gentle antique tone rather than chase perfect whiteness. A slightly warm ivory color on a well-maintained piano can look beautiful. A scratched, over-whitened, uneven keyboard does not.
The most satisfying cleaning results usually come from realistic expectations. You may not turn an 80-year-old keyboard into a showroom-white instrument in one afternoon. But you can remove grime, improve the touch, brighten the appearance, and make the piano feel more inviting. And that matters. A clean keyboard encourages practice. It makes the piano look cared for. It also prevents that awkward moment when a guest sits down, plays three notes, and silently judges your housekeeping through middle C.
Conclusion
Cleaning yellow piano keys is easy when you respect the instrument. Start with dry dusting, use a barely damp white microfiber cloth, add mild soap only when needed, wipe from back to front, and dry immediately. Avoid harsh chemicals, direct spraying, heavy moisture, and abrasive scrubbing. Plastic keys and ivory keys age differently, so identify the material before trying whitening methods. For deep discoloration or antique keytops, a professional piano technician is the safest choice.
A clean keyboard does more than look pretty. It feels better, plays better, and makes sitting down at the piano more inviting. Treat the keys gently, keep hands clean, protect the instrument from smoke and grime, and your piano will be ready for everything from beginner scales to dramatic late-night concertos performed for an audience of one very confused houseplant.