
Note: This article synthesizes practical home-maintenance guidance from reputable cleaning, heating, and indoor air quality resources, including EPA indoor dust guidance and established home-improvement recommendations.
Cleaning behind radiators is one of those household chores that feels suspiciously optionaluntil you look behind one and discover a miniature dust civilization thriving back there. Between pet hair, lint, cobwebs, crumbs, and that mysterious gray fuzz that seems to have no known origin, the space behind a radiator can quietly become one of the dirtiest spots in your home.
The good news? You do not need a toolbox worthy of a professional contractor or a dramatic renovation montage. With a vacuum, a radiator brush, microfiber cloths, warm soapy water, and a little patience, you can clean behind radiators safely and effectively. Even better, removing dust from radiators may help your heating system work more efficiently, reduce musty smells when the heat kicks on, and improve the overall freshness of the room.
This guide walks you through how to clean behind radiators in 14 simple steps, including safety tips, tool suggestions, deep-cleaning methods, and real-life experience from tackling dusty radiator zones in older homes, apartments, and cozy rooms where furniture has been “temporarily” blocking access since 2017.
Why Cleaning Behind Radiators Matters
Radiators naturally attract dust because warm air rises and moves particles around the room. Over time, those particles settle on the radiator, behind it, between fins, along the wall, and on the baseboard. When the heat turns on, trapped dust may create a stale smell, circulate allergens, and make the room feel less fresh than it should.
A clean radiator also looks better. Old cast-iron radiators, panel radiators, and baseboard heaters all collect grime in awkward little spaces. Ignoring them does not make the dust disappear; it simply gives it time to become emotionally attached to your wall.
Tools and Supplies You Will Need
Before you start, gather everything in one place. This keeps the job quick and prevents the classic cleaning spiral where you start with a radiator and somehow end up reorganizing a closet.
- Vacuum cleaner with hose and brush attachment
- Long-handled radiator brush or flexible duster
- Microfiber cloths
- Old towel or drop cloth
- Bucket of warm water
- Mild dish soap
- Flat cleaning tool, yardstick, or ruler wrapped in a cloth
- Hair dryer with a cool setting, optional
- Soft toothbrush or small detail brush
- Flashlight
- Protective mask, especially if you are sensitive to dust
- Gloves, optional but helpful
How to Clean Behind Radiators: 14 Steps
1. Turn Off the Heat Completely
Start by turning off the radiator or heating system. Never clean around a hot radiator. Metal surfaces can stay warm for a while, and water, dust, and hot metal are not exactly the dream team of home maintenance.
If you have a steam or hot water radiator, let it cool completely before touching it. If you have an electric baseboard heater, switch it off at the thermostat and avoid using moisture near electrical components. When in doubt, keep things dry and simple.
2. Move Furniture and Clear the Area
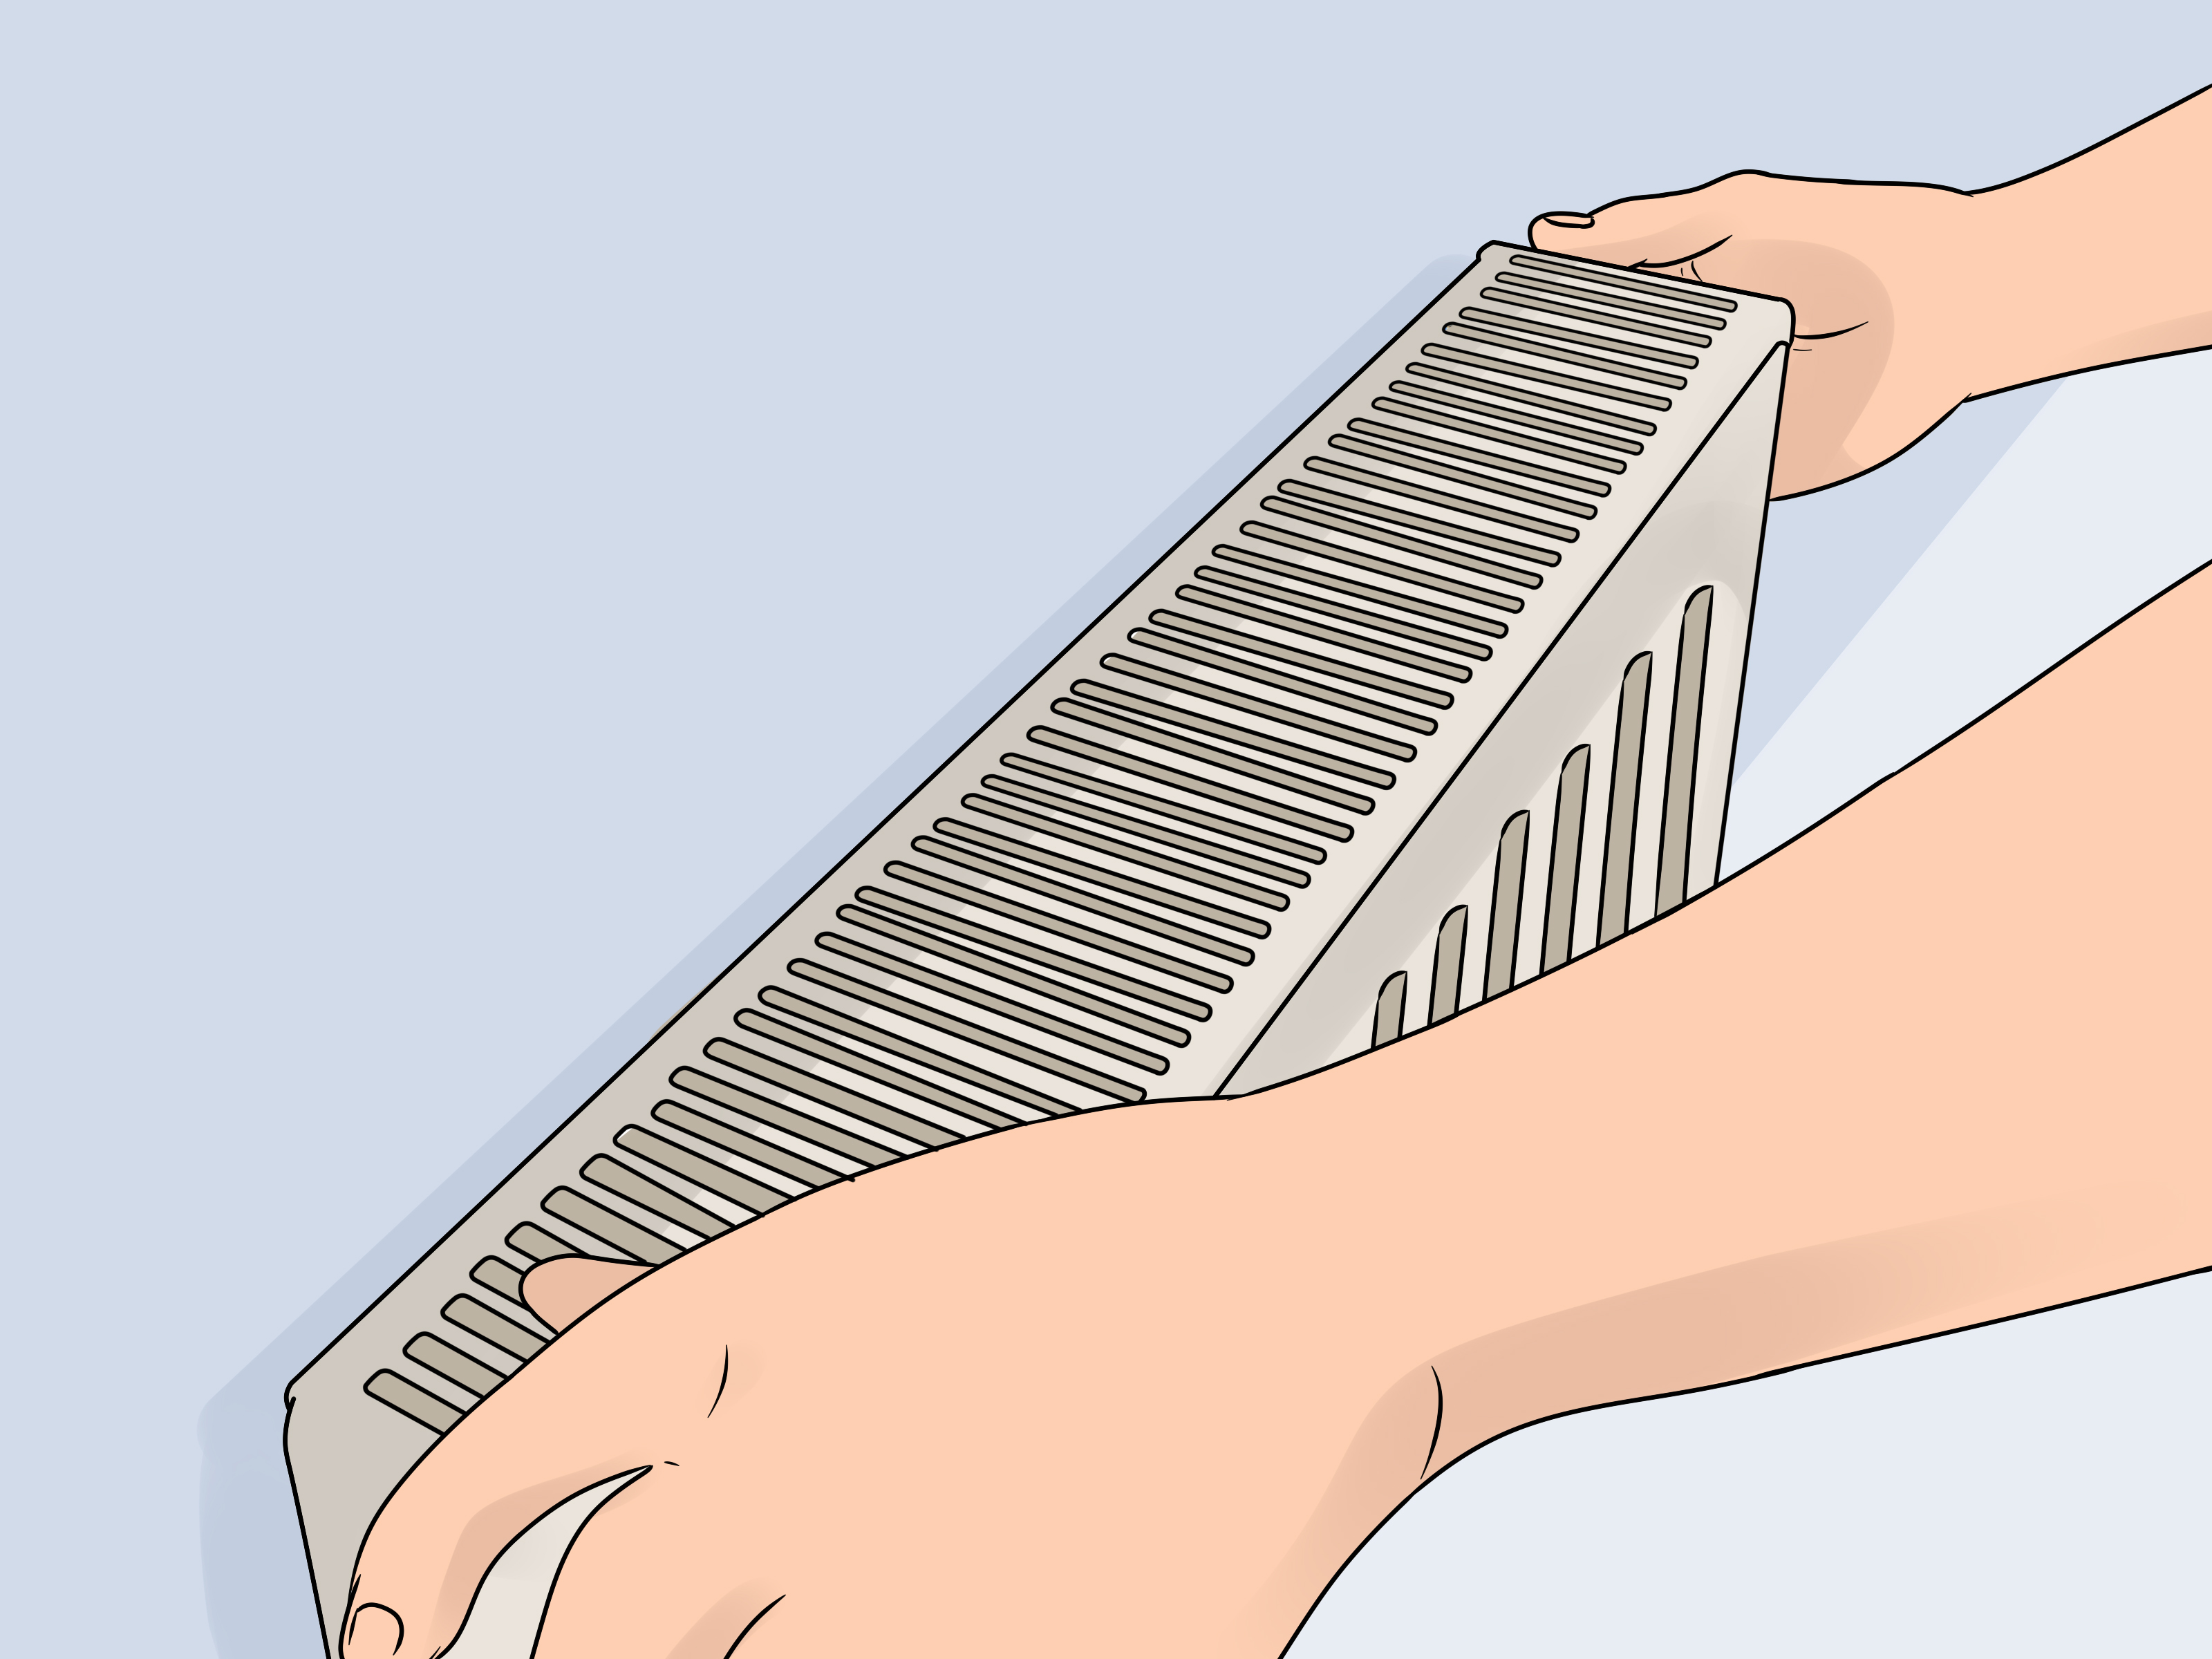
Pull chairs, sofas, curtains, baskets, plants, and anything else away from the radiator. Give yourself enough room to move a vacuum hose and reach behind the unit. If the radiator sits under a window, lift curtains or tie them back so they do not drag through dust.
This is also a good time to remove loose items from nearby shelves or windowsills. Dust has a talent for traveling, and it enjoys making surprise appearances on clean surfaces.
3. Protect the Floor With a Towel or Drop Cloth
Place an old towel, sheet, or drop cloth beneath the radiator. This catches falling dust, pet hair, rust flakes, and debris. If you plan to use a hair dryer to blow dust loose, the towel is especially useful because dust bunnies will come tumbling out like tiny gray tumbleweeds.
For wood floors, the towel also protects the finish from moisture if you later wipe the wall or baseboard with a damp cloth.
4. Inspect the Radiator With a Flashlight
Use a flashlight to look behind and underneath the radiator. Check for thick dust buildup, cobwebs, signs of rust, peeling paint, water stains, or anything unusual. You are not trying to perform a full mechanical inspection, but noticing leaks, corrosion, or damaged fins early can prevent bigger headaches.
If you see active leaking, heavy rust, or damaged valves, pause the cleaning and consider calling a qualified heating professional. Cleaning is wonderful; accidentally disturbing a problem part is less wonderful.
5. Vacuum the Front, Top, and Underneath First
Before reaching behind the radiator, vacuum the visible surfaces. Use the brush attachment on the front, sides, top, and underneath. This removes loose dust so it does not get pushed deeper into narrow gaps.
For cast-iron radiators, work slowly around each column. For panel radiators, run the vacuum along the top grille and bottom edge. For baseboard heaters, vacuum along the front cover and floor line. Think of this as clearing the runway before the deep-cleaning plane lands.
6. Use a Radiator Brush Behind the Unit
A long-handled radiator brush is one of the best tools for cleaning behind radiators. Slide it gently behind the radiator from the top and move it up and down to loosen dust from the wall, fins, and back surface.
Do not force the brush. If it catches, pull it out and try a different angle. The goal is to remove dust, not challenge the radiator to a wrestling match. Flexible brushes work especially well because they bend around curves and narrow spaces.
7. Try the Wrapped Yardstick Method
If you do not have a radiator brush, wrap a microfiber cloth around a yardstick, ruler, or flat cleaning tool. Secure it with rubber bands, then slide it behind the radiator. Move it slowly from side to side and top to bottom.
This simple trick works surprisingly well on flat wall spaces behind radiators. Use a dry cloth first to collect dust. Then use a lightly damp cloth for the second pass if the wall is washable and the radiator is fully cool.
8. Blow Out Dust With a Hair Dryer on Cool
A hair dryer can help push dust out from tight spaces. Set it to cool air, aim it behind or through the radiator, and blow dust downward toward the towel. Avoid using hot air, especially near painted surfaces, electrical parts, or old materials.
This method is not elegant. It may briefly look like your radiator sneezed. That is normal. Once the dust lands on the towel or floor, vacuum it immediately so it does not resettle somewhere annoying, like your freshly cleaned coffee table.
9. Clean Between Fins or Coils Gently
If your radiator has fins, coils, or narrow internal spaces, use a radiator brush, soft bottle brush, or vacuum nozzle to clean between them. Move from top to bottom so gravity helps pull debris down.
Be gentle with metal fins. Bent fins can restrict airflow and reduce heating performance. If you notice slightly bent fins on a baseboard heater, do not attack them aggressively. Light cleaning is safe; major straightening or repairs should be handled carefully.
10. Wipe the Wall Behind the Radiator
Once loose dust is gone, wipe the wall behind the radiator with a microfiber cloth. If the wall paint is washable, use a cloth dampened with warm water and a tiny drop of mild dish soap. Follow with a clean damp cloth and then a dry cloth.
Avoid soaking the wall. Too much water can damage paint, plaster, drywall, or wallpaper. If the wall is old, delicate, or textured, test a small hidden area first. Cleaning behind radiators should not become an accidental wall makeover.
11. Wash the Radiator Exterior With Mild Soap
For the radiator surface, mix warm water with a small amount of dish soap. Dip a microfiber cloth into the water, wring it out well, and wipe the exterior. Focus on fingerprints, grime, and sticky dust around the top and sides.
Avoid harsh chemicals, abrasive pads, bleach, or strong sprays. They can damage paint, finishes, and surrounding surfaces. For stubborn spots, use a soft toothbrush with mild soapy water, then wipe clean and dry.
12. Clean the Baseboards and Floor Around the Radiator
Dust often falls from the radiator onto the baseboard and floor. Vacuum the area thoroughly, then wipe the baseboard with a damp microfiber cloth. Pay attention to corners where hair and lint gather.
If your radiator sits behind a couch or under long curtains, this step can make a big difference. A clean radiator surrounded by dusty trim is like wearing a tuxedo with muddy sneakersit sends mixed messages.
13. Dry Everything Completely
Use a clean dry cloth to wipe the radiator, wall, floor edge, and baseboard. Drying matters because lingering moisture can encourage rust on metal radiators or damage nearby surfaces.
Let the area air-dry fully before turning the heat back on. If you used only dry tools, this will be quick. If you wiped with a damp cloth, give everything a little extra time.
14. Turn the Heat Back On and Check Your Work
Once everything is dry, turn the heat back on. As the radiator warms, notice whether the room smells fresher. A clean radiator should produce less dusty odor than one packed with lint and pet hair.
Stand back and admire your work. You have defeated a household chore that hides in plain sight. Somewhere, a dust bunny is filing a complaint.
How Often Should You Clean Behind Radiators?
For most homes, cleaning behind radiators every six months is a practical schedule. A good rhythm is once before heating season and once after winter ends. Homes with pets, allergies, high dust levels, or older heating systems may benefit from cleaning every three months.
If you notice a burning-dust smell when the heat turns on, visible cobwebs behind the radiator, or dust blowing from a baseboard heater, it is time to clean. Do not wait for the radiator to start looking like it belongs in an abandoned mansion.
Safety Tips for Cleaning Behind Radiators
- Always let radiators cool before cleaning.
- Do not pour water into or behind a radiator.
- Avoid aerosol sprays near hot surfaces.
- Use mild soap instead of harsh cleaners.
- Wear a mask if dust bothers your nose, throat, or allergies.
- Do not remove covers, valves, or panels unless you know how they work.
- Call a professional if you find leaks, heavy corrosion, or electrical concerns.
Common Mistakes to Avoid
Using Too Much Water
A damp cloth is helpful. A dripping cloth is trouble. Too much water can damage paint, flooring, drywall, and metal finishes.
Skipping the Vacuum
If you wipe first, you may smear dust into grime. Vacuuming removes loose debris and makes the rest of the job easier.
Forgetting the Wall
The wall behind the radiator often holds just as much dust as the radiator itself. Clean both for the best result.
Cleaning While the Radiator Is Hot
This is uncomfortable and unsafe. Heat can also cause cleaning products to evaporate quickly or leave streaks.
Using Rough Tools on Painted Radiators
Old radiator paint can chip if scrubbed too hard. Use soft cloths and brushes whenever possible.
Best Tools for Tight Radiator Spaces
The best tool depends on your radiator style. For old cast-iron radiators, a long flexible radiator brush is usually the winner. For flat panel radiators, a slim microfiber duster or wrapped ruler works well. For baseboard heaters, a vacuum brush attachment and soft fin brush are useful.
If you like multipurpose cleaning tools, a flexible dryer vent brush can also help reach behind radiators, under appliances, and along narrow gaps. Just make sure the bristles are not too stiff for painted surfaces.
Extra Experience: What Cleaning Behind Radiators Is Really Like
The first thing you learn when cleaning behind radiators is that dust is sneaky. It does not sit politely in one place waiting to be removed. It clings to ridges, hides behind pipes, wraps itself around fins, and gathers along the wall in a fuzzy layer that looks harmless until you touch it. Then it becomes airborne drama.
In older apartments, cast-iron radiators can be especially dusty because they have deep columns and curved sections. The front may look perfectly fine, but the back can be packed with years of lint. A radiator brush makes a huge difference here. The first few passes may pull out shocking amounts of dust, especially near the bottom where debris settles. It is oddly satisfying, like cleaning a lint trap you did not know existed.
One practical experience: always put down a towel before using a brush or hair dryer. Without it, the dust falls directly onto the floor and spreads. With a towel, cleanup is much easier. Shake the towel outside if possible, then wash it separately from nice linens. Your pillowcases do not need to mingle with radiator fuzz.
Another lesson is to clean slowly. Rushing usually pushes dust deeper into crevices or sends it flying across the room. Start with dry cleaning methods: vacuum, brush, dust, and blow out debris. Only after the loose material is gone should you use a damp cloth. This order prevents muddy streaks on the wall and keeps the radiator from looking worse before it looks better.
Pet owners may need to clean behind radiators more often. Pet hair loves warm airflow, and radiators create the perfect gathering zone. If a dog bed, cat tree, or favorite nap blanket sits near the radiator, expect extra fur behind it. In that case, a monthly quick vacuum around the radiator can prevent the need for a major dust excavation later.
Homes with white radiators also reveal grime quickly. A mild dish soap solution usually handles fingerprints and dust film, but drying is important. Leaving moisture on metal can encourage rust, especially on older units with chipped paint. After wiping, go over the surface with a dry microfiber cloth. It only takes a minute and gives the radiator a cleaner finish.
Baseboard heaters bring their own challenge: delicate fins. These thin metal pieces can bend if scrubbed aggressively. Use a vacuum brush and gentle strokes. If the cover comes off easily according to the manufacturer’s instructions, removing it can make cleaning simpler. If it feels stuck, do not force it. A bent cover or damaged fin is not worth the extra dust you might reach.
The biggest surprise is how much fresher a room can feel after cleaning behind radiators. The change is not always dramatic like painting a wall, but it is noticeable. The room smells cleaner when the heat turns on, the baseboard area looks brighter, and there is less dust drifting around nearby furniture. It is a small chore with an outsized payoff.
For best results, make radiator cleaning part of a seasonal routine. In early fall, clean behind radiators before using heat regularly. In spring, clean again after months of operation. Pair it with washing curtains, vacuuming under furniture, and wiping window sills. That way, the entire heating zone gets refreshed at once.
One final experience-based tip: take a before-and-after photo. It may sound silly, but it is motivating. Behind-radiator cleaning is invisible once furniture moves back into place, so a photo proves you actually conquered the hidden dust kingdom. Plus, the next time you wonder whether the job is worth doing, the before photo will answer for you.
Conclusion
Learning how to clean behind radiators is simple, affordable, and surprisingly rewarding. Turn off the heat, protect the floor, vacuum loose dust, use a radiator brush or wrapped cloth to reach tight spaces, wipe the wall and baseboards, dry everything thoroughly, and repeat the process a few times a year.
Clean radiators can help your home feel fresher, reduce dusty odors, and keep your heating area looking cared for. It is not the most glamorous cleaning task, but it is one of those small jobs that quietly improves the comfort of a room. And honestly, any chore that lets you defeat dust bunnies with a hair dryer deserves a little respect.