
Ever drawn a building that looked totally fine… until you added the windows, and suddenly it started leaning like it just pulled an all-nighter?
Yeah. That’s perspective (and also maybe the building’s emotional state).
The good news: drawing buildings in perspective isn’t mystical talent. It’s a repeatable system. Once you understand horizon lines, vanishing points,
and a few “boring” rules (that become shockingly fun once they start working), you can sketch believable houses, city blocks, interiors, and dramatic
skyscrapers that actually feel 3D.
Why perspective matters for buildings
Buildings are basically geometry wearing nice outfits. Because they’re full of straight edges and repeating patterns, perspective errors jump out fast:
crooked rooflines, windows that drift, sidewalks that widen as they recede (defying both physics and common sense).
Linear perspective gives you a simple promise: if your structure follows consistent rules, the viewer’s brain will happily accept the illusion of depth.
Your job becomes less “guess the angles” and more “build a believable box… then decorate it.”
Perspective vocabulary that pays rent
Horizon line (HL) = your eye level
The horizon line represents the viewer’s eye level. Put it higher and you’re looking down (bird’s-eye). Put it lower and you’re looking up (worm’s-eye).
This is why a sidewalk scene feels different from a rooftop sceneeven if the buildings are similar.
Vanishing point (VP) = where parallel lines appear to meet
In real life, parallel edges don’t actually touch. But in a drawing, lines that run away from you appear to converge at a vanishing point.
Most of the time (for buildings on level ground), those vanishing points sit on the horizon line.
Orthogonals = the “go-to-the-vanishing-point” lines
Orthogonals are the receding guidelines that connect edges of a form to a vanishing point. If you keep your orthogonals consistent, the building behaves.
If you improvise… the building starts doing jazz.
Verticals, horizontals, and the big rule of “don’t mix systems”
In one-point and two-point perspective, vertical edges stay vertical (unless the ground is tilted). In three-point perspective, vertical edges also converge
to a third vanishing point. The most common beginner mistake is accidentally mixing two-point and three-pointlike drawing a normal building, then giving it
dramatic “falling inward” verticals for no reason.
Tools you need (and what you can skip)
- Pencil + eraser: Light construction lines save lives.
- Ruler (or straightedge): Especially helpful early on. You can go freer later.
- Extra paper (optional): Useful for placing vanishing points far off-page in two-point perspective.
- Fineliner/pen (optional): Great for committing once the structure is correct.
- Digital option: A perspective grid tool can speed things up, but it shouldn’t replace understanding.
Step-by-step: draw a building in one-point perspective
Use one-point perspective when a face of the building is directly facing youlike looking straight at the front of a house or down a hallway.
It’s perfect for interiors, streets viewed head-on, and simple facades.
1) Set your horizon line and vanishing point
Draw a horizontal horizon line. Place one vanishing point on it (often near the center for a straightforward view).
2) Draw the front face of the building
Draw a rectangle below the horizon line for the front wall. This front face is “flat” to you, so its edges stay horizontal and vertical.
3) Send depth lines (orthogonals) back to the vanishing point
From the corners of your front rectangle, draw light guidelines back to the vanishing point. These lines define the building’s depth.
4) Decide the depth and close the form
Pick how deep the building goes by drawing a vertical line between your receding guidelines. Then close the top and bottom edges (still using the VP).
5) Add doors and windows (the “small boxes” approach)
On the front face, windows and doors stay rectangular (straight vertical/horizontal edges). On the receding side, their top/bottom edges must aim
toward the same vanishing point as the building.
Example: Draw a row of windows on the side wall. First place the nearest window. Then use orthogonals to keep the top and bottom aligned
in space as they move backward. If your window heights “drift,” your guidelines weren’t consistent.
Step-by-step: draw a building in two-point perspective
Two-point perspective is the workhorse for architectural sketching. Use it when you’re looking at a corner of a buildingso you see two sides receding
in different directions (like standing at a street corner).
1) Draw the horizon line and place two vanishing points
Put two vanishing points on the horizon lineone left, one right. For a natural look, keep them far apart. If they’re too close, the building can look
warped, like a wide-angle lens effect.
2) Draw the closest vertical corner
Draw a vertical line between the vanishing points. This is the building’s nearest corner edge.
3) Project the top and bottom edges to both vanishing points
From the top of that corner line, draw two light lines: one to the left VP and one to the right VP. Repeat from the bottom. You now have the “rails”
for both walls.
4) Decide the building’s width on each side
On each side, choose where the wall ends by drawing another vertical line (straight up-and-down). Then connect the tops back to the opposite vanishing point
to close the form.
5) Add the roofline and details
Roof edges follow the same perspective rules as wall edges: anything that recedes left goes to the left VP; anything that recedes right goes to the right VP.
Dormers, chimneys, awnings, and signs are all just smaller forms aligned to the same vanishing points.
Example you can try: A simple corner storefront.
Start with a tall box. Add a recessed doorway by drawing a smaller box “carved” into the front corner. Then add a sign band near the roofline,
making sure its top and bottom edges recede correctly toward the vanishing points.
Step-by-step: go bold with three-point perspective
Three-point perspective adds a third vanishing point for vertical edges. This is what gives you dramatic skyscraper views, looking up from street level,
or looking down from a rooftop. It’s also how you draw buildings that feel tall without relying on “trust me, it’s tall” energy.
1) Choose your view: worm’s-eye or bird’s-eye
- Worm’s-eye: Horizon line low. Third vanishing point is usually above the drawing (verticals converge upward).
- Bird’s-eye: Horizon line high. Third vanishing point is usually below the drawing (verticals converge downward).
2) Place the third vanishing point
Keep it far enough away to avoid extreme distortion unless you’re intentionally going for a dramatic comic-book angle.
3) Build the first “corner spine” and converge everything
In three-point perspective, even the vertical edges angle toward that third vanishing point. Start with a central corner edge (lightly), then send
guidelines toward all relevant vanishing points: left, right, and vertical.
4) Keep details simpler than you think you should
Three-point perspective can get busy fast. Block in the major shapes first (big forms), then add window rhythms and accents. If you detail too early,
you’ll be erasing tiny rectangles until you question every life choice that led you here.
How to add architectural details without breaking perspective
Windows and doors: treat them as boxed-in cutouts
A window is usually a rectangle sitting on a plane. In perspective, that plane has its own rules. So build the wall plane first, then place the window
within it using the same vanishing points.
- On a front-facing plane: window edges stay vertical/horizontal.
- On a receding plane: top/bottom edges aim to the correct VP.
Shortcut for evenly spaced windows: Mark the first window near you. Mark the last window farther away. Then use diagonals inside the plane
to subdivide space more reliably than eyeballing. (Eyeballing is how windows become “suggestions.”)
Stairs, sidewalks, and street grids
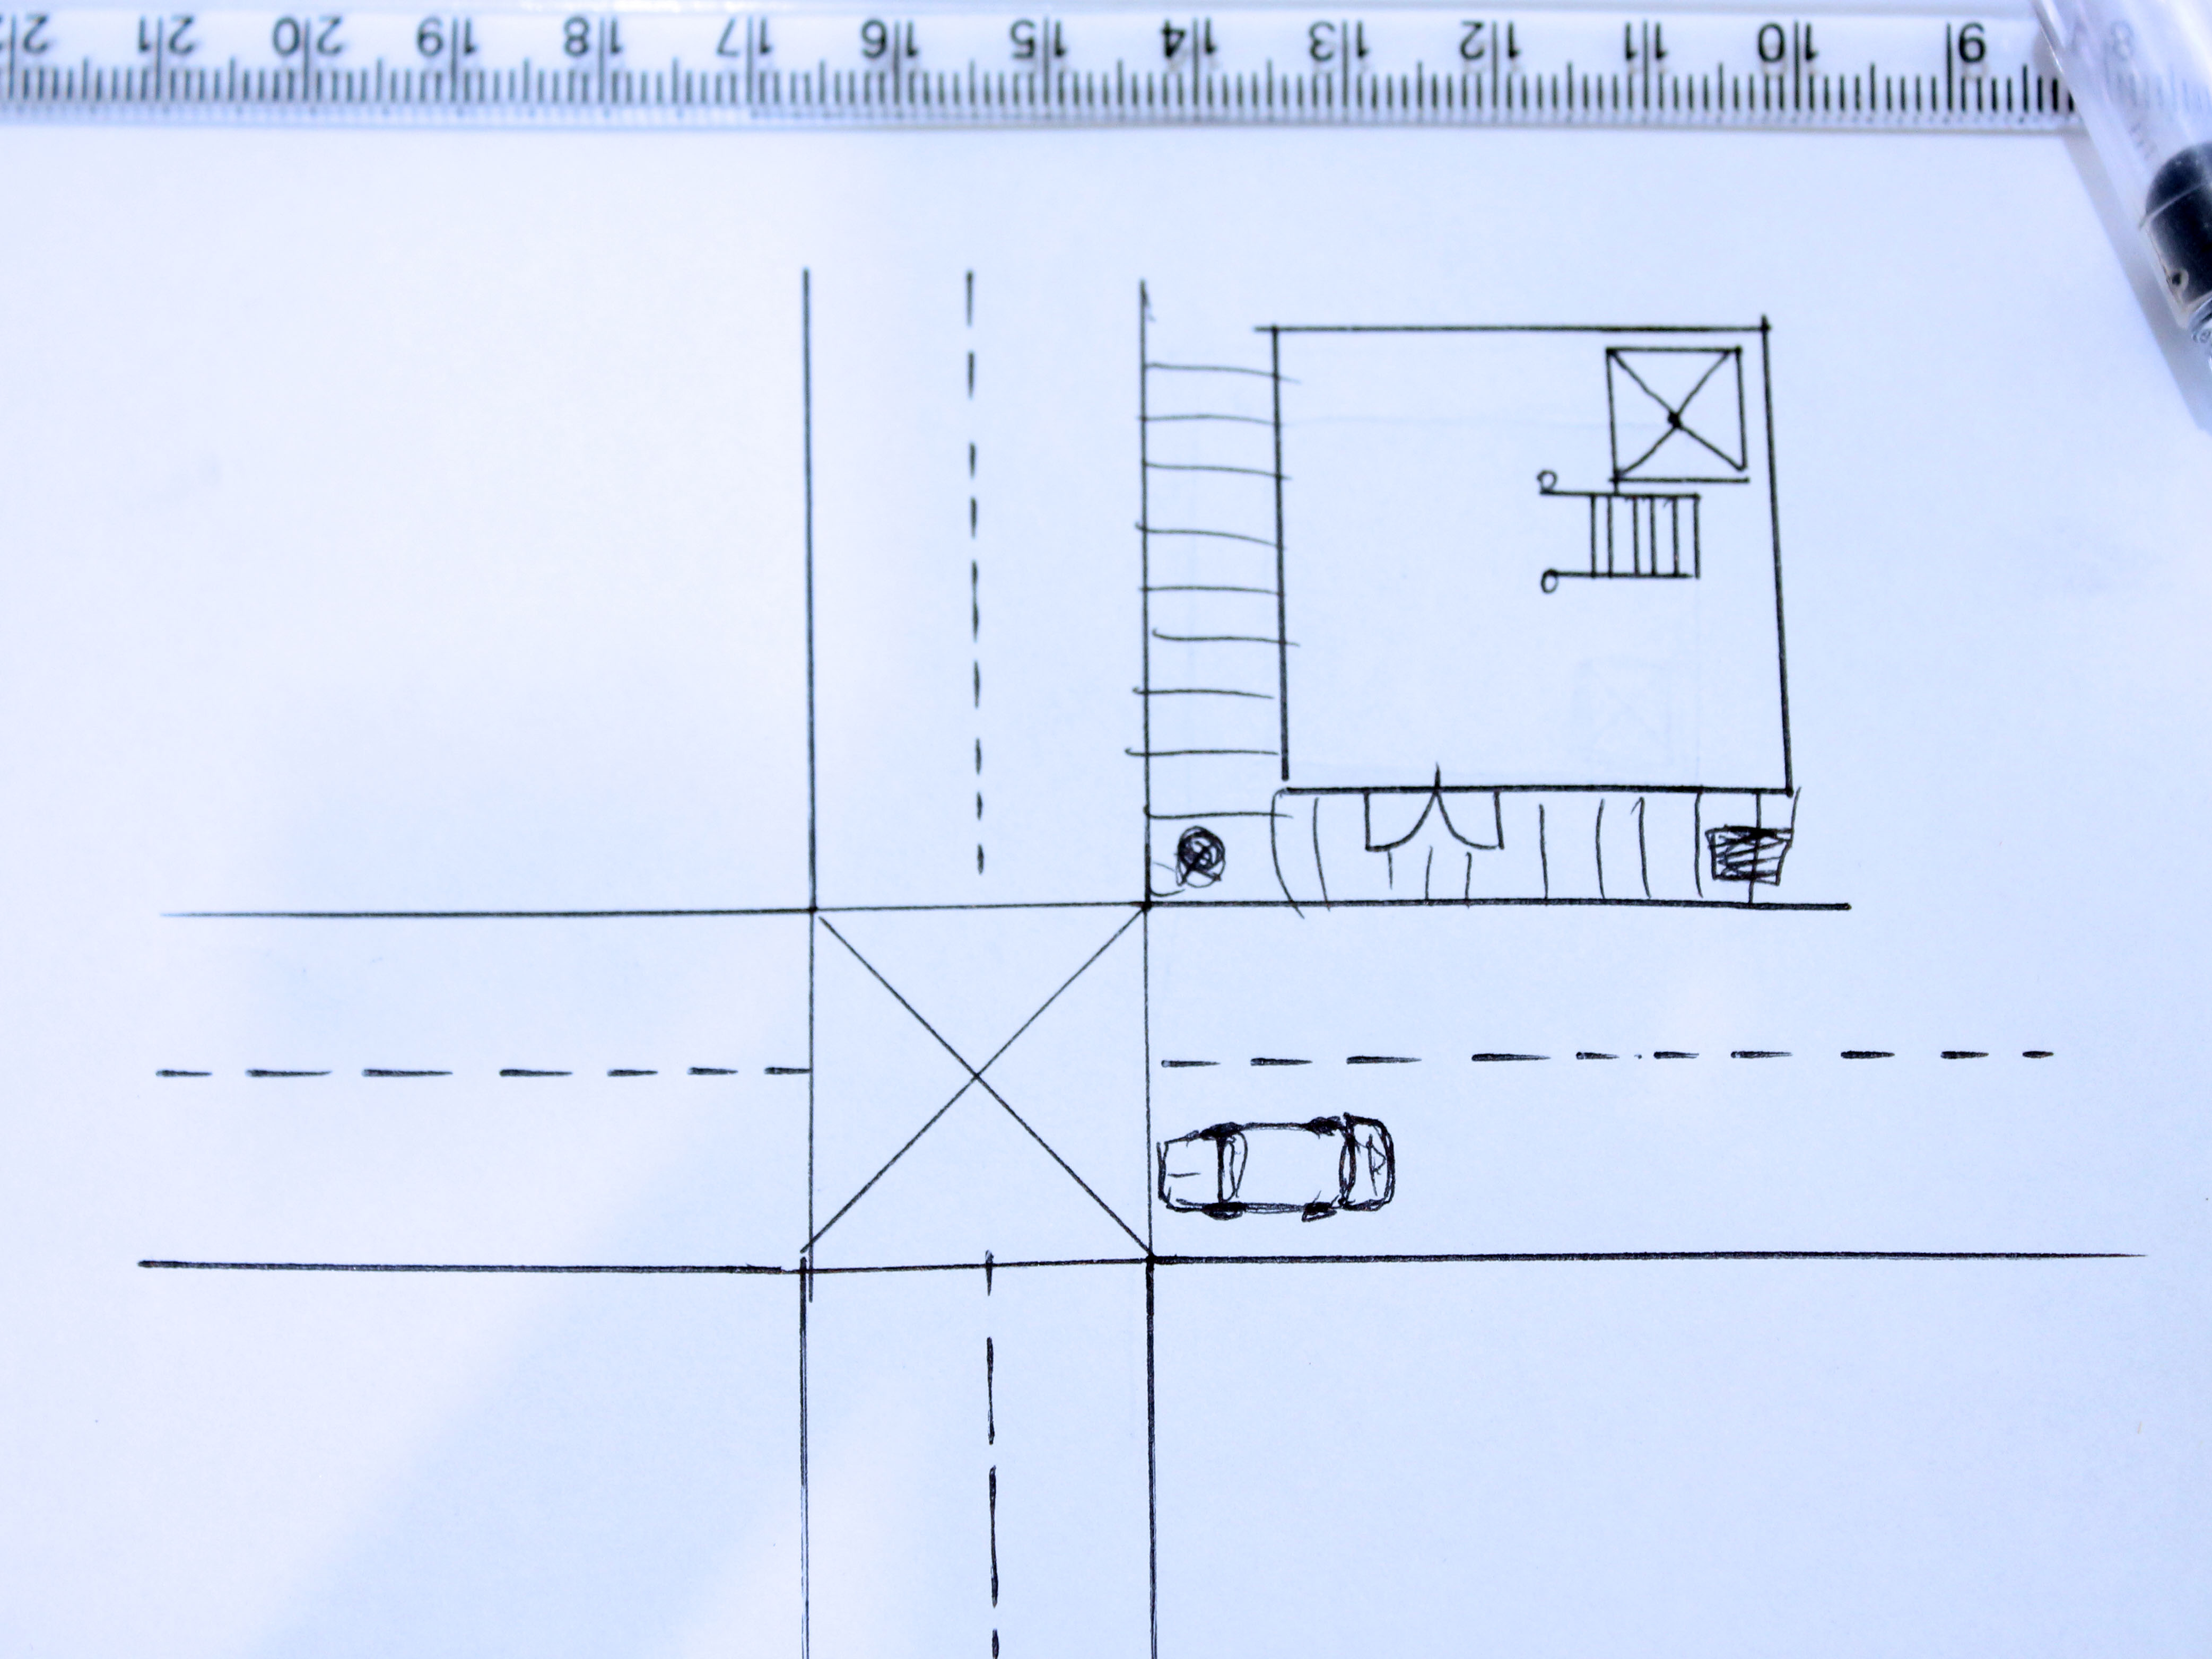
Sidewalk edges recede to vanishing points, just like building edges. A street corner scene becomes much easier if you establish the ground plane early:
curb lines, sidewalk edges, and road markings. Once the ground reads correctly, your buildings feel anchored instead of floating.
Roofs: gable, flat, and everything in between
A gable roof can be built by finding the midpoint of the front wall (on that plane), raising a ridge, then projecting the roof edges to the proper vanishing points.
Flat roofs are simpler: they’re basically the top plane of your box, plus a small lip (a parapet) that follows the same perspective.
Curves, arches, and cylinders: yes, buildings have them
Perspective isn’t just boxes. Arches, round columns, and curved windows show up all the time in architecture.
The trick is to build a box first, then fit the curve inside it.
Arches
Draw the rectangular opening in perspective. Then draw the arch curve inside that opening, making sure it touches consistent points on the frame.
The frame keeps your curve honest.
Columns and round elements
Circles in perspective become ellipses. If a column sits on the ground plane, its top and bottom ellipses need to align to the same perspective logic
as everything else. When in doubt, “box in” the ellipse first, then draw it inside.
Depth boosters beyond linear perspective
Linear perspective is the skeleton. These extras add muscle and good posture:
- Overlap: Foreground shapes overlapping background shapes instantly creates space.
- Size shift: Repeating elements (windows, bricks) get smaller as they recede.
- Value and atmospheric perspective: Distant buildings often have lower contrast and softer edges than nearby ones.
- Line weight: Thicker, darker lines in the foreground; lighter, thinner lines in the distance.
- Detail control: Sharp details up close, simplified shapes far away (because your eyes don’t read every brick at 200 feet).
Common mistakes (and painless fixes)
Mistake: vanishing points too close together
Fix: Move them farther apartsometimes off the page. Tape extra paper to the sides if needed. You’ll get a more natural building shape
with less “fish-eye” distortion.
Mistake: mixing vanishing points within one set of edges
Fix: Pick a rule and stick to it: all edges parallel in real life should aim to the same vanishing point in your drawing.
Mistake: drifting vertical lines in two-point perspective
Fix: Keep verticals perfectly vertical (use a ruler if you have to). Save vertical convergence for three-point perspective.
Mistake: windows that get bigger as they go back
Fix: Build a window “band” plane and subdivide it systematically. Repetition is where perspective discipline really shows.
Mistake: detailing too early
Fix: Block in big forms first. Then medium forms (roof, openings). Then details (frames, trim, signage). You’ll erase less and cry less.
A repeatable 20-minute practice plan
- 5 minutes: Draw 6–10 boxes in two-point perspective, focusing on clean convergence.
- 5 minutes: Turn 2 boxes into buildings by adding a roofline and a door opening.
- 5 minutes: Add a row of windows, keeping spacing consistent as they recede.
- 5 minutes: Sketch a quick street corner: sidewalk edges + one building + a second building behind it.
Do this a few times a week and you’ll notice something magic: your “guessing” starts to look like “knowing.”
FAQ: quick answers to common perspective questions
Do I need a ruler to draw buildings in perspective?
Not forever, but it helps early on. Many artists start with a ruler to learn accuracy, then practice freehand to build confidence and speed.
A good compromise is: ruler for the main construction, freehand for details.
How do I find vanishing points from a reference photo?
Extend the edges you know are parallel in real life (rooflines, window sills, curb edges). Where those extensions converge is your vanishing point.
Do this for both directions in a two-point scene.
What’s the fastest way to make a perspective building look more realistic?
Keep your structure clean, then add consistent repetition: evenly spaced windows, bricks that shrink into the distance, and a clear ground plane.
Realism often comes from repeating shapes behaving predictably.
Experience notes: what practicing building perspective really feels like (and why that’s normal)
Let’s talk about the part nobody warns you about: learning perspective can feel like your brain is buffering.
You’ll understand the rules in theory, then draw a building and think, “Why does this look like it’s sliding off the planet?”
That early awkward phase is extremely commonespecially with buildingsbecause architecture doesn’t politely hide your mistakes.
A portrait can be “stylized.” A crooked skyscraper looks like it’s about to file an insurance claim.
Here’s a typical experience pattern many learners report:
-
Week 1: You draw boxes. So many boxes. You feel like you accidentally joined a “Cardboard Enthusiasts of America” club.
Your lines wobble, your vanishing points get ignored, and your eraser starts losing the will to live. -
Week 2: Something clicks: you stop drawing “a building” and start drawing a box first.
Suddenly your house has volume. Your sidewalk stops widening as it recedes. You celebrate like you just invented gravity. -
Week 3: You add windows and realize repetition is a whole separate skill. The first window looks great. The second is fine.
The sixth window is doing its own thing. You learn to use light guidelines and subdivisions instead of vibes. -
Week 4: You start noticing perspective in real life. Streets, hallways, parking garageseverything looks like a set of guidelines
waiting to happen. This is both helpful and mildly annoying when you’re just trying to buy groceries.
Another very real experience: you’ll often feel slower right before you get better. That’s because you’re upgrading from “wing it” to “construct it.”
Construction takes a minute. But it pays you back later with speed and confidencebecause you won’t be fixing perspective mistakes one window at a time.
If you want a more enjoyable practice mindset, try this: instead of aiming for a “perfect building,” aim for a clear perspective decision.
For example: “This sketch is two-point perspective, and every receding edge goes to the correct vanishing point.” That’s a wineven if your linework is messy.
Finally, a small but powerful observation: buildings feel hard until you start thinking like a builder.
Architects and urban sketchers often simplify scenes into big forms first (boxes), then carve out openings (doors/windows), then add surface details (trim, bricks).
When you follow that order, perspective stops feeling like punishment and starts feeling like a superpower.
Conclusion
To draw buildings in perspective, you don’t need magic handsyou need a consistent system. Choose your horizon line (eye level), place your vanishing point(s),
build a simple box, and let every receding edge follow the same rules. Once the structure works, details like windows, doors, and rooflines become fun
instead of frustrating.
Practice small, repeatable exercises, and remember: if your first few buildings look like they’re auditioning for a leaning tower role, you’re not failing.
You’re learning the language of space.