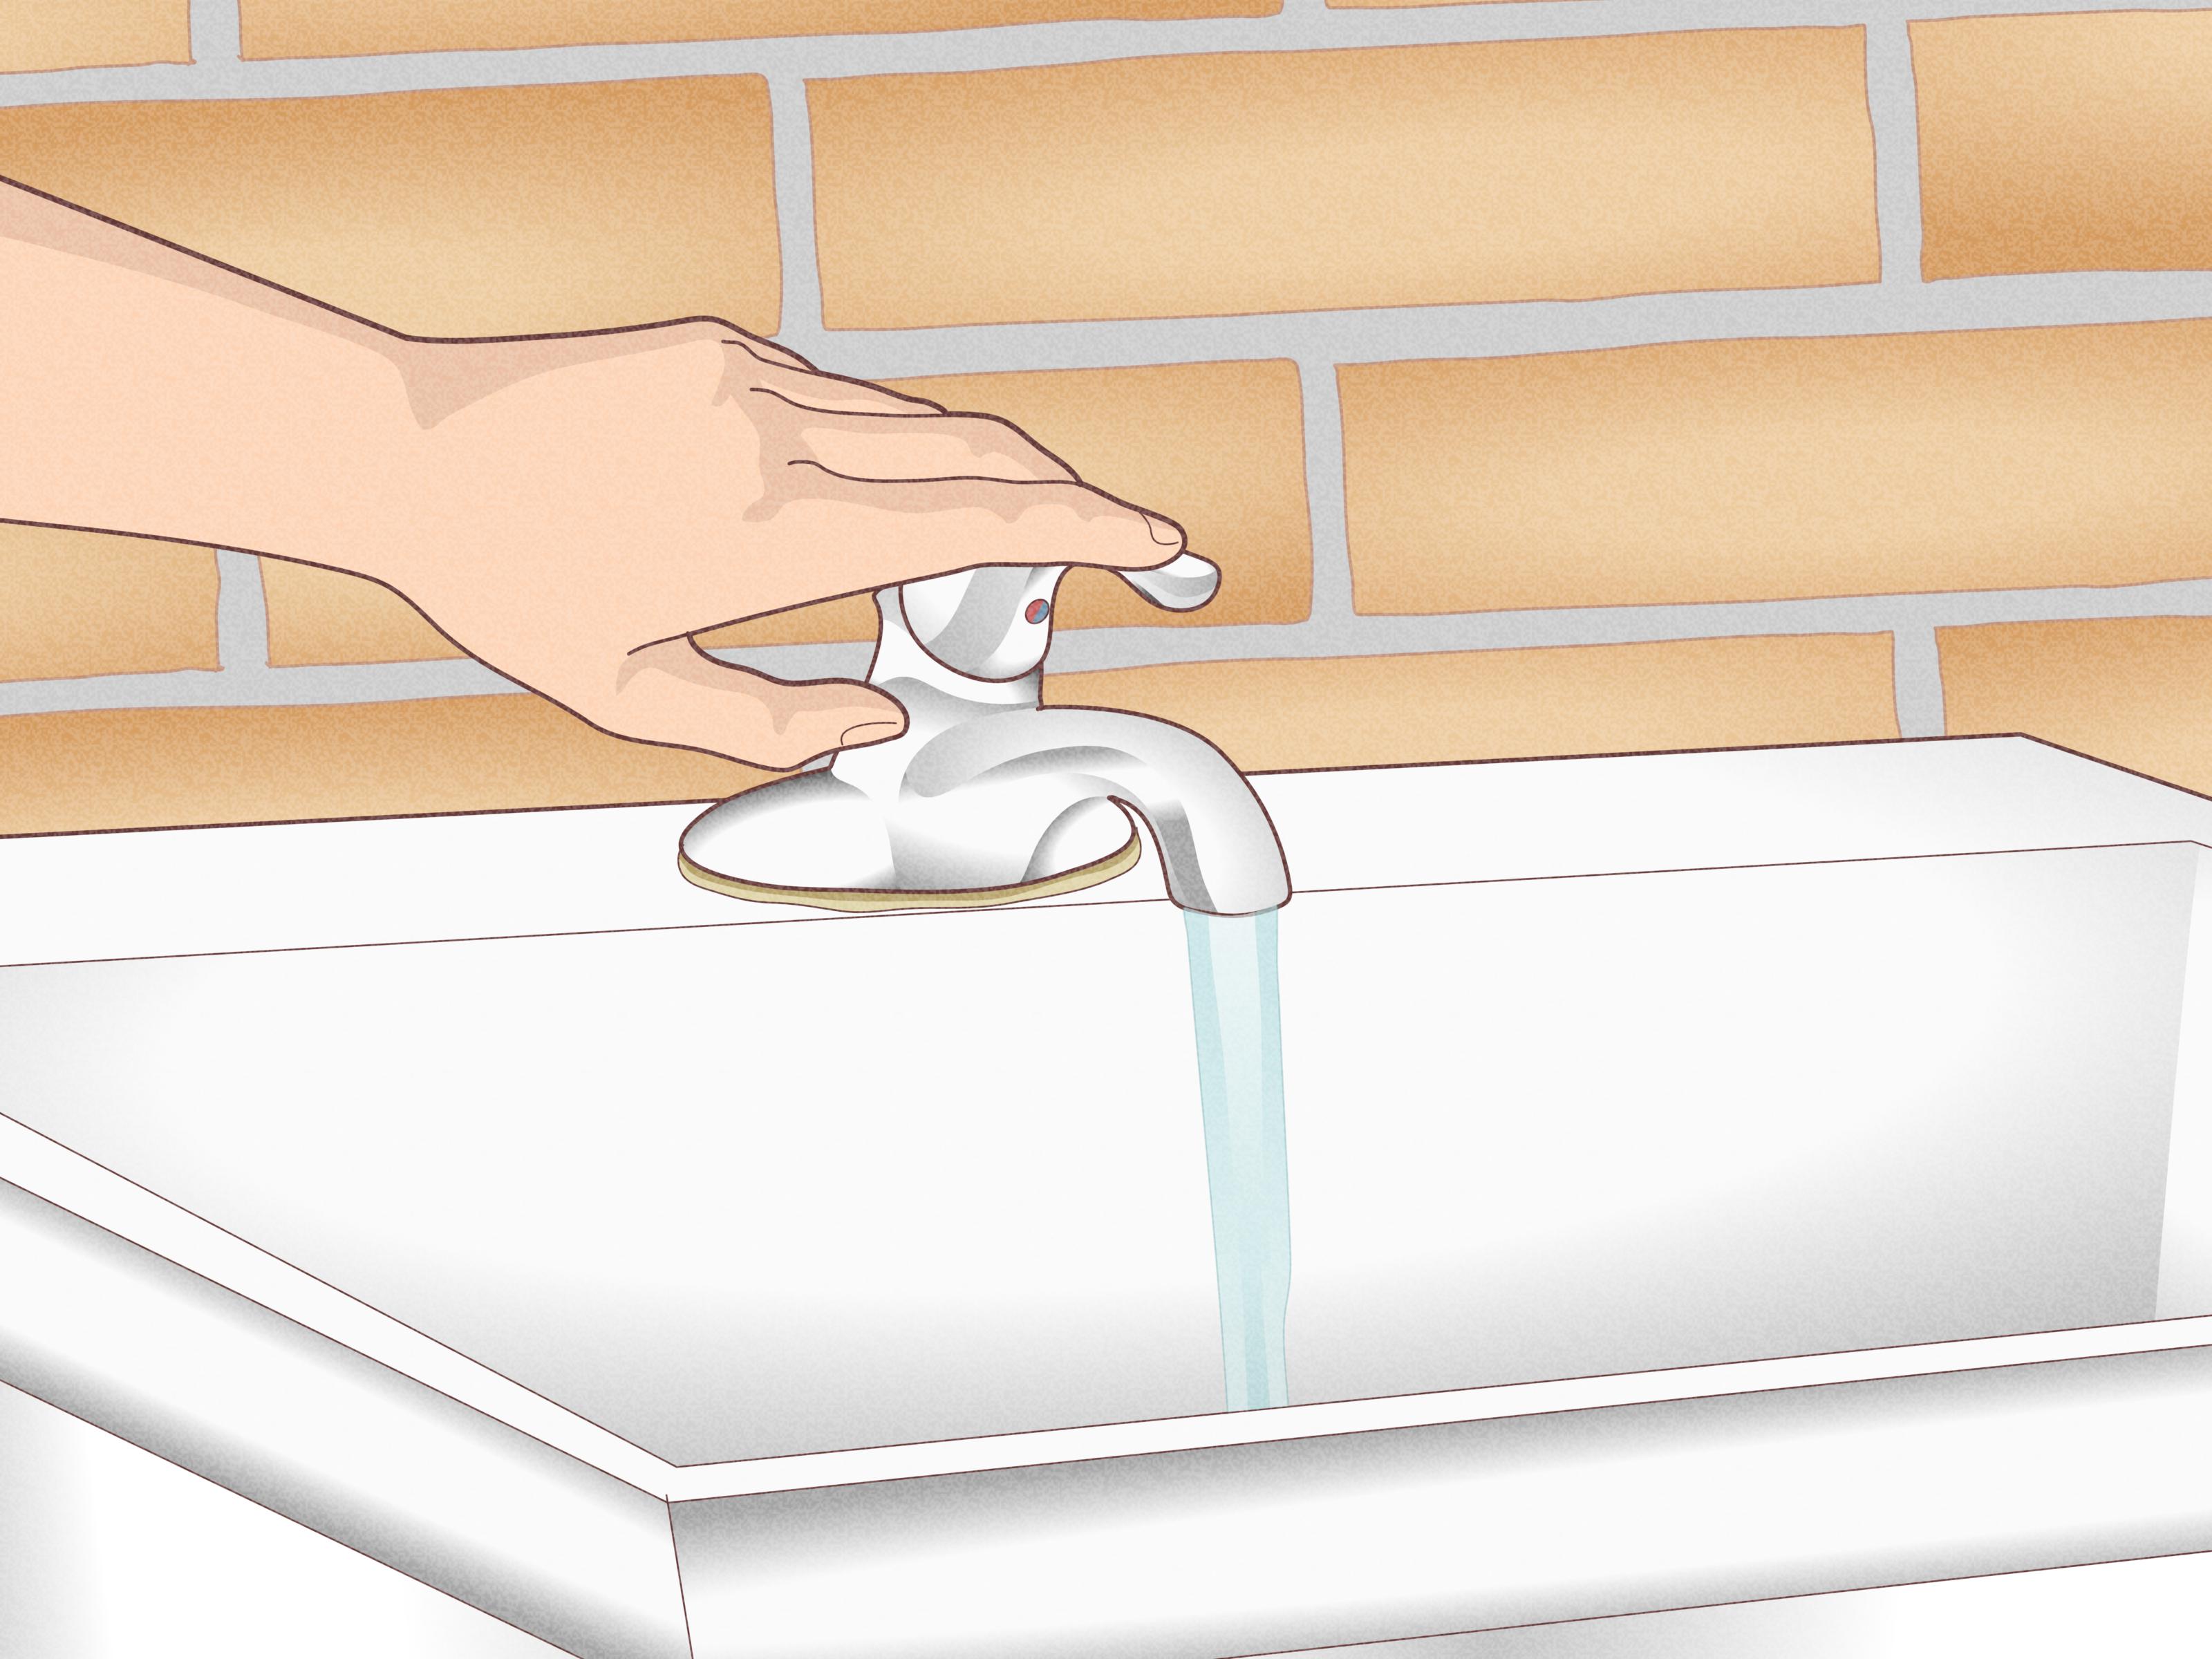

If your laundry room, garage, mudroom, or basement has ever made you say, “I need a place to rinse this thing, and my kitchen sink is not volunteering,” then a utility sink is probably your next smart upgrade. A good utility sink gives you a place to scrub paintbrushes, hand-wash delicates, soak muddy shoes, rinse cleaning tools, fill mop buckets, and handle all the gloriously messy jobs your fancy kitchen sink would rather not meet.
The best part is that utility sink installation is absolutely doable for a skilled DIYer. The catch is that it is not a “watch one video, hold one wrench, become a plumber by lunch” kind of project. You need a solid plan for water supply, drainage, venting, sink support, and leak testing. When you do it right, though, you end up with one of the most useful fixtures in the house.
This guide walks you through how to install a utility sink step by step, with real-world advice, common mistakes to avoid, and practical examples that make the process easier to understand. Whether you are installing a laundry sink next to your washer or adding a basement utility sink for cleanup duty, this article will help you get the job done with confidence.
Why Install a Utility Sink?
A utility sink earns its keep quickly. Unlike a bathroom sink, which is usually shallow and polite, or a kitchen sink, which is busy pretending it belongs in a magazine, a utility sink is built for heavy-duty work. It is deeper, tougher, and far less offended by muddy boots.
Homeowners typically install one for three reasons: convenience, containment, and cleanup. Convenience means you can rinse and scrub near the washer, workshop, or entry area. Containment means dirty jobs stay in a work zone instead of migrating into nicer parts of the house. Cleanup means fewer awkward bucket-balancing stunts and fewer desperate trips to the bathtub with a dripping houseplant.
Choose the Right Utility Sink Before You Start
Freestanding vs. wall-mounted
A freestanding utility sink is the most common choice for a laundry room or basement. It usually has legs or a cabinet base, which makes installation more straightforward for most homes. A wall-mounted utility sink saves floor space and can look cleaner, but it needs strong wall support and careful mounting.
Material matters
If you want durability without babying the fixture, look at stainless steel or rugged thermoplastic. Stainless steel looks sharper and handles hot water and heavy use well. Plastic or composite tubs are budget-friendly and practical, especially in garages and unfinished basements.
Size and depth
Bigger is usually better here. A deep basin is one of the main reasons to install a utility sink in the first place. A compact sink may fit the room, but if it cannot hold a mop bucket, muddy cleats, or a sweater soaking in stain remover, it is basically a decorative apology. If your space allows it, pick a basin deep enough to handle oversized messes without splashing water everywhere.
Faucet style
This is not the place for a tiny faucet with the reach of a nervous turtle. Choose a faucet with a high arc, pull-down sprayer, or gooseneck shape. That gives you more working room and makes rinsing the sink basin far easier. Utility sink faucets are all about function, not drama, though a little style never hurts.
Tools and Materials You May Need
- Utility sink or laundry tub
- Utility sink faucet
- Drain assembly and tailpiece
- P-trap kit
- Flexible water supply lines
- PVC drain pipe and fittings
- Wye or tee fitting for drain connection
- Shutoff valves
- Pipe cutter or hacksaw
- Adjustable wrench and pliers
- Drill/driver
- Plumber’s putty or manufacturer-approved sealant
- Silicone caulk
- PVC primer and cement
- Level, tape measure, and bucket
- Safety glasses and gloves
Your exact materials depend on your plumbing setup. Some homes make this project pleasantly simple because the washer’s supply and drain lines are nearby. Others make you work harder, because apparently the house was built by someone who never needed to rinse a paint tray.
Step 1: Plan the Location
The easiest utility sink installation happens near existing plumbing. In most laundry rooms, that means positioning the sink close to the washer. This often gives you access to hot and cold supply lines as well as a nearby drain path. It also makes the sink more useful. If you are soaking a stained comforter, carrying it dripping across the room is not exactly a luxury experience.
Measure the available space carefully. Make sure you have enough room for the sink itself, water lines, drain piping, and comfortable movement around the fixture. If the sink is going next to appliances, allow for hoses, venting, and clearance so the room does not feel like a plumbing-themed obstacle course.
If you are working in a basement, think about elevation too. If the sink drain will sit below the main sewer line, gravity may not be enough. In that case, you may need a drain pump or laundry tray pump to move wastewater up into the home’s drainage system.
Step 2: Check Permits, Codes, and Safety
Before cutting anything, check local plumbing code and permit requirements. Extending water lines and tying into drainage can trigger inspection rules, and some areas require a licensed plumber for parts of the work. This is not the thrilling part of the project, but it is much more fun than doing the work twice.
Then turn off the main water supply or the relevant shutoff valves. Open a faucet at a low point in the house to relieve pressure in the lines. Keep a bucket and towels nearby because even well-behaved plumbing likes one final dramatic drip.
Step 3: Assemble the Sink, Faucet, and Drain First
Whenever possible, assemble as much as you can before the sink is locked into place. It is usually easier to install the faucet, attach supply lines, and fit the drain assembly while the sink is accessible. Your back will appreciate this choice later.
Install the faucet according to the manufacturer’s instructions. Secure the mounting nuts from underneath and make sure the faucet is aligned properly. Then install the drain assembly in the sink basin. If your sink requires plumber’s putty, apply it neatly around the drain flange. If the manufacturer specifies silicone instead, follow that guidance instead of freelancing with leftover putty from another century.
Set the sink roughly in place and check that it sits level. If you have a freestanding sink with legs, adjust as needed. If it is wall-mounted, confirm the bracket is straight and anchored securely.
Step 4: Tie Into the Drain Line
This is the part where utility sink installation goes from “simple upgrade” to “serious home plumbing project.” Your goal is to connect the new sink drain to an existing waste line while maintaining proper flow and venting.
Install the drain connection
Locate the existing drain line that will accept the new sink. In many laundry rooms, this is near the washing machine standpipe. Cut the drain line where needed and add the proper fitting, often a wye with the correct branch angle. From there, run PVC pipe to the sink location.
Dry-fit the pieces before gluing anything. Confirm the alignment, slope, and pipe lengths first. Once you are sure the layout works, use primer and cement on the PVC joints. A rushed glue-up is how people end up inventing new vocabulary in the laundry room.
Install the P-trap
The sink needs a P-trap under the drain. This water-filled bend blocks sewer gases and helps the fixture drain correctly. Connect the sink tailpiece to the trap, then connect the trap arm to the drain stub-out in the wall or nearby waste line. Tighten slip-joint nuts snugly, but do not overtighten them. Plastic fittings crack far more easily than your confidence.
Handle the venting correctly
A drain without proper venting can drain slowly, gurgle, or siphon water from the trap. In a perfect world, your new sink ties into a properly vented branch. In some setups, an air admittance valve may be allowed by local code. If you use one, install it where it remains accessible and at the correct height and orientation for code compliance. If venting details feel murky, that is a solid sign to call a plumber before your “easy sink project” becomes a sewer-gas experiment.
Step 5: Connect the Water Supply Lines
With the drain path ready, connect the hot and cold water supply. There are a few ways to do this, but many utility sink installs tie into existing laundry supply lines or nearby copper, PEX, or CPVC lines.
Cut into the existing hot and cold supply lines and install tee fittings. Then run new lines from those tees to the sink location. Add shutoff valves for the sink if they are not already part of the setup. Dedicated shutoff valves are a small detail that makes future repairs much easier and much less wet.
Connect flexible supply lines from the shutoff valves to the faucet shanks. Make sure hot goes to hot and cold goes to cold. This sounds obvious until you finish the whole project, turn the faucet on, and realize the handles are now performing interpretive theater.
Step 6: Secure the Sink in Its Final Position
Now move the sink into its exact location. Slide the tailpiece into the trap assembly, confirm the connections line up cleanly, and check that the sink is level front to back and side to side. If the sink touches a wall or counter edge, apply a neat bead of silicone caulk where needed to protect surrounding surfaces from water.
If you are installing a wall-mounted utility sink, double-check the bracket, fasteners, and load support. A utility sink must handle more than a polite hand rinse. It may eventually hold a heavy bucket, wet towels, or a suspicious amount of potting soil.
Step 7: Test Everything for Leaks
Turn the water back on slowly. Watch every connection: shutoff valves, supply lines, faucet mounts, trap nuts, and glued drain transitions. Run hot and cold water for several minutes, then fill the sink partway and let it drain. That fuller test is more useful than a quick splash because it puts real flow through the system.
If you spot a drip, fix it now. Tighten compression fittings carefully. Re-seat slip-joint washers if needed. If a glued PVC joint leaks, the repair may involve cutting and replacing that section, which is annoying but far better than pretending the drip is “probably decorative.”
Common Utility Sink Installation Mistakes to Avoid
Choosing the wrong location
Putting the sink far from the washer or existing plumbing usually means more cost, more pipe, and more opportunities for something to go sideways. Keep the run short and the location practical.
Ignoring the vent
A utility sink drain is not just a pipe headed vaguely downhill. Proper venting matters. Without it, drainage problems and trap issues can show up fast.
Skipping shutoff valves
If you have to shut off water to half the house just to replace a faucet supply line later, you will wish you had installed local valves on day one.
Overtightening fittings
This is especially common with plastic traps and connectors. Tight enough is good. Hulk-tight is a receipt for replacement parts.
Failing to test with a full drain cycle
A few seconds of running water is not enough. Fill the basin, then drain it while watching the trap and waste line carefully.
When to Call a Professional
You should seriously consider hiring a licensed plumber if your project involves cutting open finished walls, installing new venting, working below the sewer line, soldering copper you are not comfortable with, or handling a code situation that sounds like it was written by lawyers and pipefitting poets together.
A pro also makes sense if this utility sink is going into a finished laundry room where mistakes could damage cabinets, flooring, drywall, or electrical work. Paying for expert help is often cheaper than paying for repairs and regret.
Real-World Installation Experiences and Lessons Learned
One of the most common homeowner experiences with a utility sink project is realizing that the sink itself is the easy part. The real work is the planning. People often shop for the basin first because it is visible, shiny, and satisfying. Then they get home and discover that the drain stub-out is a few inches off, the wall is not perfectly square, and the old washer plumbing looks like it has been upgraded by six different people over thirty years. That is why dry-fitting everything matters. A tape measure and a level can save you from a very humbling second trip to the hardware store.
Another common lesson is that “close to the washer” usually turns out to be the smartest location. Homeowners who install the sink near the laundry hookup almost always appreciate the convenience later. You can pretreat stains, hand-wash delicate items, rinse out mop heads, and fill cleaning buckets in one zone without dragging wet messes through the house. The people who place the sink across the room because it “looked better there” often end up wishing they had chosen function over fantasy.
Many DIYers also discover that utility sinks reveal how good or bad the existing plumbing really is. An old shutoff valve that has not been touched in a decade may start leaking the moment you use it. A trap arm that looked fine can turn out to be misaligned. A drain line that seemed close enough may need more slope adjustment than expected. None of this is unusual. In fact, it is part of why experienced installers move slowly, test often, and keep extra fittings on hand. Plumbing projects reward patience more than swagger.
There is also a frequent learning moment around faucet selection. A surprising number of homeowners initially choose a basic faucet, then realize later they would have been much happier with a taller spout or pull-down sprayer. The sink becomes more useful when you can actually rinse a bucket, clean the basin corners, or wash off a muddy tool without performing wrist acrobatics. In real life, the most successful utility sink setups tend to prioritize reach, clearance, and durability over delicate design details.
Basement installations come with their own stories. Homeowners often assume water will simply drain because, well, that is what water does. Then they find out the sink sits below the home’s main sewer line and the system needs a pump. That discovery is not fun at the checkout counter, but it is much better than finding out after the sink is installed and full of gray water that refuses to leave. The same goes for venting. Drainage problems rarely announce themselves politely. They show up as gurgling, slow emptying, and odors that make you question your life choices.
The final real-world takeaway is simple: the best utility sink installations are not the fanciest ones. They are the ones that feel solid, drain fast, do not leak, and make grimy chores easier. If you finish the project and immediately think of three messy jobs you can now do without wrecking the kitchen, that sink is already earning its rent.
Conclusion
Installing a utility sink is one of those home upgrades that quietly improves daily life. It is not flashy, but it is incredibly useful. The project becomes much easier when you keep the sink near existing plumbing, choose a deep basin and practical faucet, handle the drain and vent correctly, and test every connection before calling it done.
If your plumbing layout is straightforward and your DIY skills are strong, this can be a rewarding weekend project. If the drainage, venting, or basement setup gets complicated, bringing in a professional is money well spent. Either way, once your new laundry sink is up and running, you will wonder how you ever managed without it.