
Note: This article is for educational web content only. Surgical staples should be removed by a licensed healthcare professional, such as a surgeon, nurse, physician assistant, or trained clinician. Do not remove surgical staples at home unless your healthcare provider has specifically instructed you and supervised your care plan.
Introduction: Surgical Staples Are Tiny, but They Deserve Big Respect
Surgical staples may look simplejust small metal clips holding skin togetherbut they are doing an important job. After surgery, an accident, or a medical procedure, staples help keep the edges of a wound or incision aligned while the body quietly performs its behind-the-scenes repair work. Think of them as the construction cones around a healing zone: not glamorous, but absolutely useful.
Because staples sit on the skin surface, many people wonder, “Can I just remove them myself?” The safe answer is no, not unless a healthcare provider has clearly told you to do so. Removing surgical staples too early, too roughly, or without checking the wound can lead to reopening of the incision, bleeding, infection, delayed healing, or a wider scar. That is why staple removal is usually done during a follow-up visit, often 7 to 14 days after placement, depending on the wound location, type of surgery, tension on the skin, and the patient’s overall health.
This guide explains how surgical staple removal is generally handled in a professional setting. It breaks the process into eight clear steps so readers understand what to expect, how to prepare, what warning signs matter, and how to care for the area afterward. The goal is not to turn your bathroom into a mini operating room. The goal is to help you walk into your appointment calm, informed, and less likely to flinch dramatically at a harmless-looking staple remover.
What Are Surgical Staples?
Surgical staples are sterile metal fasteners used to close some skin incisions and wounds. They are commonly used after orthopedic surgery, abdominal procedures, scalp wounds, joint replacement surgery, cesarean delivery, and other operations where fast, secure closure is helpful. Compared with stitches, staples can be quicker to place and may work well on long, straight incisions or areas where the skin is under moderate tension.
Staples do not dissolve. That means they must be removed after the wound has healed enough to stay closed without them. The exact timing depends on the body area. Facial wounds may need earlier removal because the face has excellent blood supply and cosmetic results matter. Scalp, arm, trunk, leg, hand, foot, palm, and sole wounds may require longer timing because movement, skin thickness, and tension vary.
When Are Surgical Staples Usually Removed?
Most surgical staples are removed somewhere between 7 and 14 days after placement. However, that is only a general range. Some areas, such as the palms or soles, may require up to 21 days. In certain surgeries, staples may be removed before hospital discharge, while in other cases they are removed at the first post-operative appointment. People with diabetes, poor circulation, immune system problems, smoking history, radiation treatment, infection risk, or slow wound healing may need a different schedule.
The best timing is always the timing chosen by your healthcare provider. Removing staples is not just about counting days on a calendar. A clinician checks whether the wound edges are sealed, whether drainage is normal or concerning, whether swelling has improved, and whether the incision can tolerate staple removal without opening.
How to Remove Surgical Staples: 8 Steps in a Professional Setting
The following eight steps describe what usually happens when a trained healthcare professional removes surgical staples. This is not a do-it-yourself tutorial. It is a patient-friendly explanation of the clinical process so you know what is happening and why each step matters.
Step 1: Confirm the Provider’s Order and Removal Timing
Before staples are removed, the healthcare professional confirms that removal has been ordered or approved by the treating provider. This matters because the surgeon or clinician who placed the staples knows the type of incision, the depth of tissue repair, the expected healing timeline, and any special precautions.
For example, a simple scalp laceration may have a different removal schedule than an abdominal incision after major surgery. A knee replacement incision may have different concerns than a small skin procedure. The provider’s instructions help prevent removing staples too early, which can increase the chance of wound separation.
Step 2: Review Symptoms and Ask About Changes
Before touching the incision, the clinician usually asks how the area has been healing. Questions may include: Has there been increased pain? Any fever or chills? New redness? Swelling? Drainage? Bleeding? A bad smell? Has the wound opened anywhere? Has the patient noticed warmth around the incision?
These questions are not small talk. They help screen for possible infection or wound complications. If the patient reports worsening pain, pus-like drainage, spreading redness, or fever, the clinician may delay removal and contact the surgeon for further evaluation.
Step 3: Wash Hands and Prepare Clean or Sterile Supplies
Hand hygiene is one of the simplest and most important parts of wound care. The healthcare professional cleans their hands and prepares the necessary supplies. These may include gloves, sterile gauze, antiseptic solution if ordered, a staple remover, adhesive wound closure strips, a clean dressing, and disposal materials.
The staple remover is not the same as an office stapler remover, and no, the one from your desk drawer should never be invited to this party. A medical staple remover is designed to bend the staple in a way that helps lift it out with minimal pulling on the skin.
Step 4: Remove the Dressing and Inspect the Incision
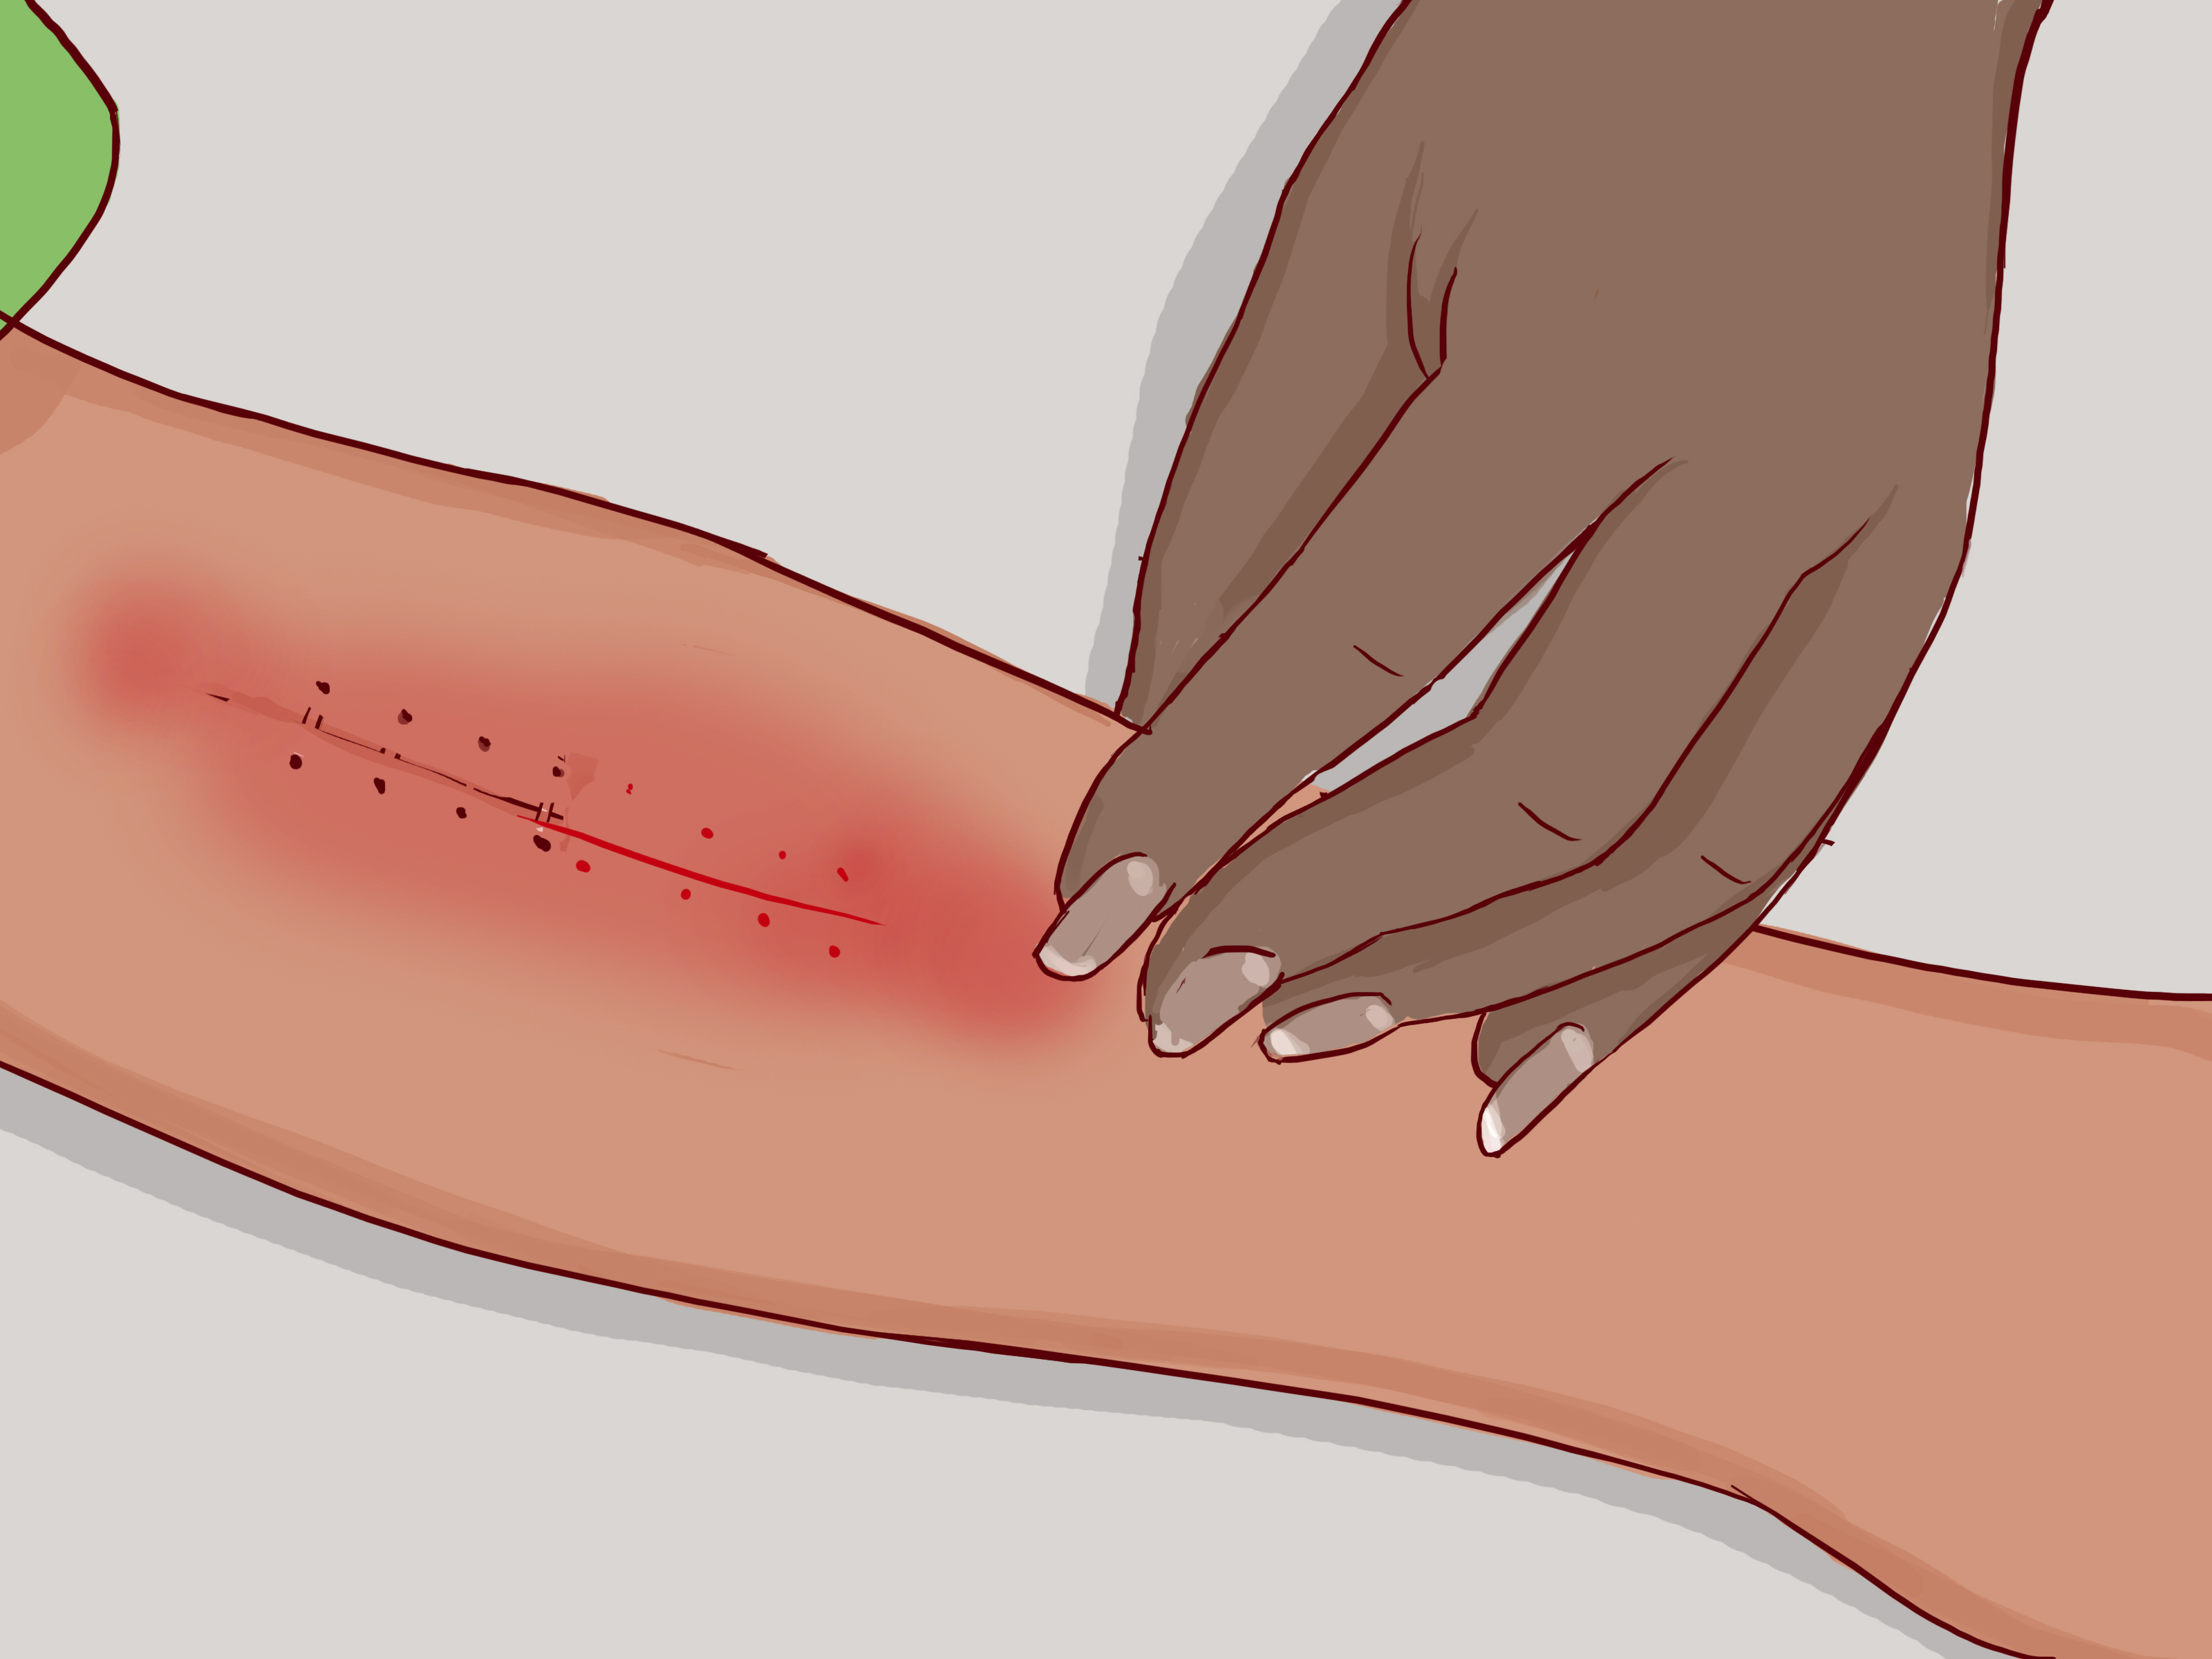
If a bandage or dressing is present, it is removed carefully. The clinician then checks the incision. A healthy healing incision may look slightly pink, mildly tender, or a little itchy. Some dried blood or mild crusting can be normal. However, increasing redness, thick yellow or green drainage, strong odor, worsening swelling, heat, bleeding that does not stop, or visible wound opening may signal a problem.
The clinician also looks for whether the wound edges are well-approximated, meaning the skin edges are together and sealed. If the incision appears fragile, the provider may remove only some staples and leave the rest in place longer.
Step 5: Position the Patient Comfortably
Comfort matters. The patient is positioned so the clinician can clearly see the incision and access the staples without pulling on the skin. Good positioning also helps the patient relax. Tense muscles and anxious movement can make the process feel more uncomfortable than it needs to be.
Some people feel nervous because the staples look intense. In reality, staple removal is usually quick and often less painful than expected. Many patients describe it as a brief pinch, tug, or pressure sensation. If anxiety is high, slow breathing, looking away, or chatting with the clinician about literally anything elsepets, weather, questionable hospital coffeecan help.
Step 6: Remove Staples Carefully, Often Every Other Staple First
In many clinical settings, the professional may remove every second staple first, especially if the incision is long or under tension. This lets the clinician check whether the wound remains closed before removing the rest. If the skin edges begin to separate, the remaining staples may be left in place and the provider notified.
The staple remover is gently placed under the staple. When squeezed, it bends the staple in the middle, lifting the ends out of the skin. The clinician removes each staple smoothly and avoids tugging across the wound. Each removed staple is placed into a proper disposal container or onto gauze for later disposal according to clinical practice.
This step is where professional training matters most. Pulling staples straight out, using the wrong tool, or removing them without checking the incision can irritate healing tissue or cause wound separation.
Step 7: Support the Incision With Adhesive Strips if Needed
After some or all staples are removed, the clinician may apply adhesive wound closure strips, often called Steri-Strips, across the incision. These strips provide gentle support while the skin continues strengthening. They are not a replacement for medical care, but they can help protect the incision from minor tension after staples are gone.
Patients are usually told to let these strips fall off naturally unless given different instructions. Picking at them is tempting, especially when the edges curl, but resist the urge. Healing skin does not appreciate being treated like a scratch-off lottery ticket.
Step 8: Give Aftercare Instructions and Warning Signs
Once the staples are removed, the clinician explains how to care for the area. Instructions may include keeping the incision clean and dry, avoiding soaking in a bathtub or pool until cleared, changing dressings as directed, and avoiding heavy lifting or strenuous movement that pulls on the incision.
The patient should also know when to call a healthcare provider. Warning signs include fever, chills, increasing redness, warmth, swelling, worsening pain, pus-like drainage, bad odor, bleeding that does not stop with gentle pressure, red streaking, or any part of the incision opening. These symptoms deserve medical attention, not wishful thinking.
Does Surgical Staple Removal Hurt?
Most people feel mild discomfort, pressure, or a quick pinching sensation during surgical staple removal. The level of discomfort depends on the wound location, skin sensitivity, swelling, anxiety, and whether scabs or dried drainage are present around the staples. Areas with thinner skin or more movement may feel more sensitive.
If the wound is very painful before removal begins, tell the clinician. Pain that is getting worse instead of better may be a warning sign. A careful provider can slow down, inspect more closely, soften crusting if appropriate, or pause to contact the surgeon if something does not look right.
What Not to Do Before Staple Removal
Before your appointment, do not pull, twist, bend, clip, or loosen the staples. Do not soak the incision unless your provider has cleared you to do so. Do not apply alcohol, hydrogen peroxide, ointments, creams, herbal oils, or “miracle healing” products unless specifically instructed. Some products can irritate tissue or interfere with healing.
Also avoid heavy activity that stretches the incision. Even if the outside looks closed, the deeper layers may still be healing. Skin gains strength gradually, and the incision can still be vulnerable after staples are removed.
How to Care for the Wound After Staples Are Removed
After surgical staples are removed, the incision still needs gentle care. Keep the area clean. Follow your provider’s instructions about showering, dressings, and activity restrictions. If you are allowed to shower, let water run gently over the area and pat dry with a clean towel. Avoid scrubbing.
Do not soak the wound in a bath, pool, hot tub, lake, or ocean until your healthcare provider says it is safe. Soaking can soften healing tissue and increase the risk of irritation or infection. If adhesive strips are applied, let them fall off on their own unless your clinician says otherwise.
Scar care usually comes later, once the skin is fully closed. At that stage, your provider may recommend sunscreen, silicone gel, silicone sheets, gentle massage, or other scar care options. Sun protection is especially important because healing scars can darken when exposed to sunlight.
Signs the Wound May Not Be Ready for Staple Removal
A wound may not be ready for staple removal if the edges are not sealed, if there is active drainage, if the skin looks increasingly red or swollen, or if the incision is under heavy tension. Other concerns include fever, worsening pain, warmth around the incision, pus, bleeding, or a section that appears to be opening.
In some cases, a clinician may remove only alternate staples and leave the rest for a few more days. This is not a failure. It is cautious wound care. Healing is not a race, and the prize for rushing is not worth winning.
Why Professional Removal Is Safer Than DIY Removal
Professional staple removal is safer because clinicians evaluate the wound before, during, and after removal. They know how to recognize signs of infection, delayed healing, wound separation, and poor tissue strength. They also have the right tools and understand how to support the incision after removal.
At-home removal can go wrong quickly. A person may remove staples too early, use non-sterile tools, pull in the wrong direction, miss signs of infection, or fail to support the incision afterward. Even a small wound opening can become a bigger problem if ignored. For surgical wounds, the safest shortcut is not taking one.
Common Questions About Surgical Staple Removal
Can I shower before my staples are removed?
Sometimes, yes, but only if your healthcare provider says it is okay. Many instructions allow gentle showering after an initial dry period, while other surgeries require the dressing or incision to stay dry until follow-up. Always follow your specific discharge instructions.
Can staples stay in too long?
Yes. Leaving staples in longer than necessary may make removal more uncomfortable and can leave more noticeable marks on the skin. However, removing them too early can be more dangerous because the wound may reopen. Timing should be individualized by a healthcare professional.
What if one staple falls out?
If one staple comes loose or falls out, cover the area with a clean dressing if needed and contact your healthcare provider for advice. Do not remove the remaining staples yourself.
What if the incision opens after staples are removed?
If the incision opens, cover it with a clean dressing and call your healthcare provider right away. If there is heavy bleeding, severe pain, visible deeper tissue, or you feel seriously unwell, seek urgent medical care.
Real-Life Experience: What Patients Often Notice Before, During, and After Staple Removal
For many patients, the hardest part of surgical staple removal is not the actual removal. It is the suspense. People see a row of shiny metal clips and imagine a dramatic scene involving pain, tools, and heroic bravery. Then the appointment happens, and the most dramatic part is often trying to peel off the medical tape without making a face.
A common experience is nervousness during the first few staples. Patients may tense up, hold their breath, or ask, “Is it going to hurt?” Most describe the feeling as a quick tug or pinch rather than sharp pain. Once the first staple is out, the mystery disappears and the rest feels more manageable. The sound or sensation of the remover may be odd, but the process is usually quick.
Another common experience is surprise at how the incision looks after removal. Staple marks may remain as tiny dots along the sides of the wound. The scar may look pink, raised, tight, or uneven at first. This can worry patients, but early scars often look more noticeable before they gradually soften and fade over months. The skin is still remodeling long after the staples are gone.
Some patients feel mild itching after staple removal. Itching can happen as skin heals, especially when the area is dry or when adhesive strips are in place. However, intense itching with rash, spreading redness, blisters, or drainage should be reported. Not every itch is a crisis, but not every itch should be ignored either.
People who have staples over joints, such as the knee or hip area, often notice that movement feels different after removal. The skin may feel tight, and the incision may pull slightly with bending. This does not mean something is wrong, but it does mean activity instructions matter. Physical therapy, walking, stretching, lifting, and exercise should follow the plan given by the surgical team.
Patients with abdominal incisions often become very aware of coughing, laughing, sneezing, and getting out of bed. Supporting the incision with a pillow, if recommended by the care team, can make movement feel safer and more comfortable. This is one of those recovery tricks that sounds too simple to matter until you sneeze once and suddenly become a believer.
After staple removal, many patients want to “help” the scar heal faster. The best early help is usually boring: keep it clean, avoid soaking, follow dressing instructions, eat enough protein, stay hydrated, avoid smoking, and do not overdo activity. Healing loves consistency. It is not impressed by aggressive scrubbing, random internet ointments, or pretending you are ready to move furniture three days after surgery.
Another real-world lesson is that follow-up appointments matter. A clinician can spot subtle problems that patients may miss, such as a small area of separation, irritation from drainage, or early infection. Sending a photo through a patient portal may also be an option if your healthcare system offers it, but urgent symptoms should be handled promptly rather than waiting for a routine message reply.
The best patient experience usually comes from preparation. Bring your discharge paperwork, know when the staples were placed, mention any symptoms honestly, and ask what activities are safe after removal. A good question to ask is: “What should make me call you after today?” That one question can prevent a lot of guessing later.
In the end, surgical staple removal is a small but important milestone. It often means the wound has reached a new stage of healing. The staples may be gone, but the skin is still rebuilding strength. Treat the area kindly, follow your provider’s advice, and give your body time to finish the job. Healing is not always glamorous, but it is surprisingly impressive when you let it do its work.
Conclusion
Understanding how to remove surgical staples in a professional setting helps patients feel more confident and less anxious before a follow-up appointment. The key takeaway is simple: surgical staples should be removed by a trained healthcare professional who can check whether the wound is ready, use the correct sterile technique, remove staples safely, support the incision afterward, and identify warning signs early.
Staple removal is usually quick, but it is not something to rush or improvise. The incision may look healed on the surface while deeper tissue is still strengthening. Following medical instructions, keeping the area clean, avoiding unnecessary strain, and watching for signs of infection can help protect healing and improve scar outcomes.
If you have surgical staples, the smartest plan is to attend your scheduled follow-up visit, ask questions, and let the medical team handle the tiny metal hardware. Your wound has done a lot of work already. Give it the safe send-off it deserves.