
Stacking a washer and dryer is the laundry-room version of building vertical storage: you get the same function, but you reclaim precious floor space. Done correctly, a stacked laundry setup is stable, quiet, and safe. Done “close enough,” it can wobble, walk, or turn your spin cycle into a percussion solo.
This guide walks you through how to stack a washer and dryer in 10 clear steps, with practical tips on washer dryer stacking kits, leveling, venting, and testing. It’s written for real homesclosets, tight corners, uneven floors, and all.
Important safety note: Washers and dryers are heavy, awkward, and connected to electricity (and sometimes gas). If you’re not fully confident, involve a qualified adult or a professional installerespecially for gas hookups or any electrical work.
Before You Stack: The 3-Minute Reality Check
1) Confirm your machines are actually stackable
Most front-load washers and their matching dryers are designed to stack. Many top-load washers are not. “Looks like it’ll fit” is not the same as “engineered to stack.” Check your owner’s manual or the manufacturer’s support page for your exact models.
2) Plan for a proper stacking kit (not wishful thinking)
A washer dryer stacking kit is the hardware that locks the dryer to the washer so vibration doesn’t turn your laundry tower into a leaning landmark. Kits are often model-specific, and many brands recommend using their kit for their pair. If your dryer is compatible, it belongs on top (dryers are usually lighter than washers, especially once a washer is full of water).
3) Measure the space like you mean it
In a laundry closet, you’re juggling more than height. You need room for hoses, cords, and the dryer vent. You also need the doors to open fully (washer door + dryer door + closet door = a surprisingly dramatic trio). Leave extra depth so the dryer vent doesn’t kinkkinks restrict airflow and can cause poor drying performance.
Quick supplies checklist
- Correct stacking kit (for your models)
- Level (a small bubble level works)
- Adjustable wrench or pliers (for leveling legs)
- Screwdriver (often Phillips)
- Work gloves (for grip and to protect hands)
- Floor protection (cardboard, moving blanket, or an appliance slider)
- Dryer vent materials as needed (rigid/semi-rigid duct, clamps, foil tape)
How to Stack a Washer and Dryer: 10 Steps
Step 1: Read the install instructions for your exact models
Start with the manuals. You’re looking for three things: (1) stacking approval for your models, (2) the exact stacking kit part number, and (3) clearance/venting requirements. This prevents the most expensive mistake in laundry history: buying a kit that almost fits.
Step 2: Buy the correct stacking kit (and open the box before you start)
Confirm the kit matches your washer/dryer model numbers. Then open the box and verify all parts are present: brackets, screws, clips, spacers, and any templates. If something’s missing, it’s better to discover it nowbefore your dryer is hovering in midair while you mutter, “Where’s the last bracket?”
Step 3: Prep the location (power, water, drain, and vent path)
Clear the area. Make sure the washer’s water supply valves are accessible, the drain standpipe is ready, and the dryer vent route is realistic (short, smooth, and not crushed behind the machine). If you have a gas dryer, plan for professional installationgas connections aren’t the place for improvisation.
Step 4: Move the washer into positionthen pull it back out a bit
Place the washer near its final spot, but leave enough room behind it to connect hoses and to work comfortably. Protect your floor (tile and hardwood can scratch easily). If you’re in a closet, you may need to “stage” the appliances slightly forward while you stack, then slide the assembled unit back carefully.
Step 5: Level the washer first (this is non-negotiable)
Put the level on top of the washer and adjust the leveling legs until it’s level front-to-back and side-to-side. Then tighten the lock nuts (if your washer has them). A washer that isn’t level will vibrate more, and vibration is the sworn enemy of every stacked setup.
Example: If your laundry room floor slopes toward a floor drain (common in some homes), you may need to extend one or two legs more than you expect. Take your timefive minutes now can save you a year of “Why does my dryer sound like a marching band?”
Step 6: Install the stacking kit brackets/clips on the washer (as instructed)
Most kits attach brackets to the washer top or rear area, creating “stops” that the dryer will slide against and lock into. Follow the kit instructions exactlysome kits use rear brackets plus a front cross brace; others use side rails or clips. Tighten hardware as directed, and avoid overtightening that could strip screws.
Step 7: Prep the dryer (tighten legs, remove anything that interferes)
If your dryer has leveling legs, many stacking instructions call for tightening them fully (or setting them to a specified position) before placing the dryer on the washer. Remove loose accessories, and make sure lint screen and panels are properly seated. The goal is a stable footprint that mates cleanly to the stacking kit.
Step 8: Lift the dryer onto the washeruse two (or more) capable adults
This is the “don’t be a hero” step. Dryers are bulky, and the lifting path is awkward. Use at least two people, wear gloves for grip, and keep fingers away from pinch points between the appliances. Set the dryer down gently, align it with the brackets, and slide it into the stops per your kit’s instructions.
Tip: If the closet is tight, you may have better control lifting the dryer in front of the closet, then carefully repositioning the stacked pair. In very tight installs, professional installers use specialty straps and dolliesanother good reason to hire help if space is limited.
Step 9: Secure the dryer to the stacking kit (and add stability if your brand requires it)
Once aligned, fasten the dryer to the kit using the provided screws or bolts. This is what keeps the dryer from shifting during high-spin cycles. Some manufacturers also specify additional anti-tip or wall-bracket support for certain models or situations; if so, attach it to a stud or other approved structure (not just drywall).
Step 10: Connect venting/utilities, then run a test cycle and fine-tune
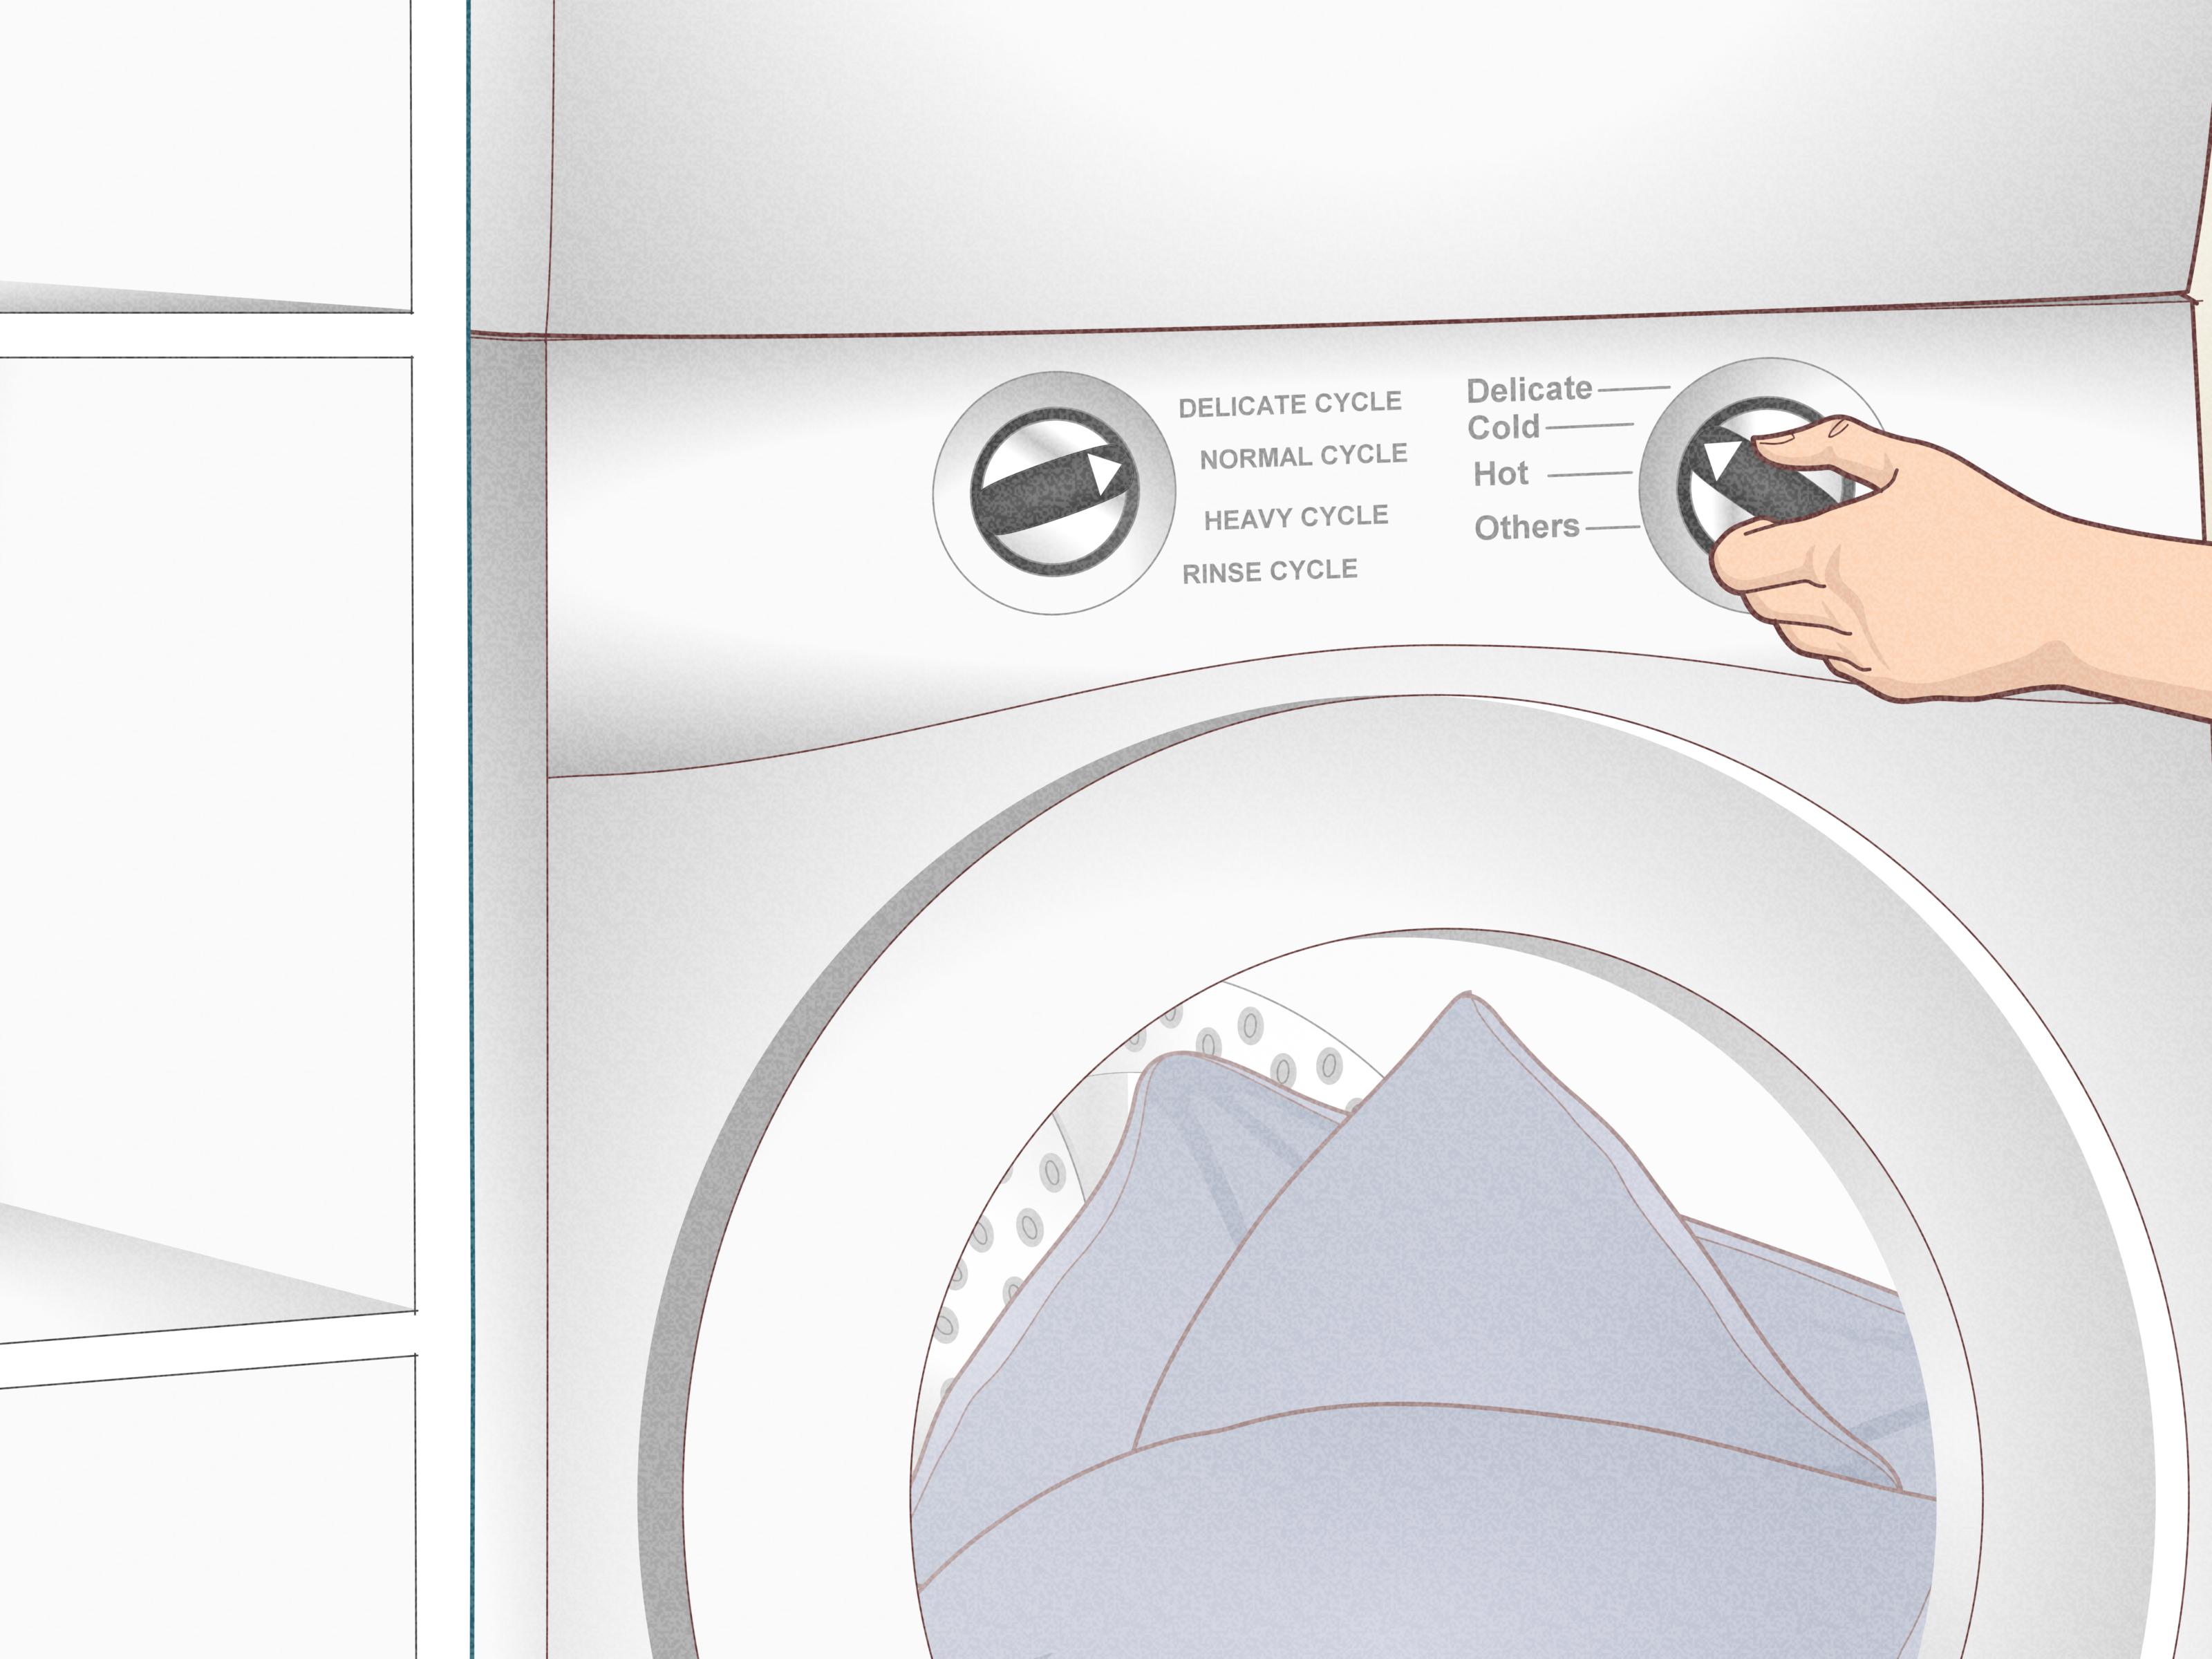
Reconnect the washer hoses, open water valves, and check for leaks. Connect the dryer vent with a clamp and foil tape where appropriate, keeping the duct as straight and uncrushed as possible. Plug appliances into their correct outlets.
Now test:
- Run a quick rinse/spin on the washer and watch for excessive movement.
- Run the dryer briefly and confirm strong airflow at the exterior vent.
- Listen for rattles (often a vent or loose bracket), and re-check level if needed.
Success looks like: minimal vibration, no walking, no metal-on-metal tapping, doors opening freely, and a vent that isn’t kinked behind the unit.
Common Mistakes (and How to Avoid Them)
- Skipping the stacking kit: A stacked dryer without the correct kit can shift during vibration. Use the approved kit for your models.
- Not leveling the washer: If the washer isn’t level, the whole tower amplifies movement. Level first, then stack.
- Crushing the dryer vent: A kinked vent restricts airflow and can lead to longer dry times. Leave depth and keep turns gentle.
- Trying to do it solo: Lifting a dryer alone risks injury and appliance damage. Get help.
- Stacking on a pedestal/raiser: Many manufacturers advise against stacking the pair on pedestals/risers due to stability and safety concerns.
- Mixing brands “because the sizes match”: Even if dimensions line up, the stacking hardware and mounting points may not. Compatibility matters more than inches.
Maintenance Tips for a Stacked Washer and Dryer
Keep vibration in check
Every few months, verify the washer is still levelfloors settle, and leveling legs can shift slightly over time. If the unit starts to “walk,” don’t ignore it. That’s your laundry tower telling you it’s unhappy.
Clean the dryer vent pathway
Lint buildup reduces airflow and drying efficiency. Clean the lint screen every load and inspect the vent periodically. If your dry times increase, the vent route is a prime suspect.
Plan for service access
Stacked units can be harder to service. Keep your manuals and stacking kit instructions handy, and don’t block shutoff valves or outlets with permanent cabinetry. Future-you will be grateful.
When to Hire a Pro
Consider professional installation if:
- You have a gas dryer (gas connections should be handled by qualified technicians).
- The laundry is in a tight closet with limited maneuvering space.
- You need to modify venting, electrical, or cabinetry to make the setup work.
- You can’t safely lift the dryer with enough help.
- Your floor is uneven or bouncy and you can’t stabilize the washer.
It’s not “giving up.” It’s outsourcing the heavy lifting so your weekend isn’t spent arguing with a dryer in a hallway.
FAQ: Stacking a Washer and Dryer
Can I stack any washer and dryer?
Usually no. Most stacks are designed for compatible front-load pairs. Always confirm your specific model numbers are stack-approved and use the correct stacking kit.
Does the washer go on top or the dryer?
The dryer goes on top. Washers are heavier, especially when full of water, and they generate more movement during spin cycles.
Can I stack a washer and dryer in a closet?
Yesif the models are approved for closet installation, the doors can open, and you meet ventilation/clearance needs. The biggest closet challenge is depth for a non-kinked dryer vent.
Is it okay to stack them on pedestals?
Often, manufacturers advise against stacking the pair on pedestals/risers because it can reduce stability. If you want storage drawers, look for alternative laundry storage solutions nearby instead.
What if the dryer controls are too high?
This is a real drawback of stacking. Some brands offer control panels designed to be more reachable, and some setups use a step stool stored nearby. If accessibility is a major issue, consider a side-by-side layout or an all-in-one unit instead.
Conclusion
Stacking your laundry machines is one of the fastest ways to make a small laundry area feel bigger. The keys are simple: confirm compatibility, use the correct washer dryer stacking kit, level the washer like your peace and quiet depend on it (they do), keep the vent uncrushed, and test before you declare victory.
If you take your time on the unglamorous stepsmeasuring, leveling, and securingyou’ll end up with a stacked setup that feels solid and runs smoothly. And you’ll get your floor space back without sacrificing safety.
Real-World Experiences & Lessons Learned (500+ Words)
People who stack a washer and dryer for the first time often expect the hardest part to be the lifting. The lifting is definitely hard, but the most common “wish we’d known” moments show up in the details: the kind of details you don’t notice until a 200-pound appliance is exactly where you don’t want to move it again.
The closet-door surprise. One frequent experience is measuring the footprint and total height, then discovering the closet doors don’t open the way you assumed. Bi-fold doors may hit the dryer handle. A standard door may open, but only halfway, because the stacked unit sits an inch too far forward. The best lesson here: people who succeed treat door swing like a first-class measurement, not an afterthought. If the space is tight, they “mock position” the washer (even with tape on the floor) to confirm door clearance before stacking day.
The vent kink that ruins everything. Another common story: the stack looks perfect… until the first dryer load takes forever. The cause is often a vent hose crushed behind the dryer when the unit was pushed back. In real homes, that last 2–3 inches of depth matters. People who avoid this problem plan the vent route early, aim for fewer bends, and leave enough space so the duct isn’t forced into a sharp turn. Some also learn to do a quick airflow check at the exterior vent after installationbecause “it’s connected” isn’t the same as “it’s flowing.”
The wobble that wasn’t the kit’s fault. Many homeowners initially blame the stacking kit when they hear a rattle or feel vibration. But the most common fix is re-leveling the washer. Floors are rarely perfect, and laundry rooms sometimes sit over joists that flex. People report that even a tiny out-of-level condition can become a big deal once you add a dryer on topbecause the stack magnifies movement. The lesson: re-check level after stacking, and again after a few loads. It’s normal to fine-tune.
The “we can do it ourselves” moment… and the smart pivot. Plenty of people start out determined to DIY, then hit a wallliterallywhen the laundry area is too tight to maneuver safely. The best outcome stories are the ones where they pivot to help early instead of pushing through. A professional installer (or even a couple of strong, careful adults) can make the lift controlled and safe. The experience takeaway isn’t “never DIY”; it’s “know when the setup has outgrown your available space and help.”
Controls and convenience are real trade-offs. After living with a stacked setup for a few weeks, some people realize the dryer controls sit higher than expected. This can be annoying for shorter users, and it can be a daily friction point. Real households solve this in practical ways: keeping a stable step stool nearby, choosing a dryer with more accessible controls, or deciding that side-by-side is worth the extra floor space in their next home. The key lesson: stacking saves space, but it can change ergonomics.
Service day reality check. Another common experience is discovering that maintenance and service access can be trickier when stacked. People are happiest when they kept shutoff valves reachable, avoided burying outlets behind permanent cabinetry, and saved the stacking kit instructions for the future. The lesson: plan for the day someone has to move, unstack, or service the unitbecause that day eventually arrives.
Overall, the most successful stacking experiences share a theme: people win by being “boringly careful.” They measure twice, level patiently, secure the kit properly, and treat venting like a performance systemnot just a tube behind the dryer. That’s what turns a tall laundry tower from “a little scary” into “rock-solid and forgettable,” which is exactly what you want from appliances.
SEO Tags (JSON)