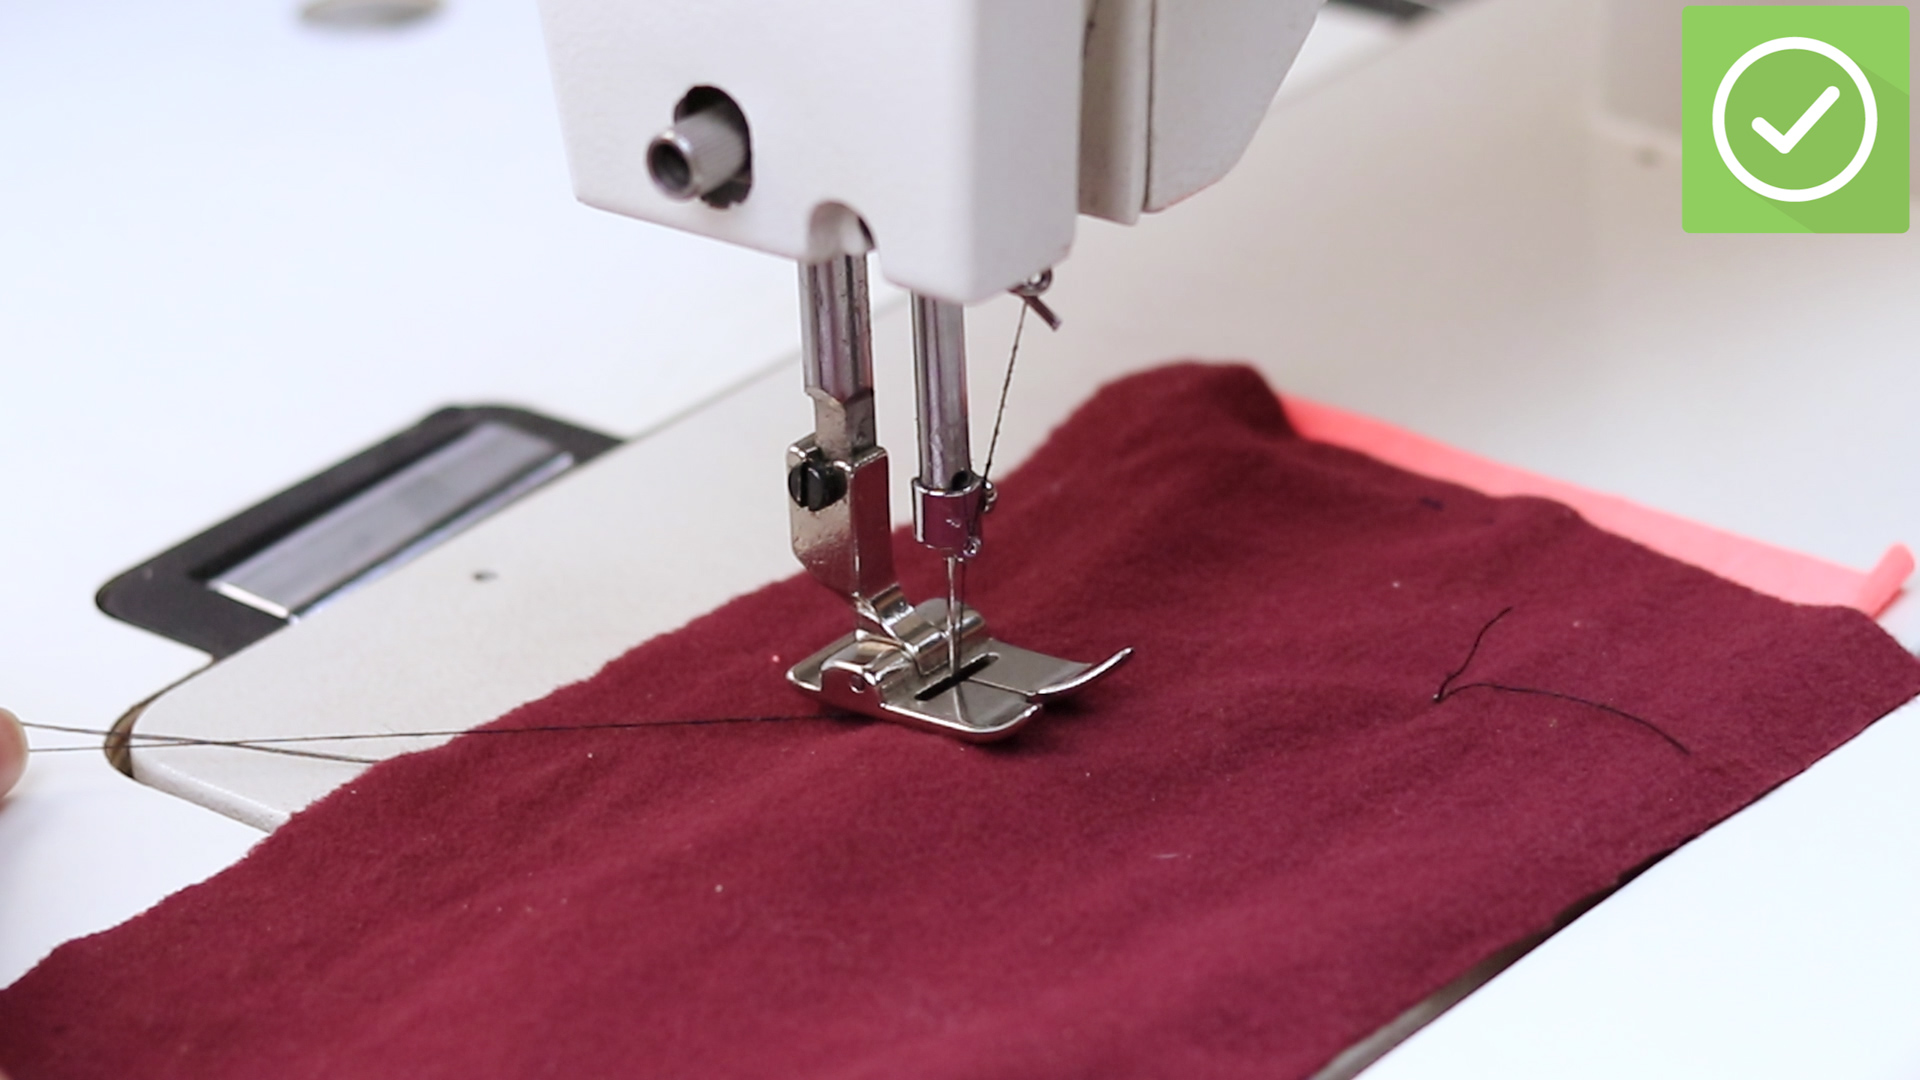

Note: This guide is written for general home sewing machine troubleshooting. Exact timing measurements vary by brand and model, so always check your manual before turning any set screw. If your machine is computerized, under warranty, making loud grinding noises, or showing visible damage, professional service is the smarter route.
Why Sewing Machine Timing Matters
Sewing machine timing is the tiny, perfectly choreographed meeting between the needle and the hook. When everything is working correctly, the needle carries the upper thread down through the fabric, rises slightly, forms a loop behind the needle, and the hook catches that loop so it can wrap around the bobbin thread. It is a miniature dance. Unfortunately, when the timing is off, the dance turns into two people trying to enter the same revolving door from opposite directions.
Bad timing can cause skipped stitches, broken needles, thread nests, thread shredding, or a machine that simply refuses to form stitches. Before you blame the timing, though, remember this: most “timing problems” are actually needle, threading, tension, bobbin, or fabric problems wearing a fake mustache. A dull needle, an incorrectly inserted needle, the wrong needle for knit fabric, an improperly wound bobbin, or lint in the hook race can all mimic timing trouble.
Still, timing can slip after a needle strike, jam, broken needle, forced fabric pull, or heavy project that made your machine sound like it was chewing gravel. The good news is that many mechanical machines can be checked and adjusted carefully at home. The less-good news is that patience is not optional. Tiny screws, tiny clearances, and tiny mistakes all live in this neighborhood.
Common Signs Your Sewing Machine Timing May Be Off
Timing problems often show up as repeated skipped stitches, especially when the machine has already been cleaned, rethreaded, fitted with a fresh needle, and tested with normal woven cotton. You may notice that the top thread is not catching the bobbin thread, or the hook seems to pass the needle too early or too late. In severe cases, the needle may hit the hook, bobbin case, or needle plate. That is your machine’s dramatic way of saying, “Please stop.”
Other clues include loud clunking in the bobbin area, sudden thread breakage, uneven stitch formation, and failure to pick up the bobbin thread when you turn the handwheel. If the machine was sewing beautifully yesterday and started acting possessed after a jam or broken needle, timing deserves a closer look.
Before You Adjust Timing: Rule Out the Easy Fixes
Before opening the machine, do these basic checks. Replace the needle with a new one in the correct size and type. For woven cotton, a universal 80/12 needle is a reasonable test choice. For knits, use a ballpoint or stretch needle. Insert the needle fully, with the flat side facing the correct direction for your machine. Rethread the upper thread with the presser foot raised so the thread seats properly in the tension discs. Remove and reinsert the bobbin. Clean lint from the bobbin area, hook race, and feed dogs. Test with medium-weight cotton fabric and good-quality thread.
If the machine still skips stitches after those checks, timing may be the culprit. Now you can proceed with the cautious confidence of someone who has watched enough mystery shows to know the obvious suspect is not always guilty.
Tools You May Need
Gather a small screwdriver, the correct Allen key or hex wrench for your machine, a flashlight, tweezers, a fresh needle, a soft brush, cotton swabs, sewing machine oil if your manual recommends it, and your machine’s manual or service manual. A magnifier can help you see the relationship between the hook point and needle scarf. Some machines require a timing gauge, but many home sewists can at least inspect the timing visually.
Do not use random oversized screwdrivers that chew up screw heads. A stripped set screw inside a sewing machine is not a repair; it is the beginning of a tiny metal tragedy.
How to Adjust Sewing Machine Timing: 10 Steps
Step 1: Unplug the Machine and Remove the Needle Plate
Safety comes first. Turn off and unplug the sewing machine. Do not adjust timing while the machine is powered on. Remove the presser foot, needle plate, bobbin, and bobbin case if your model allows it. This gives you a clear view of the hook area. Keep screws in a small dish or magnetic tray so they do not roll away and begin a new life under your table.
Use a brush to remove lint around the feed dogs and hook race. Lint buildup can interfere with stitch formation and make timing look worse than it is. If your bobbin case has thread wrapped around it, remove every strand carefully.
Step 2: Install a New Needle Correctly
Timing should be checked with a straight, new needle. A bent needle can make the hook-to-needle clearance look wrong even when the machine timing is fine. Insert the needle all the way up into the needle clamp and tighten it securely. Make sure the flat side faces the proper direction according to your machine manual. On many domestic machines, the flat side faces the back, but not every machine follows the same design.
Do not skip this step. Trying to time a machine with an old needle is like measuring a doorway with a banana. Technically possible, spiritually questionable.
Step 3: Set the Machine to a Basic Straight Stitch
Select a straight stitch. Set the stitch width to zero or center needle position unless your service manual specifies another needle position. Some machines require timing checks at the left, center, or right needle position, especially zigzag models. If your manual gives a specific position, follow it exactly.
Set the stitch length to a normal medium setting. Raise the presser foot and keep the machine unthreaded while you inspect the hook and needle movement. Hand-turning the machine without thread prevents tangles and gives you a clean view.
Step 4: Turn the Handwheel Toward You
Turn the handwheel slowly toward you, which is the normal direction on most home sewing machines. Watch the needle descend to its lowest point. Then continue turning until the needle begins to rise. This rising moment is when the needle thread would normally form a loop behind the needle.
The hook point should pass very close behind the needle, near the needle scarf, just above the eye of the needle. Exact measurements vary, but on many machines the hook reaches the needle after the needle has risen slightly from its lowest point. Some service manuals specify measurements around 1.6 mm of needle rise, while others use different figures. The important idea is that the hook must arrive when the thread loop is available, not before the party starts and not after everyone has gone home.
Step 5: Inspect the Hook-to-Needle Relationship
Look closely at the hook point as it passes the needle. The hook should pass just behind the needle without touching it. It should be close enough to catch the loop of upper thread but not so close that it deflects, scratches, or strikes the needle. A tiny clearance is normal. Contact is not.
If the hook point passes below the needle eye, too far above the scarf, too far away from the needle, or arrives before or after the needle begins to rise, the timing may need adjustment. If the hook is visibly damaged, burred, chipped, or rough, timing adjustment alone may not solve the problem. A burr can shred thread faster than a cat finds fresh fabric.
Step 6: Locate the Hook Drive Gear or Timing Screws
To adjust timing, you usually need access to the lower shaft, hook drive gear, or hook assembly set screws. On many mechanical machines, this means removing the bottom cover or free-arm cover. Some top-loading machines have access from the bottom. Front-loading machines may expose different parts. Computerized machines can be more compact and less friendly to home adjustment.
Find the screws that lock the hook drive gear or hook assembly to the shaft. Do not loosen random screws just because they look important. Sewing machines are full of parts that look adjustable but are actually there to ruin your afternoon if disturbed.
Step 7: Loosen the Correct Set Screws Slightly
Once you have identified the correct timing screws, loosen them only enough to allow the hook or gear to rotate on the shaft. Do not remove them. Do not let the hook assembly slide out of position unless your manual specifically instructs you to adjust side clearance or gear backlash.
Work slowly. If there are two set screws, note their positions before loosening. A small mark with a removable marker can help you see the original position. This gives you a way back if the adjustment goes sideways, which is comforting when your machine suddenly looks like a tiny mechanical city.
Step 8: Align the Hook Point with the Needle Scarf
Turn the handwheel until the needle reaches its lowest point, then rises the amount specified by your manual. If you do not have a service measurement, use the general visual rule: the hook point should pass behind the needle at the scarf, slightly above the needle eye, as the needle begins rising. Rotate the hook assembly gently until the hook point aligns correctly with the needle.
Keep the hook close to the needle without allowing contact. If the hook is too far away, it may miss the thread loop. If it is too close, it may strike the needle or shred thread. This is the part of the repair where a flashlight, magnifier, and calm breathing earn their keep.
Step 9: Tighten the Screws and Recheck by Hand
When the hook is aligned, tighten one set screw lightly, then rotate the handwheel through several full stitch cycles by hand. Watch for smooth movement. The needle should not hit the hook, bobbin case, or needle plate. If everything looks correct, tighten the remaining screw securely. Then check again.
Never use the motor immediately after a timing adjustment. Hand-turn first. A handwheel test is slow, quiet, and forgiving. A powered test with bad alignment can break a needle, damage the hook, or create a noise that makes everyone in the house ask, “Was that expensive?”
Step 10: Reassemble, Rethread, and Test Sew
Reinstall the bobbin case, bobbin, needle plate, and presser foot. Rethread the machine completely with the presser foot raised. Insert the bobbin correctly. Pull both threads under the presser foot and toward the back. Test on two layers of medium-weight cotton using a straight stitch.
Start slowly. Check whether the machine forms even stitches without skipping, nesting, or breaking thread. Then test a zigzag stitch if your machine has one. On zigzag machines, timing problems can show up at the far left or far right needle swing even when the center straight stitch looks fine. If the machine sews straight but skips at one side of a zigzag, the adjustment may need more precision.
When to Adjust Needle Bar Height
Sometimes the hook timing is not the only issue. The needle bar height may also be wrong. If the needle bar is too high or too low, the hook may pass the needle at the wrong place even if rotational timing is correct. Many needle bars have timing marks that line up with a reference point on the machine. If your machine has these marks, they are more reliable than guessing by eye.
Adjusting needle bar height usually involves loosening a clamp screw on the needle bar, moving the bar slightly up or down, and retightening it. This should be done only with the correct service information. A small movement can make a big difference. If you are unsure, stop and call a technician. There is no shame in professional help; even experienced sewists occasionally hand the machine to someone with gauges, training, and fewer emotional attachments.
Common Mistakes to Avoid
The first mistake is adjusting timing before replacing the needle. The second is assuming all skipped stitches are timing problems. The third is turning the handwheel the wrong direction, which can create confusing movement or thread jams. The fourth is loosening too many screws at once. The fifth is testing under power before checking by hand.
Another common mistake is ignoring the fabric. Stretch knits, denim seams, vinyl, fleece, and thick quilting layers can all cause skipped stitches if the needle type, thread, pressure, and stitch settings are wrong. Timing adjustment should not be used as a universal cure for every sewing complaint. It is a specific fix for a specific mechanical relationship.
How to Know the Timing Is Correct
Your timing is likely correct when the hook passes behind the needle scarf as the needle begins to rise, the hook does not touch the needle, the machine picks up the bobbin thread easily, and test stitches form evenly on plain fabric. The machine should sound smooth. The stitch line should look balanced. There should be no repeated skipped stitches, thread shredding, needle strikes, or mysterious clunks from the bobbin area.
After adjustment, sew slowly for a few minutes. Then test different stitch lengths and, if available, a zigzag stitch. If everything behaves well, congratulations: you have successfully negotiated with a machine that measures happiness in fractions of a millimeter.
When to Take the Machine to a Professional
Take the machine to a technician if the hook is damaged, gears are cracked, the timing belt has slipped, the machine is computerized and difficult to access, or the needle continues striking metal after adjustment. Also get help if the machine is under warranty. Opening covers or adjusting internal parts may affect warranty coverage.
A professional service visit can also include cleaning, lubrication, tension calibration, feed timing checks, and inspection of worn parts. Sometimes the problem is not hook timing but a worn gear, loose needle bar, damaged bobbin case, incorrect needle plate, or bent hook guard. In those cases, adjusting timing without fixing the underlying issue is like putting a fancy hat on a leaking roof.
Real-World Experience: What Adjusting Sewing Machine Timing Teaches You
The first time you check sewing machine timing, it may feel like you have opened a tiny clock and angered it. The parts are small, the clearances are smaller, and every screw seems designed by someone who believed fingers should be punished. But after a few careful minutes, the logic becomes clearer. The machine is not magic. It is a sequence. Needle down, needle up, thread loop forms, hook catches loop, stitch forms. Once you see that rhythm, troubleshooting becomes much less mysterious.
One practical lesson is that the newest sewists often want to adjust the most complicated thing first. The machine skips stitches, and suddenly timing becomes the villain. In reality, a fresh needle solves a shocking number of problems. A needle can be slightly bent without looking bent. It can be dull, burred, inserted too low, or wrong for the fabric. A stretch knit sewn with the wrong needle can act like the machine has lost its mind. Change the needle first. It is cheap, fast, and emotionally easier than crawling under the machine with a flashlight.
Another useful experience is learning to test on simple fabric. If you troubleshoot timing on thick denim, slippery satin, or stretchy jersey, you are inviting too many variables to the party. Use two layers of stable cotton and ordinary thread. If the machine behaves there but fails on specialty fabric, the issue may be needle choice, stabilizer, presser foot pressure, or thread type rather than timing.
Patience matters more than confidence. A confident person may loosen three screws and then spend the evening trying to remember where reality used to be. A patient person loosens one screw slightly, marks the original position, takes a photo, adjusts a little, and checks by hand. That is the difference between repair and mechanical jazz.
It also helps to listen. A healthy machine has a steady, smooth sound. A machine with a needle strike or hook collision often announces the problem with a sharp tap, clunk, or scrape. Do not sew through strange noises. Sewing machines rarely “work themselves out” when metal parts are hitting each other. They usually work themselves into a repair bill.
Finally, timing adjustment teaches respect for maintenance. Clean the bobbin area often. Replace needles regularly. Do not pull fabric from behind the presser foot while sewing. Use the right bobbin. Use the right needle plate and presser foot for wide stitches. Turn the handwheel by hand after changing feet or stitch width. These tiny habits prevent many timing disasters. The best timing repair is the one you never need because the machine was treated like a precision tool instead of a fabric lawn mower.
Conclusion
Learning how to adjust sewing machine timing can save a project, revive an older machine, and help you understand how stitches are actually formed. The key is to troubleshoot in the right order: needle, threading, bobbin, cleaning, fabric, and then timing. If timing truly is off, work slowly, unplug the machine, use the right tools, align the hook with the needle scarf, and test everything by hand before sewing under power.
For many mechanical machines, a careful timing adjustment can bring back smooth, reliable stitches. For complex computerized models or machines with damaged parts, professional service is still the safest choice. Either way, the goal is the same: a machine that catches the thread loop at exactly the right moment and lets you get back to sewing instead of negotiating with skipped stitches like they are tiny fabric gremlins.