
Every home has one: the drawer of electrical chaos. It usually lives in the kitchen, office, laundry room, or garage, and it contains a mysterious blend of AA batteries, AAA batteries, coin cells, old remote-control survivors, rechargeable batteries, one dramatic 9-volt, and a flashlight that may or may not have worked during the last power outage. If your battery storage system is currently “toss them in and hope for science,” it is time for an upgrade.
Learning how to organize batteries is not just about tidiness. Loose household batteries can leak, lose charge, short-circuit, become a fire risk, or disappear right when the smoke alarm starts chirping at 2:13 a.m. A smart battery storage plan helps you find the right size fast, keep kids and pets safer, protect devices, and recycle batteries properly when they are done. The good news? You do not need a workshop, a label maker, or a personality transformation. You just need a simple system.
Why Stray Batteries Deserve More Respect Than Loose Paper Clips
Batteries look harmless because they are small, familiar, and often decorated in friendly colors. But they store energy, and energy likes rules. When batteries roll around loose with keys, coins, paper clips, screws, or other batteries, their terminals can connect accidentally. That can create heat, sparks, leakage, or in some cases, fire.
Lithium-ion batteries deserve special attention because they are common in phones, laptops, power tools, toys, cameras, e-bikes, and rechargeable gadgets. Damaged, swollen, overheated, or crushed lithium batteries can be dangerous and should not be tossed into household trash or regular recycling bins. Button and coin batteries also need serious respect because they are easy for children to swallow and can cause severe internal injuries quickly.
Even ordinary alkaline batteries can create headaches when they are stored carelessly. They may leak over time, especially if they are old, installed backward, mixed with different battery types, or left forgotten inside devices. One corroded battery can turn a perfectly good flashlight into a tiny museum of regret.
Step One: Gather Every Battery in the House
Start with a battery round-up. Check the junk drawer, desk drawer, nightstand, tool bench, holiday decoration bins, kids’ toys, camera bags, remote controls, emergency kits, travel pouches, and that one bowl where random “important things” go to retire. Put everything on a table where you can see it.
Do not dump loose batteries into a metal container. Use a plastic tray, cardboard box, or towel-covered surface while sorting. Keep children and pets away during this step, especially if you find button batteries, damaged batteries, or anything that looks crusty, swollen, wet, rusty, or suspiciously dramatic.
Step Two: Sort Batteries by Type, Size, and Condition
The easiest battery organization system starts with three questions: What size is it? What chemistry is it? Is it still good?
Sort by common household sizes
Create separate groups for AA, AAA, C, D, 9-volt, button or coin batteries, rechargeable battery packs, and specialty batteries. If you own power tools, keep their battery packs in a dedicated spot near the charger, not mixed with household batteries.
Sort by chemistry
Look for labels such as alkaline, lithium, lithium-ion, NiMH, NiCd, NiZn, or lead acid. Chemistry matters because storage and disposal rules differ. Rechargeable batteries and lithium batteries usually need recycling through a proper battery recycling location or household hazardous waste program.
Sort by condition
Keep new batteries separate from used batteries. If you are not sure whether a battery still works, test it with a battery tester or place it in a low-risk device such as a flashlight. Do not test damaged, leaking, swollen, hot, or odd-smelling batteries. Those need careful isolation and proper disposal guidance from your local waste authority or hazardous waste facility.
How to Store Batteries Safely at Home
Battery storage is a little like pantry storage: cool, dry, labeled, and not stuffed into a mystery pile. The best place to store household batteries is at normal room temperature, away from direct sunlight, heaters, moisture, and extreme cold. The refrigerator is not necessary, and the garage may be a poor choice if it gets hot, humid, or freezing.
Use original packaging when possible
Original packaging keeps batteries separated and makes it easy to identify brand, size, and expiration information. If the package is already open, use a plastic battery organizer, small tackle box, drawer divider, or clear storage case. The goal is simple: keep terminals from touching metal objects or other battery terminals.
Face batteries in the same direction
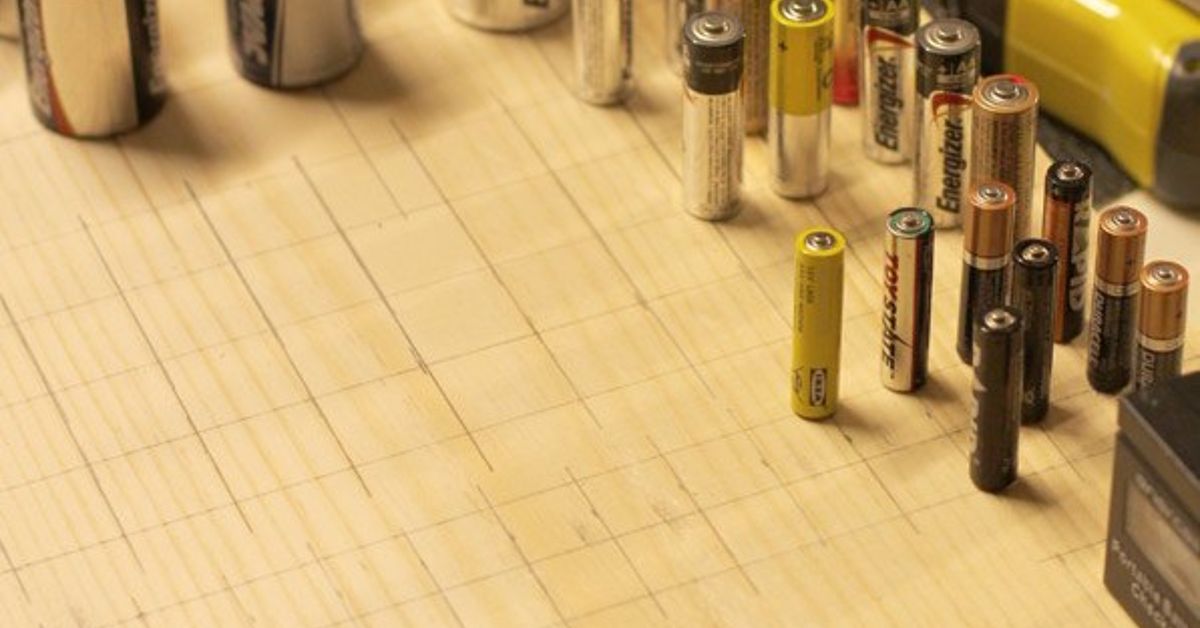
If you store loose cylindrical batteries in a case, line them up neatly with positive ends facing the same direction. This makes it easier to see what you have and reduces random contact. It also gives your drawer the look of a responsible adult, even if the rest of the kitchen is being held together by coffee and optimism.
Do not mix old and new batteries in devices
When replacing batteries in a device, replace the whole set at the same time with the same size and type. Mixing old and new batteries, or mixing brands and chemistries, can lead to poor performance, leakage, or device damage. Your TV remote does not need a social experiment.
Remove batteries from rarely used devices
Flashlights, seasonal decorations, backup radios, toy microphones, and novelty gadgets often sit unused for months. If a device will not be used for a long time, remove the batteries and store them separately. This simple habit helps prevent leakage and saves devices from corrosion.
Which Battery Terminals Should You Tape?
Taping battery terminals is one of the simplest ways to prevent accidental short circuits before recycling or storing used batteries. Use clear packing tape, electrical tape, or another non-conductive tape. Cover the terminals, not the entire battery label, because recyclers may need to identify the chemistry.
Pay special attention to lithium batteries, lithium-ion batteries, rechargeable batteries, 9-volt batteries, and button or coin cells. A 9-volt battery is especially easy to short because both terminals sit on the same end. Button batteries can be placed between two strips of clear tape, like a tiny battery ravioli, so they cannot touch each other or be easily picked up by small hands.
For standard alkaline AA and AAA batteries that are new and stored properly in a case, taping may not be necessary. However, if batteries are used, loose, heading to a recycling collection point, or stored in a mixed container, taping terminals is a smart extra layer of caution.
Button Batteries: The Tiny Batteries That Need Big Rules
Button and coin batteries are found in remote controls, thermometers, hearing aids, watches, scales, key fobs, flameless candles, greeting cards, toys, calculators, and holiday decorations. Because they are small and shiny, they are especially dangerous around young children.
Keep button batteries locked away, not just “up high.” Check products to make sure battery compartments are secured with screws or child-resistant closures. After changing a button battery, tape the old one immediately and place it in a child-resistant container until you can recycle or dispose of it properly.
If you suspect a child swallowed or inserted a button battery, treat it as an emergency. Call Poison Control or emergency services and go to the emergency department right away. Do not wait for symptoms. Serious injuries can develop quickly, and symptoms may be vague, such as coughing, drooling, vomiting, chest discomfort, refusal to eat, or trouble swallowing.
How to Dispose of Batteries Without Creating a Trash-Can Thriller
Battery disposal depends on battery type and local rules. The safest general approach is to identify the battery chemistry, protect the terminals when needed, and use a proper recycling or household hazardous waste option.
Alkaline batteries
In many U.S. locations, modern single-use alkaline batteries can legally go in household trash, but recycling is often a better choice when available. Local rules can vary, and some states or municipalities have stricter requirements. When in doubt, check your city or county waste department.
Rechargeable batteries
Rechargeable batteries such as lithium-ion, nickel-cadmium, nickel-metal hydride, nickel-zinc, and small sealed lead acid batteries should not go in household trash or curbside recycling bins. Take them to a battery recycling drop-off site, participating retailer, or household hazardous waste collection program.
Lithium and lithium-ion batteries
Lithium batteries and lithium-ion batteries need careful handling because they can cause fires if crushed, punctured, damaged, or short-circuited. Tape terminals or place each battery in a separate plastic bag before taking them to a proper collection point. Never place damaged lithium batteries in a regular recycling bin.
Damaged, defective, leaking, or swollen batteries
If a battery is swollen, leaking, hissing, hot, burned, oddly colored, or smells strange, isolate it away from anything flammable. Do not charge it. Do not place it in a junk drawer. Do not drop it in a store collection bin unless the site specifically accepts damaged batteries. Contact your local household hazardous waste program for instructions.
The Best Battery Organization System for a Busy Home
A good battery system has four zones: new batteries, rechargeable batteries, used batteries awaiting recycling, and damaged batteries awaiting special handling. That may sound fancy, but it can be as simple as four labeled containers on a shelf.
Zone 1: Ready-to-use batteries
Keep new AA, AAA, C, D, and 9-volt batteries in a labeled organizer. Put the most commonly used sizes in the easiest-to-reach slots. If your home runs on AAA batteries because every remote, toy, and gadget apparently made a secret agreement, give AAA its own large section.
Zone 2: Rechargeable station
Store rechargeable batteries near their charger, but avoid leaving batteries charging unattended for long periods. Keep the charger on a hard, stable surface with airflow. Do not charge batteries on a bed, couch, paper stack, or other flammable surface.
Zone 3: Recycling container
Place a small plastic container in a safe location for used batteries. Add a roll of tape nearby so terminals can be protected immediately. Label the container clearly: “Used Batteries for Recycling.” Empty it on a regular schedule, such as once a month or whenever you run errands near a drop-off site.
Zone 4: Problem battery holding spot
Damaged batteries need a separate plan. Use a non-metal container and keep it away from heat, children, pets, and anything flammable. Follow local hazardous waste guidance as soon as possible. This is not a “deal with it next Thanksgiving” situation.
Where to Keep Batteries for Emergencies
Every home should have a small emergency battery kit. Keep batteries for flashlights, weather radios, smoke alarms, and medical devices in a known location. Add a small flashlight, a battery tester, and a note listing which devices use which battery sizes. In a power outage, this saves you from conducting a candlelit archaeological dig through the junk drawer.
Check the kit twice a year. A good habit is to inspect batteries when you change clocks for daylight saving time or when you test smoke alarms. Replace expired or questionable batteries, remove any that show corrosion, and confirm that flashlights work before you need them.
Common Battery Storage Mistakes to Avoid
The most common mistake is tossing all batteries into one container. The second is storing them in a hot garage. The third is leaving old batteries inside devices until they leak. Other greatest hits include carrying loose batteries in a purse with keys, mixing old and new batteries, ignoring expiration dates, and assuming every battery can go in the trash.
Another mistake is buying too many batteries “just in case.” Bulk packs can save money, but only if you use them before they expire and store them properly. If your drawer contains batteries older than your streaming subscriptions, it may be time to rethink the stockpile.
A Simple 20-Minute Battery Cleanout Plan
If the project feels overwhelming, use this quick system:
- Gather every loose battery and battery-powered device you can find.
- Remove batteries from devices you rarely use.
- Sort batteries by size and chemistry.
- Separate new, used, rechargeable, button, and damaged batteries.
- Tape terminals on used lithium, rechargeable, 9-volt, and button batteries.
- Put good batteries into a labeled organizer.
- Put used batteries into a recycling container.
- Set a calendar reminder for your next recycling drop-off.
That is it. No dramatic home makeover montage required. Though if you want to play triumphant music while labeling AA batteries, no one here will judge you.
Experience Section: What Finally Worked for My Stray Battery Problem
For years, my battery system was less “organized storage” and more “electrical confetti.” Batteries lived everywhere: in the kitchen drawer, inside old flashlights, under the office printer, in a holiday bin, and once, somehow, in a sock basket. Every time I needed a working AA battery, I had to perform the same sad ritual: shake a remote, borrow from a toy, test a mystery battery, and pretend this was normal adult behavior.
The turning point came during a storm. The lights flickered, the weather alert buzzed, and I reached for the emergency flashlight with the confidence of someone who had absolutely not prepared. The flashlight produced the faint glow of a tired firefly and then gave up. Inside, the batteries had leaked. The contacts were crusty, the flashlight was ruined, and my emergency plan had officially been defeated by three forgotten alkaline batteries.
The next weekend, I pulled every battery from every drawer and device. At first, the pile looked ridiculous. There were batteries from old cameras, a handful of coin cells from who-knows-what, rechargeable batteries with no charger in sight, and enough AAA batteries to suggest the remote controls had been breeding. I sorted them into piles, tested the questionable ones, and taped the terminals on batteries headed for recycling.
Then I created a simple storage setup: one clear plastic battery organizer for new batteries, one small container labeled “Used Batteries to Recycle,” and one separate child-resistant container for button batteries. Rechargeable batteries got their own spot near the charger. I also added a cheap battery tester, which immediately became the hero of the operation. No more guessing. No more stealing batteries from the TV remote and then forgetting why the remote stopped working.
The biggest surprise was how much easier daily life became. When a toy needed batteries, I knew exactly where to look. When the smoke alarm chirped, I had a fresh 9-volt ready. When I found an old coin battery in a drawer, I taped it and moved it to the recycling container instead of leaving it to roam free like a tiny silver hazard. The system also helped me buy less. Once I could see what I already owned, I stopped grabbing batteries every time I went to the store “just in case.”
My favorite trick is the monthly battery check. On the first weekend of the month, I spend five minutes looking at the organizer, taping used batteries, and moving the recycling container near my shopping bags so I remember to drop it off. It is not glamorous, but neither is discovering battery leakage inside a flashlight during a blackout. A little battery discipline now saves money, protects devices, reduces waste, and makes your junk drawer feel slightly less like it is plotting against you.
Conclusion: Small Batteries, Big Difference
Getting a handle on stray batteries is one of those small home projects that pays off quickly. You gain a cleaner drawer, safer storage, faster access during emergencies, and a better plan for recycling batteries responsibly. Start by gathering and sorting what you have. Store new batteries in a cool, dry place. Keep terminals protected when needed. Lock button batteries away from children. Recycle lithium and rechargeable batteries through proper programs. And please, retire the “random battery soup” method. It had a good run, but it was never truly thriving.
Once your system is in place, maintaining it takes only a few minutes a month. Your remotes will work, your flashlights will be ready, your devices will thank you silently, and your junk drawer may finally stop looking like a tiny hardware store after an earthquake.