
Note: This article is written in standard American English for web publishing and is based on synthesized guidance from reputable art education, museum, drawing, and architecture-sketching resources. No source links have been inserted into the body copy.
Introduction: Buildings Are Just Boxes With Better Shoes
Learning how to draw buildings can feel intimidating at first. Buildings have straight lines, repeating windows, dramatic angles, roof edges, shadows, doorways, tiny architectural details, andjust to keep life interestingperspective. The good news is that every skyscraper, cottage, townhouse, storefront, church, barn, and coffee shop begins with simple shapes. Yes, even the fancy ones that look like they were designed by someone who owns several black turtlenecks.
If you can draw a rectangle, a triangle, and a line that mostly behaves itself, you can learn building drawing. The secret is not magical talent. It is a step-by-step process: observe the subject, block in the basic form, set up perspective, add architectural details, and finish with light, shadow, and texture. Once you understand those steps, drawing buildings becomes less like solving an engineering exam and more like assembling a visual sandwich: structure first, details second, flavor last.
This guide breaks down how to draw buildings in 5 steps for beginners, hobby artists, urban sketchers, students, and anyone who has ever looked at a city street and thought, “I want to draw that, but those windows are definitely plotting against me.” Whether you are sketching a cozy house, a row of downtown shops, or a dramatic cityscape, these techniques will help you create believable architecture with depth, proportion, and personality.
Step 1: Start With Observation and Simple Shapes
Before your pencil starts sprinting across the page like it drank three espressos, slow down and look. Good building sketches begin with observation. Ask yourself: What is the largest shape? Is the building tall and narrow, short and wide, boxy, round, symmetrical, or delightfully weird? Does it have a flat roof, gabled roof, tower, porch, columns, arches, balconies, or a dramatic entrance that says, “I am important; please draw me carefully”?
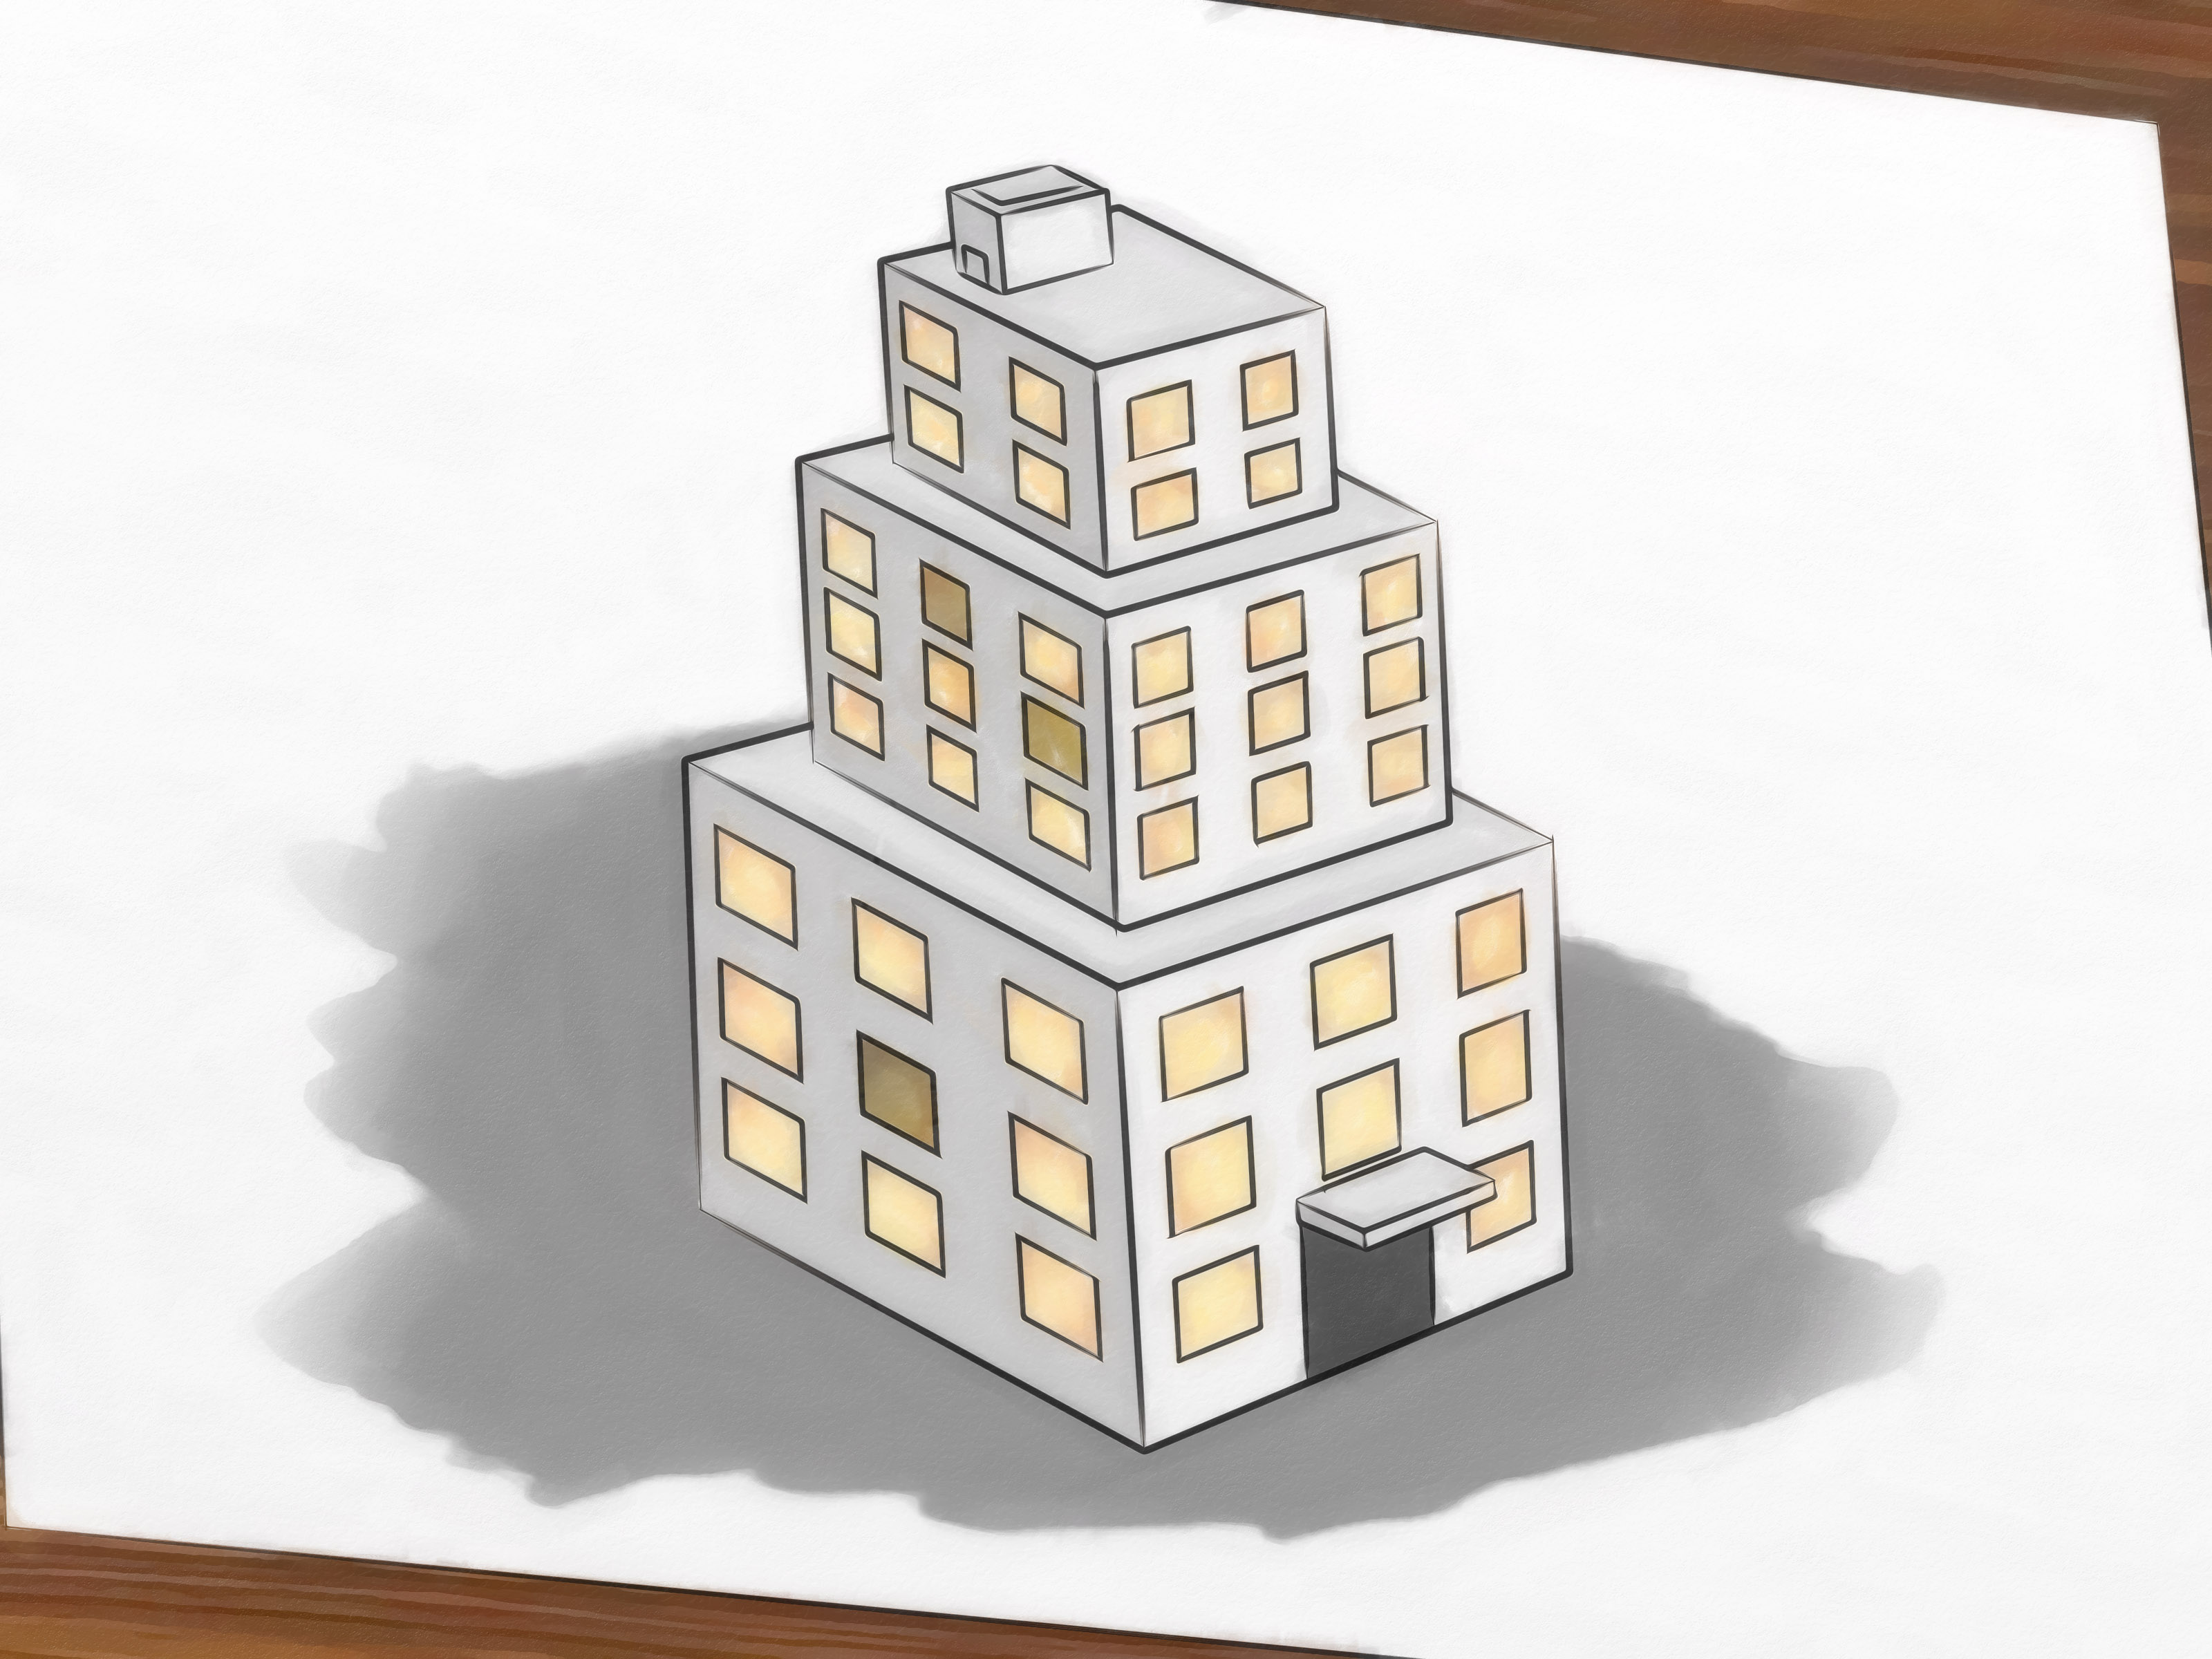
Almost every building can be simplified into basic forms. A house may begin as a rectangle with a triangle on top. A skyscraper may start as a tall box. A church might be a large rectangle, a triangular roof, and a tower. A city block can be sketched as a row of rectangular masses before you worry about windows, signs, bricks, or the mysterious air conditioner unit clinging to the wall.
Use the “big-to-small” drawing method
The biggest mistake beginners make is starting with small details too soon. A beautifully drawn window will not save a building if the main structure is leaning like it heard bad news. Begin with the overall silhouette. Lightly sketch the outside shape of the building, then divide it into large sections: roof, walls, entrance, side planes, and major extensions.
Think of this stage as building a cardboard model on paper. You are not decorating yet. You are simply deciding where the big pieces go. Use light pencil lines so you can adjust proportions without feeling like you have committed a crime against stationery.
Compare height and width
To improve proportions, compare height to width. Is the building twice as tall as it is wide? Is the door about one-third of the wall height? Are the windows taller than they are wide? Use your pencil as a measuring tool by holding it at arm’s length and comparing visual distances. This does not need to be perfect. You are drawing, not negotiating a mortgage appraisal.
Once the main shape feels balanced, lightly mark the ground line and the roofline. These two lines establish where the building sits and how much room it occupies on the page. A strong foundation makes the rest of the drawing easier.
Step 2: Choose Your Perspective
Perspective is what makes a flat drawing look three-dimensional. In building drawing, perspective controls how walls, roads, roofs, windows, and sidewalks appear to recede into space. Without perspective, a building may look like a sticker. With perspective, it can feel solid enough to walk around.
The three most useful systems for drawing buildings are one-point perspective, two-point perspective, and three-point perspective. You do not need to master all of them in one afternoon. Start with one, practice it, then level up when your pencil stops shaking.
One-point perspective
Use one-point perspective when you are looking straight at the front of a building or down a street, hallway, bridge, or row of houses. In this system, lines that move away from you meet at one vanishing point on the horizon line. The horizon line represents your eye level.
For example, imagine standing in the middle of a quiet street. The buildings on both sides appear to shrink toward a single point in the distance. The tops of windows, roof edges, sidewalks, and road lines all angle toward that point. This is one-point perspective doing its job like a tiny geometry wizard.
Two-point perspective
Use two-point perspective when you are looking at the corner of a building. Instead of seeing a flat front, you see two sides receding in different directions. Each side has its own vanishing point on the horizon line.
This is especially useful for drawing houses, stores, city blocks, and any building viewed from an angle. Start with a vertical line for the nearest corner. Then draw guide lines from the top and bottom of that corner toward the left and right vanishing points. These guide lines create the two visible sides of the building.
Three-point perspective
Three-point perspective is used for dramatic views looking up at tall buildings or down from above. It has two vanishing points on the horizon and a third vanishing point above or below the drawing. This makes vertical lines appear to converge, which is why skyscraper sketches can look powerful, cinematic, and slightly dizzy.
Beginners should not feel pressured to start here. Three-point perspective is the spicy salsa of architectural drawing: exciting, but maybe not your first bite.
Step 3: Build the Main Structure With Light Guide Lines
Once you have chosen your perspective, construct the building using light guide lines. These lines are temporary helpers. They are like scaffolding on a construction site: essential during the build, but not invited to the final photo.
Begin by drawing the horizon line. Then place your vanishing point or points. Next, sketch the main mass of the building as a box. For a one-point drawing, draw the front face first, then pull the side edges back toward the vanishing point. For a two-point drawing, draw the closest vertical corner first, then send lines from the top and bottom of that corner toward both vanishing points.
Keep vertical lines vertical
In one-point and two-point perspective, vertical building edges usually stay vertical. That means door frames, building corners, window sides, and columns should go straight up and down. If they tilt by accident, your building may look like it is slowly melting. Unless you are drawing a haunted funhouse, keep them upright.
Place the roof carefully
Roofs can be tricky because they introduce angles. For a simple house, first draw the rectangular wall, then find the center of the top edge. From that center point, draw the roof peak. Connect the peak to the outer corners of the wall to create a gable roof. If the roof recedes in perspective, use guide lines that follow the same vanishing point system as the rest of the building.
For flat roofs, pay attention to the thickness of the roof edge, parapet, or overhang. A small line under the roof can make the building feel more realistic. Architecture loves edges. Edges are where shadows gather, birds perch, and artists quietly panic before figuring things out.
Block in doors, windows, and floors
Before drawing individual window frames, divide the building into large horizontal and vertical sections. Lightly mark floor levels, window rows, and door placement. If the building is in perspective, these lines should follow the correct direction toward the vanishing point. Repeating elements, such as windows, should become slightly narrower as they move away from the viewer.
This stage is where your building begins to look believable. You are not adding decoration yet; you are organizing the architecture. Clean organization now prevents chaos later, and chaos is already busy running most sock drawers.
Step 4: Add Architectural Details Without Overcrowding
Details bring a building to life. Windows, doors, bricks, roof tiles, signs, balconies, shutters, columns, chimneys, vents, steps, railings, awnings, and landscaping all help tell the story of the structure. But here is the catch: you do not need to draw every single brick. In fact, please do not draw every single brick unless you have snacks, time, and a deep emotional commitment to masonry.
The best building sketches suggest detail rather than documenting every inch. Choose the most important features and repeat them strategically. A few rows of bricks near corners, window edges, or shadow areas can imply a full brick wall. A handful of roof tile lines can suggest the whole roof. A few dark window shapes can make glass feel reflective without drawing an entire office’s worth of blinds.
Draw windows as shapes first
Windows are one of the most common trouble spots in building drawing. Beginners often draw them one by one, hoping they line up. Hope is lovely, but guide lines are better. Start by lightly marking the top and bottom of a row of windows. Then divide the row into equal or perspective-based spaces.
For a building facing you directly, windows may be evenly spaced. For a side wall receding in perspective, window widths and gaps should gradually compress as they move away. This small adjustment creates depth and keeps the drawing from looking flat.
Use variation to create character
Not all buildings are perfect boxes. Older buildings may have uneven walls, sagging rooflines, decorative trim, or mismatched windows. Modern buildings may have clean glass panels and sharp geometric patterns. A storefront may include signs, plants, posters, and outdoor chairs. A house may have a crooked mailbox that deserves its own biography.
Add these details after the structure is solid. Personality should sit on top of good construction, not replace it. A funny sign or charming balcony will look better when the building beneath it makes sense.
Include the surroundings
A building rarely exists alone. Add a sidewalk, street, trees, fence, lamp post, parked car, bench, or a few tiny people to show scale. A human figure beside a door instantly helps viewers understand the size of the building. Even a simple tree can soften all those hard architectural lines and keep the scene from looking like a ruler convention.
Step 5: Finish With Light, Shadow, Texture, and Line Weight
The final step is where your building drawing becomes convincing. Light and shadow explain the form. Texture explains the surface. Line weight explains what is important. Together, they turn a plain sketch into a scene with depth and atmosphere.
First, choose a light source. Is the sun coming from the upper left? The upper right? Directly above? Once you decide, keep it consistent. The sides facing the light should be lighter. The sides turned away should be darker. Areas under roof overhangs, inside doorways, beneath balconies, and behind window frames usually receive stronger shadows.
Use shadows to show depth
Shadows are not just decoration. They describe the building’s geometry. A dark shadow under a roof makes the roof project outward. A cast shadow beside a chimney makes the chimney feel attached to the roof. A shaded side wall helps the viewer understand that the building has volume.
Use soft shading for broad wall planes and darker marks for deep crevices. If you are using pencil, build shadows gradually with layers. If you are using pen, try hatching, cross-hatching, or thicker lines in darker areas. If you are using markers or watercolor, begin with lighter washes and deepen the shadows once the first layer dries.
Add texture selectively
Texture can make materials recognizable. Brick, stone, concrete, wood, glass, metal, and stucco all behave differently. Brick often appears in repeating horizontal rows. Stone may be irregular. Glass may show dark reflections. Wood siding may use long parallel lines. Concrete may need only subtle tone and a few surface marks.
Do not cover the entire building with equal texture. That can make the drawing noisy. Instead, place texture where it supports the focal point: around the entrance, near the closest corner, along the roofline, or in the foreground. Let some areas stay quiet. In art, silence is not empty; it is breathing room.
Control line weight
Line weight means the thickness or darkness of your lines. Use heavier lines for the closest edges, important corners, and shadowed areas. Use lighter lines for distant details, guide-like textures, and background elements. This creates depth and helps the viewer know where to look first.
A simple rule: the closer something is, the stronger its line can be. The farther something is, the lighter it should become. This is especially helpful in cityscape drawing, where too many dark lines can make every building shout at once. Nobody enjoys a screaming skyline.
Beginner-Friendly Example: Drawing a Simple Corner Building
Let’s apply the five steps to a simple two-point perspective building. Start by drawing a horizon line across your paper. Place one vanishing point far to the left and another far to the right. Draw a vertical line near the center of the page; this is the closest corner of the building.
From the top and bottom of that vertical line, draw light guide lines to both vanishing points. You now have the top and bottom edges of two building sides. Add two vertical lines, one on the left side and one on the right side, to decide where the building ends. Connect those new vertical edges back to the vanishing points to complete the box.
Next, lightly mark floors and window rows. On each side, the horizontal window guides should follow the vanishing point for that side. Add a door near the corner or on one visible face. Sketch windows as simple rectangles first, then add frames, reflections, or curtains. Add a roof edge, a sign, maybe a sidewalk, and a few shadows under the windows.
Finally, darken the closest corner and the underside of the roof. Shade one side of the building more than the other. Add small texture marks near the front. Erase unnecessary guide lines. Congratulations: you have drawn a building that looks like it could stand up in real life, which is more than we can say for some folding chairs.
Common Mistakes When Drawing Buildings
Mistake 1: Ignoring the horizon line
The horizon line controls eye level. If you skip it, your perspective may drift. Always decide where the viewer’s eyes are before drawing major structure lines.
Mistake 2: Making every line equally dark
When every line has the same weight, the drawing can look flat and crowded. Vary line thickness to separate foreground, middle ground, background, light, and shadow.
Mistake 3: Drawing details before structure
A detailed window on a poorly built wall is like frosting on a collapsed cake. Tempting, but tragic. Build the big forms first.
Mistake 4: Overworking texture
Too many bricks, tiles, and lines can overwhelm the drawing. Suggest texture in selected areas and let the viewer’s brain complete the rest.
Mistake 5: Forgetting scale
Add doors, figures, trees, cars, steps, or railings to show how large the building is. Scale clues make architecture feel real.
Best Tools for Drawing Buildings
You do not need expensive supplies to learn architectural sketching. A pencil, eraser, ruler, and sketchbook are enough. An HB pencil works well for construction lines, while a 2B or 4B pencil can create darker shadows. A ruler is useful for beginners practicing perspective, though freehand lines can make urban sketches feel lively and human.
For ink drawings, try a fine liner pen in different tip sizes. Use thinner pens for distant details and thicker pens for close edges. For color, markers, watercolor, colored pencils, or digital brushes can all work. The best tool is the one you will actually use. A fancy pen in a drawer draws exactly zero buildings.
Practice Exercises to Improve Building Drawing
Try drawing one building three different ways: straight-on, from a corner, and looking up. This helps you understand how perspective changes the same subject. You can also practice by drawing boxes first, then turning them into buildings with doors, windows, roofs, and shadows.
Another helpful exercise is the five-minute street sketch. Choose a simple building and draw only the largest shapes. No details. No shading. No window therapy. This trains your eye to capture structure quickly. After that, spend ten minutes adding the main details and shadows. Short practice sessions build confidence faster than waiting for the mythical perfect afternoon when your desk is clean and your motivation arrives wearing a cape.
Experience Section: What Actually Helps When Learning How to Draw Buildings
One of the most useful experiences in learning how to draw buildings is discovering that accuracy and personality are not enemies. Many beginners think a building sketch must be perfectly measured, perfectly straight, and perfectly polished. That pressure can make the drawing stiff before it even begins. In real sketching practice, especially urban sketching, the goal is often to capture the believable impression of a place. A slightly wobbly line can feel alive. A perfectly ruled line can feel architectural and clean. Both can work, as long as the structure makes visual sense.
A practical experience that helps enormously is drawing the same building more than once. The first attempt is usually a negotiation: your eyes are learning the subject, your hand is warming up, and your brain is quietly asking why windows exist in such unreasonable quantities. The second attempt is usually stronger because you already know the big shapes. By the third attempt, you begin making creative choices. You may simplify the roof, exaggerate the shadow, move a tree slightly, or leave out twenty-seven windows because life is short and art is allowed to edit reality.
Another lesson comes from sketching outdoors. Buildings in real life do not wait politely while the sun stays still. Shadows move. Cars park in front of your subject. People stand exactly where you need to see the doorway. A delivery truck may become the main character without asking permission. These interruptions teach flexibility. Instead of chasing every changing detail, focus on the stable structure: the roofline, main wall shapes, vanishing directions, and major dark areas. Once those are on paper, the sketch can survive almost anything, including a pigeon with suspicious confidence.
It also helps to practice “selective detail.” When standing in front of a complicated building, choose one area to draw more carefully, such as the entrance, a balcony, or the closest corner. Let the rest of the building become simpler. This mirrors how people actually see. We focus on one area and understand the rest through context. A drawing with one clear focal point often looks more professional than a drawing where every brick is competing for employee of the month.
Many artists also learn that shadows are more forgiving than lines. If a window is slightly crooked, a well-placed shadow can still make the form convincing. If a roof edge is not perfect, darker tone underneath can clarify the plane. Shading gives the viewer information about depth, light, and material. In building drawing, tone often does the heavy lifting while line gets the applause.
Finally, progress comes from collecting small wins. Draw a doorway today. Draw a roof tomorrow. Practice one-point perspective with a simple street. Then try two-point perspective with a corner store. Add trees, signs, and people later. Drawing buildings is not one giant skill; it is a bundle of smaller skills that gradually become friends. Some of them are awkward at first, but eventually they start showing up on time.
Conclusion: Build the Drawing Before You Decorate It
Learning how to draw buildings becomes much easier when you follow a clear process. Start by observing the subject and reducing it to simple shapes. Choose the right perspective for your view. Build the structure with light guide lines. Add architectural details in an organized way. Then finish with shadows, texture, and line weight.
The most important rule is simple: draw big forms before small details. A strong structure gives every window, brick, sign, and shadow a place to belong. With practice, you will stop seeing buildings as impossible collections of lines and start seeing them as friendly boxes with roofs, doors, and a little attitude.
So grab a pencil, choose a building, and begin. Your first sketch does not need to be perfect. It only needs to teach you something. And if the windows come out uneven? Congratulations. You have invented historic charm.
SEO Tags