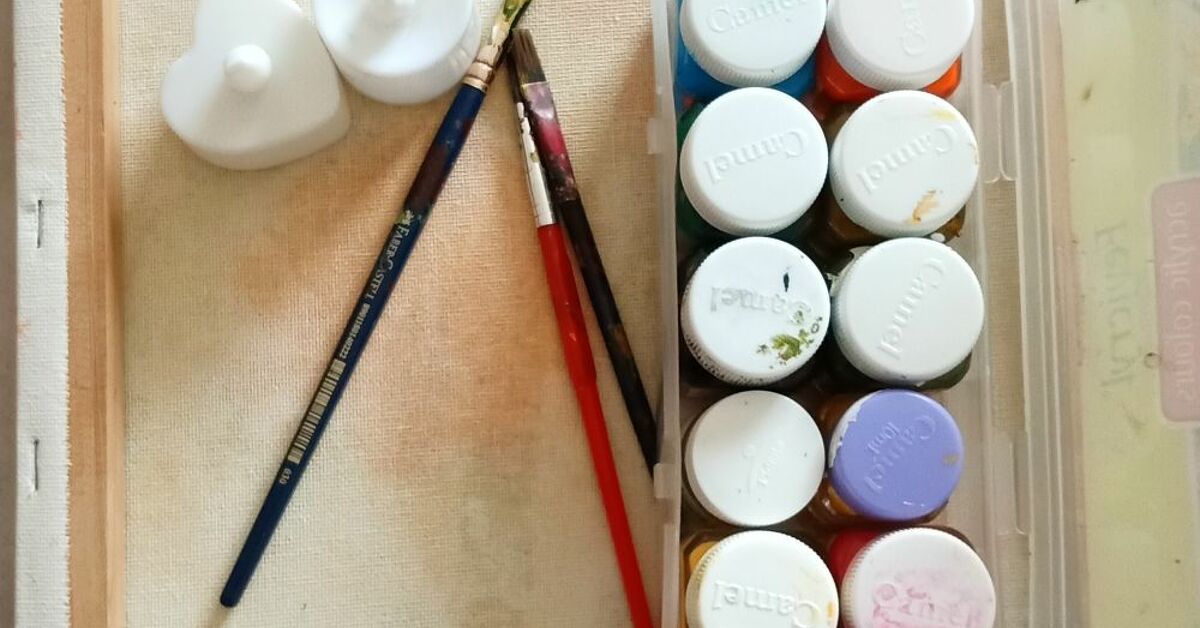

Old canvas frames have a funny way of hanging around long after the artwork has retired. Maybe the print no longer matches your style, maybe the canvas got dented during a move, or maybe you painted something in 2014 that deserves a quiet, respectful disappearance. Good news: that stretched canvas is not trash. It is a ready-made structure waiting for its next glow-up.
Learning how to upcycle old canvas frames DIY is one of the easiest ways to create affordable wall art, reduce waste, and decorate your home with something personal. Instead of buying another mass-produced print, you can reuse the wooden stretcher frame, recover the surface, repaint it, wrap it with fabric, turn it into a cork board, build a floating frame, or transform it into textured modern art. The project can be as simple as stapling fabric over the canvas or as dramatic as creating a sculptural plaster-style piece that looks like it came from a boutique gallery where the price tags whisper instead of speak.
This guide walks you through the best DIY canvas frame upcycling ideas, materials, preparation tips, design examples, mistakes to avoid, and real-world experience from working with old canvases that have seen better days. Spoiler: even ugly art can have a beautiful second act.
Why Upcycle Old Canvas Frames?
Upcycling means giving an old or unwanted object a new purpose, often making it more useful, attractive, or valuable than it was before. In home décor, that might mean turning a dated canvas print into fabric wall art, converting a frame into a memo board, or repainting a thrift-store canvas into something modern and custom.
The biggest advantage is cost. A new large canvas, wooden frame, and wall décor piece can become surprisingly expensive. But an old canvas already gives you the bones: a lightweight wooden frame, a stretched surface, and hanging potential. You are not starting from zero; you are starting from “almost there, but currently embarrassing.”
Upcycling is also a smarter use of materials. Reusing items helps reduce waste, saves resources, and keeps usable materials out of the landfill. A canvas frame is especially upcycle-friendly because it is lightweight, easy to cover, easy to paint, and simple to customize for different rooms.
Best Old Canvas Frames to Reuse
Not every canvas needs to be perfect, but some are better candidates than others. Before you begin, inspect the frame and canvas carefully.
Good Candidates
Choose canvas frames that are still square, sturdy, and not severely warped. A small dent in the canvas is fine if you plan to cover it with fabric, cork, wallpaper, or textured paste. Minor scratches and outdated prints are also easy to hide.
Frames to Avoid
Skip frames with mold, heavy water damage, broken stretcher bars, or a strong mildew smell. If the frame wobbles like it has trust issues, repair it first or use it only for a lightweight decorative project.
Thrift Store Tip
When shopping secondhand, ignore the artwork and look at the size, frame depth, and condition. The world is full of questionable floral prints hiding perfectly good wooden frames underneath. Think like a treasure hunter, not an art critic.
Materials and Tools You May Need
Your supply list depends on the project, but most old canvas frame DIY makeovers use basic craft and household tools.
- Old stretched canvas or canvas frame
- Staple gun and staples
- Scissors or craft knife
- Sandpaper
- Acrylic paint or chalk paint
- Gesso or primer
- Paintbrushes, foam rollers, or palette knives
- Fabric, wallpaper, wrapping paper, book pages, or prints
- Mod Podge or decoupage medium
- Cork sheets or foam board
- Wood trim for a floating frame
- Hot glue, wood glue, or small nails
- Hanging hardware
You do not need every item on this list. In fact, one of the joys of upcycled canvas wall art is using what you already have. Leftover fabric? Great. Half a can of paint? Perfect. A drawer full of buttons, ribbon, and mystery hardware? Congratulations, you own a craft store with poor inventory management.
Step 1: Clean and Prep the Canvas Frame
Preparation is where DIY projects either become beautiful or begin their slow march toward “I’ll fix it later.” Start by wiping the canvas and frame with a dry microfiber cloth. If the surface is dusty or slightly grimy, use a barely damp cloth and let everything dry completely.
If you plan to paint over the existing canvas, lightly sand glossy areas so primer or gesso can grip. A thin coat of gesso helps create a better painting surface, improves opacity, and gives acrylic paint something to hold onto. Let each coat dry fully before painting. For a smoother finish, sand lightly between coats.
If the canvas is sagging, tighten it by misting the back very lightly with water and allowing it to dry. Do not soak it. Canvas is not pasta; it does not need boiling.
Step 2: Choose Your Upcycling Style
Before you start cutting, painting, or stapling like a caffeinated raccoon, decide what the finished piece should do for the room. Do you need bold wall art? A soft fabric panel? A useful message board? A gallery-style frame? Your choice will guide the materials.
Modern Minimalist
Use neutral paint, raised texture, simple lines, and a floating wood frame. This style works well in living rooms, bedrooms, and entryways.
Boho and Cozy
Wrap the canvas in linen, vintage fabric, macramé, or a patterned scarf. Add fringe or wood beads for extra texture.
Colorful and Playful
Use bright paint, pom-poms, scrapbook paper, peel-and-stick wallpaper, or layered cutouts. This is perfect for craft rooms, kids’ spaces, and anywhere beige has been behaving too seriously.
Functional Decor
Turn the canvas frame into a cork board, jewelry display, photo holder, calendar board, or entryway command center.
DIY Idea 1: Fabric-Wrapped Canvas Frame
Fabric-wrapped canvas is one of the fastest ways to upcycle an old canvas frame. It works especially well if the original art is dark, dated, or slightly damaged.
How to Do It
Lay your fabric face down on a clean surface. Place the canvas face down on top of it. Cut the fabric so you have at least two to three inches of extra material on every side. Pull one side tight and staple it to the back of the wooden frame. Move to the opposite side, pull snugly, and staple again. Repeat with the remaining sides, folding the corners neatly like you are wrapping a gift for someone who judges corners.
For thin fabric, add a layer of white paper or muslin underneath so the old artwork does not show through. For heavier fabric, use more staples and keep tension even across the frame.
Best Fabrics to Use
Linen, cotton, velvet, canvas drop cloth, vintage scarves, tea towels, and upholstery remnants all work well. A bold fabric can become instant statement art, while neutral fabric creates a soft, high-end look.
DIY Idea 2: Paint Over the Old Canvas
If the canvas surface is still in good shape, painting over it is the most direct makeover. This is ideal for abstract art, color-blocked designs, geometric patterns, or simple landscape-inspired pieces.
How to Do It
Apply one or two coats of gesso to cover the old image. Once dry, sketch your design lightly or use painter’s tape for clean lines. Acrylic paint is beginner-friendly because it dries quickly, layers well, and cleans up with water while wet.
For a modern abstract piece, choose three to five colors that already appear in your room. Start with a base color, then add large shapes, soft strokes, or textured areas. If the painting starts looking strange halfway through, do not panic. Most abstract art goes through an awkward teenage phase.
Easy Design Examples
- Neutral beige background with raised white texture
- Black and cream arches for a modern organic look
- Soft blue and green brushstrokes for coastal décor
- Terracotta, tan, and ivory blocks for warm minimalist style
- Thin gold lines over a matte painted base
DIY Idea 3: Create Textured Wall Art
Textured canvas art is popular because it looks expensive but can be made with affordable supplies. You can use joint compound, lightweight spackle, modeling paste, or texture medium, depending on what you have and how durable you want the result to be.
How to Do It
Cover the old image with primer or gesso first. Spread texture material over the canvas using a putty knife, palette knife, old credit card, or even a plastic spoon. Create waves, arches, ridges, or organic swirls. Let the piece dry completely, then paint over it.
Keep the layer lightweight. Too much compound can sag the canvas or crack later. If you want heavy texture, consider adding a thin board behind the canvas or removing the canvas and attaching the texture to a sturdier backing.
Design Tip
Monochrome textured art often looks more polished than busy textured art. White-on-white, beige-on-beige, or black-on-charcoal can turn an old canvas into a sophisticated statement piece. Translation: fewer colors, fewer opportunities for chaos.
DIY Idea 4: Turn the Canvas Frame Into a Cork Board
An old canvas frame can become a stylish cork board for a home office, kitchen, dorm room, or craft corner. This is a great choice for a canvas with a damaged surface because you will cover it completely.
How to Do It
Measure the front of the canvas and cut cork sheets to fit. For extra stability, glue the cork to foam board or thin plywood first, then attach it to the canvas frame. You can cover the cork with fabric before securing it if you want a softer, more decorative look.
Add ribbon in a crisscross pattern for a French memo board style, or keep it plain for a clean modern bulletin board. Use it for notes, photos, postcards, recipes, reminders, or that one appointment card you keep losing even though it is supposedly “somewhere safe.”
DIY Idea 5: Make a Floating Frame for an Old Canvas
A floating frame can make even a simple canvas look finished and intentional. It creates a small gap between the canvas and the surrounding wood, giving the art a gallery-style appearance.
How to Do It
Measure the height, width, and depth of your canvas. Cut thin wood trim or lattice strips to build a frame around it. Leave a small reveal, usually about one-eighth to one-quarter inch, between the canvas and the wood frame. Glue and nail the frame pieces together, then stain, paint, or leave the wood natural.
This upgrade works beautifully after repainting an old canvas. Even a beginner abstract suddenly looks more expensive when framed. It is the DIY equivalent of putting on a blazer.
DIY Idea 6: Decoupage With Paper, Photos, or Book Pages
Decoupage is perfect for turning old canvas frames into collage art. You can use scrapbook paper, wallpaper scraps, maps, sheet music, family photos, magazine cutouts, or old book pages.
How to Do It
Paint the canvas background first if needed. Brush a thin layer of decoupage medium onto the canvas and the back of your paper. Place the paper carefully, then smooth it with a brayer, squeegee, or your fingers protected by wax paper. Work slowly to avoid bubbles and wrinkles.
Once dry, seal the top with another thin coat. For a vintage look, lightly dry-brush paint around the edges. For a modern look, use one large image or a clean grid layout instead of a busy collage.
DIY Idea 7: Build a Photo Display Frame
If you remove the old canvas from the wooden stretcher, the frame itself can become a photo display. Paint or stain the wood, then staple twine, wire, or ribbon across the back. Use mini clothespins to clip photos, cards, or small prints.
This project is lightweight, cheap, and easy to update. It works especially well for family rooms, teen bedrooms, parties, weddings, and holiday displays. You can change the photos seasonally without creating new holes in the wall.
DIY Idea 8: Make a Jewelry Organizer
A canvas frame can also become a jewelry organizer. Remove the canvas or cover it with fabric, then add small hooks, wire mesh, lace, or dowels. Earrings can hang from mesh or lace, necklaces can hang from hooks, and bracelets can rest on small rods.
This is a smart way to make storage decorative. Instead of untangling necklaces in a drawer like you are solving a tiny metal escape room, you can see everything at once.
Design Tips for a Professional Finish
Use a Limited Color Palette
Pick colors from the room where the piece will hang. A simple palette of two neutrals and one accent color usually looks more intentional than using every paint tube you own.
Mind the Corners
Whether you are wrapping fabric, wallpaper, or canvas, neat corners make the whole project look cleaner. Fold corners tightly and staple securely on the back, not the sides.
Finish the Edges
Paint the canvas edges, wrap fabric around them, or add a frame. Unfinished edges can make a DIY project look rushed.
Hang at the Right Height
For most walls, hanging art so the center sits around 57 to 60 inches from the floor creates a comfortable viewing height. When placing art above furniture, leave about 6 to 12 inches between the furniture and the bottom of the frame.
Common Mistakes to Avoid
Skipping Surface Prep
Paint does not love glossy, dusty, or greasy surfaces. Clean, sand, and prime when needed. Your future self will appreciate not watching paint peel like a bad sunburn.
Using Too Much Glue
With decoupage, more glue does not mean better adhesion. It usually means bubbles, wrinkles, and a paper surface that looks like it had a stressful day.
Ignoring Weight
Old canvas frames are lightweight. That is a benefit, but it also means they are not designed to hold heavy plaster, thick wood, or bulky objects without reinforcement.
Forgetting the Room
A project can be beautiful on the table and wrong on the wall. Consider the room’s colors, furniture, light, and scale before choosing your design.
Where to Use Upcycled Canvas Frame Art
Upcycled canvas frames work in almost every room. In the living room, create a large textured piece above the sofa. In the bedroom, wrap a canvas with soft linen or vintage fabric for calm wall décor. In the kitchen, turn a small frame into a recipe board. In the entryway, make a cork board for keys, notes, and reminders. In a kids’ room, use bold fabric or painted shapes for cheerful art that can change as their style changes.
For renters, lightweight canvas projects are especially useful because they are easier to hang with removable strips or small nails. If you like changing décor often, upcycled frames let you experiment without spending a dramatic amount of money every time your taste evolves.
Real DIY Experience: What I Learned From Upcycling Old Canvas Frames
The first thing you learn when upcycling old canvas frames is that the original artwork does not matter nearly as much as the frame underneath. I once reused a canvas print that featured a very intense beach sunset. The colors were orange, purple, and emotionally committed. It did not match anything in the room unless the room was “vacation rental hallway, 2007.” But the frame was sturdy, the size was perfect, and the canvas was tightly stretched, so it became the base for a neutral textured art piece.
The biggest lesson was to prime more than I thought I needed. Dark prints can sneak through light paint, especially if the old artwork has high contrast. One coat of primer made me optimistic. Two coats made me realistic. After that, the new design looked clean and intentional.
Fabric-wrapped canvas is the easiest project for beginners. It is forgiving, fast, and instantly satisfying. The trick is to pull the fabric evenly, not aggressively. If you yank one side too hard, the pattern can shift and the whole piece starts looking slightly dizzy. I like stapling the center of each side first, then working toward the corners. This keeps the tension balanced and prevents weird puckers.
Another useful lesson: always check how the piece looks in the actual room before permanently finishing it. A color that looks warm and elegant on the craft table can look oddly yellow under bedroom lighting. A bold pattern that feels exciting up close can look chaotic from across the room. I now prop the unfinished piece on the wall and look at it during the day and at night. It sounds fussy, but it saves a lot of repainting and muttering.
Textured canvas art taught me patience, mostly against my will. Thick texture needs time to dry. If you paint too soon, the surface can crack, smear, or trap moisture. Lightweight layers work better than one heavy coat. I also learned that simple tools create beautiful effects: a putty knife makes smooth waves, a plastic fork creates ridges, and a damp sponge softens harsh edges. You do not need fancy art tools; you need curiosity and maybe a willingness to wash compound out of places it should never have reached.
Floating frames are the upgrade that makes the biggest visual difference. Even a very simple repainted canvas looks more polished once it has a wood border. The first time I added a floating frame, I understood why galleries do it. The frame gives the art breathing room and makes the whole project look planned instead of rescued.
The most practical project was a cork board made from an old canvas in a home office. It looked better than a plain store-bought bulletin board because the fabric cover matched the room. It also made the workspace feel more personal. That is the real charm of upcycling: the finished piece carries a story. It is not just décor; it is proof that something ordinary can be reimagined with a few tools, a little patience, and possibly one emergency trip to find more staples.
Conclusion
Upcycling old canvas frames is one of the most budget-friendly and creative DIY home décor projects you can try. Whether you paint over an outdated print, wrap it in beautiful fabric, build a floating frame, add cork for organization, or create textured wall art, the process turns forgotten materials into something useful and stylish.
The best part is that there is no single correct way to do it. Your canvas can become modern, rustic, colorful, minimalist, functional, sentimental, or wonderfully weird. Start with a frame you already have, choose a simple idea, prep the surface well, and let the project evolve. That old canvas in the closet is not clutter. It is wall art wearing a disguise.
Note: Always test paint, glue, stain, or texture medium on a small hidden area first, especially when working with glossy prints, delicate fabric, or thrifted frames with unknown finishes.