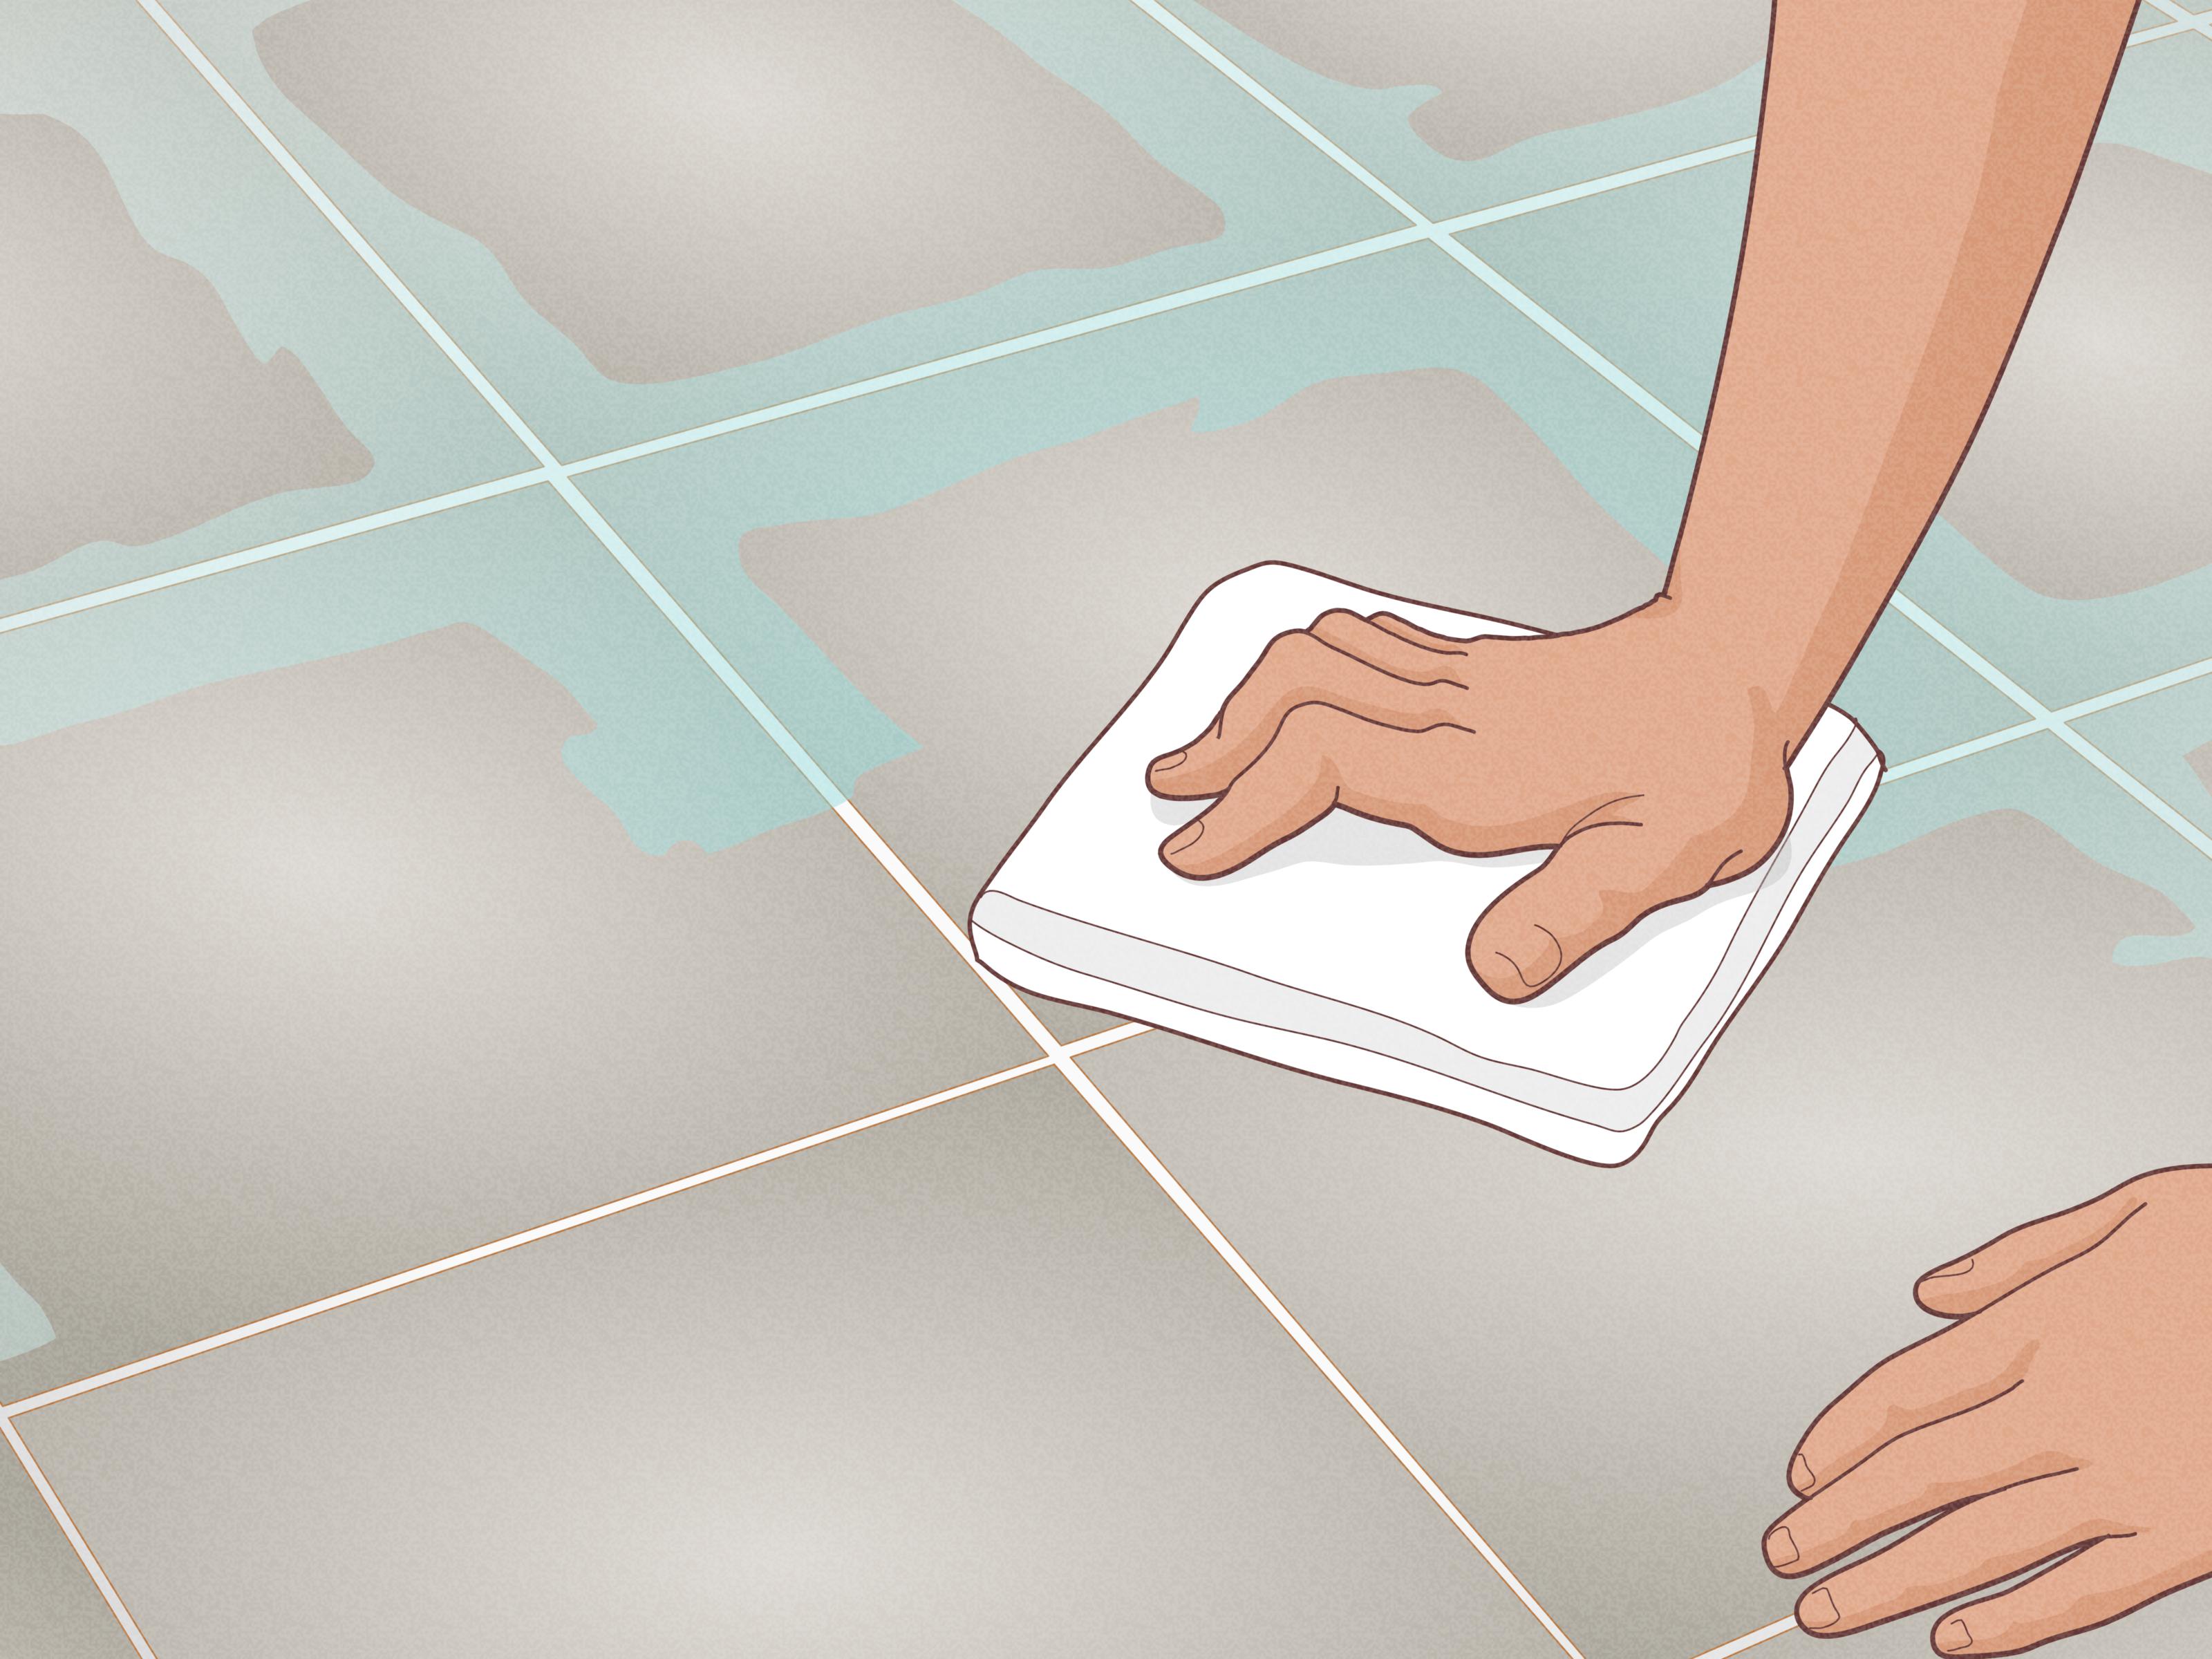

Tile floors can look wonderfully polishedright up until the grout lines decide to cosplay as a map of ancient riverbeds. You mop, the tiles shine, and somehow the grout still looks like it has been collecting secrets since 2008.
The good news: cleaning grout between floor tiles does not always require a hazmat suit, a power drill, or a small personal crisis. With the right cleaner, a nylon brush, and a little patience, you can lift dirt, grease, soap residue, and many common stains without wrecking your tile floor.
This guide explains how to clean grout safely, which stain-removal method to try first, when to use stronger products, and how to keep freshly cleaned grout from turning dingy again.
Note: These methods are best suited to typical ceramic or porcelain floor tile with cement-based grout. Natural stone, unsealed grout, damaged grout, colored grout, and epoxy grout may need different care. Always test any cleaner in a small hidden area first.
Why Floor Tile Grout Gets Dirty So Fast
Grout is the material packed between tiles to keep them stable and create a finished surface. Unlike glazed tile, grout is usually porous. That means it can absorb moisture, dirt, oil, soap residue, food splatters, hard-water minerals, and whatever mystery substance landed near the kitchen island last Tuesday.
In bathrooms, grout often collects soap scum, mildew stains, and residue from shampoo, body wash, or damp bath mats. In kitchens, grease and food spills are the usual suspects. Entryways and mudrooms get the glamorous combination of dust, shoe grime, pet paws, and outdoor debris.
Regular mopping helps, but it does not always reach into the tiny pores of grout. In fact, repeatedly mopping with dirty water can make grout look worse by moving soil around and leaving it behind in the joints.
What You Need to Clean Grout between Floor Tiles
Before launching your grout-cleaning mission, gather a few basic supplies:
- A vacuum, broom, or dry microfiber mop
- Warm water
- A medium-bristle nylon grout brush or old toothbrush
- Microfiber cloths or old towels
- A small bowl or squeeze bottle
- Baking soda
- 3% hydrogen peroxide
- Mild dish soap
- A pH-neutral tile and grout cleaner, if needed
- Rubber gloves
- A bucket of clean rinse water
Avoid steel wool, wire brushes, and highly abrasive scouring pads. They may scratch tile finishes, strip sealers, or chew up grout until it looks like it lost a fight with a lawn mower.
Step One: Start with the Simplest Grout Cleaning Method
Warm Water and a Nylon Brush
Before reaching for stronger cleaners, try warm water and a medium-bristle nylon brush. This method is surprisingly effective for fresh soil, light discoloration, and surface grime.
- Sweep or vacuum the tile floor thoroughly.
- Lightly spray or dab warm water onto a small grout section.
- Scrub in short circular motions with a nylon grout brush.
- Wipe away loosened dirt with a microfiber cloth.
- Rinse the area with clean water and dry it with a towel.
Work in small sections rather than soaking the entire floor. Cement-based grout can absorb standing water, and leaving it wet for too long may encourage mildew or make the floor take forever to dry.
The Best DIY Grout Cleaner for Everyday Stains
Baking Soda and Hydrogen Peroxide Paste
For most dirty floor grout, a baking soda and hydrogen peroxide paste is a practical first choice. Baking soda provides gentle scrubbing power, while hydrogen peroxide helps brighten dingy discoloration and break down residue.
Mix baking soda with enough 3% hydrogen peroxide to make a thick paste. You can add one or two drops of clear dish soap if the grout has greasy kitchen residue.
- Apply the paste directly to the grout lines.
- Let it sit for about 5 to 10 minutes.
- Scrub gently with a nylon grout brush.
- Wipe away the paste with a damp microfiber cloth.
- Rinse with clean water and dry the floor.
For stubborn stains, repeat the process instead of immediately escalating to a harsh chemical. Grout cleaning works better as a series of patient passes than one dramatic chemical showdown.
Important: Do not mix hydrogen peroxide with bleach, vinegar, ammonia, or random leftover cleaners. Use one cleaning method at a time, rinse thoroughly, and allow the area to dry before switching products.
How to Remove Specific Grout Stains
Dark Dirt and Foot-Traffic Stains
Dark gray or brown grout lines in entryways, hallways, kitchens, and laundry rooms are usually caused by tracked-in soil, oils, and fine dust. Start with warm water and brushing, then move to the baking soda and hydrogen peroxide paste.
If the stain remains, use a commercial grout cleaner labeled for your tile and grout type. Follow the product instructions exactly, especially the recommended dwell time. More cleaner is not always better; sometimes it is simply more expensive foam on your floor.
Grease and Food Stains in Kitchen Grout
Kitchen grout often needs a degreasing step before whitening treatments can work. Mix warm water with a few drops of dish soap, apply it to the grout, and scrub with a nylon brush. Wipe the area clean before using a baking soda paste.
For old grease stains, a grout-specific alkaline cleaner may work better than a homemade solution. Avoid acidic cleaners unless the flooring manufacturer confirms they are safe for both the grout and the tile.
Soap Scum and Bathroom Film
Bathroom grout can develop a cloudy or grayish film from soap, body oils, minerals, and moisture. Use a pH-neutral tile cleaner or baking soda paste first. If your bathroom tile is glazed ceramic or porcelain and the grout manufacturer permits it, a diluted vinegar solution may help with mineral buildup.
However, vinegar is not a universal grout cleaner. It can be risky on natural stone such as marble, travertine, limestone, or slate, and repeated acidic cleaning may weaken some cement-based grout over time. When in doubt, skip the vinegar and choose a pH-neutral cleaner instead.
Mildew or Black Spots on Grout
Black, green, or brown spots in bathroom grout may be mildew or mold staining, especially in humid areas. First, improve ventilation and address the moisture source. A bathroom exhaust fan, open window, or better airflow can make a bigger difference than repeatedly attacking the same stain with cleaner.
For small stained areas on sealed grout, use a cleaner specifically labeled for mold or mildew according to the manufacturer’s instructions. Wear gloves, ventilate the room, and avoid mixing products. If the grout is crumbling, soft, persistently damp, or stained again immediately after cleaning, the underlying issue may be moisture behind the tile rather than surface dirt.
Rust or Orange Mineral Stains
Orange grout stains can come from hard water, metal furniture feet, leaking fixtures, or mineral deposits. Do not attack rust-colored grout with bleach first; bleach may lighten the stain without fixing the source.
Instead, identify the cause. Check nearby pipes, toilet bolts, metal shelving, and water leaks. For mineral deposits, use a tile-safe cleaner designed for hard-water stains. For natural stone tile, choose a cleaner specifically approved for stone surfaces.
Should You Use Bleach to Clean Floor Grout?
Bleach can brighten some stains and disinfect certain surfaces, but it should not be your default grout cleaner. It can discolor, dry out, or weaken unsealed, damaged, or porous grout. It may also damage certain tile finishes, natural stone, nearby fabrics, and metal fixtures.
Use bleach only when all of the following are true:
- Your grout is sealed and in good condition.
- Your tile manufacturer allows bleach-based cleaning.
- You have tested a hidden section first.
- You follow the product label dilution instructions.
- You wear gloves and ventilate the room.
- You never mix bleach with vinegar, ammonia, hydrogen peroxide, or any other cleaner.
Never use undiluted bleach as a “stronger is better” shortcut. Cleaning chemicals are not superhero juice. A stronger concentration can create more damage, more fumes, and more regret.
Can You Steam Clean Tile Grout?
A steam cleaner can loosen grime from grout pores and reduce the amount of scrubbing needed. It can be useful for sealed ceramic or porcelain tile floors with intact grout.
Still, steam is not automatically safe for every floor. Avoid frequent or aggressive steam cleaning on cracked grout, loose tile, failing sealant, old floors, laminate-look tile with vulnerable edges, or natural stone unless the manufacturer specifically approves it.
If you use steam, keep the tool moving, avoid concentrating heat in one area, and dry the floor afterward. Steam cleaning should help remove grimenot turn your grout lines into a tiny tropical climate.
How to Clean Colored or Epoxy Grout
Colored Grout
Colored grout needs extra caution because bleach, acidic cleaners, and aggressive scrubbing may fade or alter the pigment. Start with a pH-neutral cleaner and nylon brush. Test any brightening cleaner in a hidden corner before using it across the floor.
Epoxy Grout
Epoxy grout is more stain-resistant and less porous than standard cement grout. That is excellent news for your floor and mildly disappointing news for your excuse to buy five cleaning products.
Use mild dish soap, warm water, or a cleaner recommended by the grout manufacturer. Avoid abrasive powders and harsh acids unless the product label specifically says they are safe for epoxy grout.
How to Keep Grout Clean After Deep Cleaning
Once your grout is clean, prevention is much easier than another full-scale scrubbing marathon.
Sweep Before You Mop
Dry soil acts like fine sandpaper under shoes and mops. Sweep or vacuum first so you are not turning dusty water into grout-colored soup.
Use Clean Mop Water
Change the water when it looks dirty. A clean mop dipped in gray water is basically just a delivery service for grime.
Clean Spills Quickly
Oil, coffee, tomato sauce, muddy water, and pet accidents are easier to remove before they sink into porous grout. Blot spills promptly and clean the area with a tile-safe product.
Use Mats in High-Traffic Areas
Place washable mats near doors, sinks, showers, and pet entrances. Mats cannot stop every speck of dirt, but they can dramatically reduce the amount that reaches the grout.
Seal Grout When Appropriate
Grout sealer helps reduce moisture and stain absorption. Clean the grout thoroughly first, allow it to dry completely, repair any cracks, and then apply a sealer approved for your grout and tile type. Follow the sealer label for drying and curing instructions.
When Cleaning Is Not Enough
Sometimes grout is not dirtyit is damaged, permanently stained, or failing. Consider professional tile and grout cleaning, grout color sealing, regrouting, or repair when you notice:
- Cracked, missing, crumbly, or soft grout
- Recurring mildew or moisture stains
- Persistent odors near tile flooring
- Loose or hollow-sounding tiles
- Deep discoloration that does not improve after safe cleaning
- Signs of water damage around toilets, tubs, or appliances
Grout colorant can sometimes restore an uneven floor more effectively than endless whitening attempts. If your grout is technically clean but permanently discolored, recoloring it may be the sensible solutionand your knees will probably send a thank-you card.
Real-World Grout Cleaning Experiences and Lessons
People often expect grout cleaning to create an instant before-and-after miracle. Sometimes it does. More often, the real result is gradual: the grout becomes more even, less grimy, and noticeably brighter after two or three careful sessions. That is still a win. Floors do not need to look like a showroom display to look clean and well cared for.
One of the most common experiences is discovering that the grout was never truly white. Many homeowners start cleaning a beige, tan, gray, or off-white grout line with the assumption that years of dirt turned it dark. After cleaning a small test area, they discover the original grout color is simply warmer than expected. Cleaning a hidden corner first can prevent disappointment and keep you from overusing strong products in pursuit of a color the grout never had.
Another frequent lesson is that mopping alone does not solve grout stains. A floor may look clean immediately after mopping, but the grout lines remain dark because the dirt is sitting below the surface. Targeted brushing with a paste or grout cleaner usually produces better results than repeatedly flooding the floor with cleaning solution. A little controlled scrubbing is more effective than turning the room into a low-budget water park.
Kitchen grout often responds differently from bathroom grout. In kitchens, the first layer is frequently grease. If grease is not removed, whitening products may seem ineffective because they are trying to work through an oily film. A simple dish-soap cleaning step before using baking soda and hydrogen peroxide can make a dramatic difference. It is not glamorous, but neither is discovering your grout has been storing bacon splatter memories for three years.
Bathroom grout teaches a different lesson: moisture management matters as much as cleaner choice. A homeowner may successfully remove dark spots, only to see them return because the room stays humid after every shower. Running the exhaust fan longer, hanging bath mats to dry, repairing a slow leak, and wiping wet areas can reduce repeat staining far more effectively than using a stronger cleaner every weekend.
Many people also learn the hard way that more scrubbing is not always better. A stiff brush, steel wool, or aggressive drill attachment may make a small section look brighter initially, but it can roughen the grout surface. Rough grout collects dirt faster, creating an annoying cycle: scrub harder, damage more, get dirty faster, repeat until everyone is tired. A medium nylon brush and repeated gentle cleaning are usually the smarter long-term strategy.
Professional cleaners often see floors where the main problem is not dirt but neglected maintenance. Grout that has never been sealed, floors cleaned with oily products, and shower areas exposed to constant moisture may need more than a quick DIY treatment. In those cases, grout color sealing or repair can provide a more durable result than chasing stains with stronger and stronger chemicals.
The best real-world approach is simple: start gently, clean one small area first, rinse thoroughly, and inspect the result in good light. Then decide whether the grout needs another pass, a different cleaner, a sealer, or professional help. Patience is not the most exciting cleaning supply, but it may be the one that saves your tile floor.
Conclusion
Learning how to clean grout between floor tiles is less about finding one magical product and more about matching the method to the stain. Start with warm water and a nylon brush, move to a baking soda and hydrogen peroxide paste for everyday grime, and reserve stronger commercial products for stains that refuse to cooperate.
Protect your tile by avoiding harsh abrasives, testing cleaners first, using bleach cautiously, and never mixing cleaning chemicals. Once the grout is clean, regular sweeping, clean mop water, quick spill cleanup, good bathroom ventilation, and proper sealing can help keep those grout lines from staging another rebellion.