
A burned out signal bulb is one of those tiny car problems that can create a surprisingly large amount of drama. One minute you are changing lanes like a responsible adult, and the next your dashboard is clicking like it just drank three espressos. The good news? In many vehicles, replacing a turn signal bulb is a beginner-friendly repair that takes more patience than mechanical wizardry.
Your turn signals are not decorative little blinkers. They tell other drivers what you are about to do before you do it, which is a very helpful concept in traffic. A failed signal bulb can make lane changes, turns, merging, and parking maneuvers more dangerous. It can also invite a ticket, because exterior vehicle lights are part of your car’s required safety equipment.
This guide explains how to fix a burned out signal bulb in 14 practical steps, including how to diagnose the bad bulb, choose the correct replacement, remove the old bulb, install the new one, test the repair, and troubleshoot problems like fast blinking or no blinking. The exact access point varies by vehicle, so your owner’s manual is still the boss. Think of this article as the friendly coach standing nearby with a flashlight and a calm voice.
What Is a Signal Bulb?
A signal bulb, usually called a turn signal bulb or blinker bulb, is the light that flashes when you activate the turn signal stalk. Vehicles typically have front and rear turn signals, and some also have side marker lights or mirror-mounted indicators. Depending on the model, the turn signal may use an incandescent bulb, a halogen-style bulb, an LED bulb, or a sealed LED lamp assembly.
Traditional incandescent bulbs contain a small filament. Over time, that filament can break from age, vibration, heat, or electrical stress. When it breaks, the bulb can no longer complete the circuit, and your turn signal may stop flashing, flash quickly, or trigger a warning message on newer vehicles.
Signs Your Signal Bulb Is Burned Out
The most obvious sign is a turn signal that does not light up. However, the car may give you other clues before you walk around and inspect the lights.
Common symptoms include:
- Fast blinking: A rapid dashboard click often means one bulb on that side has failed or the circuit resistance has changed.
- Solid indicator light: The turn signal arrow may stay lit instead of flashing.
- No exterior flash: The front or rear signal light does not illuminate when activated.
- Dim or flickering light: The bulb may be weak, loose, corroded, or near failure.
- Hazards partly fail: If one corner does not flash when the hazard lights are on, that bulb or socket may be the issue.
- Bulb-out warning: Some modern vehicles display a dashboard alert when an exterior light fails.
Before You Start: Safety and Tools
Before replacing a signal bulb, park on a flat surface away from traffic. Turn off the engine, remove the key or keep the key fob away from the vehicle, and let the lamp housing cool. Bulbs and housings can become hot enough to make your fingers regret every life choice that led to this moment.
Tools and supplies you may need:
- Correct replacement turn signal bulb
- Owner’s manual or bulb finder information
- Phillips screwdriver
- Flat-tip screwdriver wrapped in cloth
- Socket set or small wrench
- Trim removal tool
- Work gloves
- Flashlight
- Clean rag or paper towel
- Dielectric grease, optional
- Circuit tester or multimeter, optional for diagnosis
Do not assume every bulb with the same shape is correct. Bulbs vary by base type, wattage, color, and function. A wrong bulb can cause poor fit, incorrect brightness, hyperflash, warning lights, or electrical problems. Check your owner’s manual, parts store database, or the number printed on the old bulb.
How to Fix a Burned Out Signal Bulb: 14 Steps
Step 1: Confirm Which Signal Bulb Is Out
Turn on the ignition or accessory mode, activate the left turn signal, and walk around the car. Then repeat with the right turn signal. Check the front, rear, and side indicators if your vehicle has them. If you are alone, use hazard lights, reflections in a garage door, or your phone camera set behind the car. The goal is simple: identify the exact bulb that is not blinking.
Step 2: Look for Fast Blinking or a Solid Dash Indicator
If the dashboard arrow blinks rapidly, the failed bulb is usually on that same side. For example, if the right signal clicks like a caffeinated cricket, inspect the right front and right rear signal bulbs. If the indicator stays solid or both signals on one side fail, the issue may be a bulb, socket, fuse, relay, flasher, ground connection, or turn signal switch.
Step 3: Find the Correct Replacement Bulb
Use the owner’s manual, an online bulb finder, or the old bulb number to select the correct replacement. Common automotive bulb numbers include styles such as 1156, 1157, 3157, 7440, and 7443, but your vehicle may use something completely different. Front signals often require amber bulbs if the lens is clear. Rear signals may be amber or red depending on vehicle design.
Step 4: Decide Whether You Are Replacing One Bulb or a Pair
For a single failed turn signal, replacing only the bad bulb is usually fine. However, if access is difficult or the opposite bulb is the same age, replacing both bulbs on that axle can save time later. This is especially practical for older vehicles where both bulbs have lived the same bumpy, pothole-flavored life.
Step 5: Turn Everything Off and Let the Housing Cool
Switch off the lights, turn off the engine, and wait a few minutes. If you were recently driving with the lights on, give the bulb and housing time to cool. Wear gloves to protect your hands and to avoid transferring skin oils to sensitive bulb glass. Oil on some bulbs can create hot spots and shorten bulb life.
Step 6: Access the Bulb Housing
The access method depends on the vehicle. Some front signal bulbs are reachable from the engine bay. Others require removing a wheel well liner, modesty panel, bumper cover fastener, or headlamp access cap. Rear signal bulbs may be behind a trunk liner, small cover, tailgate panel, or removable taillight assembly. Take a photo before removing clips or screws so you know how everything goes back together.
Step 7: Remove Covers, Clips, or the Light Assembly
Use the correct tool and work gently. Plastic clips can become brittle with age, especially in cold weather. If you need a flat-tip screwdriver, wrap the tip with cloth to reduce scratches. Put screws and clips in a cup, magnetic tray, or small bag. Do not trust your pocket; pockets are where tiny fasteners go to start a new life.
Step 8: Remove the Bulb Socket
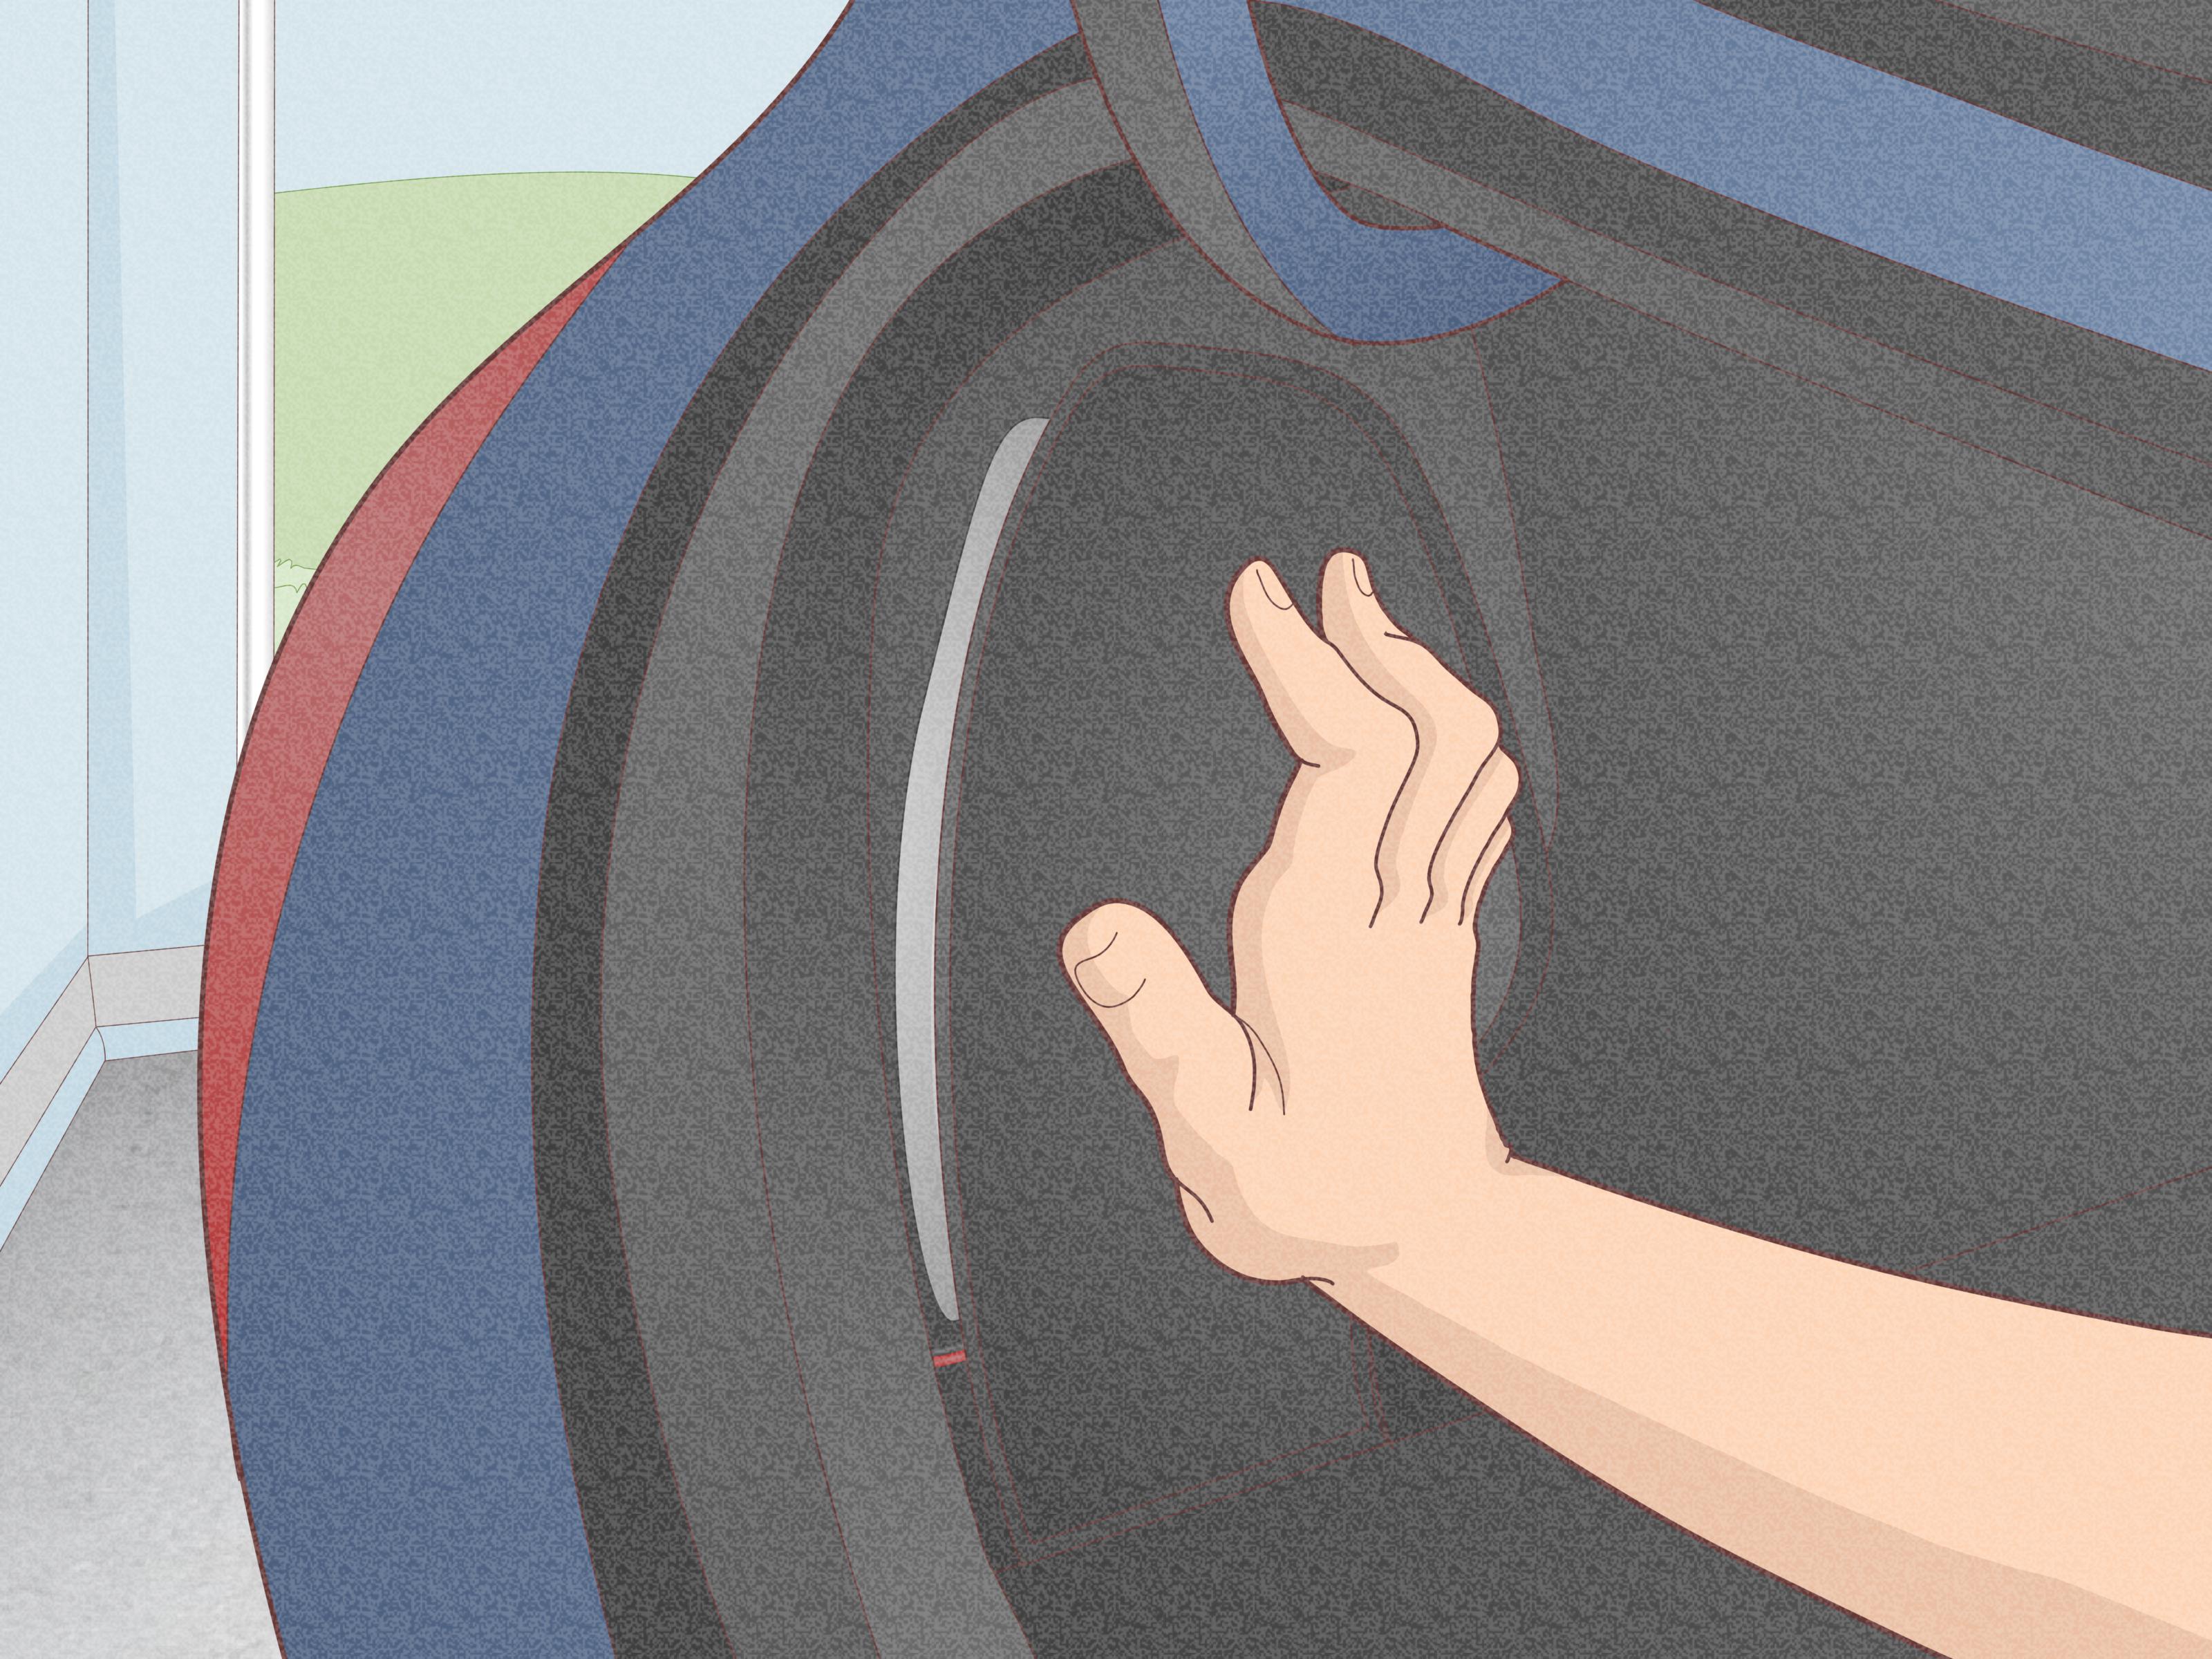
Most turn signal sockets twist counterclockwise and pull out of the lamp housing. Some have tabs that must be squeezed. Grip the socket, not the wires. If it resists, stop and check for a locking tab or hidden fastener. Pulling hard on wiring can create a second problem, and your car did not request a bonus repair today.
Step 9: Remove the Old Bulb
Look at how the bulb sits in the socket. Some bulbs pull straight out. Others must be pushed in slightly and turned counterclockwise before they release. If the bulb is broken, wear gloves and remove fragments carefully. A darkened glass envelope, broken filament, melted base, or cloudy bulb can confirm failure.
Step 10: Inspect the Socket and Housing
Before installing the new bulb, inspect the socket. Look for green or white corrosion, burnt plastic, loose contacts, moisture, cracked lenses, or damaged wiring. Light corrosion may be cleaned carefully, but a melted socket, damaged connector, or recurring moisture problem should be repaired properly. A new bulb cannot fix a bad electrical connection; it can only become the next victim.
Step 11: Install the New Bulb
Handle the new bulb by the base or with gloves. Align the pins or tabs correctly, then push or twist the bulb into place as required. It should seat firmly without wobbling. If using a small amount of dielectric grease, apply it sparingly to the socket area as appropriate; do not glob it onto the bulb contacts like frosting on a cupcake.
Step 12: Test Before Reassembly
Before reinstalling every clip and cover, test the signal. Turn on the ignition or accessory mode, activate the signal, and confirm that the new bulb flashes at a normal rate. Test the hazard lights too. This quick check prevents the classic DIY tragedy of reassembling everything and then discovering the bulb was not seated all the way.
Step 13: Reinstall the Socket, Housing, and Covers
Insert the socket into the housing and turn it clockwise until it locks. Reinstall the lamp assembly, covers, bolts, clips, and trim panels. Tighten screws snugly, but do not overtighten plastic lenses or housings. If the assembly has alignment pins or rubber grommets, make sure they seat properly to keep water out.
Step 14: Do a Final Walkaround
Check the left signal, right signal, hazard lights, brake lights, taillights, and side markers. This takes less than two minutes and can reveal another bulb that was ready to retire. Clean the lens with a soft cloth so the new bulb shines clearly. If everything works, congratulations: you have restored your vehicle’s ability to politely say, “I am going that way.”
Troubleshooting After Replacing the Bulb
The New Bulb Does Not Light Up
Remove the bulb and make sure it is fully seated. Check that the socket is locked into the housing and that the wiring connector is attached. If the bulb still does not work, test the bulb in the opposite socket if compatible, or use a circuit tester to check whether power reaches the socket. A blown fuse, bad ground, broken wire, or failed switch may be involved.
The Signal Still Blinks Fast
Fast blinking after replacement usually means one of four things: the wrong bulb was installed, another bulb on the same circuit is out, the socket has corrosion, or the vehicle does not like an LED replacement. If you upgraded from incandescent to LED, the lower current draw may cause hyperflash unless the vehicle is LED-compatible or has the correct flasher, load equalizer, or resistor setup.
The Bulb Burns Out Again Quickly
A bulb that fails again within days or weeks may point to moisture in the housing, a loose socket, vibration, poor-quality bulbs, incorrect wattage, or voltage problems. Inspect the lens seal and socket. If you see melting, burning, or repeated failures, let a professional diagnose the circuit before replacing bulbs over and over like you are feeding coins into a very annoying vending machine.
The Vehicle Uses Sealed LED Lamps
Some newer vehicles use LED assemblies rather than replaceable bulbs. In that case, you may need to replace the lamp assembly or have a dealer or repair shop inspect the system. Do not try to pry open a sealed LED unit unless the service manual specifically says it is repairable.
Cost: DIY vs. Professional Replacement
A basic replacement signal bulb is usually inexpensive, especially for common older vehicles. The bigger cost is labor when the bulb is difficult to access. If the bulb sits behind a simple trunk cover, the job may take only a few minutes. If access requires removing a wheel liner, bumper trim, or a tightly packed headlight assembly, paying a mechanic may be worth it.
DIY replacement makes sense when you can access the socket safely, confirm the correct bulb, and reassemble everything without forcing parts. Professional repair makes sense when the lens is cracked, the socket is melted, corrosion is heavy, wiring is damaged, the vehicle has sealed LEDs, or the new bulb still does not work.
Maintenance Tips to Keep Signal Bulbs Working Longer
- Check lights monthly: Test signals, hazards, brake lights, and taillights during a quick walkaround.
- Keep lenses clean: Dirt and oxidation reduce brightness.
- Fix cracked lenses: Moisture can corrode sockets and shorten bulb life.
- Use correct bulbs: Match the base, wattage, and color recommended for your vehicle.
- Avoid touching glass: Handle bulbs by the base when possible.
- Watch for repeat failures: Multiple failures may indicate a deeper electrical issue.
Experience Notes: What Real DIY Signal Bulb Repairs Teach You
The first thing you learn while replacing a burned out signal bulb is that car designers have a very unusual sense of humor. On one vehicle, the bulb is right behind a convenient access panel, practically waving hello. On another, it is hidden behind a wheel liner, three plastic clips, one mystery bolt, and a panel that seems to have been installed by someone with hands the size of salad tongs.
A practical lesson is to slow down before removing anything. Many people rush because a turn signal bulb looks like a small repair. It is small, yes, but small parts break easily. The most common mistake is forcing the socket or yanking the wiring when the socket simply needs a quarter-turn. If something does not move, look again. There may be a locking tab, a hidden screw, or a plastic clip holding the piece in place.
Another experience-based tip is to compare the old and new bulbs before installing the replacement. Set them side by side. Check the number, base shape, pin position, color, and wattage. If the pins do not line up or the base looks slightly different, do not “make it fit.” Automotive electrical parts are not a puzzle where the prize is smoke. The wrong bulb can cause poor contact, warning lights, fast blinking, or heat problems.
Testing before full reassembly is the habit that separates a peaceful repair from a comedy scene. After you install the bulb, switch on the signal before replacing every screw and panel. If the light works, finish reassembly. If it does not, you can still reach the socket without undoing your work. This one step can save ten minutes, three sighs, and at least one dramatic stare at the ceiling.
Gloves are also more useful than they look. They protect your hands from sharp plastic edges and keep oil off the bulb. If you accidentally touch the glass, wipe it gently with rubbing alcohol and a lint-free cloth if the bulb type calls for it. Many turn signal bulbs are less sensitive than headlight bulbs, but clean handling is still a good habit.
Finally, a burned out signal bulb is a reminder to check all exterior lights regularly. Most drivers notice headlights quickly because they need them to see. Turn signals, brake lights, reverse lights, and side markers can fail without obvious symptoms from the driver’s seat. A monthly walkaround takes less time than ordering coffee and can prevent unsafe driving, awkward honks, and roadside conversations with people wearing badges.
Conclusion
Fixing a burned out signal bulb is usually a simple, affordable DIY repair. The key is to diagnose the correct corner, buy the right replacement bulb, access the socket carefully, install the bulb without damaging the socket or lens, and test the signal before driving. If the bulb still does not work, do not keep guessing forever. Corrosion, wiring faults, bad grounds, fuses, relays, flasher issues, or sealed LED assemblies may require professional attention.
Your turn signals are small, but they do a big job. They help other drivers understand your next move, reduce confusion, and keep traffic flowing with fewer surprises. Replace a failed signal bulb promptly, check your lights regularly, and give your car the tiny blinking voice it needs to communicate on the road.
SEO Tags