
Paint on a leather auto seat feels like a tiny personal betrayal. One minute you are transporting supplies, touching up a garage wall, or letting a mysterious “helpful” passenger climb in with paint on their clothes. The next minute, your beautiful leather seat has a colorful souvenir it absolutely did not ask for.
The good news: many paint marks can be improved or removed if you work carefully. The bad news: leather is not a kitchen counter, a garage floor, or your uncle’s old workbench. You cannot attack it with random chemicals and pure determination. Automotive leather usually has a protective finish, and that finish can be damaged by harsh scrubbing, strong solvents, too much water, or heat. In other words, the goal is not just to remove paint from a leather auto seat. The goal is to remove paint while keeping the seat from looking like it lost a fight with a chemistry set.
This guide covers four practical ways to remove paint from leather car seats, starting with the safest method and moving toward more advanced options. Whether the paint is fresh latex, dried acrylic, a small spray paint mist, or a stubborn mystery spot, the smartest approach is always the same: test first, work gently, use the least aggressive solution that works, and stop before you damage the leather.
Before You Start: Identify the Paint and Protect the Leather
Before grabbing cleaner, slow down for sixty seconds. That short pause can save you from a very expensive upholstery repair.
Fresh Paint vs. Dried Paint
Fresh paint is easier to remove because it has not fully bonded to the surface. If the paint is still wet, do not smear it around like you are frosting a cake in a moving car. Blot it. Lift it. Be patient. Dried paint requires more careful softening and repeated cleaning.
Water-Based vs. Oil-Based Paint
Water-based paints, including many latex and acrylic paints, often respond to warm water, mild soap, leather cleaner, or careful spot treatment with diluted isopropyl alcohol. Oil-based paint can be more stubborn and may require a professional leather technician, especially if the mark is large or old.
Real Leather, Coated Leather, Vinyl, or Leatherette?
Many modern car interiors use coated leather, leatherette, vinyl, or mixed materials. Coated leather has a protective layer, which helps resist stains but can also be harmed by strong solvents. Leatherette and vinyl may not need leather conditioner the way real leather does, but they can still discolor or lose texture if cleaned aggressively. Check your owner’s manual when possible.
Essential Supplies
- Clean white microfiber cloths
- Cotton swabs
- Warm water
- Mild non-detergent soap or leather-safe cleaner
- Automotive leather cleaner
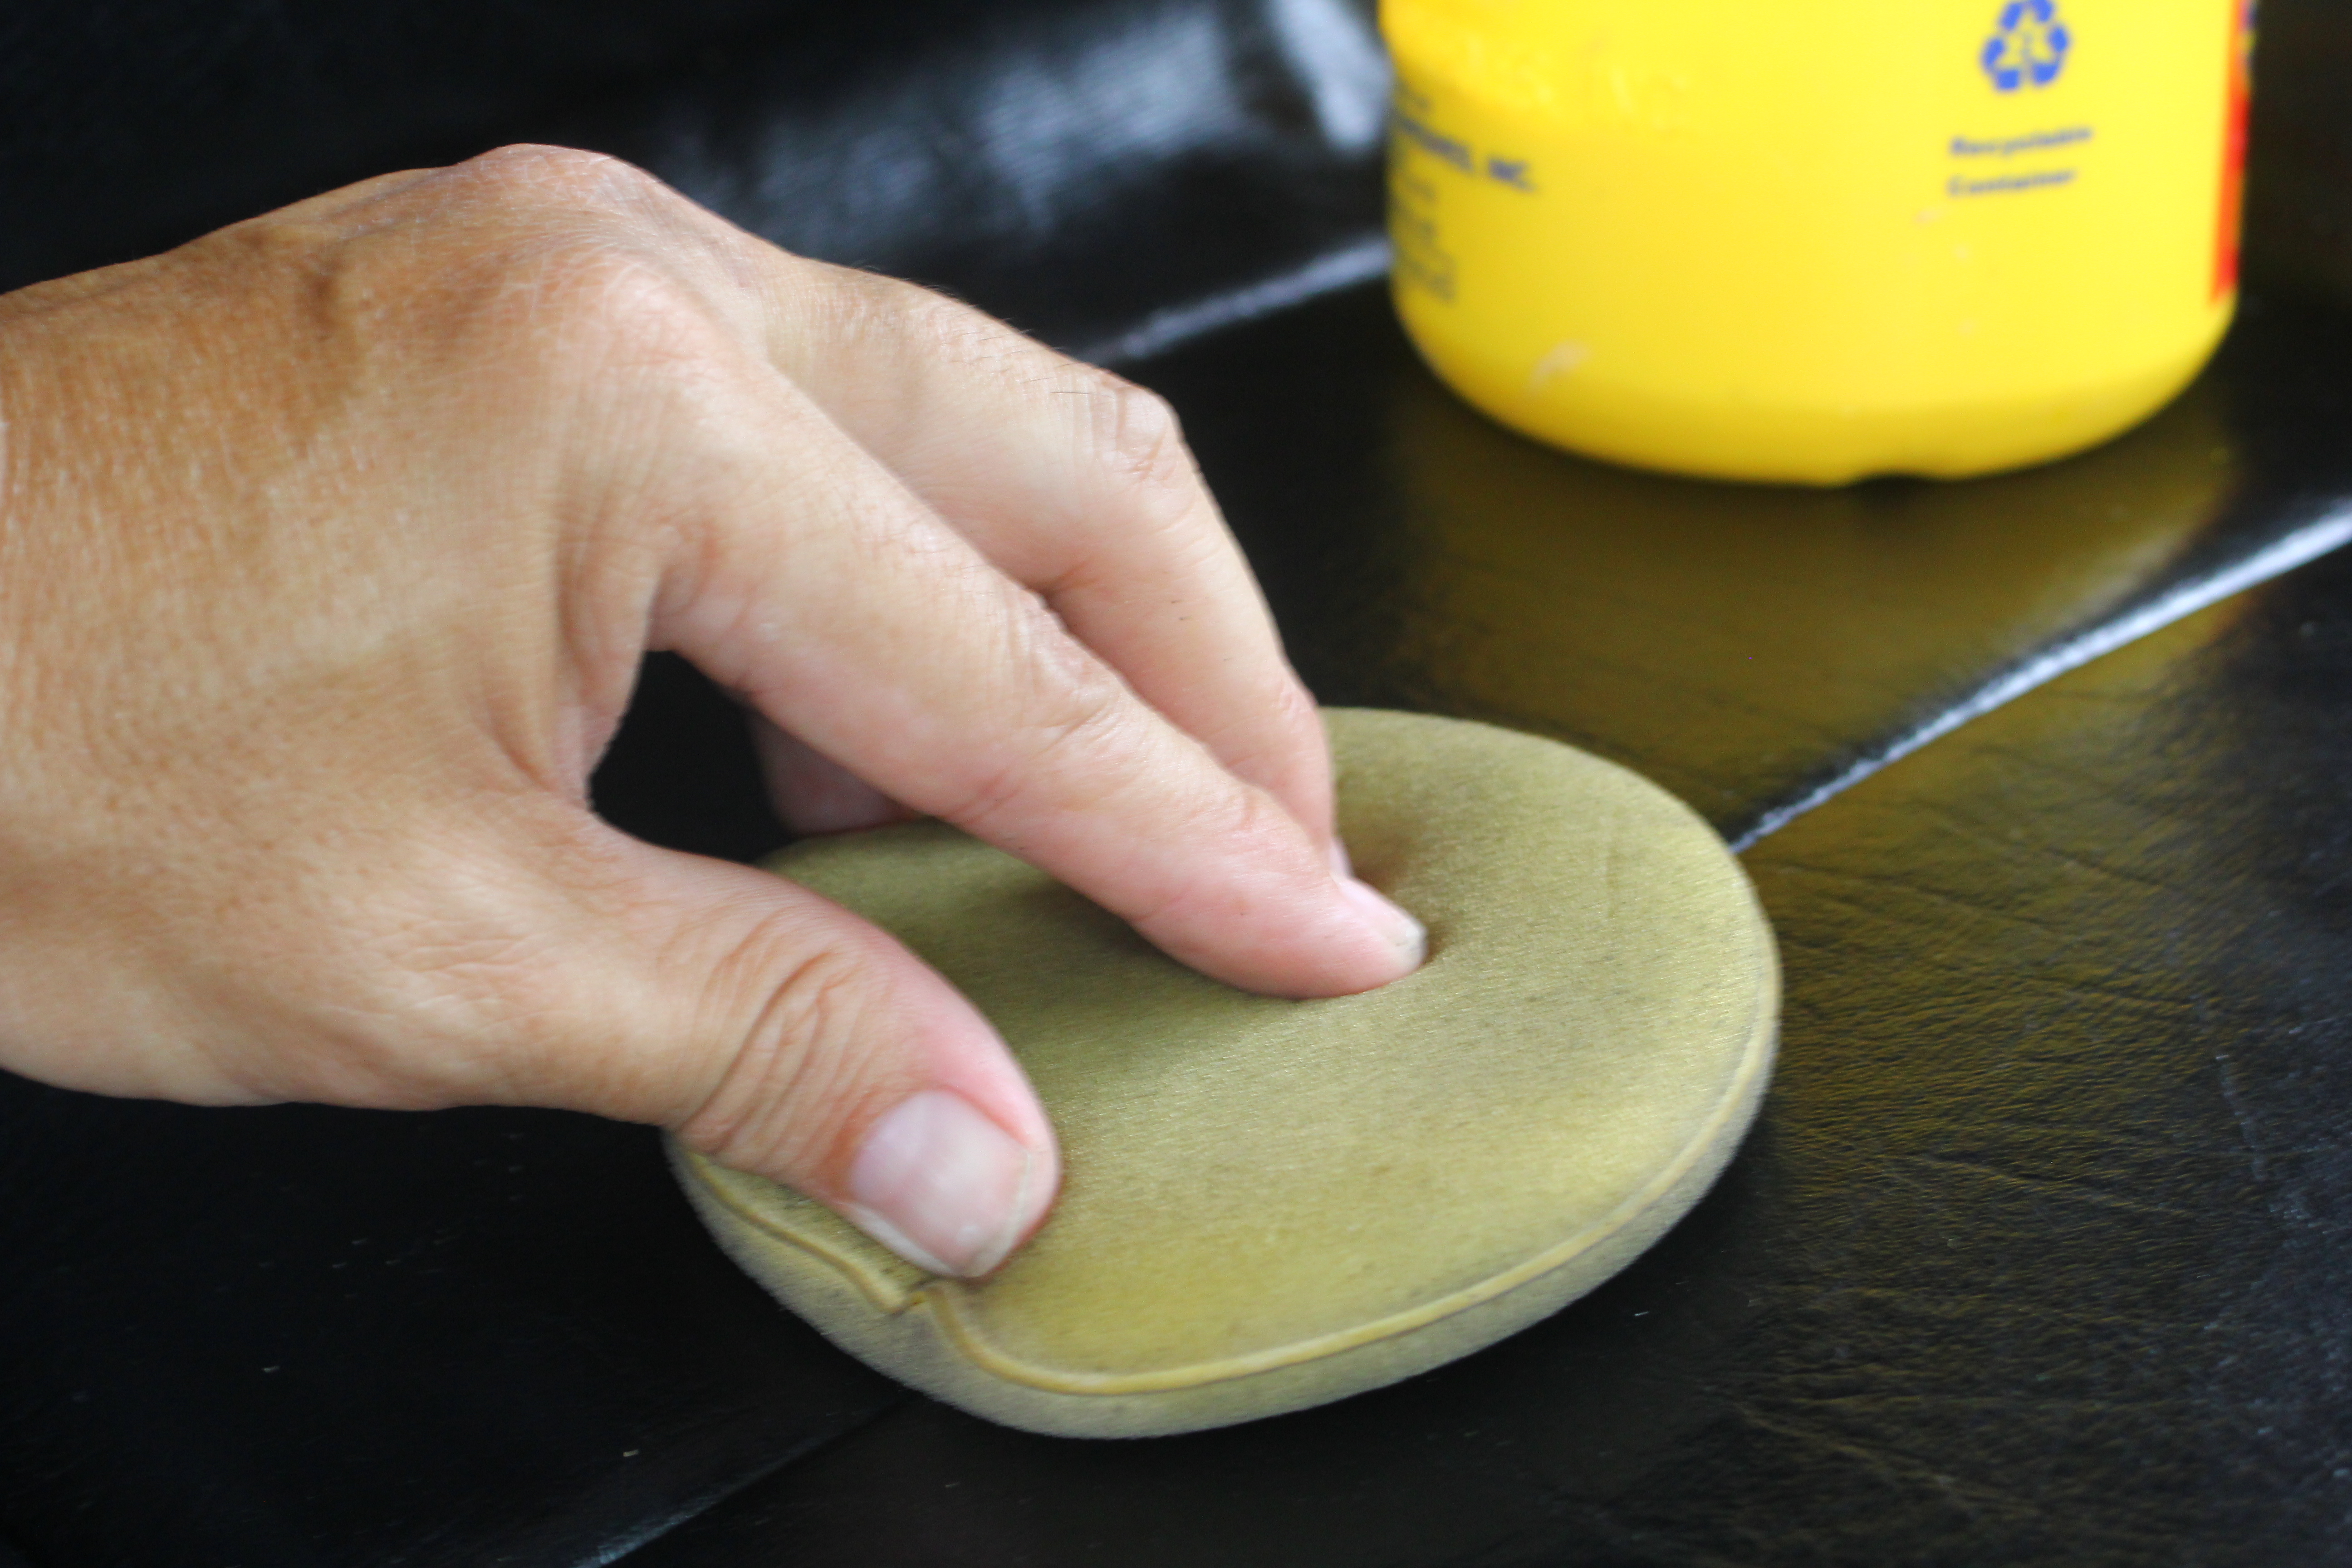
- Leather conditioner or protectant suitable for your seat material
- Plastic card or flexible plastic scraper
- 70% isopropyl alcohol for cautious spot treatment
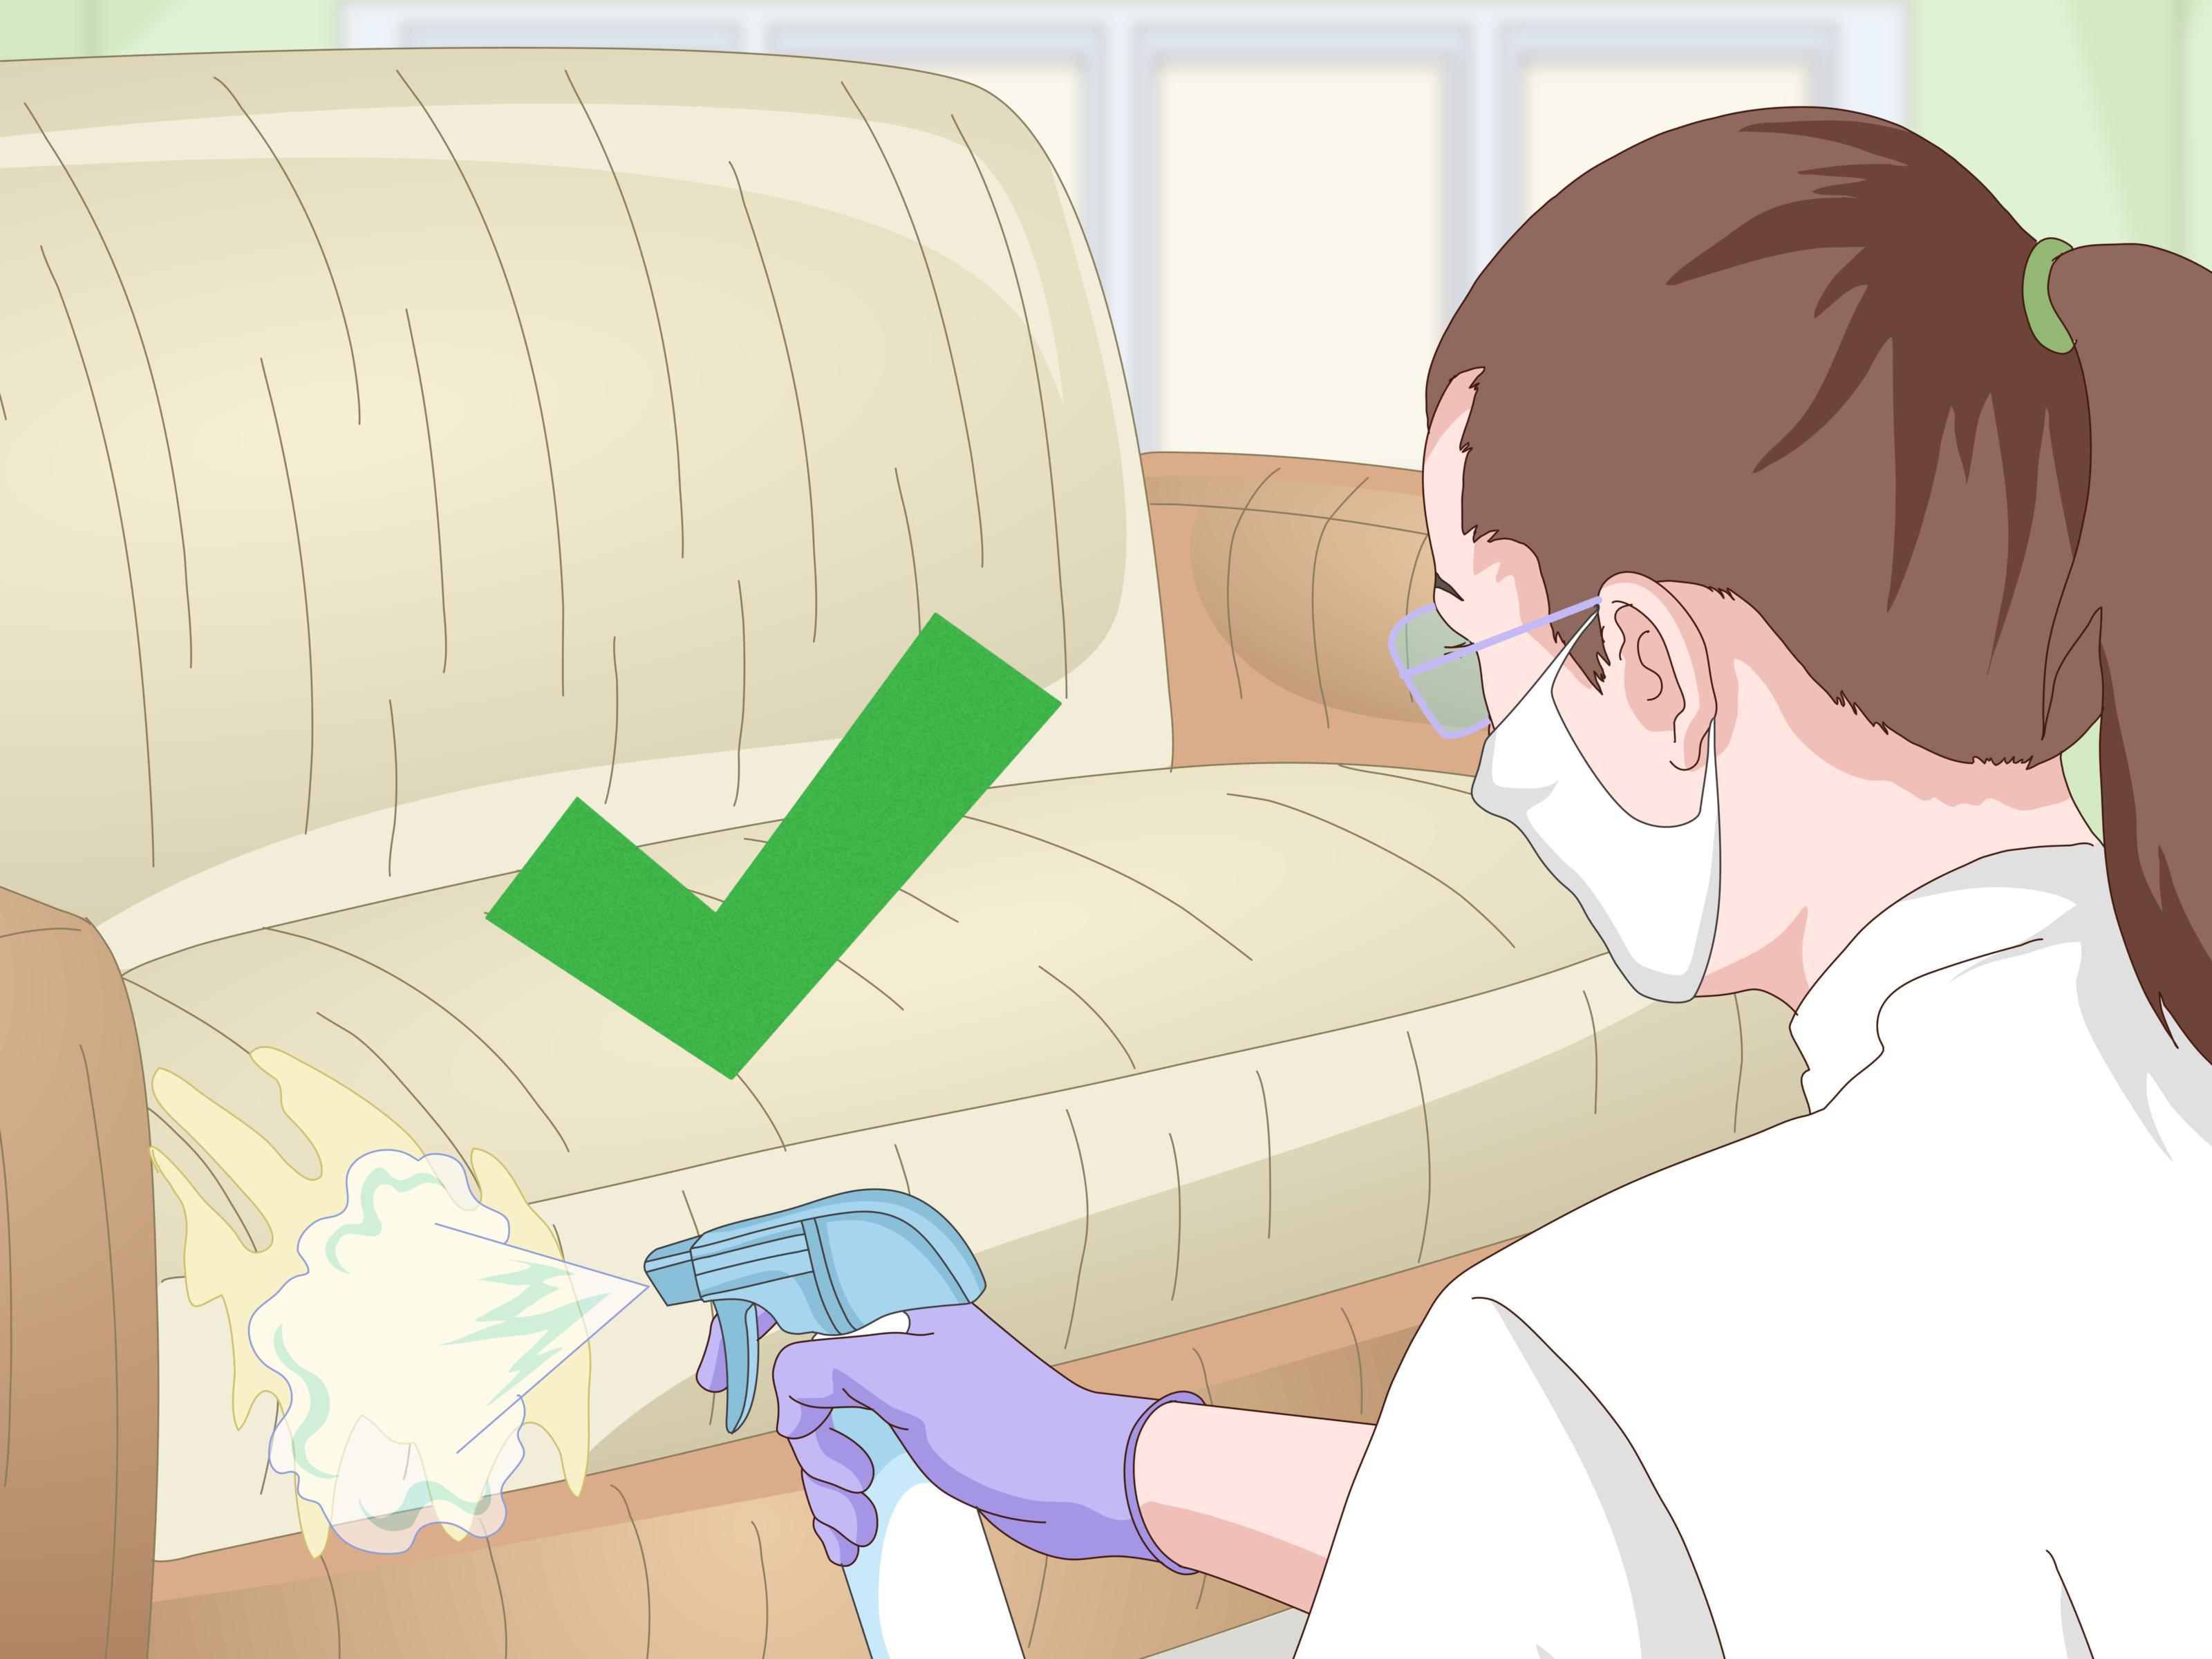
- Nitrile gloves and good ventilation
Always test any cleaner on a hidden area first, such as the side of the seat near the console or the lower rear panel. If the leather color transfers to your cloth, the surface gets sticky, or the texture changes, stop immediately.
Method 1: Blot Fresh Paint With Water and Mild Soap
If the paint is fresh, this is your best starting point. Fresh water-based paint may sit on top of the protective coating before it cures. Your mission is to lift it without pushing pigment into the grain.
Step-by-Step
- Use a clean white cloth or paper towel to blot the paint gently.
- Work from the outside of the stain toward the center to avoid spreading it.
- Dampen a microfiber cloth with lukewarm water. The cloth should be damp, not dripping.
- Add a tiny amount of mild soap if plain water is not enough.
- Blot the spot again, then wipe lightly in short strokes.
- Use a second cloth dampened with clean water to remove soap residue.
- Dry with a clean towel and let the seat air dry naturally.
Do not scrub hard. Friction creates heat, and heat plus pressure can weaken the finish, flatten the grain, or make the area look shiny. A leather seat should not look like it has been polished by a raccoon with a gym membership.
Best For
This method works best for fresh latex paint, small water-based paint smudges, and paint that has not fully dried. It is also the safest first step for delicate or light-colored leather.
What to Avoid
Avoid dish soap unless your vehicle or seat manufacturer specifically recommends a mild solution. Many household detergents are designed to cut grease, which is wonderful for pans and less wonderful for leather finishes. Also avoid soaking the seat, because excess water can settle into seams, perforations, and foam beneath the upholstery.
Method 2: Use a Leather-Safe Cleaner for Surface Paint
If water and mild soap do not remove the mark, move to an automotive leather cleaner. This is often the sweet spot: stronger than plain water but safer than solvent-heavy shortcuts.
Step-by-Step
- Vacuum the seat first so grit does not scratch the surface.
- Apply leather cleaner to a microfiber cloth, not directly onto the seat.
- Gently dab the paint spot, then wipe in small controlled motions.
- Use a soft detailing brush only if the leather is durable and the paint is sitting in the grain.
- Wipe away loosened paint with a clean cloth.
- Repeat as needed, allowing the surface to rest between passes.
- Finish by wiping the area with a slightly damp cloth and drying it thoroughly.
Patience is the secret ingredient here. Leather-safe cleaners may take several light passes. That is normal. If you expect instant results, leather care will humble you faster than trying to fold a fitted sheet.
Best For
This method is ideal for small paint transfer marks, dried water-based paint films, scuffs from painted objects, and light overspray that has not deeply bonded with the finish.
Pro Tip: Clean the Surrounding Area
After removing a paint mark, the cleaned spot may look brighter than the rest of the seat. That does not always mean damage; sometimes it simply means the rest of the seat is dirty. Clean the surrounding panel gently so the finish looks even.
Method 3: Soften Dried Paint With Oil or Conditioner, Then Lift It
When paint has dried into a raised speck or crust, the safest approach may be to soften it before trying to remove it. This method is especially helpful when the paint sits on top of the leather rather than soaking in.
Step-by-Step
- Place a small amount of leather conditioner or leather-safe oil-based cleaner on a cotton swab.
- Touch only the paint spot, not the entire seat panel.
- Let it sit for a few minutes so the paint edge softens.
- Use your fingernail wrapped in a microfiber cloth or a flexible plastic card to lift the edge gently.
- Do not dig, gouge, or scrape downward into the leather.
- Once the paint lifts, clean the area with leather cleaner.
- Dry and apply a light conditioner if appropriate for your leather type.
The keyword is “lift,” not “chisel.” If the paint does not move, do not keep scraping. Leather grain can be permanently flattened or scratched. A tiny paint dot is annoying; a scratched seat with a tiny paint dot next to it is a sequel nobody wanted.
Best For
This method is useful for dried latex or acrylic paint drops that are raised, paint flecks from clothing, and small spots that feel like they are sitting above the surface.
When Not to Use This Method
Do not use heavy oils on perforated seats, suede, nubuck, or absorbent unfinished leather. Oil can darken leather and may be difficult to remove. If your seat has tiny ventilation holes, keep products out of the perforations as much as possible.
Method 4: Use Diluted Isopropyl Alcohol for Stubborn Paint Spots
Isopropyl alcohol can help loosen some acrylic, latex, ink, and paint transfer marks, but it is not a casual “spray and pray” solution. Alcohol can dry leather, dull finishes, remove color, or make coated surfaces look smooth and damaged if overused. Use it only after gentler methods fail, and only on small areas.
Step-by-Step
- Open the car doors or work in a well-ventilated area.
- Patch-test a hidden area first.
- Dampen a cotton swab with 70% isopropyl alcohol. Do not soak it.
- Touch the swab to the paint only, using tiny dabs.
- Immediately blot with a clean microfiber cloth.
- Repeat slowly, switching to fresh swabs as paint transfers.
- Once the paint loosens, wipe the area with leather cleaner.
- Dry completely and apply a suitable conditioner or protectant.
Never pour alcohol onto the seat. Never let it sit. Never use it near flames or high heat. And do not use acetone, lacquer thinner, paint thinner, gasoline, or heavy-duty paint stripper on leather auto seats. Those products may remove the paint, but they may also remove the color, coating, and your will to live peacefully with your upholstery.
Best For
This method is best for tiny stubborn water-based paint spots, acrylic paint transfer, or light overspray on coated automotive leather. For large stains, old oil-based paint, or expensive luxury interiors, call a professional detailer or leather repair specialist.
What If the Paint Will Not Come Off?
If the paint is still visible after careful cleaning, you may be dealing with a stain that has bonded into the leather finish. At that point, more scrubbing usually creates more damage. A professional can sometimes remove the remaining paint, refinish the panel, recolor the leather, or apply a flexible automotive leather coating that matches the original interior.
Professional repair is especially smart for white, beige, red, or perforated leather; heated and ventilated seats; high-end vehicles; antique interiors; and paint marks larger than a coin. A good technician will test the surface, match the color, and preserve the grain far better than a random chemical experiment in the driveway.
Common Mistakes That Make Paint Stains Worse
Scrubbing Like You Are Cleaning Tile
Leather needs gentle pressure. Aggressive scrubbing can remove the protective topcoat, spread the paint, and create a shiny patch.
Using Acetone or Nail Polish Remover
Acetone is too aggressive for most automotive leather finishes. It can strip color, soften coatings, and leave a permanent mark.
Spraying Cleaner Directly on the Seat
Apply cleaner to a cloth first. Direct spraying can oversaturate seams, stitching, and perforations.
Drying With Heat
Hair dryers and heat guns can shrink, stiffen, or damage leather. Let the seat air dry naturally.
Skipping Conditioner or Protection
Cleaning, especially after spot treatment, can leave the surface dry. A compatible conditioner or protectant helps restore a more even feel and appearance.
How to Prevent Paint From Getting on Leather Seats Again
The easiest paint stain to remove is the one that never happens. When transporting paint cans, brushes, rollers, or freshly painted objects, cover the seats with a washable blanket, plastic cargo liner, or old towel. Keep paint containers upright in a box or bin. Put lids on tightly. If you are wearing work clothes, check your pockets, cuffs, and back pockets before sitting down.
Also keep a small car-cleaning kit in the trunk: microfiber towels, a spray bottle of water, leather-safe wipes, and a plastic bag for dirty cloths. Paint spills love surprise entrances. Being prepared turns a five-alarm panic into a manageable cleanup.
Real-World Experience: Lessons From Paint-on-Leather Cleanups
After dealing with paint marks on leather auto seats, one lesson becomes obvious: speed matters, but panic does not help. The best outcomes usually happen when the owner notices the paint early, blots instead of rubs, and starts with the gentlest possible method. A fresh latex paint smudge from a sleeve or shopping bag may come off with a damp microfiber cloth and a little patience. The same paint, ignored for a week under summer heat, can become a stubborn little monument to procrastination.
Another practical lesson is that paint stains are not all equal. A few white specks from a painted door frame are different from a palm-sized patch of oil-based enamel. Overspray behaves differently from a thick drip. Paint transfer from a can or painted object may sit on top of the leather finish, while wet paint pressed into the seat grain can cling more aggressively. This is why “one magic trick” advice is risky. The correct method depends on the paint type, how long it has been there, and the condition of the leather.
Light-colored seats are especially dramatic. Beige leather, for example, shows every mistake like it is filing a public report. On tan or ivory leather, even a successful cleaning can leave a slightly cleaner circle around the treated area. The fix is usually to clean the entire seat panel gently, not just the paint spot. That helps the repaired area blend into the surrounding leather.
Older leather also requires extra caution. A newer coated leather seat may tolerate careful cleaning better than a sun-dried driver’s seat with worn bolsters. If the leather already looks cracked, shiny, sticky, faded, or rough, the finish may be weakened. In that case, even a mild solvent can cause visible damage. For older seats, repeated gentle cleaning sessions are safer than one aggressive attempt.
One surprisingly useful habit is photographing the stain before you begin. It sounds a little dramatic, but a quick photo helps you track progress. When cleaning slowly, it is easy to think nothing is happening. A before-and-after picture may show that the stain is fading with each pass. That can stop you from getting impatient and reaching for something too strong.
The biggest “experience tip” is knowing when to stop. If your cloth starts picking up seat color instead of paint color, stop. If the leather gets sticky, stop. If the grain begins to look smooth, stop. If the paint is not improving after several careful attempts, stop and call a pro. A professional leather repair visit may cost less than trying to undo chemical damage, discoloration, or scraped upholstery.
Finally, prevention is not glamorous, but it works. A cheap moving blanket in the trunk can save a leather seat from paint cans, garden tools, sports gear, greasy boxes, and the mysterious chaos that follows most “quick errands.” Your leather seats do not need royal treatment, but they do appreciate not being used as a drop cloth.
Conclusion
Removing paint from a leather auto seat is a careful balancing act. Start with water and mild soap for fresh paint, use a leather-safe cleaner for surface marks, soften dried paint before lifting it, and reserve diluted isopropyl alcohol for tiny stubborn spots after a patch test. Avoid harsh solvents, heat, soaking, and aggressive scrubbing. When in doubt, choose patience over power.
Your car seat can survive many paint accidents if you act quickly and treat the leather like a finished surface, not a garage tool. Gentle steps may feel slow, but they protect the color, grain, coating, and comfort of your interior. And that is the real win: not just removing the paint, but keeping your leather seat looking like nothing ever happened.