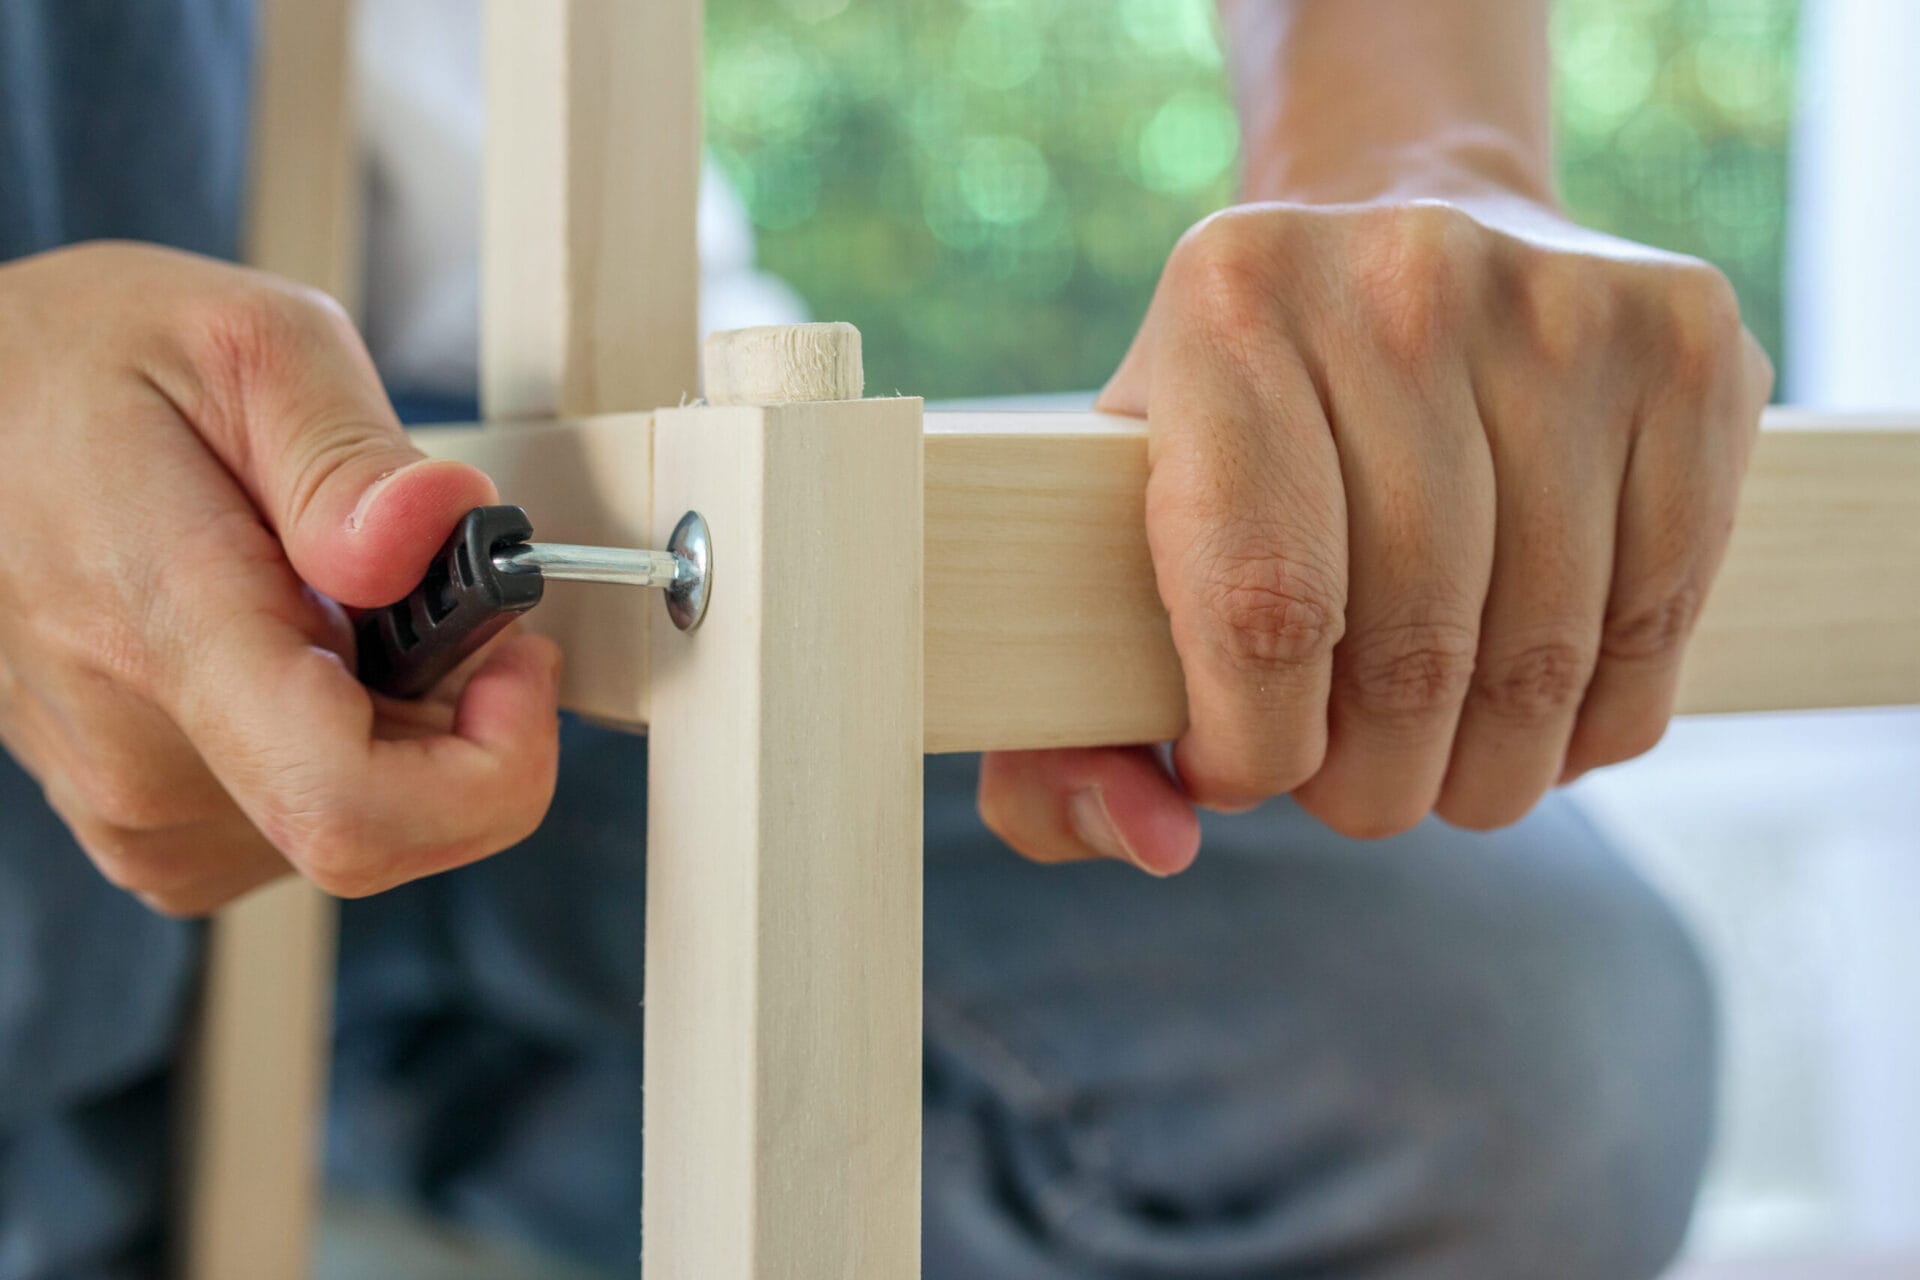

A stripped Allen screw has a special talent: it can turn a five-minute repair into a dramatic standoff between one tiny piece of metal and your entire toolbox. One moment, you are assembling furniture, adjusting a bike seat, repairing an appliance, or opening a machine panel. The next, your Allen key spins freely inside a rounded-out socket like it has decided to pursue a career in figure skating.
The good news is that a stripped Allen screw is usually removable. The key is to stop using brute force before the screw goes from “slightly annoying” to “archaeological artifact.” Start with the least destructive method, work your way up carefully, and replace the screw afterward rather than trusting it with another chapter in your DIY life.
This guide explains how to remove a stripped Allen screw using basic tools, specialty extractors, and a few controlled backup methods. Whether the screw is recessed, rusty, flush with a surface, or sticking out just enough to tease you, there is usually a way forward.
First, Confirm That It Is Actually an Allen Screw
An Allen screw, also called a hex socket screw, has a six-sided recessed opening in its head. It is designed to be turned with an Allen wrench, hex key, or hex bit. Before attempting removal, make sure the fastener is not actually a Torx screw, a security hex screw with a center pin, or a metric fastener being attacked with a close-but-not-quite SAE key.
This matters more than it sounds. A slightly incorrect hex key may fit well enough to fool you for a few seconds, then round out the socket once torque is applied. That is how a simple furniture screw becomes a tiny metal crater.
Check the Size Before You Escalate
Try a fresh, undamaged Allen key or hex bit in the exact size. Clean dirt, paint, rust flakes, grease, or thread-locker residue out of the socket with a pick, awl, small brush, or compressed air. A surprising number of “stripped” screws are really just clogged screws wearing a debris hat.
Press the tool fully into the recess. If it rocks, wiggles, or only contacts the top edge of the socket, do not force it. Try the correct metric or SAE size instead. A properly fitted key should sit deeply and feel almost boringly solid. Boring is excellent here.
Safety and Setup Before Removing a Stripped Hex Screw
Before you reach for cutting wheels, drills, or heroic language, set up the job properly. Wear safety glasses if you are drilling, grinding, tapping metal, or using an extractor. Secure the workpiece so it cannot shift. Disconnect power from appliances, remove batteries from cordless tools, and avoid drilling near wiring, fuel lines, electronics, glass, or delicate finishes.
Place masking tape around the work area if the surrounding surface is painted, polished, or easily scratched. A piece of thin cardboard with a small hole cut into it can also shield nearby surfaces while leaving the screw exposed.
Most important: do not use an impact driver on a badly stripped Allen screw unless the fastener and surrounding material can handle it. Extra power is not always the answer. Sometimes it is simply a faster way to turn a damaged screw into glitter.
Method 1: Use a New Allen Key and Maximum Downward Pressure
If the screw is only partially stripped, this is your best first move. Use a new Allen wrench or a quality hex bit rather than the rounded, worn key that may have caused the problem in the first place. Seat it fully in the screw head, hold it perfectly straight, and apply steady inward pressure while turning counterclockwise.
For more control, use a hex bit in a manual ratchet or screwdriver handle. A long Allen key can provide leverage, but leverage is useful only when the bit is seated squarely. If the tool is tilted, more leverage simply creates more damage.
Try a Nearby Torx Bit for Extra Bite
If the hex socket is too rounded for the correct Allen key, a Torx bit that is slightly larger than the damaged opening may grip the remaining metal. Choose a bit that is large enough to bite but not so large that it spreads or cracks the screw head.
Place the Torx bit into the recessed socket and tap it gently with a hammer until it seats firmly. Then turn it slowly with a manual driver or ratchet. The pointed lobes of the Torx bit can sometimes grab material that a flat-sided hex key can no longer reach.
This method works best on screws that are not deeply rusted and are likely to be replaced afterward. Consider the screw sacrificed. It has had a difficult day.
Method 2: Add Penetrating Oil for Rusted or Seized Screws
If the Allen screw is rusted, corroded, or seized in metal, the stripped socket may not be the only problem. The threads may also be gripping tightly inside the part. In that case, apply a small amount of penetrating oil around the screw threads or where the screw enters the material.
Let the product sit for several minutes, then try the properly fitted Allen key again. For heavily corroded screws, a longer wait may help. Keep penetrating oil away from electronics, food-contact surfaces, painted finishes that may react to chemicals, and areas where lubricant could contaminate belts, brakes, or adhesives.
After the oil has had time to work, use steady pressure rather than sudden twisting. A small back-and-forth motion can help break corrosion loose. Turn slightly clockwise first, then counterclockwise. The goal is to persuade the threads, not start a feud.
Method 3: Grip the Screw Head With Locking Pliers
If the Allen screw head sits above the surface, locking pliers may be the easiest solution. This method works well for button-head screws, socket cap screws, bolts, and fasteners that have enough exposed edge for the pliers to grab.
- Adjust the locking pliers so they clamp tightly around the outside of the screw head.
- Lock the jaws in place with a firm grip.
- Turn the pliers counterclockwise slowly and steadily.
- Reposition the pliers as needed until the screw backs out.
Do not use ordinary pliers if you can avoid it. Standard pliers tend to slip and chew up the outside of the screw head. Locking pliers create a much more secure grip, especially when the screw is stubborn but not deeply recessed.
Method 4: Cut a New Slot for a Flathead Screwdriver
When the Allen socket is beyond saving but the screw head is accessible, cutting a new slot can turn a ruined hex screw into a usable flathead screw. A rotary tool with a thin metal-cutting wheel is ideal for this method.
How to Cut a Slot Safely
- Protect the surrounding surface with tape, cardboard, or a thin metal shield.
- Wear safety glasses and secure the workpiece.
- Cut one straight slot across the screw head.
- Make the slot deep enough for a flathead screwdriver to seat securely.
- Press the screwdriver firmly into the new slot and turn counterclockwise.
Use a screwdriver that fills the slot as completely as possible. A narrow blade will slip, while an overly wide blade may ride above the slot instead of gripping it. If the screw is still stuck, add penetrating oil first and try again after it has had time to reach the threads.
This method is especially useful for stripped recessed Allen screws in furniture, machinery, bicycles, and household hardware. It is less appropriate for tiny screws in laptops, phones, cameras, or compact electronics, where one careless cut can create a repair bill with its own zip code.
Method 5: Use Epoxy to Bond a Driver to the Screw
For a lightly stuck screw with a damaged socket, epoxy can sometimes create a temporary custom drive. This method is best for small screws that do not require much breakaway torque and are surrounded by materials that will not be damaged by adhesive.
Place a tiny amount of two-part epoxy into the stripped Allen socket. Cover the tip of a flathead screwdriver or suitable bit with a thin layer of painter’s tape so the tool can release later, then carefully press it into the epoxy-filled socket. Allow the epoxy to cure fully according to its directions before attempting to turn the screw.
Use slow, steady pressure. Do not try this on a rusted, high-torque, or heavily thread-locked screw. The epoxy bond may fail, and you may end up with adhesive where it absolutely does not belong. Epoxy is a clever assistant, not a miracle worker in a cape.
Method 6: Drill With a Left-Hand Bit or Screw Extractor
A screw extractor is one of the most reliable tools for removing a stripped Allen screw that is flush with the surface. Extractor kits typically include a drilling end and a reverse-threaded removal end. The drill creates a pilot hole, while the extractor bites into that hole and turns the screw out counterclockwise.
How to Use a Screw Extractor
- Choose an extractor sized for the screw diameter.
- Mark the center of the screw head with a center punch if possible.
- Use the kit’s recommended drill bit to create a shallow pilot hole.
- Set the drill to reverse.
- Insert the extractor and run it slowly in reverse until it grips and backs out the screw.
Go slowly. An extractor works best when it stays centered and bites gradually. If you apply too much force, the extractor can snap inside the screw. That is not impossible to fix, but it is the mechanical equivalent of locking your keys inside a locked safe.
A left-hand drill bit can also be helpful. Because it cuts while rotating counterclockwise, it may loosen and remove the screw before an extractor is needed. This is often a smart option for medium-size metal screws with damaged sockets.
Method 7: Drill Off the Screw Head
When all else fails, drilling off the head may be the practical last resort. This does not remove the entire screw immediately. Instead, it removes the screw head so the attached part can be lifted away. Once the part is removed, enough of the remaining screw shaft may be exposed to grip with locking pliers.
Use a drill bit slightly larger than the screw shank but smaller than the screw head. Drill into the center of the head until the head separates from the shaft. Remove the attached bracket, panel, hinge, or component, then grip the exposed shaft and turn it out with locking pliers.
Take extra care when drilling into soft wood, plastic, aluminum, thin sheet metal, or anything near wiring. If the screw is part of a brake system, structural connection, safety device, pressure vessel, electrical enclosure, or expensive equipment, stop and consider taking the item to a repair professional.
What Not to Do When Removing a Stripped Allen Screw
Some popular tricks work only occasionally, while others create more trouble than they solve. Avoid using a rubber band as your main strategy for a deeply recessed Allen socket. Rubber bands can help with shallow Phillips screws, but they usually cannot fill a rounded hex recess well enough to provide reliable grip.
Do not keep trying different loose-fitting Allen keys. Every failed attempt removes more metal from the socket. Do not lean hard on a long wrench at an angle. Do not use excessive heat near plastic, paint, adhesives, batteries, fuel, or electronics. And do not keep escalating after the screw becomes too damaged for the current method.
The smartest move is often to pause, choose the next method deliberately, and protect the surrounding object. Removing one screw is cheaper than replacing a damaged chair frame, appliance panel, bicycle component, or machine housing.
How to Prevent Allen Screws From Stripping Again
Once the stubborn screw is out, replace it with a new fastener whenever possible. A damaged screw head is not a trustworthy long-term teammate. Choose the correct size, thread type, length, and material for the application.
Simple Prevention Habits
- Use the exact Allen key size instead of a close substitute.
- Clean the hex socket before inserting the tool.
- Seat the key fully before applying torque.
- Keep the wrench straight and aligned with the screw.
- Use a high-quality hex key or bit with crisp edges.
- Avoid using ball-end Allen keys for high-torque loosening.
- Apply thread locker only when the application calls for it.
- Stop immediately if the tool begins to slip.
A stripped Allen screw is usually the result of a mismatch between tool, torque, corrosion, angle, or impatience. Sometimes all five show up together, like an unwanted DIY reunion. Better preparation makes the next repair faster, safer, and far less theatrical.
Experience-Based Lessons From Removing Stripped Allen Screws
People who regularly repair furniture, bicycles, appliances, workshop tools, and household fixtures tend to learn the same lesson: the first thirty seconds matter more than the next thirty minutes. Most stripped Allen screws do not become disasters because the screw was impossible from the start. They become disasters because someone noticed the tool slipping and decided to “give it one more try.” That one more try is often where the crisp six-sided socket becomes a smooth little cave.
One common experience involves flat-pack furniture. A person uses the small L-shaped hex key included in the box, rushes through assembly, and tightens several screws while the parts are slightly misaligned. Later, one screw needs to be removed for an adjustment, but the soft key and soft screw have already worn each other down. In these cases, a fresh hex bit in a manual screwdriver handle often succeeds before any dramatic method is necessary. The tool from the furniture package is fine for light assembly, but it is rarely the superhero of the hardware world.
Bicycle repairs create another familiar scenario. A stripped Allen bolt may appear on a seat clamp, bottle cage, stem, brake component, or accessory mount. Here, patience matters because some bicycle parts are aluminum, carbon fiber, or safety-critical. A locking plier may work on an exposed bolt, but cutting or drilling near a carbon component can cause expensive damage. When a fastener is connected to steering, braking, suspension, or a structural part, the safest experience-based rule is simple: remove the damaged hardware carefully, then use the correct replacement bolt and torque specification. A bargain shortcut is not a great trade when gravity is part of the project.
Appliance and machinery repairs often reveal the value of cleaning the socket first. Dust, paint, grease, corrosion, and old thread locker can make a good Allen key feel loose. A small pick and a few seconds of cleaning may allow the proper key to sit fully. That tiny step can save an extractor, a drill bit, and a lot of frustrated sighing. It also helps to inspect the key itself. Hex keys wear down gradually, so a tool that looks normal at a glance may have rounded edges that no longer grip effectively.
Another useful lesson is knowing when not to use more force. If a screw will not move after a careful attempt with the correct tool, adding a longer handle may feel logical. Sometimes it works. Other times it twists the tool, rounds the socket, breaks the screw, damages the surrounding material, or injures the person holding it. Controlled escalation is more effective than raw strength. Try penetrating oil for corrosion, a tapped-in Torx bit for a damaged socket, pliers for a raised head, a cut slot for accessible screws, and an extractor for flush screws.
Finally, experienced DIYers usually keep a small “rescue kit” ready: quality hex bits, locking pliers, a center punch, left-hand drill bits, a compact screw extractor set, a rotary tool, safety glasses, masking tape, and replacement screws. Having the right tool nearby changes the mood of the job. Instead of improvising with the wrong wrench, a butter knife, and optimism, you can use a method that matches the problem. That is the real secret to removing a stripped Allen screw: stay calm, protect the part, and make the screw surrender one careful step at a time.
Note: Disconnect electrical power or remove batteries before working near powered equipment. For safety-critical, structural, automotive brake, fuel-system, or electronic repairs, professional service may be the safer option.
Conclusion
Learning how to remove a stripped Allen screw is less about one magic trick and more about choosing the right level of force for the problem. Begin with a fresh, correctly sized Allen key and a clean socket. Move to a tapped-in Torx bit, penetrating oil, locking pliers, a cut slot, epoxy, or a screw extractor only when the previous method is no longer realistic.
Take your time, keep the tool straight, and replace the damaged screw once it is out. With the right approach, even a stubborn stripped hex screw can become a minor detour instead of the moment your project starts speaking in profanity.