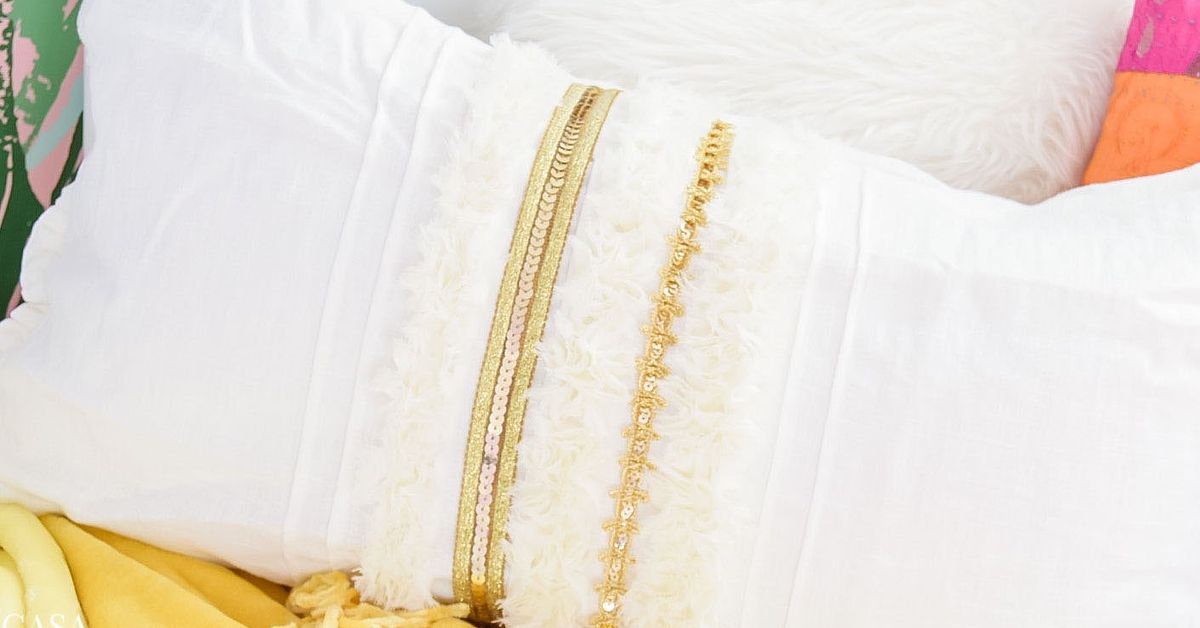

A tired throw pillow is not trash; it is simply waiting for better accessories. With fabric paint, a simple geometric motif, a little embroidery, and a few tassels, an ordinary cushion can become a richly layered accent that looks collected rather than mass-produced. This DIY Moroccan inspired pillow makeover is designed for beginners, renters, budget decorators, and anyone whose sofa has been quietly begging for personality.
Moroccan decorative arts are remarkably diverse, drawing on Amazigh, Arab, Andalusian, Saharan, and other regional traditions. Textiles and architectural surfaces often feature repetition, symmetry, diamonds, stars, grids, botanical forms, embroidery, and tactile trim. This project borrows from that broad visual language respectfully without pretending to reproduce an authentic regional textile. Think “inspired by,” not “purchased during an imaginary shopping trip through Marrakech.”
The method is flexible: update a removable pillow cover you already own, sew a new envelope cover, or transform inexpensive cotton canvas. Keep the palette calm and earthy, go bold with jewel tones, or combine black and cream for a modern look. The secret is not using every color and embellishment in the craft drawer. Moroccan-inspired style loves abundance, but successful abundance still needs an editor.
Why This Pillow Makeover Works
A small pillow is an ideal place to experiment with pattern because the commitment is low and the visual payoff is high. Geometric motifs provide structure, while yarn, tassels, and hand stitching add softness and dimension. The result works with bohemian, eclectic, global, modern, desert-inspired, and even minimalist interiors.
This makeover also encourages reuse. A flattened insert can often be refreshed with new filling, while a plain cover can be cleaned and decorated instead of replaced. Removable covers are especially practical because they can be washed, stored, and changed seasonally. One pillow insert can have more outfit changes than a pop star on tour.
Materials and Tools
- A clean removable pillow cover, preferably cotton, linen, or cotton canvas
- A pillow insert that fits the cover
- Fabric paint or acrylic paint mixed with textile medium
- A geometric stencil, handmade template, or removable adhesive stencil
- A stencil brush, foam dauber, or small dense sponge
- Painter’s tape or repositionable stencil adhesive
- Cardboard, freezer paper, or a plastic sheet for the inside of the cover
- A ruler, fabric pencil, chalk, and measuring tape
- Embroidery floss, pearl cotton, or contrasting yarn
- A hand-sewing needle and coordinating thread
- Four ready-made tassels or yarn for making your own
- Scissors, an iron, a pressing cloth, and pins
Choose the Right Pillow Cover
Medium-weight natural fabric is the easiest surface for a fabric paint pillow project. Cotton canvas stays relatively stable while stenciling, linen gives the finished pillow a relaxed texture, and cotton duck offers a sturdy, substantial feel. Very stretchy knits can distort the pattern, while heavily textured upholstery fabric may create broken paint edges.
Read the care label before doing anything heroic. If the cover is washable, prewash and dry it without fabric softener, then press it smooth. Prewashing removes finishes that may interfere with paint adhesion and helps prevent shrinkage after the design is complete. If the cover is marked spot-clean only, test every product on a hidden seam.
Build a Focused Color Palette
Choose two or three colors already present in the room. A cohesive color story allows several patterns to live together without turning the sofa into a fabric argument. Useful Moroccan-inspired combinations include:
- Warm white, black, and camel for a modern neutral pillow
- Terracotta, dusty rose, and cream for a sunbaked palette
- Indigo, soft white, and ochre for a graphic artisan look
- Emerald, sapphire, and muted gold for jewel-toned drama
- Rust, olive, and charcoal for an earthy living room
For the easiest makeover, use one paint color and let the tassels provide the second accent. Limited color makes imperfect handwork look intentional, which is excellent news for those of us whose “perfectly straight line” occasionally takes a scenic route.
Step-by-Step DIY Moroccan Inspired Pillow Makeover
-
Prepare the Fabric
Remove the pillow insert. Wash, dry, and iron the cover if its care instructions allow. Place cardboard, freezer paper, or plastic inside so paint cannot bleed through to the back. Smooth the fabric without stretching it, then tape the cover to the work surface along the edges to keep it steady.
-
Plan the Geometric Pillow Design
Before opening the paint, decide how the pattern will sit. Center a large diamond medallion for a bold focal point, repeat smaller shapes across the entire front, or create three horizontal bands inspired by woven textiles. Use a ruler and fabric pencil to mark the center and establish light guide lines.
Repetition and symmetry create the strongest Moroccan-inspired effect. Simple diamonds, eight-point stars, stepped triangles, crosses, dots, and broken stripes can look sophisticated when arranged consistently. Avoid copying a culturally significant symbol you do not understand. Abstract geometry offers plenty of beauty without turning the project into accidental symbolism.
-
Test the Paint and Stencil
Practice on a fabric scrap with a similar weave. Secure the stencil, load the brush, and remove most of the paint onto a paper towel. A nearly dry brush produces crisper edges than a dripping one. Apply paint with gentle vertical tapping rather than sweeping sideways, which can push color beneath the stencil.
Check the dried test for stiffness, opacity, and bleeding. If the paint feels like a plastic name tag attached to the fabric, the layer is too thick. Add color in two light passes instead of one heavy coat.
-
Stencil the Main Pattern
Position the stencil using the center marks. Hold it firmly or secure it with painter’s tape. Dab from the outside of each opening toward the center, keeping pressure light. Lift the stencil straight up while the paint is still wet, then wipe its back before repeating the motif.
If the design covers the whole pillow, work from the center outward and allow adjacent sections to dry before overlapping the stencil. Slight irregularities can enhance the handmade character, but large smudges are less charming. Keep a damp cotton swab nearby for quick cleanup.
-
Add Hand-Stitched Details
Once the paint is fully dry, outline selected shapes with running stitch, backstitch, or small cross-stitches. You do not need to trace every painted line. A few strategic rows of embroidery create dimension and make the stenciled cushion look more considered.
Try cream thread over indigo paint, black thread over terracotta, or golden ochre thread over a neutral base. Knot securely on the inside and keep the tension even so the fabric does not pucker. If embroidery is not your thing, stitch on narrow woven trim, decorative cord, or a line of small fabric pom-poms.
-
Make and Attach Tassels
Wrap yarn around a piece of cardboard 30 to 50 times, depending on the desired fullness. Slide a separate strand beneath the wrapped yarn and tie it tightly at the top. Remove the bundle from the cardboard, tie another strand around the neck, cut the bottom loops, and trim the ends.
Hand-sew one tassel to each corner using strong thread. Pass the needle through the tassel head and the pillow seam several times, then knot the thread inside the cover. Corner tassels should move, but they should not be able to escape when someone dramatically flops onto the couch.
-
Cure the Paint and Reassemble
Follow the paint manufacturer’s drying and heat-setting directions exactly because formulas vary. Some paints require ironing from the reverse side with a pressing cloth; others cure through air drying. Do not rush this step. Paint that feels dry on top may not be ready for washing or heavy use.
After curing, gently press the cover if needed, insert the pillow form, and shape the corners. A slightly larger insert can create a fuller, designer-style appearance, but do not force an oversized form into a delicate zipper or seam.
Three Moroccan-Inspired Design Variations
1. The Modern Atlas Neutral
Start with an ivory or oatmeal linen-look cover. Stencil a centered black diamond surrounded by short lines and dots. Add two rows of black running stitch and chunky cream tassels. This restrained version pairs well with leather seating, pale wood, woven baskets, and black metal accents.
2. The Courtyard Jewel Pillow
Use a deep teal or emerald cover with a repeating cream star stencil. Add small accents in muted gold fabric paint and finish with rust-colored tassels. Keep the embroidery minimal because the palette already provides plenty of drama. Place it beside solid velvet pillows so the pattern has room to breathe.
3. The Sunbaked Terracotta Cushion
Choose warm white cotton canvas and paint horizontal bands of terracotta diamonds, black dashes, and ochre dots. Add irregular hand stitching in rust thread and tassels made from mixed neutral yarn. This version looks especially good with jute, rattan, vintage wood, clay pottery, and leafy plants.
Common Mistakes to Avoid
Using Too Much Paint
Excess paint causes stiff fabric, fuzzy edges, and bleed-through. Load the stencil brush sparingly and build opacity gradually. The goal is dyed-looking softness, not a decorative paving stone.
Skipping the Test Swatch
Fabric weave, paint thickness, and stencil material all affect the result. Five minutes of testing can prevent an hour of muttering at a smudged pillow.
Ignoring Pattern Alignment
Even a loose handmade motif benefits from guide marks. Measure the center, mark repeat points, and occasionally step back. Close-up crafting vision can convince you everything is straight right until you hold the pillow at arm’s length.
Overdecorating Every Surface
Paint, embroidery, fringe, beads, mirrors, pom-poms, and tassels can all be beautiful, but they do not all need to attend the same pillow. Choose one main pattern, one supporting stitch, and one trim treatment.
Attaching Trim with Weak Glue
Hot glue is fast but may become brittle, show through yarn, or release during cleaning. For a durable tassel pillow, sew the trim securely. Fabric glue can assist with positioning, but stitching should do the structural work.
How to Style the Finished Pillow
Mix the makeover with solid pillows and one additional pattern at a different scale. For example, pair a medium-scale geometric pillow with a solid velvet cushion and a wide-striped lumbar pillow. Repeating one or two colors across the group creates harmony.
Vary texture as well as pattern. Linen, velvet, nubby cotton, leather, woven wool, and tassels add depth without requiring more prints. On a standard sofa, an odd-numbered arrangement often feels relaxed: two larger solid pillows, two patterned pillows, and one lumbar cushion. On a bed, place the Moroccan-inspired pillow in front where its detail can be seen rather than burying it behind a battalion of sleeping pillows.
Let the cushion connect with nearby objects. Echo its terracotta paint in a clay vase, its indigo in framed art, or its cream tassels in a woven throw. This makes the pillow feel like part of the room rather than a craft project that wandered in looking for snacks.
Cleaning and Long-Term Care
Always follow the strictest care instruction among the fabric, paint, thread, and trim. Remove the insert before cleaning. Spot cleaning is safest for heavily embellished covers, while a washable cotton cover with securely cured fabric paint may tolerate a gentle cycle. Turn the cover inside out, use mild detergent, avoid bleach, and air-dry when possible.
Comb tassels gently with your fingers and trim only obvious stray fibers. Store spare covers clean and completely dry. Fold them loosely rather than crushing the tassels under heavier linens.
Experience Notes: What a Realistic Weekend Makeover Usually Teaches You
The first surprise in a DIY Moroccan inspired pillow makeover is how much time planning saves. It is tempting to put the stencil down, open the paint, and trust creative destiny. In practice, marking the center and testing one motif on scrap fabric makes the finished pillow noticeably better. A pattern that looks balanced on paper can feel too small once it is placed on an 18-inch cover, so it helps to cut a paper version and view it from across the room.
The second lesson is that paint behaves differently on fabric than it does on a smooth wall. Fabric absorbs moisture, shifts beneath the brush, and proudly records every moment of overenthusiasm. The most reliable technique is to use less paint than seems reasonable. During a typical test, the first impression may look slightly pale, but a second light pass adds depth without creating hard, rubbery patches. Patience wins, which is rude but true.
Stencil cleanup also matters more than expected. After several repeats, a thin film of paint can build up on the underside and print an unwanted halo around the next motif. Wiping the stencil between sections keeps the pattern crisp. When working with multiple colors, finishing one color across the entire pillow before starting the next usually produces a calmer rhythm and fewer accidental fingerprints.
Hand stitching is where the makeover begins to feel personal. Perfectly uniform embroidery can be lovely, but slight changes in stitch length often complement the handmade look. The key is consistent tension. Pulling too tightly puckers the cover; leaving large, loose loops invites snagging. A small embroidery hoop can help on an unassembled cover, although it may be awkward near zippers or bulky seams.
Tassels are another small detail with a surprisingly large learning curve. The first homemade tassel is often either thin and nervous or so full that it resembles a tiny mop. Wrapping yarn around a cardboard guide creates a consistent length, and counting the wraps helps all four corners match. Steam from a garment steamer held at a safe distance can relax bent yarn, but the fiber’s care instructions should come first.
Color can shift once the pillow enters the room. Terracotta may look orange under warm bulbs, while indigo can appear almost black in a dim corner. Checking paint swatches in daylight and evening light prevents surprises. It is also useful to place the unfinished cover beside the sofa, rug, and curtains before adding trim. Sometimes the bold yellow tassel that looked brilliant at the craft table behaves like a highlighter in the living room.
The most satisfying part is that small imperfections rarely ruin the result. A slightly uneven line, a hand-cut tassel, or a visible stitch can make the pillow feel crafted rather than factory-perfect. The trick is repetition: one irregular dot looks accidental, while a row of related irregular dots reads as style. When a mistake cannot be removed, it can often be balanced with another mark elsewhere.
Finally, the project teaches restraint. Once the stencil works, adding more details feels irresistible. Stop periodically, insert the pillow form, and view the cover from several feet away. Many successful makeovers finish one step earlier than expected. A strong pattern, a little thread, and four secure tassels are usually enough to turn a plain cushion into a memorable accent without making it look as though the craft store sneezed on it.
Conclusion
A DIY Moroccan inspired pillow makeover combines simple techniques with rich visual impact. Start with a washable, stable cover; plan a repeated geometric motif; stencil with minimal paint; add selective embroidery; and finish with securely sewn tassels. The project is forgiving, customizable, and ideal for refreshing a room without replacing perfectly useful decor.
The best version will not imitate every Moroccan textile tradition at once. It will take inspiration from geometry, symmetry, color, and handwork, then translate those ideas into a pillow that fits your own home. That balance creates an accent that feels thoughtful, tactile, and genuinely personal.
Note: This project is Moroccan-inspired rather than a reproduction of a specific traditional textile. When possible, learn about the origins of motifs you use and support Moroccan and Moroccan-diaspora artisans whose work preserves living craft traditions.