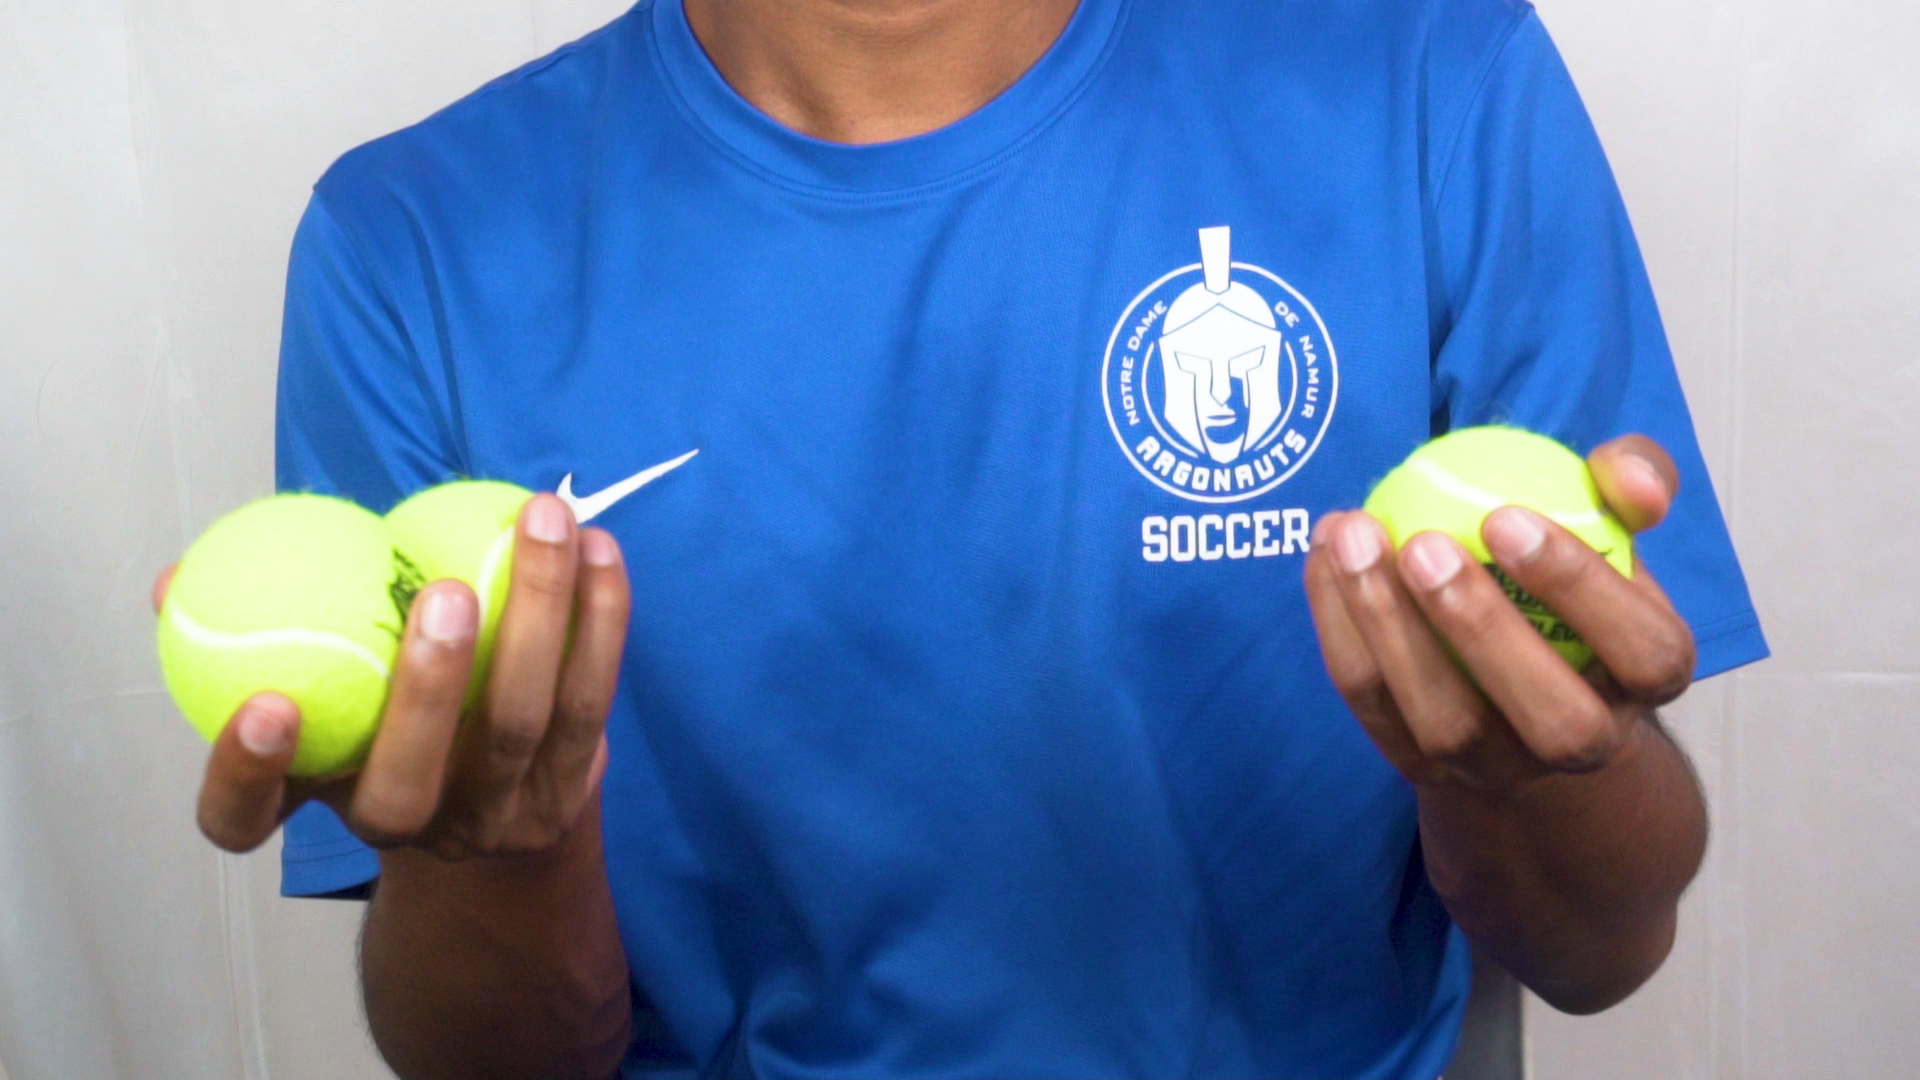

Juggling three balls looks like a tiny physics emergency: objects fly in opposite directions, hands scramble, and the floor becomes strangeot a superhuman talent. It is a sequence of simple, repeatable throws learned one layer at a time.
The secret is to stop thinking about “keeping three balls in the air.” Instead, focus on making one accurate throw, then another. Each ball should travel in a smooth arc from one hand to the other, and every new throw should begin as the previous ball approaches the top of its arc. Once that rhythm clicks, the pattern feels less like panic and more like a relaxed conversation between your hands.
This beginner-friendly guide explains how to juggle three balls in 11 practical steps, including equipment choices, posture, timing, troubleshooting, and realistic practice advice. Clear a little space, recruit three soft objects, and prepare to drop them with increasing sophistication.
What You Need Before You Start
Use three objects that are similar in size and weight. Purpose-made juggling beanbags are ideal because they fit comfortably in the hand and stay where they land. Rolled-up socks also work surprisingly well. Tennis balls are usable, but they bounce and roll after every miss, turning practice into an unwanted cardio program.
Practice in a clear indoor area with a ceiling high enough for throws slightly above eye level. Stand over a bed, couch, rug, or patch of grass when possible. A softer landing zone reduces noise, limits runaway balls, and saves your lower back from hundreds of pickups.
How to Juggle Three Balls in 11 Steps
Step 1: Choose Three Beginner-Friendly Balls
Select three soft balls or beanbags that you can hold without squeezing. They should be large enough to catch easily but small enough that two fit comfortably in one hand. Matching weight matters because your hands learn timing partly from how each object feels.
Avoid hard, highly bouncy, or valuable objects. Apples may look charming in a circus poster, but bruised fruit is a poor teacher. Start with equipment that forgives drops, collisions, and accidental meetings with your forehead.
Step 2: Set Your Posture and Hand Position
Stand with your feet about shoulder-width apart and your knees relaxed. Keep your shoulders down, elbows near your sides, and forearms roughly parallel to the floor. Hold your hands around waist height with the palms facing upward and slightly inward.
Your hands should remain in front of your body rather than drifting toward your chest. Good juggling uses compact forearm and wrist movements. If your arms begin making windmill circles, pause and reset; you are learning the cascade, not signaling an aircraft.
Step 3: Learn the One-Ball Cross Throw
Hold one ball in your dominant hand. Toss it toward the opposite hand in a gentle arc, aiming for a peak around eye level or slightly above it. The ball should cross near the centerline of your body and land in the other hand without forcing you to reach.
Throw it back using the same path. Practice until both hands can make nearly identical arcs. Watch the highest point of the throw rather than tracking the ball all the way into your hand. Peripheral vision is good enough for the catch, and keeping your gaze up helps you read the whole pattern.
Step 4: Fix Forward, Sideways, and Wild Throws
If the ball travels forward, your palm is probably pushing outward. Imagine tossing it up along an invisible wall in front of you. If the ball stays on the same side of your body, aim slightly farther across the center. If it shoots too high, soften the throw instead of trying to catch faster.
A useful drill is to stand facing a wall, leaving enough room for your forearms. The wall discourages forward throws. Do not stand so close that every toss becomes a renovation project.
Step 5: Practice Two Balls, One Throw at a Time
Hold one ball in each hand. Toss the first ball from your dominant hand toward the opposite side. As it nears the top of its arc, throw the second ball underneath it toward the now-empty dominant hand. Catch the first ball, then catch the second.
The sequence is “throw, throw, catch, catch,” not “throw, catch, panic, launch.” The second ball must leave before the first arrives. Practice stopping after those two catches. Starting from both sides prevents your non-dominant hand from becoming the employee who somehow misses every training session.
Step 6: Make the Two-Ball Arcs Match
Your two throws should reach similar heights and cross without colliding. The first ball travels toward the opposite hand; the second passes underneath it in the other direction. Think of two evenly shaped arches sharing the same center.
If the balls collide, you may be throwing the second too early or aiming both through the same point at the same time. Wait until the first ball approaches its peak, then send the second under it. Count aloud“one, two, catch, catch”to steady the rhythm.
Step 7: Hold Two Balls Correctly in One Hand
Place two balls in your dominant hand and one in the other. In the two-ball hand, hold the first ball near your fingertips and the second closer to your palm. You should be able to release the fingertip ball without accidentally launching both.
Test the grip by tossing only the front ball across and catching it. Adjust until the remaining ball stays secure but relaxed. A death grip creates tension; an overly loose grip creates a surprise two-for-one special.
Step 8: Perform a Three-Throw Flash
Start with two balls in your dominant hand. Toss the front ball across. Near its peak, throw the single ball from your other hand underneath it. Near the second ball’s peak, throw the remaining ball from your dominant hand. Then catch all three and stop.
This is called a three-ball flash: three throws followed by three catches. Do not worry about continuing yet. Your goal is to create three clean, alternating arcs while preserving enough space for each catch. Practice starting with either hand.
Step 9: Add a Fourth Throw
Once the flash feels controlled, continue for one extra toss. After the first ball lands in your non-dominant hand, throw it again as the next ball reaches its peak. Then collect the remaining balls.
Adding one throw at a time is more productive than attempting a heroic 30-second run. The body learns a continuous motor skill through accurate repetitions, and gradual increases in difficulty help beginners isolate timing, sequencing, and throw control. 10: Build a Continuous Three-Ball Cascade
Keep alternating hands. Each time a ball approaches its peak, throw the ball currently waiting in the opposite hand. That throw clears the hand so it can catch the descending ball. At any normal moment, one ball is held in each hand while the third travels through the air.
Use the cue “throw, throw, throw” rather than “catch, catch, catch.” Catching is mostly the result of accurate throws. Keep your hands low and quiet, and let the balls do the traveling. The standard cascade sends every ball from one side to the other in alternating arcs. 11: Increase Your Record Without Losing Form
Count catches or throws and build gradually: 5, 10, 20, then 30. Stop a practice attempt when your form collapses rather than chasing balls across the room. A clean run of 12 throws teaches more than a chaotic run of 40 accompanied by lunges, spins, and negotiations with nearby furniture.
Practice for 10 to 15 focused minutes, take a break, and return later. Short sessions protect your concentration and make it easier to notice specific errors. Rest also matters in motor learning; research has found that sleep, including a post-practice nap in one study, can support later juggling performance.
Common Juggling Problems and Quick Fixes
The Balls Keep Moving Forward
Keep your elbows closer to your ribs and aim upward rather than outward. Practice beside a bed or facing a wall. If you must walk forward to continue, the problem is almost always the throw, not slow feet.
The Balls Collide in Midair
Wait slightly longer before the next throw and create distinct arcs. The outgoing ball should pass underneath the previous one, not challenge it to a duel in the center.
One Hand Throws Higher Than the Other
Return to one-ball practice and compare both sides. Most beginners trust their dominant hand and rush the other. Give the weaker hand extra repetitions, but keep the target height the same.
You Keep Grabbing Instead of Catching
Relax your fingers and receive the ball into the center of your palm. A soft catch reduces rebounds and tension. Think “cushion,” not “capture.”
You Can Do Three Throws but Cannot Continue
Focus on the fourth throw before increasing the run. Many learners treat the third throw as a finish line and mentally stop. Drill four throws, then five, then six until continuing feels ordinary.
How Long Does It Take to Learn Three-Ball Juggling?
Some people produce a rough cascade in one practice session; others need several days or weeks. Progress depends on coordination, practice quality, equipment, and how willing you are to repeat small drills instead of repeatedly attempting the complete pattern.
Do not compare your first hour with a performer’s twentieth year. Juggling is a complex motor skill involving accuracy, prediction, sequencing, and two-hand coordination. Studies of three-ball cascade learning show that beginners improve through practice and can benefit from breaking the skill into progressively harder components. ical milestone is 20 controlled catches without stepping forward. From there, aim for 50, then one minute. Once your cascade is dependable, beginner variations such as juggler’s tennis, the half-shower, and the reverse cascade become realistic next projects.
Practice Experiences: What Learning Three Balls Actually Feels Like
The first surprise is how little the hands seem to cooperate. You understand the instructions perfectly: toss one ball, wait, toss the next. Then the second ball leaves your hand as though it has urgent business in another ZIP code. This is normal. Early practice is less about juggling and more about teaching each hand to produce the same calm arc on command.
One especially useful experience is practicing over a bed. The softer landing does more than reduce noise. It removes the tiny emotional tax of chasing every dropped ball under a chair. When retrieval becomes easy, you attempt more repetitions, stay relaxed, and spend less time wondering why round objects have such strong opinions about baseboards.
Another turning point comes when you stop watching individual balls. At first, your eyes follow one object from release to catch, leaving the other two to operate without supervision. Looking near the top of the pattern changes everything. You begin to see the arches as one moving shape, and catches start happening through peripheral vision. The pattern feels slower even though the balls have not changed speed.
Counting throws also reveals progress that would otherwise be invisible. A learner may believe nothing is improving because every run still ends in a drop. Yet a notebook might show an average of four catches on Monday, seven on Wednesday, and twelve by the weekend. Drops remain part of the picture, but the picture is quietly getting better.
Plateaus are common. You may reach ten catches quickly and then remain there for several sessions. During that period, returning to two-ball drills often helps more than forcing longer attempts. Check whether one hand throws lower, whether your elbows are creeping outward, or whether every fourth toss travels forward. Fixing one small inconsistency can suddenly add ten catches to your record.
It also helps to finish sessions with successful, modest drills. Rather than ending after an ambitious attempt explodes across the room, complete five clean two-ball exchanges or one controlled three-ball flash. That final success reinforces the movement you want and leaves you eager to practice again.
The most memorable moment is the first genuinely continuous cascade. It may last only three seconds, but the rhythm suddenly feels automatic: toss, toss, toss, with no frantic grabbing. Your hands seem to understand the assignment before your conscious mind does. That small breakthrough is addictive because it proves the skill was never magic. It was timing, repetition, and a heroic willingness to pick things up.
After that, improvement becomes a game of refinement. You lower overly high throws, stand more still, soften the catches, and learn to restart after a mistake. Eventually, juggling becomes something you can do while talking, listening to music, or waiting for coffee. The same pattern that once demanded your entire nervous system settles into a comfortable rhythmand you may catch yourself looking for a fourth ball.
Note: Practice with soft props in a clear area, stop if you feel pain or unusual strain, and keep breakable objects outside the drop zone. This guide synthesizes established cascade instruction from juggling educators and organizations together with peer-reviewed motor-learning research. id=”seo-metadata”>
SEO Metadata