
Few computer messages test human patience quite like “Getting Windows ready. Don’t turn off your computer.” It sounds calm, almost polite. Meanwhile, you are staring at the screen like it owes you money. The good news? In many cases, a PC stuck on Getting Windows Ready is not dead, doomed, or secretly plotting against you. It is usually dealing with a delayed Windows update, a corrupted update file, limited storage, a driver conflict, or a startup problem that Windows can often repair with built-in tools.
This guide walks through 9 easy solutions for Getting Windows Ready stuck, starting with the safest fixes and moving toward deeper repair options. The goal is simple: protect your files, avoid unnecessary panic, and get Windows 10 or Windows 11 booting normally again.
Why Windows Gets Stuck on “Getting Windows Ready”
The Getting Windows Ready screen usually appears when Windows is installing updates, configuring system files, preparing a restart, or cleaning up update components. Most of the time, it finishes on its own. But sometimes the process freezes because Windows is waiting on a slow drive, trying to repair damaged files, struggling with low disk space, or handling an update that did not install cleanly.
Common causes include interrupted updates, a nearly full system drive, outdated drivers, third-party security software conflicts, corrupted Windows Update components, damaged system files, external devices causing boot confusion, or a laptop running low on power. In short, Windows is not always stuck because one thing went wrong. Sometimes it is a tiny parade of annoyances wearing the same blue update screen costume.
Before You Start: Protect Your Data First
If your computer has important school files, work documents, photos, projects, or anything you cannot easily replace, think carefully before using reset or reinstall options. Most fixes below are designed to preserve data, but any system repair carries some risk, especially when updates have already failed.
If Windows can still boot into Safe Mode, copy important files to an external drive or cloud storage before trying deeper repairs. If Windows will not boot at all, avoid randomly deleting system folders unless you know exactly what you are doing. Windows may be dramatic, but your files do not need to become collateral damage.
9 Easy Solutions When Windows Is Stuck on Getting Windows Ready
1. Wait Longer Than You Want To
Yes, waiting is boring. It is also the safest first move. Windows updates can take longer than expected, especially on older laptops, hard disk drives, low-storage PCs, or devices that have not been updated in months. A large cumulative update, feature update, or driver package may sit on the same screen for a long time without showing useful progress.
Leave the computer plugged in and give it time. For many users, 30 minutes is normal. One to two hours can still happen on slower machines. If the drive light is blinking, the fan is active, or the device occasionally sounds busy, Windows may still be working. Interrupting it too early can make the problem worse.
However, if the PC has been frozen for several hours with no disk activity, no progress, and no sign of life beyond the message, move to the next solution.
2. Do a Careful Power Restart
When the Getting Windows Ready screen is truly stuck, a forced restart can help Windows roll back or continue the update. Hold the power button for about 10 seconds until the PC shuts down. Wait 30 seconds, then turn it back on. For a desktop, you can also unplug the power cable after shutdown, wait briefly, reconnect it, and start again. For a laptop, keep it connected to the charger.
After restarting, Windows may show messages such as “Undoing changes,” “Working on updates,” or “Preparing Automatic Repair.” Let those processes run. This is Windows trying to recover gracefully, which is better than the operating system throwing its tiny digital hands in the air.
If the same Getting Windows Ready screen returns repeatedly, continue with the recovery options below.
3. Disconnect External Devices
External devices can sometimes interfere with startup or update configuration. Before trying advanced repairs, shut the PC down and disconnect nonessential hardware. Remove USB flash drives, external hard drives, printers, scanners, docking stations, memory card readers, game controllers, and extra monitors. Keep only the keyboard, mouse, power cable, and main display connected.
Turn the computer on again and see whether Windows finishes loading. This fix sounds almost too simple, but it can help when Windows is confused by a connected drive or a device driver that refuses to behave. Think of it as asking Windows to solve the puzzle without twelve extra accessories shouting advice from the sidelines.
4. Use Windows Startup Repair
If Windows will not boot normally, use the Windows Recovery Environment, also called WinRE. On many PCs, you can trigger it by turning the computer off during startup two or three times in a row. Another method, if you can reach the sign-in screen, is to hold Shift while choosing Restart.
Once you are in the recovery menu, go to:
Troubleshoot > Advanced options > Startup Repair
Startup Repair checks for problems that prevent Windows from loading and attempts automatic fixes. It will not solve every update issue, but it is a safe early step because it targets boot problems without requiring you to manually edit system files.
If Startup Repair says it could not repair your PC, do not panic. That message is frustrating, but it does not mean the case is closed. It just means Windows needs a different tool from the repair toolbox.
5. Boot into Safe Mode
Safe Mode starts Windows with a minimal set of drivers and services. That makes it useful when a normal boot is blocked by a bad driver, failed update, startup app, or third-party program. From the Windows Recovery Environment, choose:
Troubleshoot > Advanced options > Startup Settings > Restart
After the restart, press the key for Safe Mode or Safe Mode with Networking. If Windows opens successfully, you have a valuable clue: the core operating system can still load, but something in normal startup is likely causing trouble.
In Safe Mode, try uninstalling recently added apps, disabling suspicious startup items, removing recently installed drivers, or running the Windows Update troubleshooter after returning to normal mode. You can also back up important files while you have access. Safe Mode is not glamorous, but neither is a seatbelt, and both are useful when things get bumpy.
6. Uninstall the Latest Windows Update
If the problem started right after an update, removing the latest update may fix the loop. Windows allows you to uninstall recent quality updates and, in some cases, feature updates from the recovery environment.
Go to:
Troubleshoot > Advanced options > Uninstall Updates
Start with Uninstall latest quality update. Quality updates are the smaller monthly security and reliability updates. If that does not work and the issue began after a major version upgrade, try Uninstall latest feature update.
This is often one of the most effective fixes for a PC stuck on Getting Windows Ready after an update. Once Windows boots again, check Windows Update later, but do not rush. Give the system a moment to breathe. Computers, like people, sometimes need a snack and a quiet corner after a bad update.
7. Use System Restore
System Restore can roll Windows system settings, drivers, and registry changes back to an earlier restore point without removing your personal files. It is especially helpful when the problem began after installing software, drivers, or updates.
From WinRE, choose:
Troubleshoot > Advanced options > System Restore
Select a restore point created before the Getting Windows Ready problem started. Follow the prompts and let Windows complete the restore. Your documents should remain, but apps and drivers installed after that restore point may need to be reinstalled.
If you do not see any restore points, move on. System Restore must be enabled and previously configured to help, and many PCs do not have usable restore points available. It is a great option when present, but not a magic vending machine.
8. Repair System Files with SFC and DISM
Corrupted system files can stop updates from completing and may cause Windows to hang during startup. Windows includes two powerful repair tools: System File Checker and Deployment Image Servicing and Management. Their command-line names are SFC and DISM.
If you can boot into Windows or Safe Mode, open Command Prompt as administrator and run:
DISM repairs the Windows component store that SFC relies on. SFC then scans protected system files and replaces damaged versions when possible. These scans can take time, so let them finish. If SFC reports that it found and repaired files, restart the PC and check whether the Getting Windows Ready loop is gone.
If you are running commands from the recovery environment, drive letters may be different from what you normally see in Windows. That is one reason beginners should be careful with advanced command-line fixes. When in doubt, use Startup Repair, Uninstall Updates, System Restore, or Reset this PC before experimenting with commands found in random corners of the internet.
9. Reset This PC or Reinstall Windows
If nothing else works, use Reset this PC as the final built-in repair option. From the recovery menu, go to:
Troubleshoot > Reset this PC
Choose Keep my files if you want Windows to reinstall while preserving personal files. This option usually removes installed desktop apps and resets many settings, so you may need to reinstall programs afterward. The more aggressive option, Remove everything, wipes personal files and should only be used after backing up anything important.
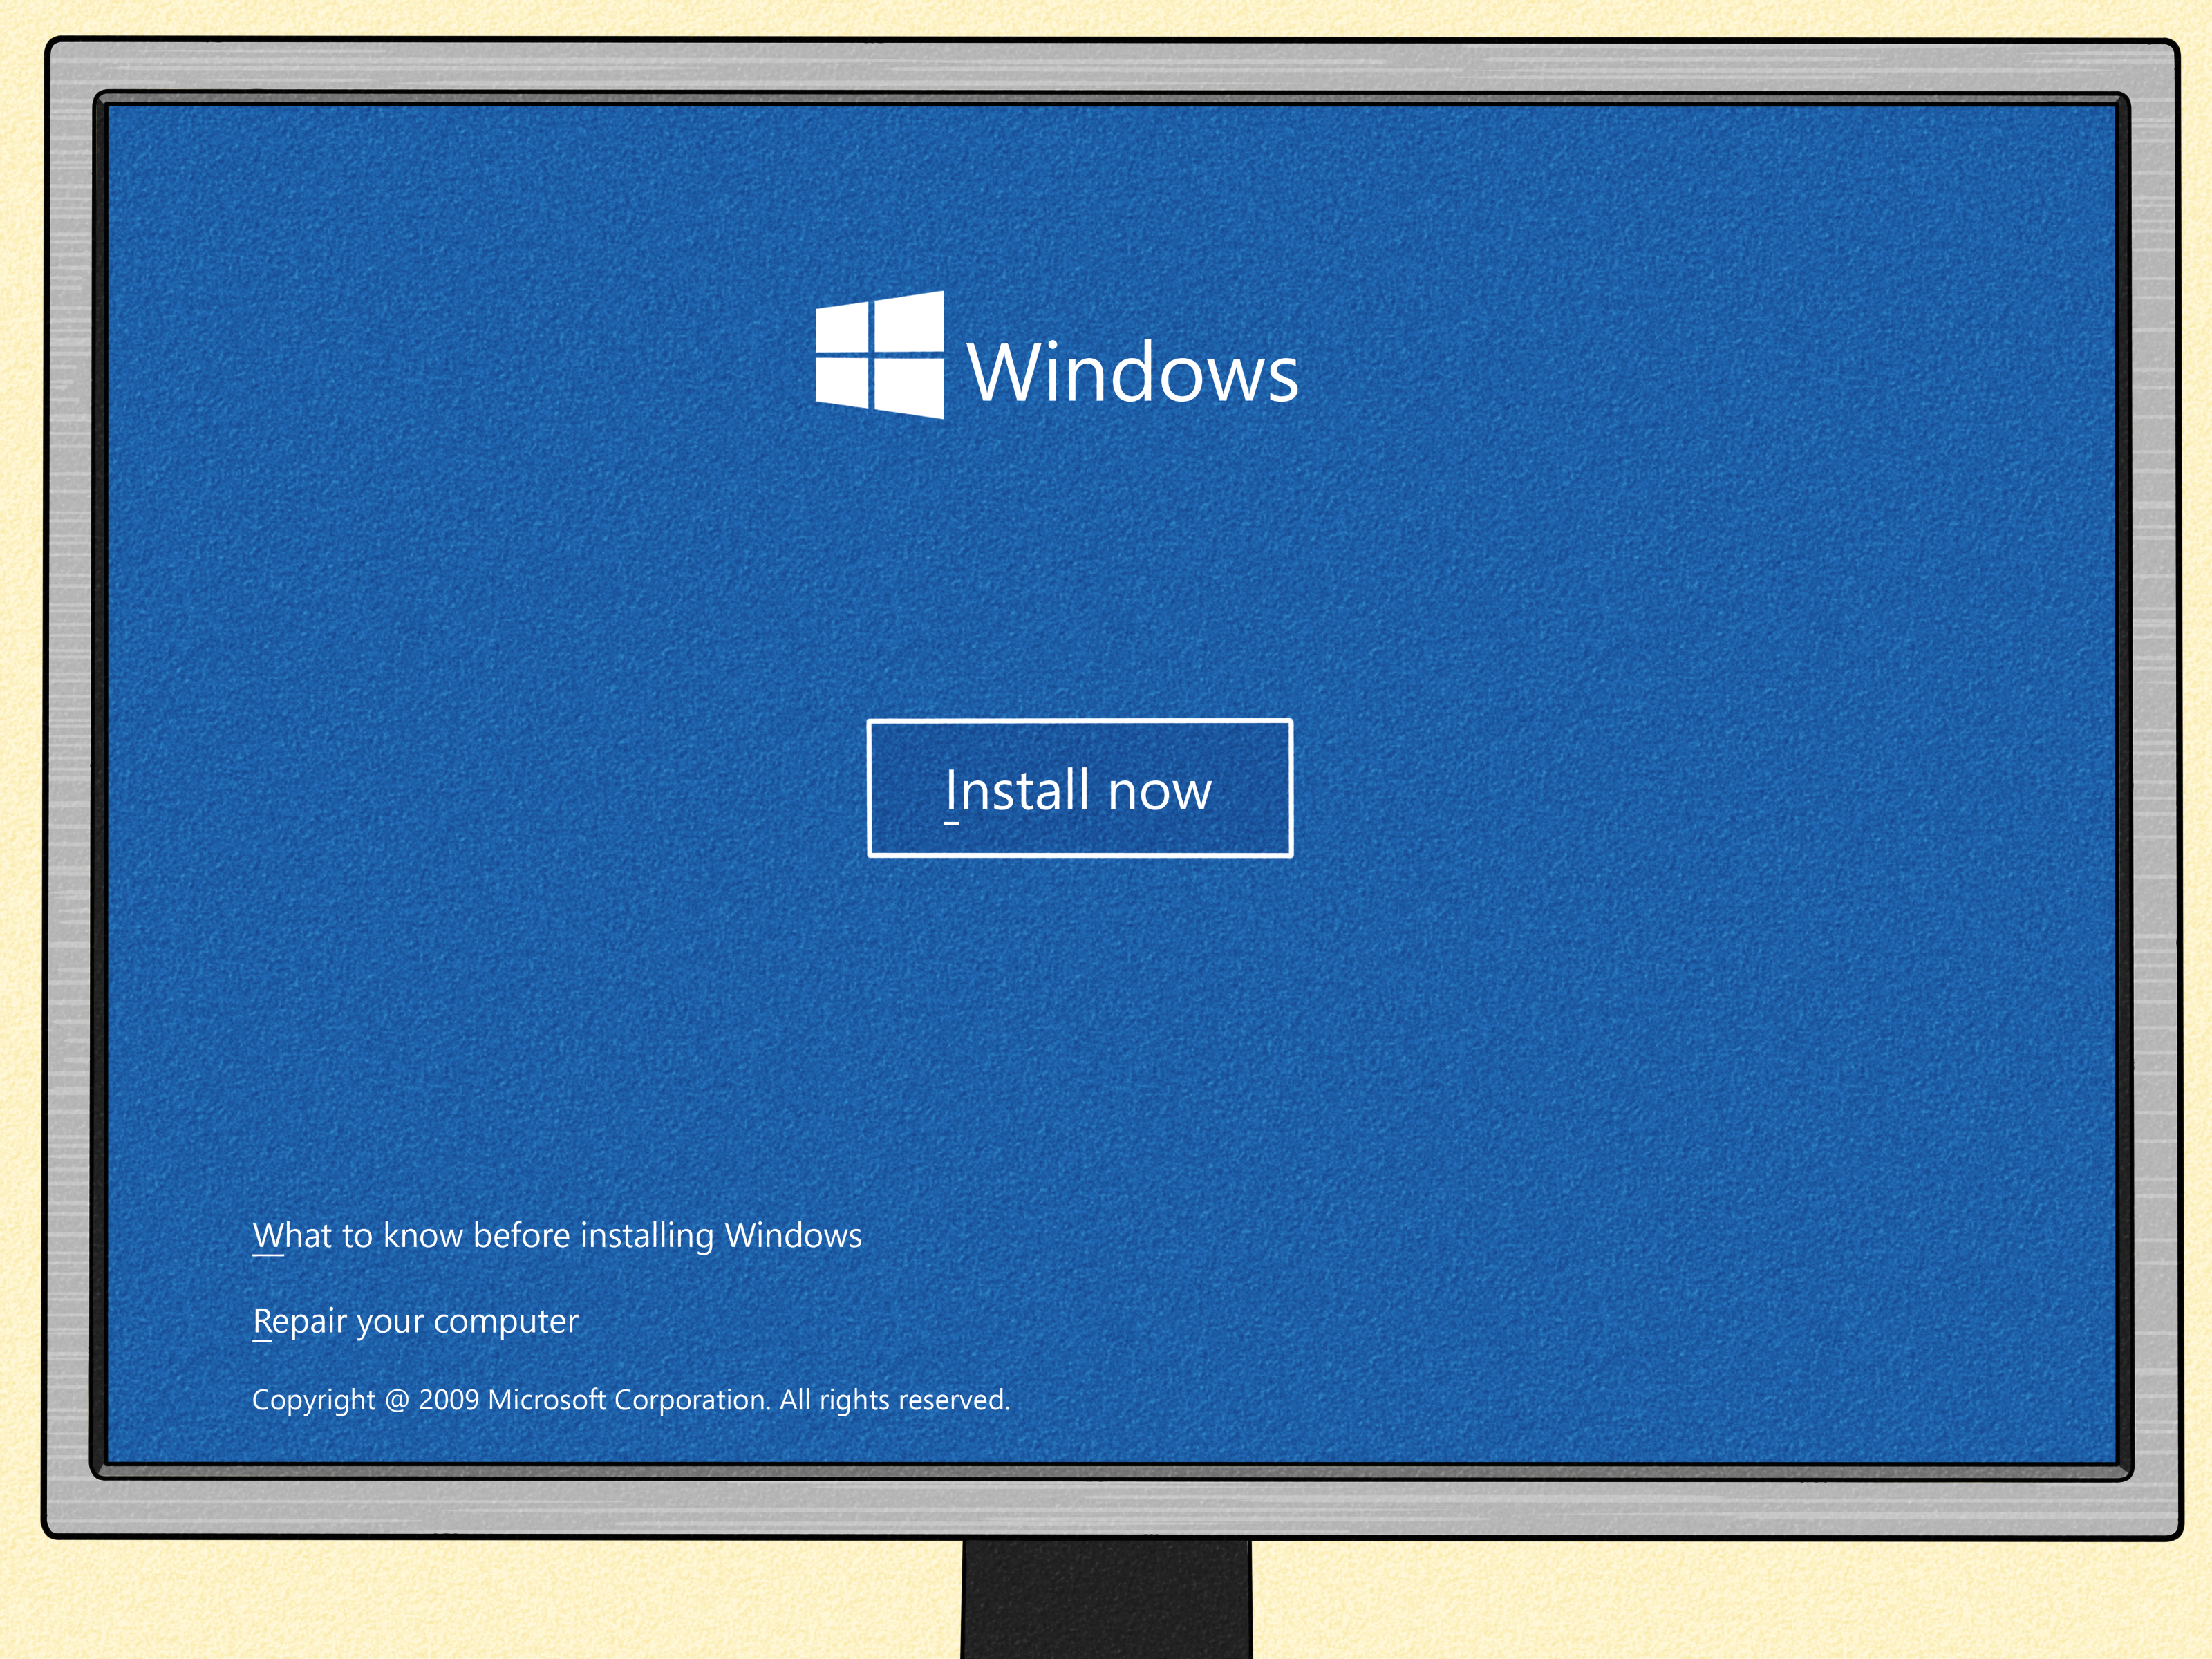
If Reset this PC fails, a clean installation using official Windows installation media may be necessary. That is the “fresh start” approach: effective, but not subtle. Before doing it, back up files whenever possible and make sure you have access to your Microsoft account, product keys, app installers, school or work login details, and Wi-Fi passwords.
What to Do After Windows Finally Starts
Once your PC boots normally, do not immediately celebrate by installing every pending update, driver, and mystery utility at once. First, check your files. Then restart once more to confirm Windows can boot cleanly. After that, open Windows Update and look for error messages.
Free up storage if the system drive is almost full. Windows updates need temporary space to download, unpack, install, and roll back if something goes wrong. A packed drive can turn a normal update into a slow-motion soap opera. Delete temporary files, empty the Recycle Bin, move large videos or downloads to external storage, and uninstall apps you no longer use.
Also update important drivers from trusted sources, especially graphics, chipset, storage, and network drivers. Use your PC manufacturer’s support page when possible. Avoid random driver tools that promise miracle performance boosts. Many of them are digital confetti cannons: exciting for three seconds, messy afterward.
How to Prevent Getting Windows Ready from Getting Stuck Again
Prevention is not as exciting as rescue, but it is much less annoying. Keep your laptop plugged in during major updates. Do not force shut down during update installation unless the system is clearly frozen for a long time. Maintain free disk space, restart regularly, and avoid stacking months of updates into one giant catch-up session.
Create backups before major Windows updates. For important computers, use both cloud backup and an external drive. Consider creating a restore point before installing major drivers or feature updates. Schedule updates during a time when you do not urgently need the computer, because Windows has a special talent for needing “just five more minutes” when you have exactly four.
Real-World Experiences: What This Problem Usually Looks Like
The most common experience with the Getting Windows Ready screen is not instant disaster. It is uncertainty. A user restarts after a normal update, the familiar message appears, and then nothing seems to happen. Ten minutes pass. Then thirty. The mouse does not move, the keyboard does nothing useful, and the screen continues looking calm in a way that feels personally disrespectful.
On older laptops with mechanical hard drives, this screen can be painfully slow. The computer may not be frozen at all; it may simply be reading and writing update files at the speed of a sleepy turtle carrying a backpack. In those cases, waiting can work. The key sign is activity: a blinking drive light, occasional fan noise, or warmth from the machine. If the device still sounds busy, patience is often safer than a forced shutdown.
Another frequent pattern happens on PCs with low storage. The update downloads successfully, but Windows does not have enough room to unpack and configure everything smoothly. The result can be a long delay, a rollback, or a loop that returns to the same message after every restart. After the PC finally boots, users often discover the C: drive has only a few gigabytes free. Windows updates like breathing room. Give them storage space, and they become much less dramatic.
Driver-related cases feel different. The update appears to install, but after restarting, the computer hangs, enters Automatic Repair, or boots only in Safe Mode. This often points to a graphics, storage, chipset, or peripheral driver conflict. Safe Mode is valuable here because it loads Windows with fewer drivers. If Safe Mode works but normal startup does not, the issue may not be the entire operating system. It may be one misbehaving driver acting like it owns the place.
External devices also create surprisingly weird stories. A USB drive left plugged in, a docking station, a printer, or an external hard drive can occasionally slow or confuse startup. Many users spend an hour trying advanced fixes, then solve the issue by unplugging accessories and restarting. It feels too easy, but easy fixes still count. Nobody gets extra points for suffering.
The most stressful cases are update loops. Windows says it is getting ready, restarts, fails, tries to undo changes, restarts again, and lands back in the same place. For these situations, uninstalling the latest update from WinRE is often the turning point. If that fails, System Restore can be the next best option when a restore point exists. When neither works, Reset this PC with Keep my files can rescue the system while avoiding a total wipe, though apps may need to be reinstalled.
The biggest lesson from these experiences is to move from gentle fixes to stronger ones. Wait first. Power restart only after a long freeze. Disconnect devices. Try Startup Repair. Use Safe Mode. Remove the latest update. Repair system files. Reset only when the lighter tools fail. That order protects your files and avoids turning a fixable update hiccup into a weekend-long reinstall adventure.
Conclusion
Being stuck on “Getting Windows Ready” is annoying, but it is usually fixable. Start with patience, then use a careful restart, disconnect external devices, and move into Windows Recovery Environment if needed. Startup Repair, Safe Mode, uninstalling updates, System Restore, SFC, DISM, and Reset this PC give you a practical repair path from mild to serious.
The best strategy is calm troubleshooting. Do not mash buttons. Do not delete random folders because a forum comment sounded confident. And definitely do not assume your PC is ruined just because Windows is taking its sweet time. With the right steps, your computer can often get past the update screen and return to normal life, where it can resume its true purpose: opening 37 browser tabs and pretending that is completely fine.
Note: Always back up important files before using reset, reinstall, or advanced repair options. If the device belongs to a school, workplace, or family member, check with the owner or administrator before making major system changes.
SEO Tags