
Note: This guide is written for homeowners installing a prefabricated shower stall or shower kit. Always follow the instructions that come with your specific product, check local plumbing codes, and bring in a licensed plumber or electrician when the job moves beyond your skill level. Water is wonderful in a shower. It is less wonderful inside your wall cavities.
Introduction: A New Shower Without the Remodeling Meltdown
Learning how to install a shower stall can feel like signing up for a weekend project and accidentally enrolling in plumbing school. There are walls to square, drains to align, panels to trim, sealant to apply, and at least one moment where you stare at the instructions and wonder why the drawing looks nothing like your bathroom. The good news: a prefabricated shower stall is one of the most DIY-friendly ways to upgrade a bathroom, especially compared with building a custom tiled shower from scratch.
A shower stall installation usually involves a shower base or pan, wall panels, a drain assembly, faucet or valve trim, and sometimes a shower door. Some kits are direct-to-stud, meaning they fasten directly to wall framing. Others are glue-up surrounds that attach to moisture-resistant wallboard. The exact steps depend on the kit, but the big ideas are the same: prepare a solid opening, make the base perfectly level, connect the drain correctly, attach the walls securely, seal every water-prone joint, and test before celebrating.
This complete DIY guide walks you through the process in a practical, homeowner-friendly way. No dramatic renovation vocabulary. No pretending this is as easy as hanging a picture frame. Just clear steps, smart tips, and enough real-world detail to help you install a shower stall with confidence.
Before You Start: Choose the Right Shower Stall
The best installation begins before you pick up a drill. Shower stalls come in one-piece, three-piece, four-piece, and multi-panel kits. A one-piece unit can be sturdy and leak-resistant, but it is often too large to move through existing doorways unless you are building new construction or have very generous hallways. Multi-piece shower kits are more common for bathroom remodels because they can be carried through doors and assembled in place.
Common Shower Stall Types
- Direct-to-stud shower stalls: These attach to exposed wall studs with flanges and fasteners. They are ideal when you are gutting the shower area or replacing a tub.
- Glue-up shower surrounds: These are installed over prepared wallboard using panel adhesive. They are often used for simpler cosmetic upgrades.
- Corner shower kits: These fit into a bathroom corner and may include a neo-angle or curved front.
- Alcove shower stalls: These fit between three walls and are common in tub-to-shower conversions.
- Shower base plus wall panels: This setup gives you flexibility because the base and walls may be purchased separately, as long as they are compatible.
Measure the space carefully before buying. Check the width, depth, height, drain location, door swing clearance, and rough opening dimensions. Measure at the top, middle, and bottom of the opening because old walls have a charming habit of not being square. Charming, in this case, means annoying.
Tools and Materials You Will Need
Having the right tools nearby makes the project smoother and reduces the number of emergency hardware-store trips. You may still make one trip, because that is apparently written into the laws of DIY, but you can avoid making five.
Basic Tools
- Tape measure
- Level
- Drill and driver bits
- Hole saw
- Utility knife
- Caulk gun
- Adjustable wrench
- Screwdrivers
- Pry bar
- Stud finder
- Safety glasses and gloves
Materials
- Shower stall kit or shower base and wall panels
- Drain assembly compatible with the shower base
- Manufacturer-approved adhesive, if required
- 100% silicone or approved bathroom sealant
- Shims
- Roofing nails or screws with washers, if allowed by the manufacturer
- Mortar or setting compound, if required for the base
- Plumbing fittings and pipe as needed
- Moisture-resistant wallboard, if installing a glue-up surround
Do not substitute random adhesives or caulks unless the manufacturer says they are compatible. Some shower materials can react poorly with the wrong adhesive, which may cause warping, poor bonding, or discoloration. This is not the time to use the mystery tube you found in the garage from 2017.
Step 1: Shut Off Water and Remove the Old Shower or Tub
Start by turning off the water supply. If the bathroom does not have dedicated shutoff valves, you may need to turn off water to the whole house. Open the faucet to relieve pressure. Remove the existing shower trim, faucet handle, showerhead, wall panels, tile, tub, or old shower base as needed.
Demolition is satisfying, but do it carefully. Avoid damaging plumbing, electrical lines, or framing. Cut away drywall or tile backer only as much as needed. If you are removing a bathtub, disconnect the drain and overflow assembly before trying to move it. Cast iron tubs are extremely heavy, and even acrylic tubs can be awkward. Get help when lifting large pieces.
Once the old fixture is out, inspect the wall studs and subfloor. Look for rot, mold, water stains, soft wood, or damaged framing. Any problem you cover up now will return later with interest, like a very unpleasant home-improvement credit card.
Step 2: Prepare the Shower Opening
The shower opening must match the dimensions required by your shower stall. Check the manual for exact framing measurements, stud placement, and drain location. For direct-to-stud kits, the walls should be plumb, square, and properly spaced. Use a level on every stud. Use a framing square in the corners. If the studs are bowed, twisted, or out of plane, correct them before installing panels.
Check the Subfloor
The subfloor needs to be clean, solid, and level. Remove old adhesive, nails, screws, and debris. Replace damaged plywood. A shower base depends on even support. If the base rocks, flexes, or sits unevenly, it can create squeaks, stress cracks, and drain leaks later.
Some shower bases require a mortar bed for support, while others are designed to sit directly on the subfloor. Follow your product instructions. When mortar is required, spread it evenly in the area where the base will sit, avoiding the drain opening. The goal is full support, not a mountain range under your shower pan.
Step 3: Dry-Fit the Shower Base
Before applying mortar, adhesive, or sealant, dry-fit the shower base. Set it into the opening and confirm that it fits against the studs without forcing. Check that the drain hole lines up with the existing drain pipe. Place a level across the base from side to side, front to back, and diagonally.
If the base is not level, use shims only where the manufacturer allows. Do not shim randomly under unsupported areas unless the instructions permit it. The base should feel stable and fully supported. Step gently inside the pan to check for movement. If it rocks during the dry fit, it will not magically behave once the walls are installed.
Step 4: Install or Adjust the Drain
A proper drain connection is the heart of a leak-free shower stall installation. Your shower base may use a compression-style drain, solvent-weld drain, or another assembly. Install the drain according to the product instructions, using the correct gasket, sealant, washers, and tightening sequence.
Make sure the drain pipe is cut to the required height. Too high, and the base will not sit correctly. Too low, and the drain may not seal. Check that the trap is in good condition and properly aligned. If you are moving the drain location, this is usually the point where a licensed plumber becomes worth every penny.
Quick Drain Tip
Before final installation, cover the drain opening with tape or a rag so screws, washers, and small parts do not fall in. Nothing adds drama to a bathroom remodel like hearing a tiny metal piece disappear into the plumbing.
Step 5: Set the Shower Base
If your shower pan requires mortar, spread the mortar bed as directed. Carefully lower the base into position. Press it down evenly until it seats firmly. Recheck level in multiple directions. Wipe away excess mortar or sealant before it hardens.
Secure the base flange to the studs only as instructed. Many shower bases are fastened with nails or screws placed just above the flange, not through the flat surface of the flange unless the manufacturer specifically says so. Over-tightening can crack the material or distort the base. The goal is to hold the base snugly, not punish it.
Once the base is installed, connect the drain assembly and test it. Pour water into the pan and watch the drain connection from below if you have access. If there is no access from below, inspect carefully around the drain. Do not install walls until you are confident the drain is sealed and the base is stable.
Step 6: Install the Shower Valve and Plumbing
If you are replacing the shower valve, install it before the wall panels go up. The valve depth is critical because the finished wall surface must align with the trim. Most valve bodies include a plaster guard or depth guide. Use it. This little plastic piece may not look important, but it prevents the classic mistake of installing a valve too deep or too far forward.
For shower-only installations, many valve instructions place the valve center around 45 to 48 inches above the shower floor and the shower arm around 78 inches above the floor. These measurements can vary by fixture, user preference, and code, so treat the manufacturer’s instructions as the final authority.
Secure the valve and shower arm drop-ear elbow to solid blocking. Loose plumbing behind a wall can make the handle and showerhead feel wobbly. After connecting hot and cold lines, pressure-test the plumbing before closing the wall. Flush the lines if the valve instructions require it. New plumbing can contain debris that may damage cartridges or restrict flow.
Step 7: Install the Shower Wall Panels
Wall panel installation depends on the type of shower stall. A direct-to-stud shower surround usually locks together and fastens to the studs through nailing flanges. A glue-up surround attaches to prepared wallboard using adhesive. Either way, dry-fit everything first.
Direct-to-Stud Panels
Set the back panel first if your kit requires it, then install the side panels. Many systems use interlocking edges, pins, channels, or tabs. Make sure each panel sits fully into the base and connects tightly to the neighboring panel. Check for plumb as you go.
Fasten through the designated flanges only. Keep fasteners flat and snug, but do not overdrive them. If the panel bows or the flange cracks, you have gone too far. Add shims behind the flange where needed so the panel does not distort when fastened.
Glue-Up Panels
For glue-up shower wall panels, the wall surface must be clean, flat, dry, and compatible with the adhesive. Mark level and plumb reference lines before applying adhesive. Cut holes for the valve and shower arm carefully with a hole saw. Test-fit the panel before gluing it, because adhesive has a way of making every mistake feel more permanent.
Apply adhesive in the pattern recommended by the manufacturer. Press the panel into place, pull it away briefly if instructed to allow the adhesive to flash, then press it back firmly. Use painter’s tape or temporary bracing to hold panels while the adhesive cures. Many installations require waiting before caulking or using the shower.
Step 8: Cut Fixture Holes Carefully
The valve and shower arm holes must be accurate. Measure from fixed reference points, such as the base or panel edge, and transfer those measurements to the panel. Double-check before cutting. Then check again. This is not a motivational quote; it is how you avoid buying a replacement side panel.
Use a hole saw sized so the trim plate will cover the opening without leaving gaps. Cut from the finished side when possible to reduce chipping. For acrylic or fiberglass panels, use steady pressure and avoid forcing the tool. After cutting, test-fit the panel and confirm that the trim covers the holes cleanly.
Step 9: Seal the Seams and Edges
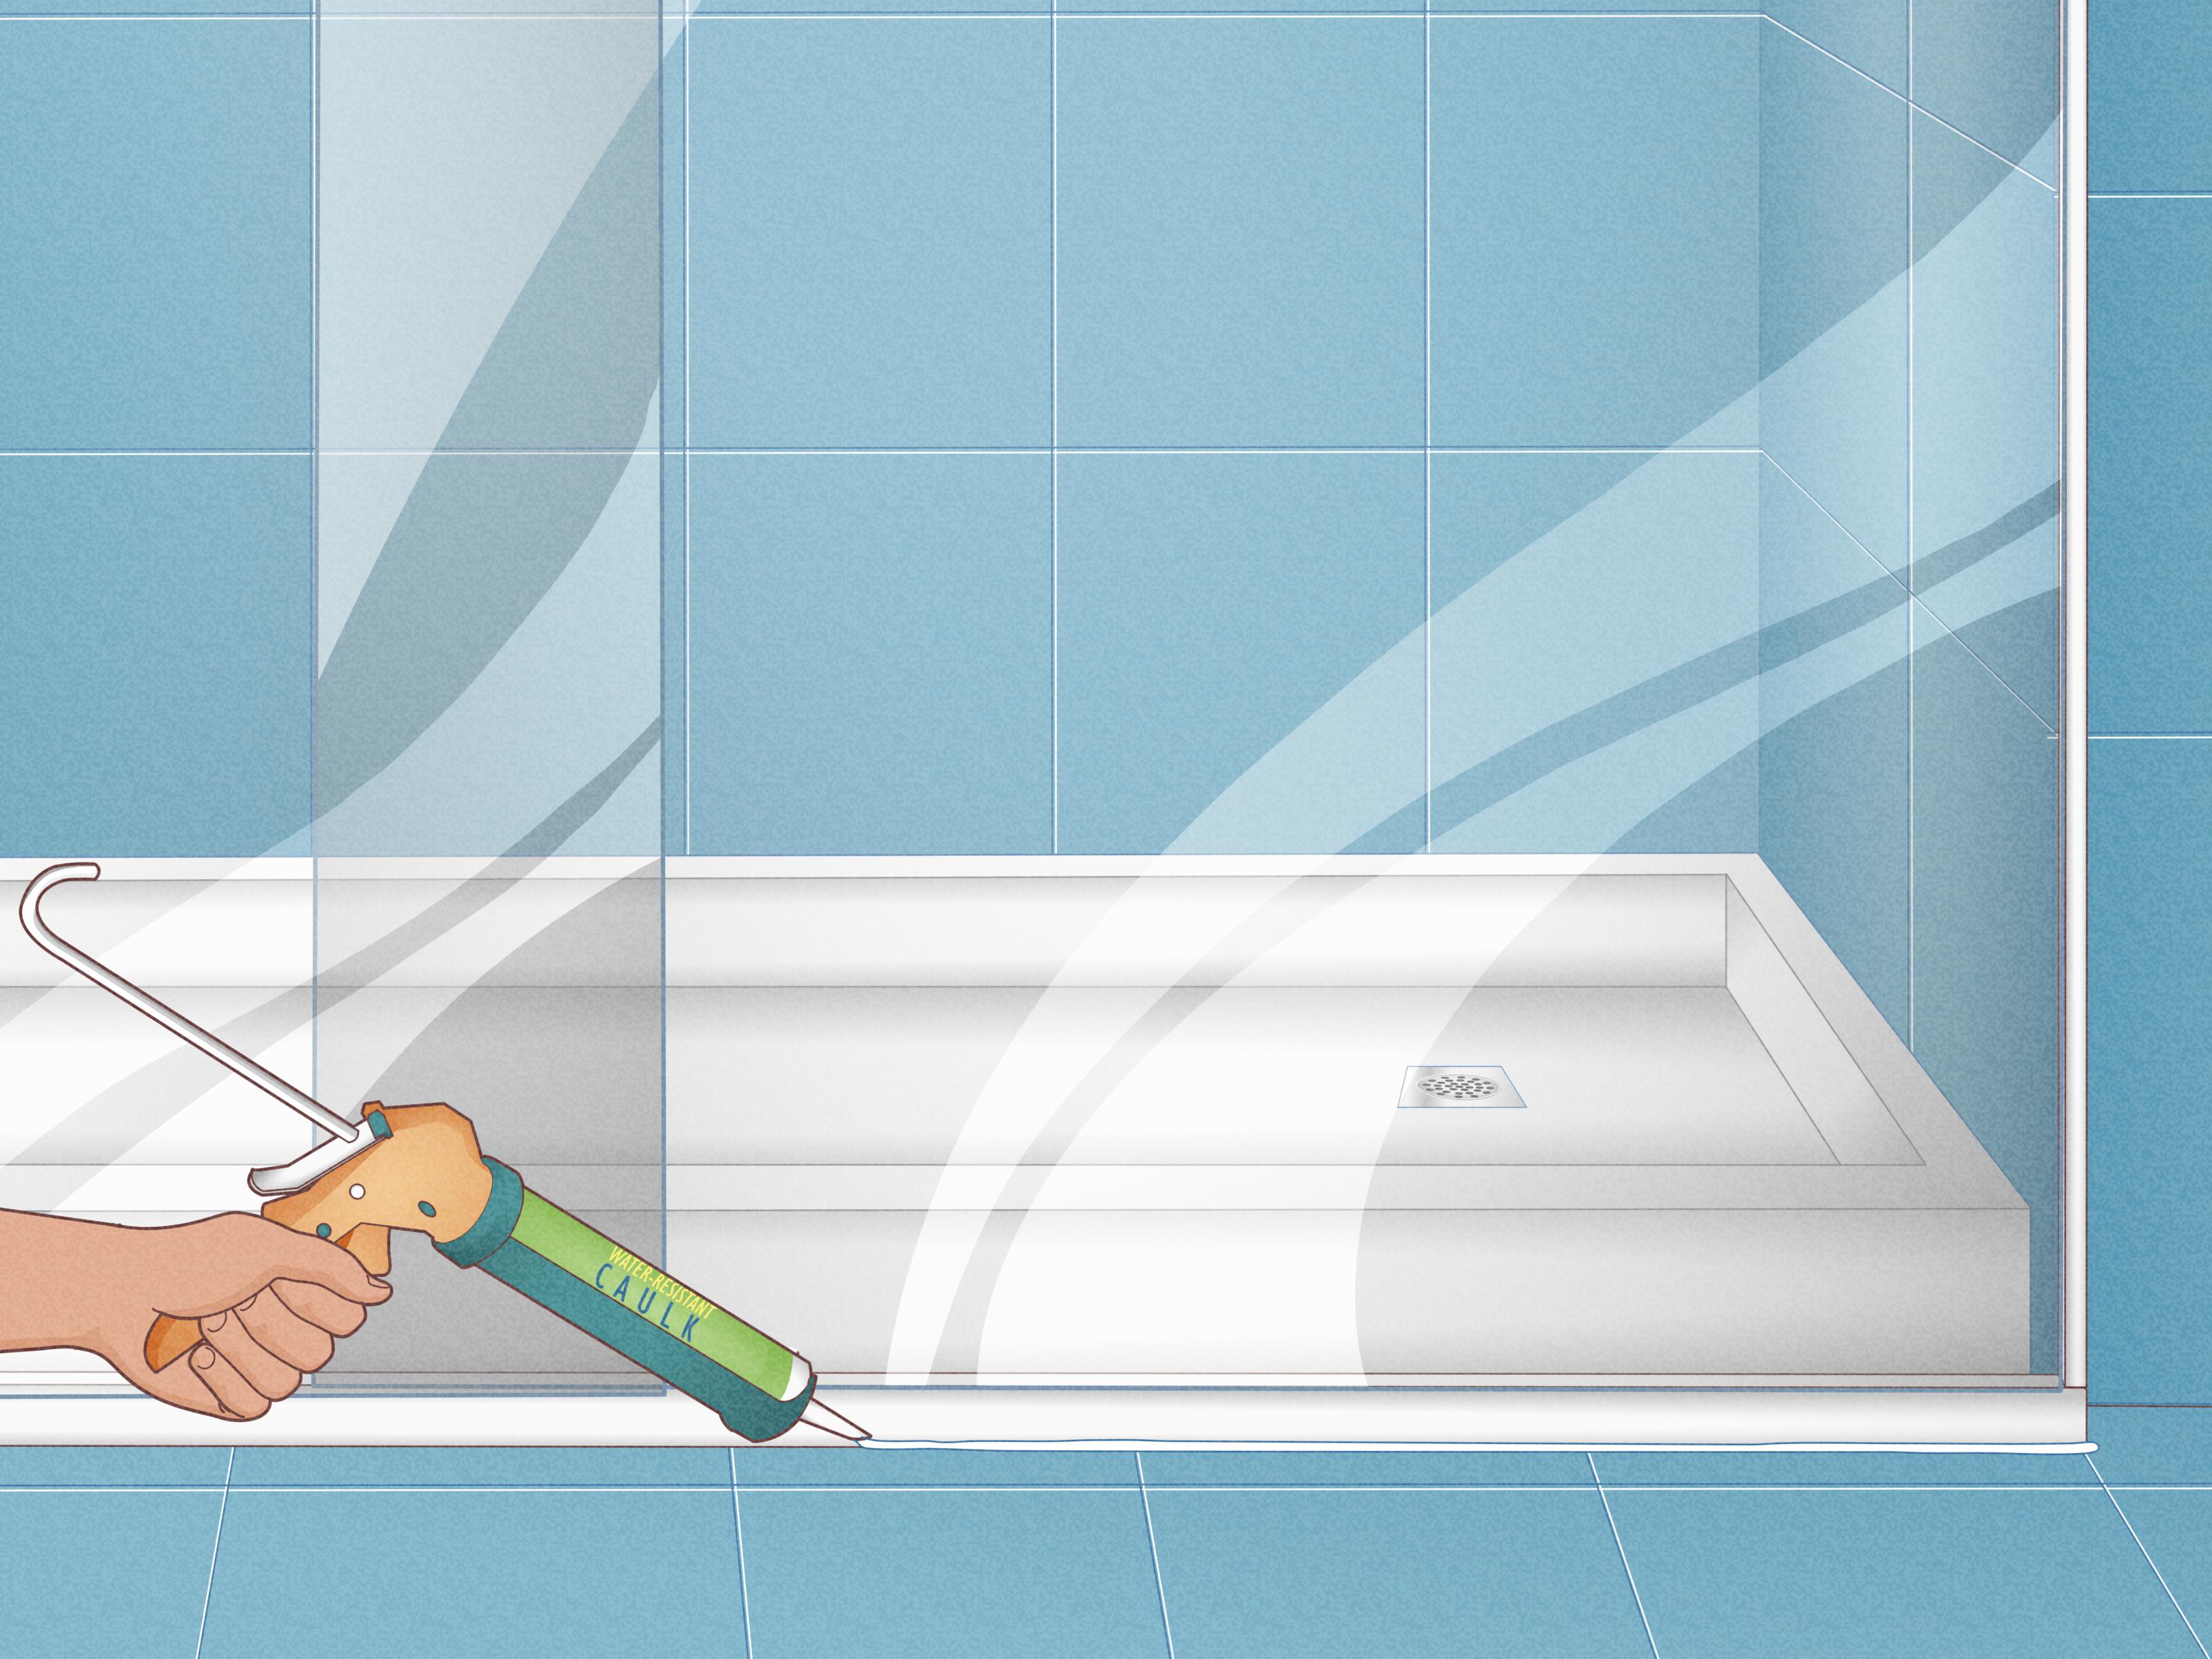
Sealing is where shower installation becomes leak prevention. Use the sealant recommended by the manufacturer, usually 100% silicone or an advanced polymer bathroom sealant. Apply it to seams, corners, fixture openings, and edges where required.
Some shower kits are designed with caulkless vertical seams but still require sealant at specific points. Others need continuous beads along panel joints. Read the manual closely. More caulk is not always better. A messy bead can trap water, collect grime, and look like a tube of toothpaste had a bad day.
How to Make Cleaner Caulk Lines
- Clean and dry the surface first.
- Use painter’s tape on both sides of the joint.
- Cut the caulk nozzle small at a 45-degree angle.
- Apply steady pressure and move smoothly.
- Tool the bead with a wet finger or caulk tool.
- Remove tape before the caulk skins over.
Let the sealant cure for the full recommended time before running the shower. Many products require at least 24 hours. Waiting is boring, but so is repairing water damage.
Step 10: Install the Shower Door or Curtain Rod
If your shower stall uses a curtain, install the rod after the wall panels are secure and sealed. If it uses a shower door, follow the door instructions closely. Door systems vary widely, but most require careful measurement, level wall jambs, a properly cut bottom track, and sealant where the frame meets the shower base or walls.
Measure the opening at the top, middle, and bottom. Use the correct measurement according to the door instructions. When drilling into shower walls, avoid hidden plumbing lines and use the proper bit. Do not drill into the shower base threshold unless the door manufacturer specifically requires it. Many systems use sealant instead of fasteners on the bottom track to prevent leaks.
Step 11: Test the Shower Stall
After the adhesive and caulk have cured, test the shower. Run water through the showerhead and aim it at the walls, corners, seams, valve trim, and door area. Check outside the shower for water escape. If you can access the drain from below, inspect it while water is running.
Look for slow leaks, not just dramatic ones. A small drip behind the wall can cause major damage over time. Also check that water drains properly and does not pool in the pan. A small amount of surface water may remain briefly, but standing puddles may indicate that the base is not level or the drain slope is wrong.
Common Shower Stall Installation Mistakes
Skipping the Dry Fit
Dry-fitting reveals problems while they are still easy to fix. Skipping this step can lead to misaligned drains, crooked panels, or holes cut in the wrong location.
Ignoring Out-of-Plumb Walls
Shower panels need straight support. If the studs are uneven, the panels can bow, gaps can appear, and doors may not close properly.
Over-Tightening Fasteners
Acrylic and fiberglass can crack under pressure. Fasteners should secure the flange without deforming the material.
Using the Wrong Sealant
Not every caulk belongs in a wet area. Use the product recommended by the shower manufacturer, and make sure it is designed for bathrooms.
Using the Shower Too Soon
Adhesive and caulk need time to cure. Running water too soon can weaken seals and create leaks before the shower has even had a fair chance.
How Long Does It Take to Install a Shower Stall?
A straightforward shower stall installation may take a skilled DIYer a weekend, not including curing time. A more complex project involving demolition, plumbing relocation, subfloor repair, or a shower door can take longer. First-time DIYers should build in extra time. The project is not technically impossible, but it rewards patience.
Here is a realistic timeline for a typical replacement:
- Day 1: Demolition, inspection, framing adjustments, and subfloor preparation.
- Day 2: Shower base installation, drain connection, plumbing work, and wall panel dry-fit.
- Day 3: Wall panel installation, sealing, fixture trim, and shower door or curtain setup.
- Curing time: Wait as directed before using the shower, often 24 hours or more.
When to Call a Professional
A handy homeowner can install many shower stall kits, but some situations deserve professional help. Call a plumber if you need to move supply lines, relocate the drain, replace old galvanized pipes, repair a trap, or install a new valve and you are not comfortable soldering, crimping, or using approved plumbing connections.
Call a contractor if you discover structural damage, significant rot, uneven framing, or subfloor problems. Call an electrician if the project involves lighting, outlets, ventilation fans, digital shower controls, or anything electrical near a wet area. DIY confidence is excellent. DIY overconfidence is how bathrooms become cautionary tales.
Experience-Based Tips for Installing a Shower Stall
The biggest lesson from real shower stall installations is simple: the work is less about strength and more about patience. A shower kit may look like a giant plastic puzzle, but it is a precision puzzle. The base has to sit level. The walls have to sit flat. The drain has to line up. The seams have to close properly. When one part is rushed, the next part complains.
One of the most useful habits is to mark everything. Mark stud locations on the base flange area. Mark the centerline of the drain. Mark the height of the valve. Mark level reference lines for panels. Pencil marks may not feel glamorous, but they prevent confusion once the room fills with tools, packaging, and that one screw you keep stepping on.
Another practical tip is to unpack the shower kit early and inspect every piece. Look for cracks, chips, missing hardware, warped panels, or instructions hiding inside cardboard inserts. Do not demolish your old shower and then discover that the new back wall panel is damaged. That is how a two-day project becomes a bathroom with commitment issues.
Dry-fitting is also where many DIYers save themselves. Set the base in place, check the drain, place the panels, and understand how the locking edges work before using adhesive or fasteners. Some panels need to slide down into channels. Others snap together. Some must be installed in a specific order. If you force a panel, stop. Shower parts are not impressed by brute strength.
For cutting fixture holes, make a cardboard template if you are nervous. Cut the template first, place it over the valve and shower arm, then transfer the layout to the panel. This takes a few extra minutes and can save you from an expensive mistake. The trim plate gives you some forgiveness, but not enough to cover wild guesses.
Caulking deserves more respect than it gets. A neat silicone bead is not just cosmetic; it is part of the water-management system. Clean the surfaces, use tape if needed, and do not rush the cure time. If the label says to wait 24 hours, wait. A shower is not a race, and your shampoo can survive one more day elsewhere.
Finally, test like a suspicious detective. Run water. Aim it at corners. Check the door. Look near the drain. Inspect the wall outside the shower. If something leaks, fix it before finishing surrounding drywall or trim. The best time to solve a water problem is when you can still see it. Once everything is closed up, leaks become quieter, sneakier, and much more expensive.
Conclusion: A Better Shower Starts With a Level Base
Installing a shower stall is a very doable DIY project when you respect the process. The key steps are careful measuring, solid preparation, a level shower base, correct drain installation, secure wall panels, clean sealing, and patient curing. Most problems come from rushing the early stages or assuming that caulk can fix everything. It cannot. Caulk is helpful, but it is not a magic wand in a tube.
Whether you are replacing an outdated fiberglass unit, converting a tub to a shower, or upgrading a guest bath, a prefabricated shower stall can deliver a clean, durable result without the complexity of a full custom tile build. Take your time, follow the manufacturer’s instructions, and test thoroughly before calling the job done. Your reward is a fresh shower that looks good, drains properly, and does not make mysterious dripping sounds at midnight.