
Note: This publish-ready article is written in standard American English and synthesized from real woodworking, furniture refinishing, stain-manufacturer, and home-improvement best practices. Always test any stain-lightening method on a hidden area first, and use proper ventilation, gloves, and eye protection when working with finishes, strippers, or bleaching products.
Dark wood stain can be dramatic, elegant, and deeply satisfyingright up until your “warm walnut” table starts looking like it was dipped in espresso and left in a haunted library. The good news is that a wood stain that turned out too dark is not always a decorating disaster. In many cases, you can lighten dark wood stain with patient sanding, careful stripping, controlled wood bleaching, or a fresh lighter finish that softens the overall look.
Whether you are rescuing a thrift-store dresser, fixing a DIY staining mistake, or trying to make old cabinets feel less heavy, the goal is the same: remove or reduce the dark color without damaging the wood. The right method depends on what is on the surface, how deeply the stain penetrated, whether there is a protective topcoat, and what kind of wood you are working with.
This guide breaks the process into three simple, practical methods. You will learn when to sand, when to strip, when to bleach, and when to restain with a lighter color. You will also get real-world tips from common refinishing experience, because wood has opinions, and it rarely keeps them to itself.
Before You Start: Figure Out Why the Wood Looks Too Dark
Before grabbing sandpaper like a determined raccoon, take a minute to inspect the piece. Dark wood stain can look too intense for several different reasons. Sometimes the stain was left on too long before being wiped off. Sometimes a second coat made the color richer than expected. Sometimes the wood itselfespecially oak, mahogany, walnut, cherry, or old pinenaturally deepens the finish. And sometimes the culprit is not the stain at all, but the topcoat. Oil-based polyurethane, aged varnish, shellac, wax buildup, and years of household grime can all add amber, brown, or yellow tones.
Use a clean cloth with mild soap and water to remove dirt and residue first. Let the wood dry completely. If it still looks too dark, look for a shiny or sealed surface. If water beads on top, there is likely a finish that must be scuffed, stripped, or sanded before any lightening method can work. If the wood is raw or unfinished, the stain is more exposed and may respond better to sanding or bleaching.
Do a Hidden Test Patch
A hidden test patch is not optional; it is your tiny insurance policy against turning a cabinet door into modern art. Test under a tabletop, inside a drawer, behind a leg, or on the back edge of trim. Apply your chosen method to a small area and let it dry fully before judging the color. Wet wood usually looks darker than dry wood, so patience matters.
Gather Basic Supplies
Most projects require a few core items: drop cloths, painter’s tape, gloves, eye protection, a respirator or mask suitable for sanding dust, clean rags, tack cloth, sanding blocks, an orbital sander for flat surfaces, and sandpaper in several grits. For chemical methods, use products according to their labels, work in a well-ventilated area, and never mix bleach, stripper, ammonia, vinegar, or other chemicals together. Wood refinishing is satisfying; accidental chemistry class is not.
Method 1: Sand Away the Dark Stain for a Fresh Start
Sanding is the most straightforward way to lighten dark wood stain when the color is mostly near the surface. It works especially well on solid wood furniture, tabletops, shelves, trim, and pieces where you want to remove the old color and create a clean base for a lighter finish. Sanding removes the top layer of finish and stain, gradually exposing lighter wood underneath.
This method is simple, but it is not instant. The trick is to remove enough color without creating dips, scratches, or uneven spots. Think of sanding as shaving chocolate off a dessert, not digging a tunnel to the center of the Earth.
When Sanding Works Best
Sanding is a good choice when the piece is solid wood, the stain is not extremely deep, the surface is flat enough to work evenly, and you are comfortable refinishing the wood afterward. It is also useful after chemical stripping, because strippers remove finishes but often leave some color in the grain.
Be careful with veneer. Many furniture pieces have a thin layer of attractive wood over a cheaper core. If you sand too aggressively, you can burn through the veneer and expose the substrate beneath. Once that happens, no motivational quote can put the veneer back. Use a gentle touch and start in a hidden area if you are unsure.
Step-by-Step Sanding Process
Start by removing hardware, knobs, hinges, and drawer pulls. Clean the piece so dirt does not grind into the wood. If the surface has a thick glossy finish, begin with medium-grit sandpaper, such as 120-grit, and sand with the grain. For rougher or heavily finished pieces, you may need to start with a coarser grit, but use caution, especially near corners and edges.
Once the dark layer begins to fade, move to 150-grit, then 180-grit, and finally 220-grit for a smooth finish. Wipe away dust between grits so you can see the true color. If some areas remain darker, feather the sanding outward rather than grinding one small spot. Spot sanding can leave pale patches that look like the wood got a bad haircut.
After sanding, wipe the piece with a tack cloth or clean microfiber cloth. At this point, the wood should look lighter, duller, and more natural. If the color is still too dark, you can repeat the sanding process carefully, use a wood bleach method, or choose a lighter finishing product that visually softens the tone.
Pros and Cons of Sanding
The biggest advantage of sanding is control. You can stop when the wood looks right. It is also affordable and does not require strong chemicals. The downside is dust, time, and the risk of uneven removal. Sanding detailed carvings, curved legs, trim grooves, or ornate cabinet doors can be tedious. For those areas, hand sanding, detail sanding tools, or chemical stripping may be more practical.
Method 2: Strip the Finish, Then Bleach the Wood Carefully
If sanding alone does not lighten the wood enough, the next method is to remove the existing finish and use a wood-lightening product. This is often the best route for furniture that has old varnish, dark stain trapped in the grain, or a heavy amber topcoat. Stripping helps remove the sealed layer, while bleaching can reduce remaining color.
There are different types of wood-lightening products, and they do not all do the same job. Household chlorine bleach may help reduce dye-based stains or surface discoloration, but it usually does not remove the natural color of the wood itself. Oxalic acid is often used for dark water stains, iron stains, and gray-black discoloration. Two-part wood bleach is typically used when the goal is to lighten the natural color of the wood more dramatically. Because these products vary, follow the manufacturer’s instructions instead of improvising like a mad scientist in a garage.
Start With Stripping
If the surface has polyurethane, varnish, shellac, lacquer, or another protective finish, bleaching will not work properly until that barrier is removed. Apply a furniture stripper according to the product label. Use a plastic scraper to lift softened finish, then wipe the surface clean as directed. Avoid metal scrapers if they might gouge the wood or leave dark marks.
Once the old finish is removed, let the wood dry. Then sand lightly with the grain, usually working through medium to fine grits. The goal is not to erase the entire piece; it is to smooth the surface and open the wood enough for even lightening.
Use Bleach Based on the Problem
For dark stain that is mainly dye or pigment near the surface, a wood-safe bleaching approach may reduce the color. For black water rings or iron stains, oxalic acid products are often the more targeted option. For a larger color shiftsuch as turning orange oak or reddish wood into a paler, raw-wood looka two-part wood bleach may be more effective.
Apply any bleaching product evenly across the full surface rather than only in one patch. Spot treatment can leave a blotchy result, especially on tabletops and cabinet fronts. Keep the area ventilated, wear gloves and eye protection, and keep children and pets away from the workspace. Never mix bleaching products with other cleaners or chemicals.
Neutralize, Dry, and Sand Again
Many wood-lightening products require neutralizing or rinsing after use. Follow the label carefully. After the wood dries, it may feel rough because moisture and chemical treatment can raise the grain. Light sanding with fine-grit paper helps restore smoothness before finishing.
Do not rush the drying stage. Wood that feels dry on the surface may still contain moisture inside the grain. If you apply stain, oil, wax, or polyurethane too soon, the finish may look uneven or fail to cure properly. Give the piece time to settle, especially in humid weather.
Pros and Cons of Bleaching
Bleaching can create a beautiful pale, beachy, Scandinavian, or raw-wood appearance. It can also rescue wood that sanding alone cannot brighten. However, it requires more care, more safety awareness, and more testing. Some woods lighten beautifully; others turn yellow, pink, gray, or uneven. Cherry, mahogany, and red oak can be especially dramatic. That drama may be charming in a movie, but less charming on your dining table.
Method 3: Refinish With a Lighter Stain, Wash, or Topcoat
Sometimes the easiest way to lighten dark wood stain is not to remove every molecule of color. Instead, you can soften the appearance with a lighter stain, a whitewash, a color wash, a pickling finish, or a less amber topcoat. This method is ideal when the wood is only slightly too dark or when you want a softer design style without stripping the piece down to bare wood.
The key is understanding that stain is generally transparent or semi-transparent. A light stain will not magically cover a very dark stain the way paint would. But after sanding or stripping back some of the darkness, a lighter finishing product can shift the final look in a big way.
Choose a Lighter Color Strategy
If you want a natural look, consider light oak, natural, weathered oak, driftwood, beige-gray, or white wash tones. If the existing stain is orange or red, a cooler brown or gray-brown may tone it down. If the surface looks muddy, a clear water-based topcoat may help preserve a lighter appearance better than an oil-based finish, which can add warmth and amber color.
For farmhouse or coastal styles, a whitewash or pickling stain can settle into the grain and make the wood look lighter without hiding all texture. For modern interiors, a pale matte or satin finish often looks cleaner than a glossy amber coat.
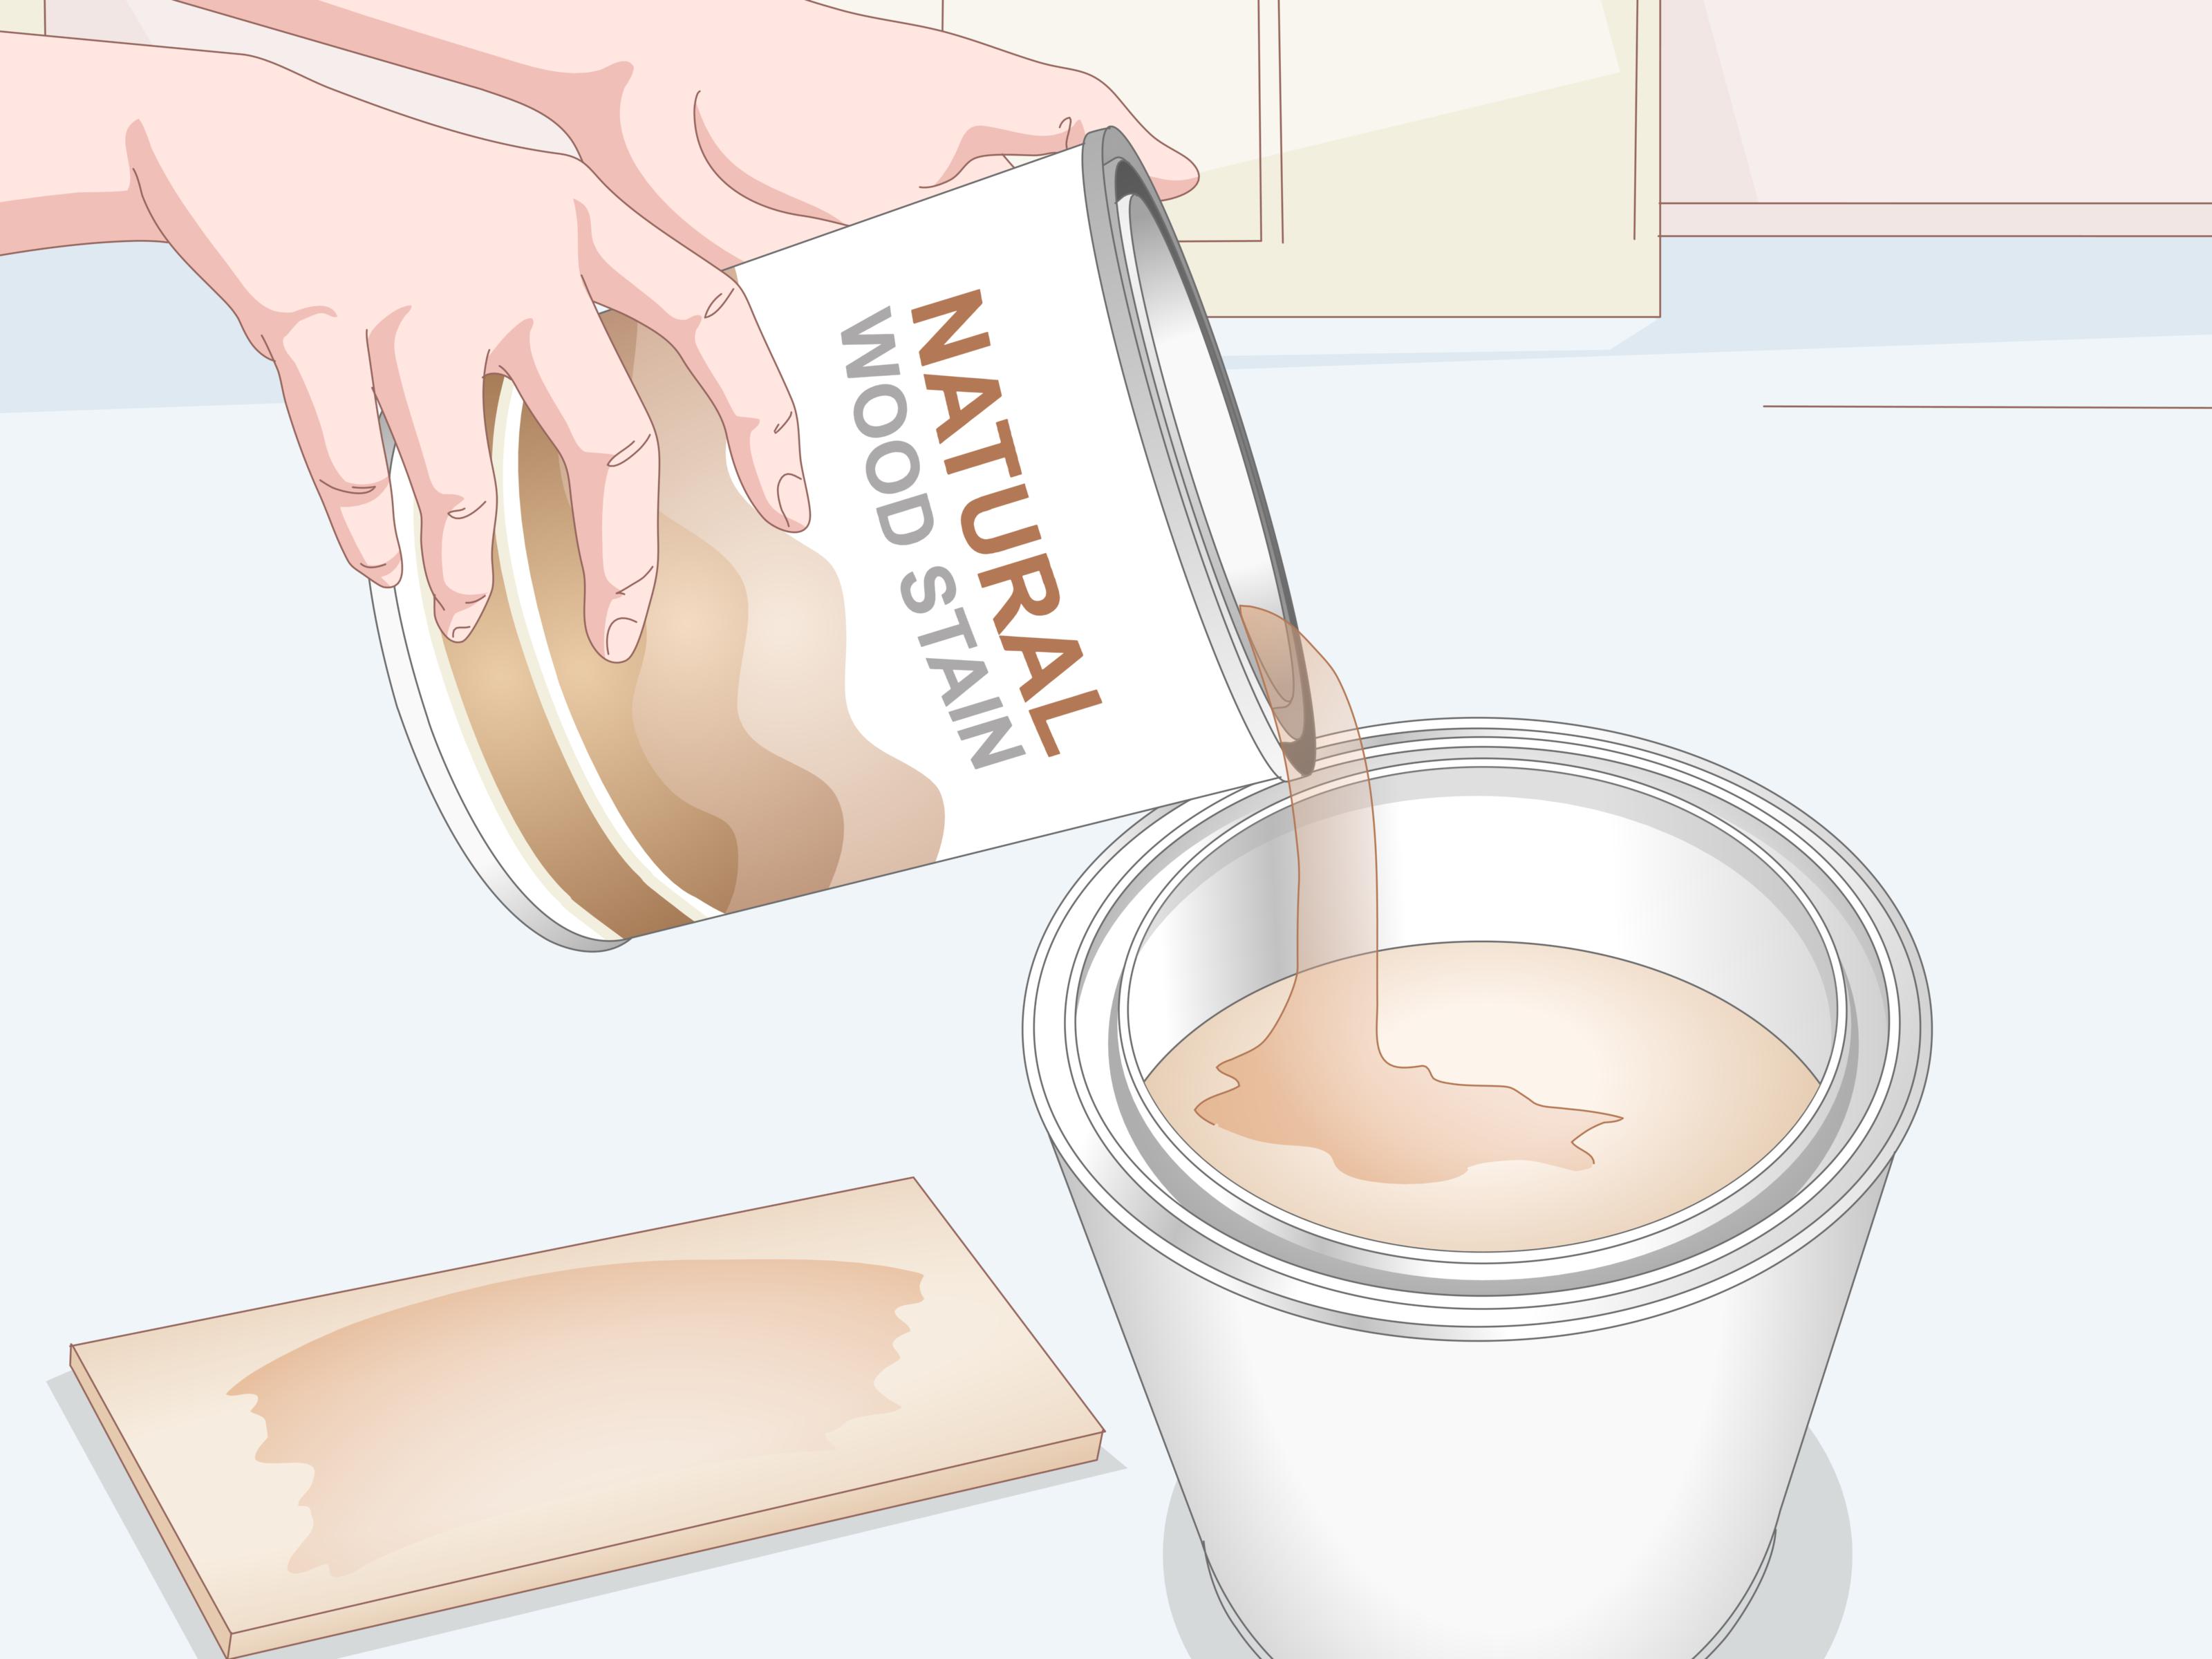
Apply Stain the Right Way
To keep the color light, apply stain evenly and wipe off the excess quickly. The longer many stains sit before wiping, the deeper and richer the color becomes. Work in manageable sections, follow the grain, and use a clean cloth to blend lap marks. Do not assume a second coat will fix a color that is already too dark. A second coat usually deepens the tone, which is exactly how many DIY projects accidentally enter “espresso furniture era.”
Wood conditioner can help reduce blotching on porous or soft woods such as pine, birch, maple, and alder. Blotching makes some areas absorb more stain than others, creating dark patches. Conditioner evens out absorption and gives you a better chance of a controlled, lighter finish.
Seal Without Darkening Too Much
The topcoat matters. Oil-based polyurethane often warms wood and can make a light stain appear darker or more golden. Water-based polyurethane usually dries clearer, making it a better choice when you want to preserve a pale finish. Test your topcoat over your stain sample before committing. A finish that looks clear in the can may still change the color once applied.
For low-traffic furniture, wax can create a soft, natural look, but it is not as durable as polyurethane for tabletops, bathroom vanities, or kitchen surfaces. For cabinets, desks, and dining tables, durability should win over wishful thinking.
Which Method Should You Choose?
Use sanding if the stain is only moderately dark, the surface is solid wood, and you want the most control. Use stripping and bleaching if the piece has an old finish, deep discoloration, or a color you cannot correct with sanding alone. Use a lighter stain or wash if the wood has already been lightened somewhat and you want to guide the final style.
For many projects, the best approach is actually a combination. You might strip the old finish, sand the wood smooth, bleach stubborn dark areas, sand again, then apply a light stain and clear water-based topcoat. That may sound like a lot, but refinishing is rarely a one-step beauty filter. It is more like politely negotiating with wood until it agrees to behave.
Common Mistakes to Avoid When Lightening Wood Stain
Skipping the Test Patch
A stain sample on the can is not a promise. Wood species, age, sanding grit, previous finish, and application time all affect the final color. Testing prevents regret, and regret is much harder to sand out.
Sanding Against the Grain
Always sand with the grain whenever possible. Sanding across the grain leaves scratches that may become painfully obvious once stain is applied. The lighter the finish, the more visible sloppy sanding can be.
Using Too Much Water
Wood and excessive water are not best friends. Too much moisture can raise grain, loosen veneer, swell joints, or create new stains. Use damp cloths, not soaking wet ones, and dry surfaces thoroughly.
Applying a New Stain Over a Sealed Finish
Stain needs access to the wood. If the surface is sealed with polyurethane or varnish, new stain may sit on top, smear, or dry unevenly. Remove or scuff the finish as needed before restaining.
Expecting Light Stain to Cover Dark Stain
Light stain does not behave like white paint. It will not cover a dark base completely. If your current stain is very dark, remove or lighten it first before applying a pale finish.
Examples: How to Fix Different Dark Wood Problems
Dark Coffee Table
If a coffee table turned too dark after staining, sand the top evenly with 120-grit, then 180-grit and 220-grit. If the stain remains in the grain, use a lightening method after testing. Finish with a weathered oak or natural stain and a clear water-based polyurethane. The result can feel brighter without losing the wood grain.
Orange Oak Cabinets
For orange oak cabinets, removing the glossy topcoat is usually step one. After cleaning and sanding, a whitewash, beige-gray stain, or light neutral glaze can soften the orange tone. Because cabinets get heavy use, seal them with a durable clear topcoat.
Dark Pine Shelves
Pine absorbs stain unevenly and often turns blotchy. Sand the shelves back carefully, apply pre-stain conditioner, then use a lighter stain and wipe it off quickly. Pine can shift yellow, so test before finishing the entire piece.
Old Dresser With Mystery Finish
If you do not know what finish is on an old dresser, start with cleaning and a hidden test. If sanding gums up quickly, the finish may need chemical stripping. Once stripped, sand lightly and decide whether bleaching is necessary. Older furniture can have veneer, so avoid aggressive sanding on edges and raised details.
Tools That Make the Job Easier
An orbital sander saves time on large flat surfaces, while sanding blocks are better for edges and corners. Detail sanding pads help with trim, grooves, and carved areas. Plastic scrapers are useful for stripping without gouging. Clean white rags make it easier to see how much color is coming off. A bright work light helps reveal dark patches before you apply the final finish.
For safety, use gloves, eye protection, and a dust mask or respirator suitable for your task. Sanding old finishes can create dust you do not want to breathe. If the piece is very old or may contain lead-based paint or unknown coatings, take extra precautions and consider professional advice before disturbing the surface.
Experience-Based Tips for Lightening Dark Wood Stain
After working through a few wood-lightening projects, one lesson becomes obvious: the wood is always the boss. You can have the perfect plan, the perfect stain color, and the confidence of someone who watched three tutorials in a row, but the board may still decide to absorb color like a sponge at a swimming pool. That is why patience matters more than brute force.
One of the most useful habits is to sneak up on the color gradually. Many beginners try to fix dark stain in one dramatic move. They sand aggressively, bleach heavily, or immediately apply a pale stain over a dark surface. The better approach is slower. Clean first. Scuff lightly. Wipe the wood. Let it dry. Recheck the color in daylight. Then decide the next step. Wood can look completely different under garage lighting than it does near a sunny window.
Another practical lesson is that edges lighten faster than flat areas. Corners, raised trim, and curved legs often lose stain quickly because they receive more sanding pressure. If you are using an orbital sander on a tabletop, do not tilt it onto the edges. Keep it flat, let the tool do the work, and finish edges by hand. Rounded-over corners can make a piece look unintentionally worn, and not in the charming antique-store way.
For furniture with drawers, always test the process on the back of a drawer front or the inside edge. Drawers are helpful because they let you see how the wood reacts without putting the main surface at risk. If the test turns gray, orange, pink, or blotchy, you have learned something valuable before damaging the most visible area.
It also helps to think in terms of “tone” rather than just “lightness.” A wood piece may not need to become dramatically pale. It may simply need to lose some red, orange, or muddy brown. A cooler light brown stain, a subtle whitewash, or a clear water-based topcoat can make the piece feel fresher without removing every trace of the old color. Sometimes the best makeover is not a full personality transplant; it is just better lighting and a calmer shirt.
When dealing with cabinets, remember that consistency matters more than perfection. Cabinet doors, face frames, and side panels may be made from slightly different boards. Even if you follow the exact same steps, they may not all finish identically. Make sample boards if possible, label your process, and work in batches. If you sand one door to 150-grit and another to 220-grit before staining, they may absorb color differently. Small process differences can create big visual differences.
For tabletops, durability should guide the final decision. A pale raw-wood look is beautiful, but an unprotected dining table will quickly collect water marks, oil spots, and mystery circles from cups no one admits using. If the piece will see daily use, seal it properly. A clear matte or satin water-based polyurethane can preserve a lighter look while giving the surface practical protection.
Finally, accept that some dark stains are stubborn. If the color has soaked deeply into open grain, sanding may remove the surface color but leave dark lines behind. That is not always a flaw. On oak, ash, and other grain-heavy woods, the contrast can add character. Instead of fighting every dark pore, consider using the remaining grain as part of the design. A lightened surface with visible grain often looks more natural than wood that has been forced into a flat, lifeless beige.
The best refinishing projects usually come from adjusting as you go. Take photos between steps, compare dry samples, and do not apply the final topcoat until you actually like the color. Once the topcoat goes on, changing the color becomes harder. In woodworking, as in life, it is much easier to pause before sealing the decision.
Final Thoughts: Dark Wood Stain Is Fixable
A dark stain mistake can feel permanent, but wood is more forgiving than it looks. With sanding, stripping, bleaching, or a smart lighter finish, you can turn a heavy, outdated, or overly intense stain into something brighter and more modern. The safest path is to identify the finish, test your method, work gradually, and protect the final surface properly.
If you want the simplest starting point, begin with cleaning and sanding. If the color remains too deep, move to stripping and controlled bleaching. If the wood is close but not quite right, finish with a lighter stain, wash, or clear topcoat that supports the look you want. The process takes time, but the reward is worth it: a piece of wood that looks refreshed instead of replaced, customized instead of generic, and bright enough that it no longer appears to be plotting in the corner.