
A faded car roof can make an otherwise respectable vehicle look like it has spent five summers auditioning for a role as “abandoned sedan in a desert movie.” The good news: repainting a car roof is one of the more approachable automotive paint projects because it is a flat, clearly defined panel. The less-good news: paint has zero sympathy for shortcuts.
A successful DIY car roof paint job is mostly about preparation, patience, and resisting the urge to spray “just one more coat” when the surface is already dripping like a sad birthday cake. With the right materials, careful masking, and a clean work area, you can refresh peeling clear coat, sun-faded paint, or an entire roof panel without repainting the whole vehicle.
This guide explains how to paint a car roof using automotive primer, base coat, and clear coat. It is designed for a cosmetic refresh on a structurally sound vehicle. If the roof has deep collision damage, severe corrosion around the windshield, rust holes, or failing paint across multiple panels, a professional body shop may be the smarter investment.
What You Will Need Before Painting a Car Roof
Gather everything before you begin. Stopping halfway through a coat because you forgot masking paper is how ordinary weekends become automotive folklore.
- Automotive soap and clean microfiber towels
- Wax and grease remover or automotive prep cleaner
- Masking tape, masking paper, and plastic sheeting
- Sandpaper in several grits, such as 320, 400, 600, 800, and 1,500 to 3,000 grit
- A sanding block or dual-action sander, if available
- Rust treatment or body filler, only if needed
- Automotive primer compatible with your paint system
- Color-matched automotive base coat or single-stage paint
- Compatible automotive clear coat, if using a base-coat/clear-coat system
- Tack cloths, lint-free towels, nitrile gloves, goggles, and protective clothing
- A paint sprayer or automotive aerosol cans with a fan-style nozzle
- Polishing compound and a foam pad for final refinement
Before buying paint, find your vehicle’s factory paint code. It is commonly located on a sticker in the driver-side door jamb, under the hood, in the trunk area, or in the owner’s documentation. Do not trust a color name alone. “Silver Metallic” can mean several different shades, and your car’s version may have been sunbathing for 12 years.
Easy Ways to Paint a Car Roof in 14 Steps
Step 1: Choose the Right Weather and Work Area
Pick a dry day with moderate temperatures, low humidity, and minimal wind. Heat can make paint flash too quickly, while cold or damp air can slow drying, trap moisture, and create a dull finish. A clean garage, covered carport, or temporary spray shelter is better than an open driveway where pollen, leaves, insects, and neighborhood curiosity can land in fresh paint.
Avoid spraying near water heaters, furnaces, grills, cigarettes, extension cords with damaged insulation, or anything that can create a spark. Automotive coatings and solvents are not impressed by optimism.
Step 2: Decide Whether You Need a Roof Refresh or a Full Repaint
Look closely at the roof. If the clear coat is faded but firmly attached, you may only need to sand the surface smooth and repaint the panel. If the clear coat is peeling, flaking, cracking, or lifting at the edges, remove the failed material until you reach stable paint or primer.
If bare metal is visible, rust is present, or the old paint has deep scratches and repairs, plan on using primer. If the existing paint is solid, smooth, and free of defects, a careful scuff-and-paint approach may be enough.
Step 3: Wash the Car Roof Thoroughly
Wash the entire roof with automotive soap and water. Remove bird droppings, tree sap, dust, road film, and anything else that has made a long-term lease agreement with your paint. Rinse well and dry the roof completely with clean microfiber towels.
Do not skip this step. Sanding over dirt can grind contamination into the finish and leave scratches that appear later like tiny reminders of poor life choices.
Step 4: Remove Wax, Grease, and Silicone
After washing, wipe the roof with automotive wax and grease remover. Use one lint-free towel to apply the cleaner and another dry towel to wipe it off before it evaporates. This helps remove invisible contaminants such as wax, silicone-based detailing products, fingerprints, and oily residue.
Surface contamination is one of the most common reasons paint develops fisheyes, poor adhesion, or mysterious crater-like defects. The roof may look clean, but paint is much pickier than your eyes.
Step 5: Remove or Mask Roof Accessories
Remove what you reasonably can, such as roof racks, antennas, trim clips, roof moldings, or weather strips. Taking off small parts creates cleaner edges and reduces the chance of overspray sneaking into places it does not belong.
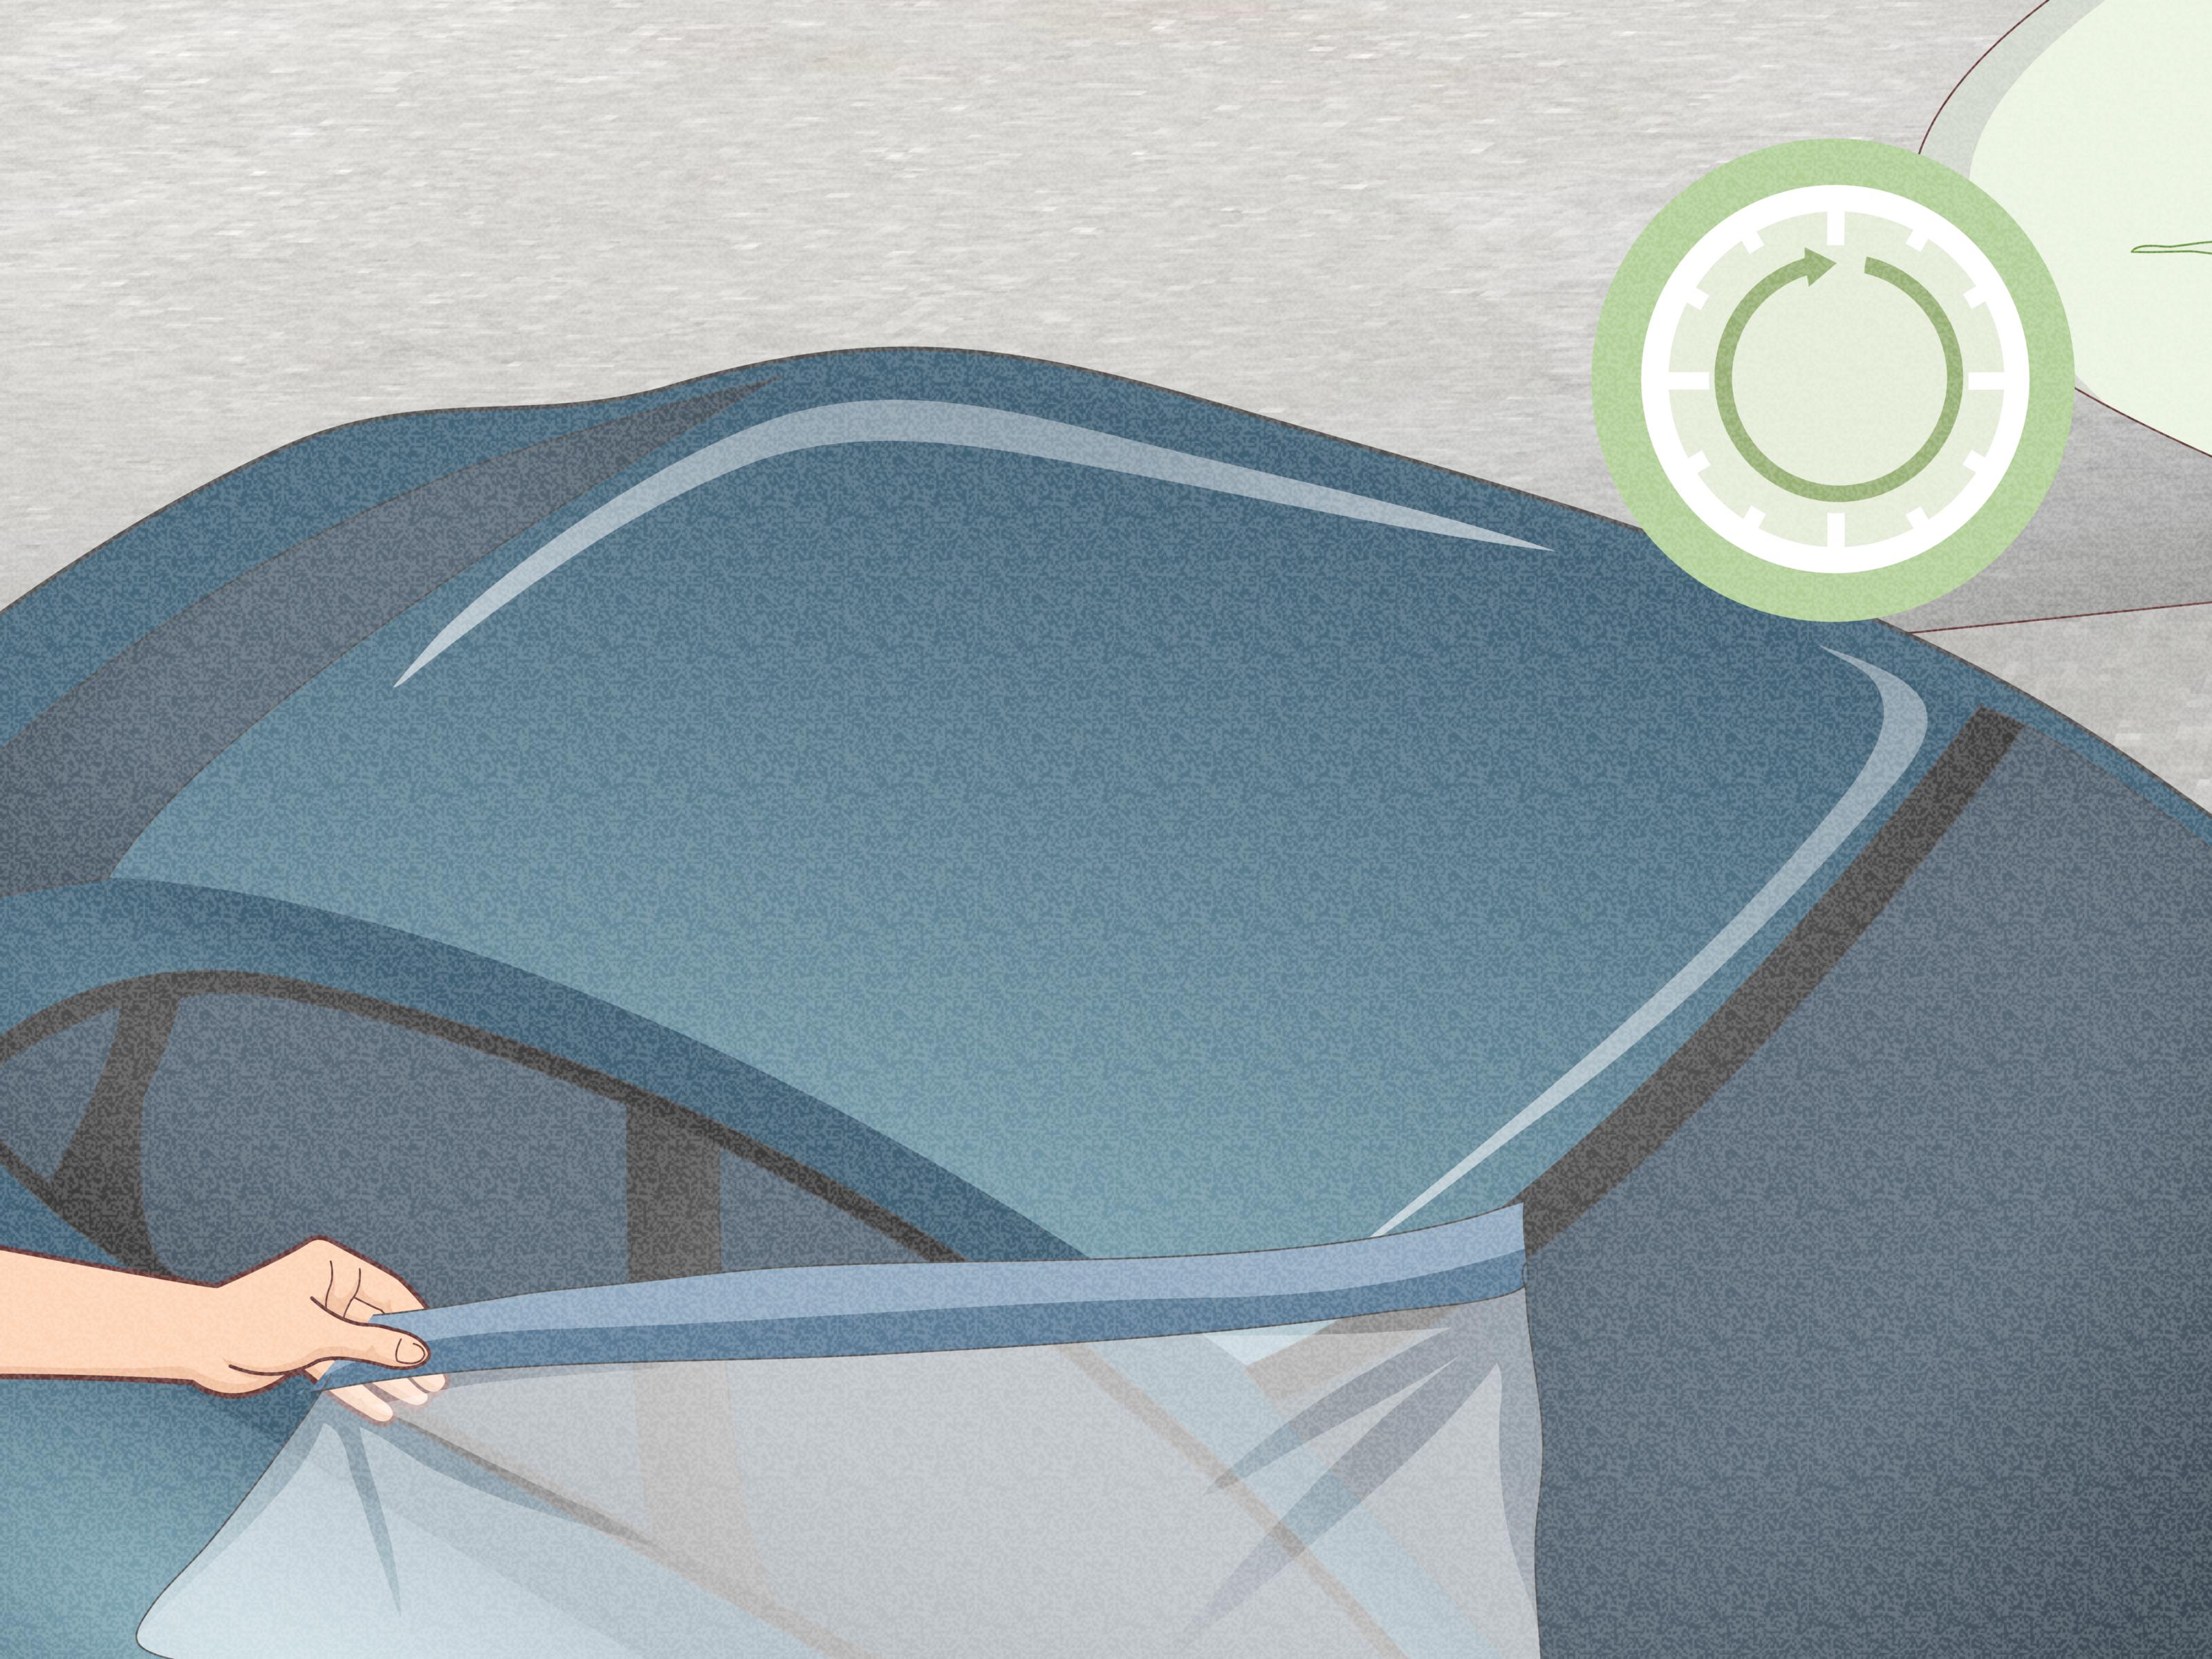
For parts you cannot remove, mask carefully. Cover the windshield, side glass, doors, hood, trunk, mirrors, and nearby body panels with masking paper or automotive plastic sheeting. Use quality automotive tape rather than household tape, which can leave adhesive behind or allow paint to bleed underneath.
Step 6: Sand the Old Finish Smooth
For a roof with sound paint, scuff the surface evenly with 600-grit sandpaper or a fine sanding pad. The goal is not to strip the roof to bare metal. You are creating a uniform, dull surface that gives the new paint something to grip.
For peeling clear coat, sand away loose and failing material first. Feather the edges where old clear coat meets stable paint. Start with a somewhat coarser grit, such as 320 or 400, then refine the area with finer paper. Avoid digging sharp grooves into the paint. A roof is flat, but a sanding block helps keep it flat instead of turning it into a topographical map.
Step 7: Repair Rust, Chips, and Low Spots
Inspect the roof after sanding. Small chips, shallow dents, or rust spots should be repaired before primer and paint. Remove rust completely rather than painting over it. Rust beneath fresh paint is like a bad sequel: it always comes back with a larger budget.
For minor imperfections, use a compatible body filler or glazing putty according to the manufacturer’s directions. Sand repairs level and feather them into the surrounding surface. Make sure the roof feels smooth when you run a clean hand across it.
Step 8: Apply Primer Where It Is Needed
Apply primer to bare metal, filler repairs, or heavily sanded areas. Use a primer that is compatible with the paint system you selected. Bare metal often needs epoxy or self-etching primer, while repaired areas may benefit from a high-build primer surfacer that helps fill minor sanding marks.
Apply light, even coats and allow the recommended flash time between them. Do not invent your own drying schedule. Paint chemistry already has enough drama without freelance timing.
Step 9: Sand and Inspect the Primer
Once the primer has cured according to its instructions, sand it smooth. Many projects use 600-grit paper before base coat, but always follow the product data sheet for your specific primer and paint. Use a sanding block on broad areas to avoid finger grooves.
Inspect the roof from different angles. A guide coat can reveal scratches, pinholes, and uneven areas that are difficult to see otherwise. Fix flaws now, because paint does not hide defects. It turns them into a high-gloss exhibit.
Step 10: Clean, Tack, and Mask One Final Time
Blow off sanding dust with clean, dry air if available. Wipe the roof with wax and grease remover, then use a tack cloth gently to pick up remaining dust. Do not press hard with the tack cloth or leave residue behind.
Check every masked edge. Make sure plastic is secured, windows are protected, and nearby panels are covered. Fresh overspray can travel farther than expected, especially when a breeze decides it has artistic opinions.
Step 11: Test Your Spray Pattern Before Touching the Roof
Whether you are using aerosol paint or a spray gun, test the spray pattern on cardboard or masking paper first. You want a consistent fan shape with no heavy blobs, sputtering, or dry speckles.
For aerosol paint, shake the can longer than you think you need to. For a spray gun, follow the paint maker’s instructions for mixing, filtering, air pressure, fan width, and fluid adjustment. Practice your movement before spraying the roof: maintain a steady pace, overlap each pass by roughly half, and keep the nozzle parallel to the surface.
Step 12: Spray the Base Coat in Light, Even Passes
Start spraying just off the edge of the roof, move across in a smooth pass, and release the trigger after passing the opposite edge. This prevents heavy paint buildup at the beginning and end of each stroke.
Apply several light to medium coats rather than one thick coat. Allow each layer to flash according to the label before applying the next. Metallic and pearl paints need especially consistent overlap because uneven spraying can change the appearance of the flakes or pearl effect.
Do not sand between normal base-coat layers unless you need to correct a specific defect and the product instructions allow it. Sanding fresh color can create patchy metallic effects, scratches, and extra work that nobody invited.
Step 13: Apply Clear Coat for Gloss and Protection
If you used a base-coat/clear-coat system, apply clear coat within the recommended recoat window. Clear coat adds depth, gloss, UV resistance, and protection for the color layer beneath it. Apply smooth, overlapping passes, but avoid spraying so heavily that the clear runs down the roof.
A good clear coat should look wet and uniform, not dusty or overly dry. If you see orange peel, do not panic. Some texture is normal in a DIY job and can often be improved after full curing with careful wet sanding and polishing.
Step 14: Let the Roof Cure, Then Refine the Finish
Leave the vehicle protected from dust, rain, sap, and curious fingers while the paint cures. Dry-to-touch, safe-to-handle, and fully cured are not the same thing. Follow the paint system’s instructions before washing, waxing, or polishing.
After the clear coat has cured fully, inspect it in bright indirect light. If necessary, wet sand minor dust nibs or orange peel with very fine paper, such as 1,500 to 3,000 grit, then polish with a compound and finishing polish. Use light pressure and keep the surface lubricated. Sanding through the clear coat means returning to the painting stage, and that is a plot twist worth avoiding.
Common Mistakes When Painting a Car Roof
Painting Over Peeling Clear Coat
New paint cannot permanently fix unstable old paint. Remove all loose or failing clear coat first. Otherwise, the new finish may eventually peel with the old layer attached underneath it.
Skipping the Wax and Grease Remover
Regular soap does not always remove wax, oils, silicone, or detailing products. A dedicated prep cleaner helps prevent fisheyes and adhesion problems.
Spraying Too Close or Too Slowly
Holding the can or gun too close can create runs, while moving too slowly piles on paint. Holding it too far away can create a dry, rough texture. Test your technique on cardboard and use steady overlap across the roof.
Using One Heavy Coat Instead of Several Light Coats
Thick paint may run, sag, trap solvents, or dry unevenly. Multiple controlled coats create better coverage and give you more opportunities to correct your technique before the roof becomes a glossy waterfall.
Ignoring Flash Times and Recoat Windows
Paint layers need time to release solvents and bond correctly. Applying the next coat too soon can cause wrinkling, lifting, solvent popping, or poor gloss. Waiting too long can also create adhesion issues with some systems.
Should You Use Spray Cans or a Paint Gun?
Automotive aerosol cans are convenient for a small roof, a two-tone accent roof, or a basic cosmetic refresh. They require less equipment and are easier for beginners to control. However, painting a full-size SUV roof with aerosol cans can be tiring, expensive, and difficult to keep perfectly consistent.
A spray gun can provide a more even finish and better coverage over a large roof, especially when used with a proper compressor, moisture control, and compatible paint system. It also requires more setup, more cleanup, and a stronger commitment to safety. For many DIY painters, the best option is not necessarily the fanciest tool; it is the one they can use safely, cleanly, and consistently.
Real-World Experiences and Lessons From Painting a Car Roof
Painting a car roof sounds easy when you describe it in one sentence: sand it, spray it, admire it. In reality, the roof is the panel that teaches people why body shops charge money. It is large, flat, highly visible, and positioned at an angle that makes you feel like you are repainting a small aircraft carrier.
The first lesson many DIY painters learn is that preparation takes much longer than spraying. A roof might take fifteen minutes to coat, but washing, degreasing, sanding, repairing chips, masking glass, checking edges, and cleaning dust can take several hours. That is not wasted time. Preparation is the difference between a roof that looks refreshed and one that looks like it was painted during a power outage.
Another common experience is discovering that the roof looks much worse immediately after sanding. This is normal. A properly scuffed roof becomes dull and blotchy because you are removing shine and leveling old damage. Do not panic when the finish looks ugly halfway through the job. Sanded paint is supposed to look miserable; it is the awkward middle chapter before the glow-up.
Beginners also tend to underestimate how much masking matters. Overspray does not politely remain inside a neat little rectangle. Fine paint mist can settle on windows, trim, side panels, garage tools, bicycles, and the neighbor’s lawn chair if the work area is open. Taking an extra twenty minutes to protect the surrounding vehicle can save days of cleanup and prevent uncomfortable conversations.
Many people find that the first coat of base color looks weak, uneven, or strangely transparent. That is often expected. Base coat is usually built through several controlled layers. The goal is not to make the first pass look finished. The goal is to lay down a light, even foundation. Chasing coverage with one heavy pass is how runs happen, and runs are the automotive equivalent of spilling coffee on a white shirt five minutes before a meeting.
Metallic paints require an extra dose of patience. If your vehicle uses silver, gray, blue metallic, pearl white, or another effect color, your spray pattern matters more than usual. Uneven overlap can make one section appear darker or lighter. Keeping the can or spray gun parallel to the roof and moving at a consistent pace helps create a more uniform appearance.
Clear coat is usually the moment that gives DIY painters a confidence boost. The color may look flat or slightly chalky before clear coat, then suddenly gain gloss and depth after the clear is applied. Still, the clear coat stage is not a race. Too little material can leave a dry texture, but too much can create sagging curtains that seem to form at exactly the point where you were feeling most proud.
Dust nibs are another reality of DIY painting. Even in a clean garage, a tiny particle can land in the clear coat. The key is not to attack it immediately. Let the finish cure completely, then level the defect carefully with very fine wet sandpaper and polish. Most small imperfections are easier to correct later than to fix while the coating is wet.
Finally, the best experience is seeing the roof outside after the paint has cured. A faded, peeling roof can make a car feel old even when everything else is in good condition. A smooth, glossy repaint can make the same vehicle look cleaner, newer, and far more cared for. It may not be factory-perfect, but a well-prepared DIY roof paint job can be remarkably satisfyingand it comes with the bonus of knowing exactly who did the work.
Final Thoughts
Learning how to paint a car roof is less about secret techniques and more about disciplined basics: clean the surface, remove failing paint, sand evenly, use compatible products, apply light coats, and allow proper drying time. Treat each layer as part of a system rather than a random can of paint, and the results will improve dramatically.
Take your time, protect yourself, and remember that a smooth roof starts long before the first coat of color. The paint stage gets the applause, but preparation is the quiet professional in the background doing most of the work.