
Learning how to adjust shutter speed is one of those photography milestones that makes you feel like you’ve finally been allowed into the cool part of the camera club. One moment you’re hoping your camera reads your mind, and the next you’re intentionally freezing a soccer kick at 1/1000 or turning city lights into glowing spaghetti at 2 seconds. That is the magic of shutter speed.
If you have ever asked, “Why is my photo blurry?” or “How do people get those silky waterfall shots?” the answer often lives in this single setting. Shutter speed controls how long your camera collects light. It also controls whether motion looks tack-sharp, artistically blurred, or like your subject drank three espressos and ran out of frame.
This guide breaks the process down into 11 practical steps, with real examples, beginner-friendly advice, and enough camera common sense to help you shoot with more confidence right away.
What Is Shutter Speed, Exactly?
Shutter speed is the length of time your camera’s shutter stays open while taking a photo. A fast shutter speed opens and closes quickly, letting in less light and freezing movement. A slow shutter speed stays open longer, letting in more light and often creating motion blur.
You’ll usually see shutter speed written as fractions or whole seconds. For example:
- 1/1000 = very fast, great for sports, birds, or chaotic toddlers
- 1/250 = solid for everyday movement
- 1/60 = usable for many handheld situations, but shaky hands may vote against it
- 1/15 = slow enough to blur motion
- 1 second to 30 seconds = classic long exposure territory
Shutter speed works with aperture and ISO as part of the exposure triangle. Change one, and the others may need to adjust too. Photography, in other words, is part art, part science, and part negotiation.
How to Adjust Shutter Speed: 11 Steps
-
Step 1: Figure Out What You Want the Photo to Do
Before touching any dial, decide whether you want to freeze motion or show motion. This is the whole game.
If you want a basketball player frozen midair, you need a fast shutter speed. If you want a waterfall to look smooth and dreamy, you need a slow shutter speed. If you want your dog’s zoomies to look like pure emotional turbulence, that can also be arranged.
Start with the final look in mind. Shutter speed is not just a technical setting. It is a storytelling tool.
-
Step 2: Switch to Shutter Priority or Manual Mode
The easiest way to adjust shutter speed is to move your camera off full Auto mode. Look for S or Tv on the mode dial for Shutter Priority. In this mode, you choose the shutter speed and the camera helps by selecting the aperture for proper exposure.
If you want total control, use M for Manual mode. That lets you set shutter speed, aperture, and ISO yourself. Manual mode is powerful, but it will also expose your mistakes with brutal honesty. Consider that a growth opportunity.
-
Step 3: Learn Where Your Camera Displays Shutter Speed
On most cameras, shutter speed appears in the viewfinder, rear screen, or top LCD. Fast shutter speeds are often shown as numbers like 500 or 1000, which usually mean 1/500 and 1/1000. Whole seconds may appear as 1″, 2″, or 5″.
Get familiar with how your specific camera displays those values. This saves time in the field and keeps you from accidentally shooting a night scene at 1/4000 like you’re documenting lightning on the moon.
-
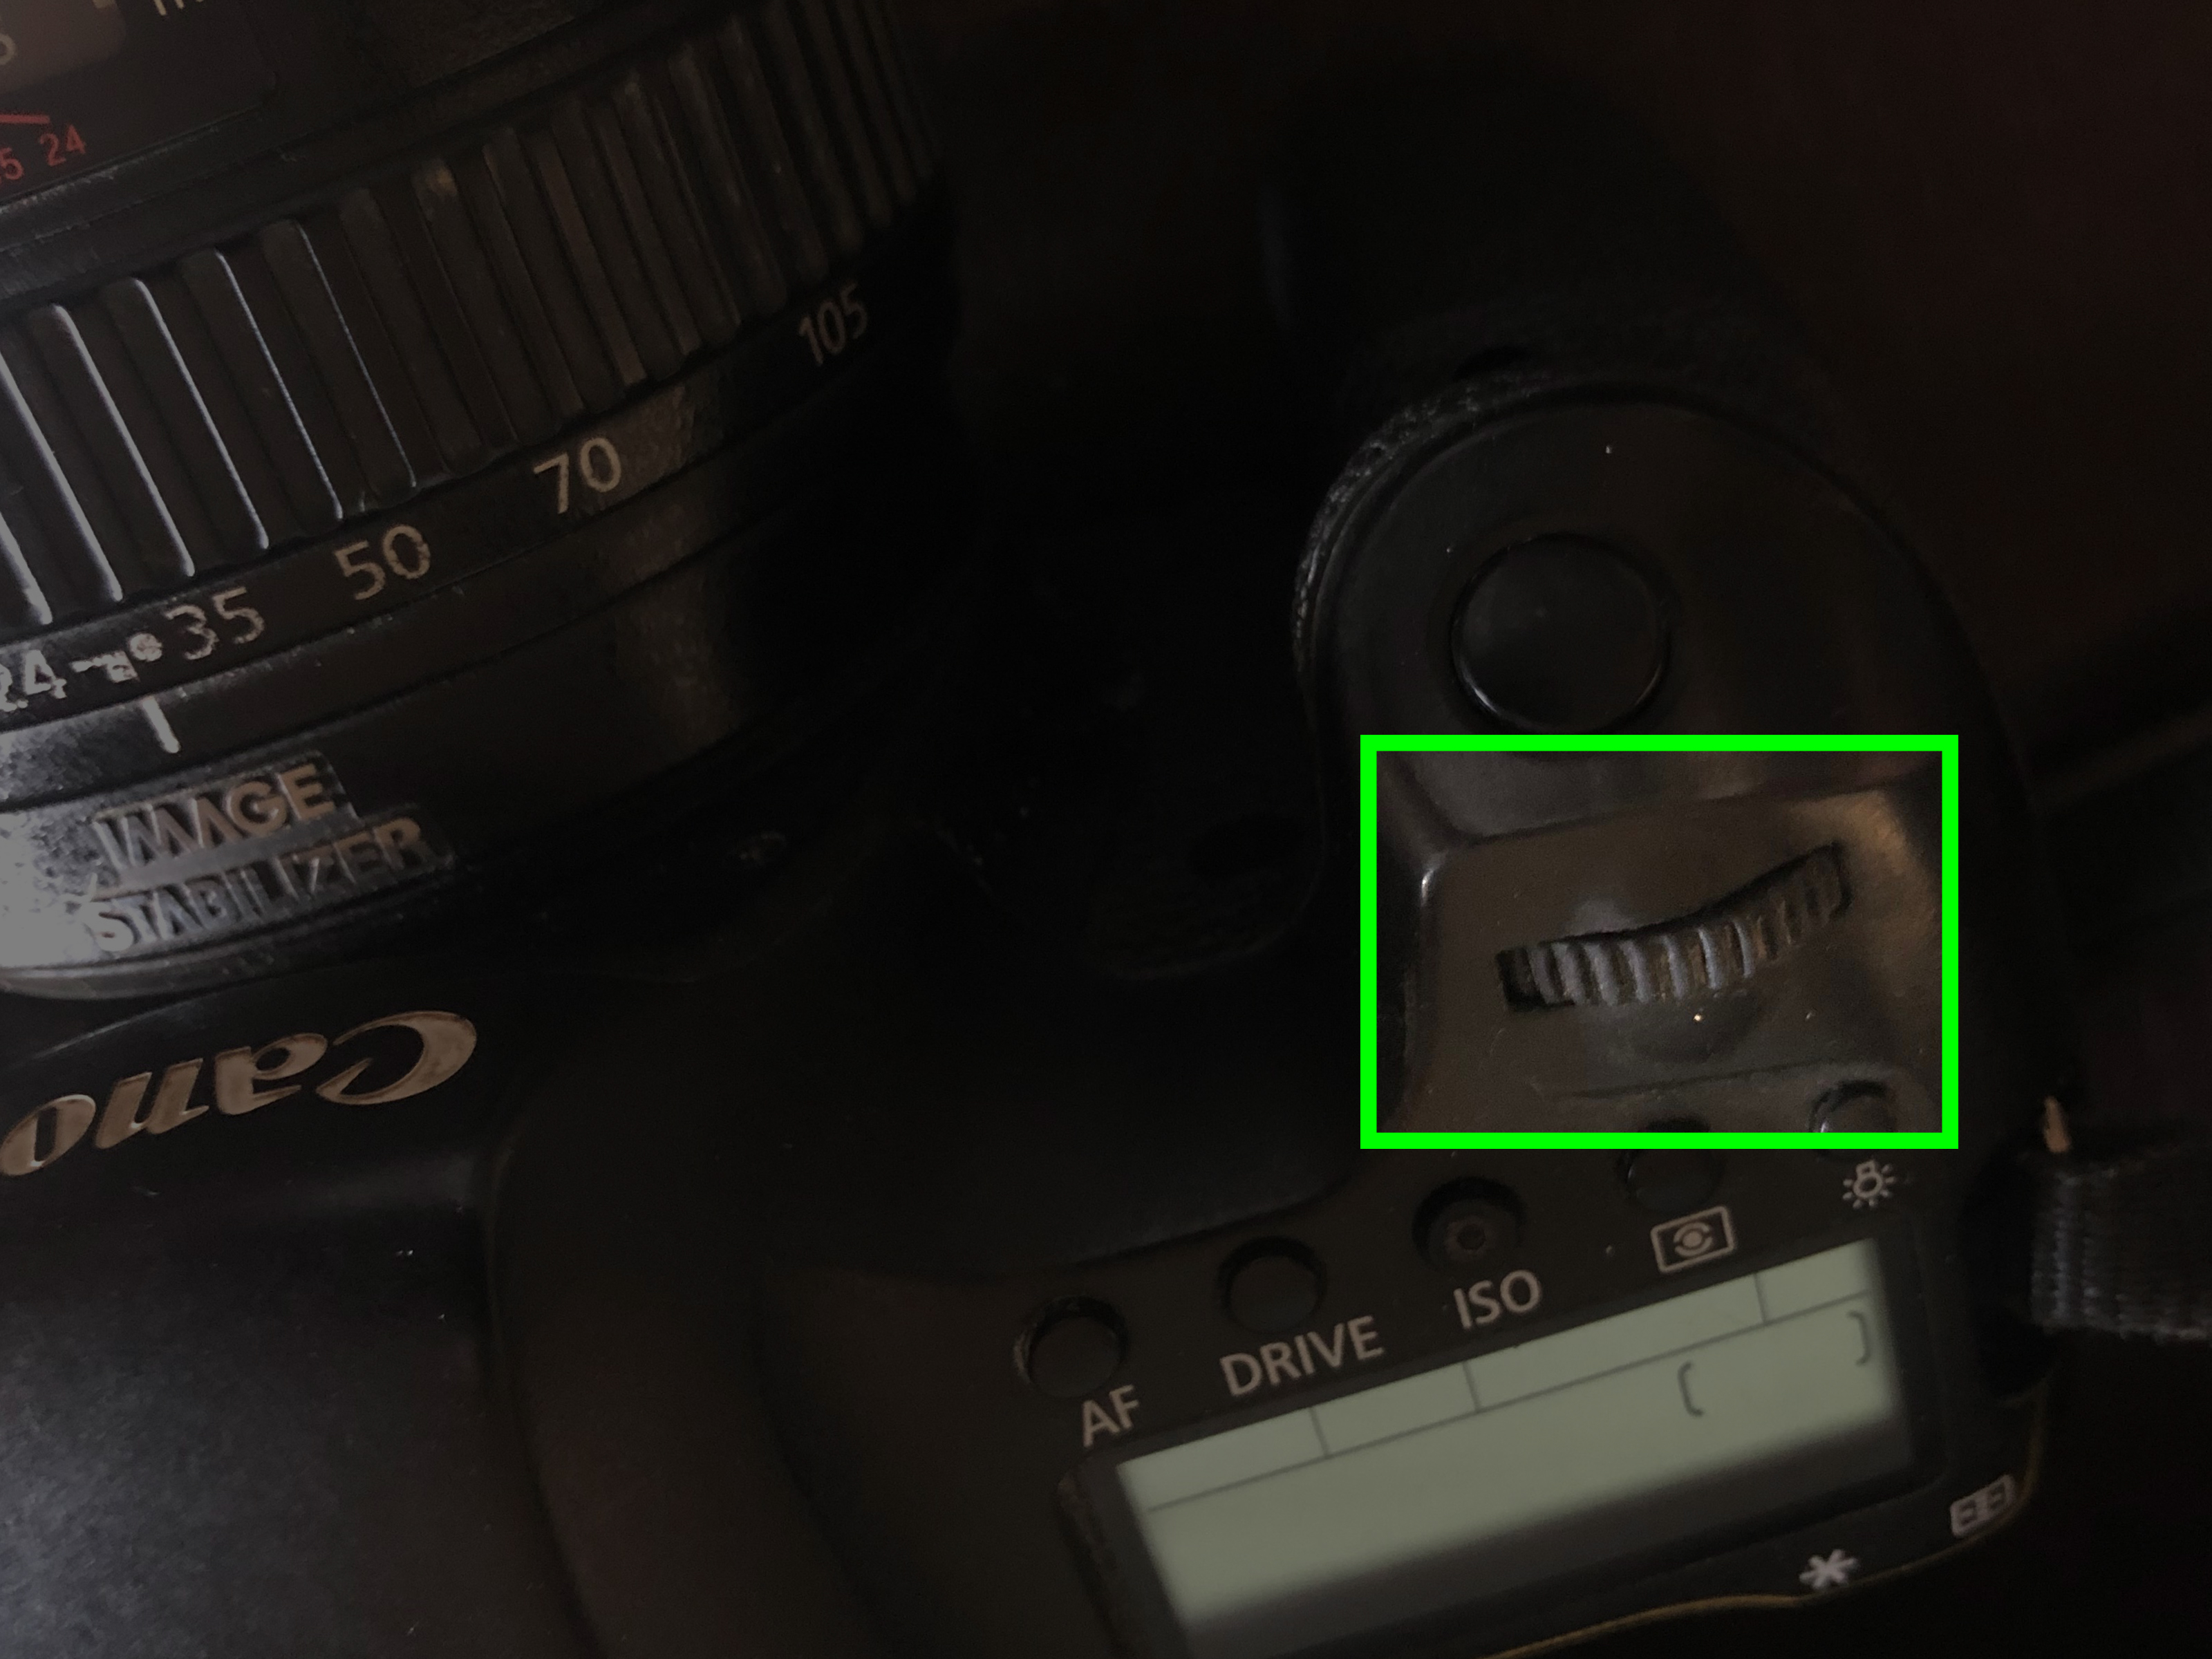
Step 4: Use the Main Dial to Change the Speed
Once you’re in S, Tv, or M mode, turn your command dial to adjust the shutter speed. On many cameras, turning one way makes it faster and the other makes it slower.
Watch what happens to the numbers:
- Moving from 1/125 to 1/250 makes the shutter faster
- Moving from 1/125 to 1/60 makes the shutter slower
Each full stop either halves or doubles the amount of light entering the camera. Faster speed equals less light. Slower speed equals more light. Simple in theory, occasionally dramatic in practice.
-
Step 5: Start With a Safe, Practical Baseline
If you are not sure where to begin, use these rough starting points:
- 1/1000 or faster for sports, wildlife, or anything sprinting
- 1/500 for kids, pets, bikes, and active street scenes
- 1/250 for casual movement
- 1/125 for general handheld photography in decent light
- 1/60 for still subjects if your hands are steady
- 1/30 to 1/15 for intentional motion blur or low light
- 1 second and longer for long exposure effects like trails, water, and night scenes
These are not laws of physics carved into camera bags, but they are useful starting points for beginners.
-
Step 6: Check for Blur From Your Subject and From Your Hands
There are two kinds of blur photographers wrestle with: subject motion blur and camera shake. Even if your subject is standing still, your own movement can soften the image at slower shutter speeds.
A classic rule of thumb is to use a shutter speed at least as fast as the reciprocal of your focal length. For example:
- Using a 50mm lens? Start around 1/50 or faster
- Using a 200mm lens? Start around 1/200 or faster
If your camera or lens has image stabilization, you may get away with slower speeds. But remember: stabilization helps with your movement, not a dancing child, a running dog, or a hummingbird with zero respect for your learning curve.
-
Step 7: Balance Shutter Speed With ISO and Aperture
Once you change shutter speed, your exposure may become too dark or too bright. That is normal. It just means the other two parts of the exposure triangle may need to help out.
If your shutter speed is too fast and the image is dark, you can:
- Raise the ISO
- Use a wider aperture such as f/2.8 instead of f/8
- Add more light if you are indoors
If your shutter speed is too slow and the image is too bright, you can:
- Lower the ISO
- Use a narrower aperture such as f/8 or f/11
- Use an ND filter in very bright conditions
This is where photography starts to click. You are not just changing one number. You are building an exposure on purpose.
-
Step 8: Take a Test Shot and Zoom In
Do not trust the tiny preview image alone. Take a shot, then zoom in and inspect the details. Is the face sharp? Is the moving subject crisp enough? Did the slow shutter create elegant blur or complete visual chaos?
For example, if you are photographing a person walking and 1/125 still looks a bit soft, try 1/250. If you are photographing a waterfall and 1/4 second still looks too “normal,” try 1 second or 2 seconds on a tripod.
Small adjustments often make a big difference. Shutter speed is less like flipping a switch and more like seasoning soup. Taste, adjust, repeat.
-
Step 9: Match the Speed to the Scene Type
Different subjects reward different shutter speeds. Here are some practical examples:
For portraits
Use around 1/125 to 1/250 for handheld portraits, especially if your subject is moving slightly or you are using a longer lens.
For sports and action
Start at 1/1000 and go faster if needed. Indoor sports may require higher ISO because the light is often rude.
For pets and kids
Use 1/500 or faster. They rarely pause out of kindness.
For waterfalls and rivers
Try 1/4 second to several seconds on a tripod for a silky look.
For panning shots
Use roughly 1/30 to 1/60 and move the camera with your subject. This keeps the subject relatively sharp while the background streaks beautifully.
For night scenes and light trails
Use 1 second to 30 seconds, a tripod, and patience. Patience is not sold separately, unfortunately.
-
Step 10: Use a Tripod When the Shutter Gets Slow
Once you move into slower shutter speeds, a tripod becomes your best friend. It removes camera shake and makes long exposures much more reliable. Use a self-timer or remote shutter release if you can, so pressing the button does not jiggle the camera.
If you are shooting on a tripod, turn off image stabilization on some lens and camera combinations if the manufacturer recommends it. And if you are photographing at very slow speeds outdoors, watch for wind, passing traffic vibrations, and suspiciously wobbly boardwalks.
-
Step 11: Keep Practicing Until the Numbers Start to Mean Something
The biggest leap happens when shutter speed stops being abstract and starts becoming instinctive. You see a cyclist and think, “1/1000.” You see neon traffic at dusk and think, “2 seconds.” You see your friend trying to blow out birthday candles and think, “Probably faster than 1/60 if I want eyebrows and cake in focus.”
Practice the same subject at several shutter speeds. Photograph running water at 1/250, 1/30, 1/4, and 2 seconds. Photograph someone walking at 1/500, 1/250, and 1/60. This kind of side-by-side comparison teaches faster than memorizing rules ever will.
Common Mistakes When Adjusting Shutter Speed
- Using a fast shutter in low light without compensating: The result is often a dark image.
- Using a slow shutter handheld: Sharp in your imagination, blurry in reality.
- Ignoring subject movement: Even with stabilization, moving subjects can still blur.
- Forgetting about flash sync limits: Many cameras have a maximum sync speed around 1/200 or 1/250 with standard flash setups.
- Changing shutter speed without checking aperture or ISO: Exposure problems follow quickly.
Quick Shutter Speed Cheat Sheet
If you want a simple memory aid, use this:
- Fast shutter speed = darker image, sharper motion
- Slow shutter speed = brighter image, more motion blur
- Handheld? Keep the speed reasonably fast
- Long lens? Go even faster
- Tripod? Now you can slow down and get creative
Real-World Experiences With Shutter Speed
The most useful lessons about shutter speed usually happen outside tutorials, when the light is changing, the subject is moving, and your camera settings suddenly feel very personal. One of the first real breakthroughs many photographers have is discovering that blur is not always a mistake. At the start, people often treat any softness as failure. Then they photograph a fountain at 1 second, or a train at dusk at 2 seconds, and realize motion blur can make a photo feel alive. That shift is huge. Instead of asking, “Is it sharp?” you begin asking, “Does it look the way I meant it to look?”
Another common experience happens with portraits and family snapshots. Many beginners use a shutter speed that seems fine on paper, like 1/60, only to discover the photo is slightly soft because the subject moved while laughing, turning, or talking. The picture is not disastrously blurry, just not crisp enough. That teaches a valuable lesson: shutter speed is not only about dramatic action scenes. It matters in normal life too. A small jump from 1/60 to 1/125 or 1/250 can turn a frustrating near-miss into a keeper.
Sports and pet photography tend to humble people quickly. A dog running across the yard looks manageable until you review the image and find one sharp ear, one abstract paw, and a face that seems to exist in another dimension. That is when shutter speed stops being theory and becomes survival. You learn to push to 1/500, then 1/1000, then higher if needed. You also learn that faster shutter speeds often require raising ISO, and that a slightly grainy sharp photo is almost always better than a beautifully clean blurry one.
Low-light shooting creates a different kind of education. At night, a slower shutter speed can rescue a scene without needing extreme ISO, but it also forces discipline. You brace your elbows, hold your breath, lean against a wall, or grab a tripod. You become more deliberate. In that way, shutter speed teaches both technique and patience. It slows you down mentally, even when the setting itself speeds up or slows down exposure.
Perhaps the most memorable experience is experimenting with the same scene at several shutter speeds and seeing how completely different the mood becomes. A street at 1/1000 looks frozen and documentary. The same street at 1/30 feels busy and cinematic. At 5 seconds, headlights stretch into glowing lines and the whole place feels almost theatrical. Same location, same lens, same photographerdifferent shutter speed, different story. Once you see that with your own images, shutter speed no longer feels like a number on a screen. It becomes one of the most expressive tools in photography.
Conclusion
Adjusting shutter speed is one of the fastest ways to improve your photography because it affects both exposure and motion. Learn what different speeds look like, practice with real subjects, and stop thinking of shutter speed as a technical obstacle. It is a creative decision.
Use fast shutter speeds when you want clarity, slow shutter speeds when you want motion, and remember that the best setting depends on what you are photographing, how steady you are, and what kind of story you want the image to tell. Once you understand that, your camera starts feeling less like a mystery box and more like a tool you actually control.