
A good nonstick pan is the quiet hero of the kitchen. It flips eggs without drama, releases pancakes like a polite handshake, and rescues weeknight dinners when your patience has already left the building. But here is the tiny catch: a nonstick pan only stays magical when you clean it the right way.
Learning how to clean a nonstick pan is not complicated, but it does require a little tenderness. This is not the pan you attack with steel wool, powdered cleanser, or the emotional energy of someone scrubbing a mystery stain from 2008. Nonstick cookware has a coated surface, and that surface needs gentle cleaning, moderate heat, and smart storage to keep performing well.
Whether you are dealing with scrambled egg residue, sticky oil film, burnt sauce, or that suspicious brown ring that appeared after taco night, this guide walks you through 11 practical steps to clean a nonstick pan safely. You will also learn what not to do, how to remove stubborn residue, when baking soda helps, and when your pan is politely telling you, “It has been a beautiful journey, but I am done.”
Why Proper Nonstick Pan Cleaning Matters
Nonstick pans are designed for easy food release, but their coating can lose effectiveness if it is scratched, overheated, or cleaned too aggressively. Once the surface becomes damaged, food sticks more easily, oil burns into the coating, and cleaning gets harder every time you cook. In other words, bad cleaning creates more cleaning. That is a villain origin story nobody needs.
The best way to clean nonstick cookware is simple: let it cool, wash it by hand with mild dish soap, use a soft sponge or dishcloth, remove residue gently, rinse thoroughly, dry completely, and store it without scratching the surface. For stubborn food, a short soak or baking soda paste can help. For serious damage, replacement may be the safer and more practical option.
How to Clean a Nonstick Pan: 11 Steps
Step 1: Let the Pan Cool Completely
Before you clean a nonstick pan, take it off the burner and let it cool naturally. This is one of the most important steps because sudden temperature changes can warp the pan or stress the coating. Running a hot pan under cold water may sound satisfyingly dramatic, but your cookware is not auditioning for an action movie.
Give the pan several minutes to cool until it is warm or room temperature. If there is loose food inside, remove it with a silicone, wooden, or nylon utensil. Avoid using metal forks, knives, or sharp spatulas because they can scratch the nonstick surface.
Step 2: Wipe Out Loose Food and Excess Oil
Once the pan has cooled, use a soft paper towel, silicone spatula, or clean cloth to remove loose crumbs, egg bits, sauce, and extra oil. This makes washing easier and keeps greasy residue from spreading around your sink.
Do not scrape aggressively. If food is stuck, leave it for the soaking step instead of forcing it off. A nonstick pan rewards patience. Treat it like a delicate houseplant that makes omelets.
Step 3: Wash with Warm Water and Mild Dish Soap
Fill the pan with warm water and add a few drops of mild dish soap. Use your hand to swirl the water around the cooking surface, or let the soap sit for a minute to loosen everyday residue. Warm water helps break down grease without shocking the pan.
You do not need a powerful degreaser for routine cleaning. In most cases, mild dish soap is enough. Strong chemical cleaners, oven cleaners, bleach-based products, and abrasive powders are too harsh for the interior coating of most nonstick cookware.
Step 4: Use a Soft Sponge, Cloth, or Non-Abrasive Brush
Clean the inside of the pan with a soft sponge, microfiber cloth, dishcloth, or non-abrasive brush. Move in gentle circles across the surface. Pay attention to the curved edges, where oil and sauce like to hide like tiny kitchen criminals.
Avoid steel wool, metal scouring pads, stiff abrasive pads, and the rough side of many heavy-duty sponges. These can scratch the coating and reduce the pan’s nonstick performance. If you are unsure whether a scrubber is safe, test it with this rule: if it feels like it could sand a picnic table, it does not belong inside your nonstick pan.
Step 5: Clean the Outside and Handle Too
The cooking surface gets all the attention, but the outside of the pan matters as well. Grease splatter, burner residue, and sauce drips can collect on the bottom, sides, and handle. Wash these areas with warm soapy water and a soft sponge.
If the outside of your pan is stainless steel or hard-anodized aluminum, you may be able to use a slightly stronger cleaner on the exterior only, depending on the manufacturer’s instructions. However, keep abrasive products away from the nonstick interior unless the care label clearly says otherwise.
Step 6: Rinse Thoroughly
After washing, rinse the pan with warm water until all soap is gone. Leftover soap can leave a film that affects the next cooking session. It can also make your eggs taste faintly like dish duty, which is not the brunch flavor profile anyone requested.
Check the pan under good light. If you see oily streaks, brown specks, or sticky patches, do not panic. Move to the next steps for residue removal instead of scrubbing harder.
Step 7: Remove Sticky Oil Film with a Baking Soda Paste
If your nonstick pan feels tacky after washing, it may have a thin layer of cooked-on oil. This often happens when cooking spray, high heat, or too much oil creates buildup. To clean sticky residue from a nonstick pan, mix baking soda with a small amount of water until it forms a soft paste.
Spread the paste over the sticky area and let it sit for 10 to 15 minutes. Then rub gently with a soft sponge or dishcloth. Baking soda is mildly abrasive, so use a light touch. You are polishing away residue, not trying to win an arm-wrestling contest with breakfast.
Rinse well and wash again with mild soap. If the surface feels smooth afterward, the pan is ready to dry. If the residue remains, repeat once or try a short warm-water soak.
Step 8: Soak Stuck-On Food for 10 to 15 Minutes
For stuck-on food, fill the pan with warm soapy water and let it soak for 10 to 15 minutes. This gives the food time to soften so you can wipe it away without scratching the coating. Soaking is especially useful for oatmeal, melted cheese, egg edges, and sauces that cooked down too far.
Avoid soaking nonstick pans overnight unless the manufacturer specifically allows it. Long soaking can affect some materials, especially around rivets, handles, and pan edges. A short soak is usually enough for normal kitchen messes.
Step 9: Simmer Soapy Water for Burnt Spots
If food is truly stuck, add water and a few drops of dish soap to the pan, then place it over low heat for a few minutes. Let the water gently simmer, not roar like a tiny hot tub. The heat helps loosen burnt food without requiring harsh scrubbing.
Turn off the heat, let the pan cool, and use a soft sponge or silicone spatula to lift the loosened residue. Rinse and wash normally. This method works well for burnt egg, caramelized sauce, or a forgotten quesadilla situation. We are not judging. The cheese had ambition.
Step 10: Dry the Pan Completely
After rinsing, dry the pan with a clean towel or place it upside down on a dish rack. Do not put it away while wet. Water spots are usually harmless, but moisture around handles, rivets, or stacked cookware can create stains or odors.
Drying also gives you a chance to inspect the surface. A clean nonstick pan should feel smooth, not gummy or gritty. If you notice residue, wash it again before storing. If you notice flaking, peeling, deep scratches, or areas where the coating is coming off, it may be time to replace the pan.
Step 11: Store It Without Scratching the Surface
Good cleaning can be undone by bad storage. If you stack pans, place a soft pan protector, dish towel, paper towel, or cloth between each piece. This prevents the bottom of one pan from scraping the nonstick coating of another.
Try not to slide pans against each other. Lift them instead. It sounds fussy until you remember that one careless stack can do more damage than a month of careful cooking. Nonstick cookware is easygoing on the stove, but in the cabinet it prefers personal space.
What Not to Use on a Nonstick Pan
Some cleaning tools are too aggressive for nonstick cookware. Avoid steel wool, metal brushes, harsh scouring pads, abrasive powders, oven cleaner, bleach, knives, and metal utensils. These may scratch the surface or weaken the coating over time.
You should also be careful with cooking spray. Many aerosol sprays can leave a residue that becomes sticky and difficult to clean, especially when used repeatedly over medium-high or high heat. A small amount of butter, oil, or ghee is usually better for preserving the pan’s performance.
Dishwashers are another gray area. Some nonstick pans are labeled dishwasher safe, but hand-washing is usually gentler. Dishwasher detergents, high heat, and repeated cycles may shorten the life of the coating. If you want your nonstick pan to last, the sink is usually the safer spa treatment.
How to Clean a Burnt Nonstick Pan Without Ruining It
A burnt nonstick pan does not automatically mean disaster. Start with the gentlest method first: cool the pan, wipe out loose debris, and soak it in warm soapy water. If residue remains, try simmering soapy water on low heat for a few minutes. Let the pan cool, then wipe with a soft sponge.
For brown film or stubborn oil residue, use baking soda paste. Spread it lightly, wait, and wipe gently. Do not use steel wool or aggressive scraping. If the stain does not disappear completely but the surface remains smooth and food still releases well, the pan may still be usable. Cosmetic staining is different from coating damage.
However, if burnt residue has bonded deeply into the pan and the surface feels rough, sticky, or uneven after cleaning, the nonstick performance may be compromised. At that point, use the pan for less delicate foods or consider replacing it.
How Often Should You Clean a Nonstick Pan?
You should clean a nonstick pan after every use. Even if it looks clean, a thin layer of oil can remain on the surface. Over time, that oil can heat, harden, and create a sticky film that makes food cling to the pan.
Daily cleaning does not have to be intense. Most of the time, warm water, dish soap, and a soft sponge will do the job in under a minute. The trick is consistency. A little cleaning today prevents a full detective investigation tomorrow.
When Should You Replace a Nonstick Pan?
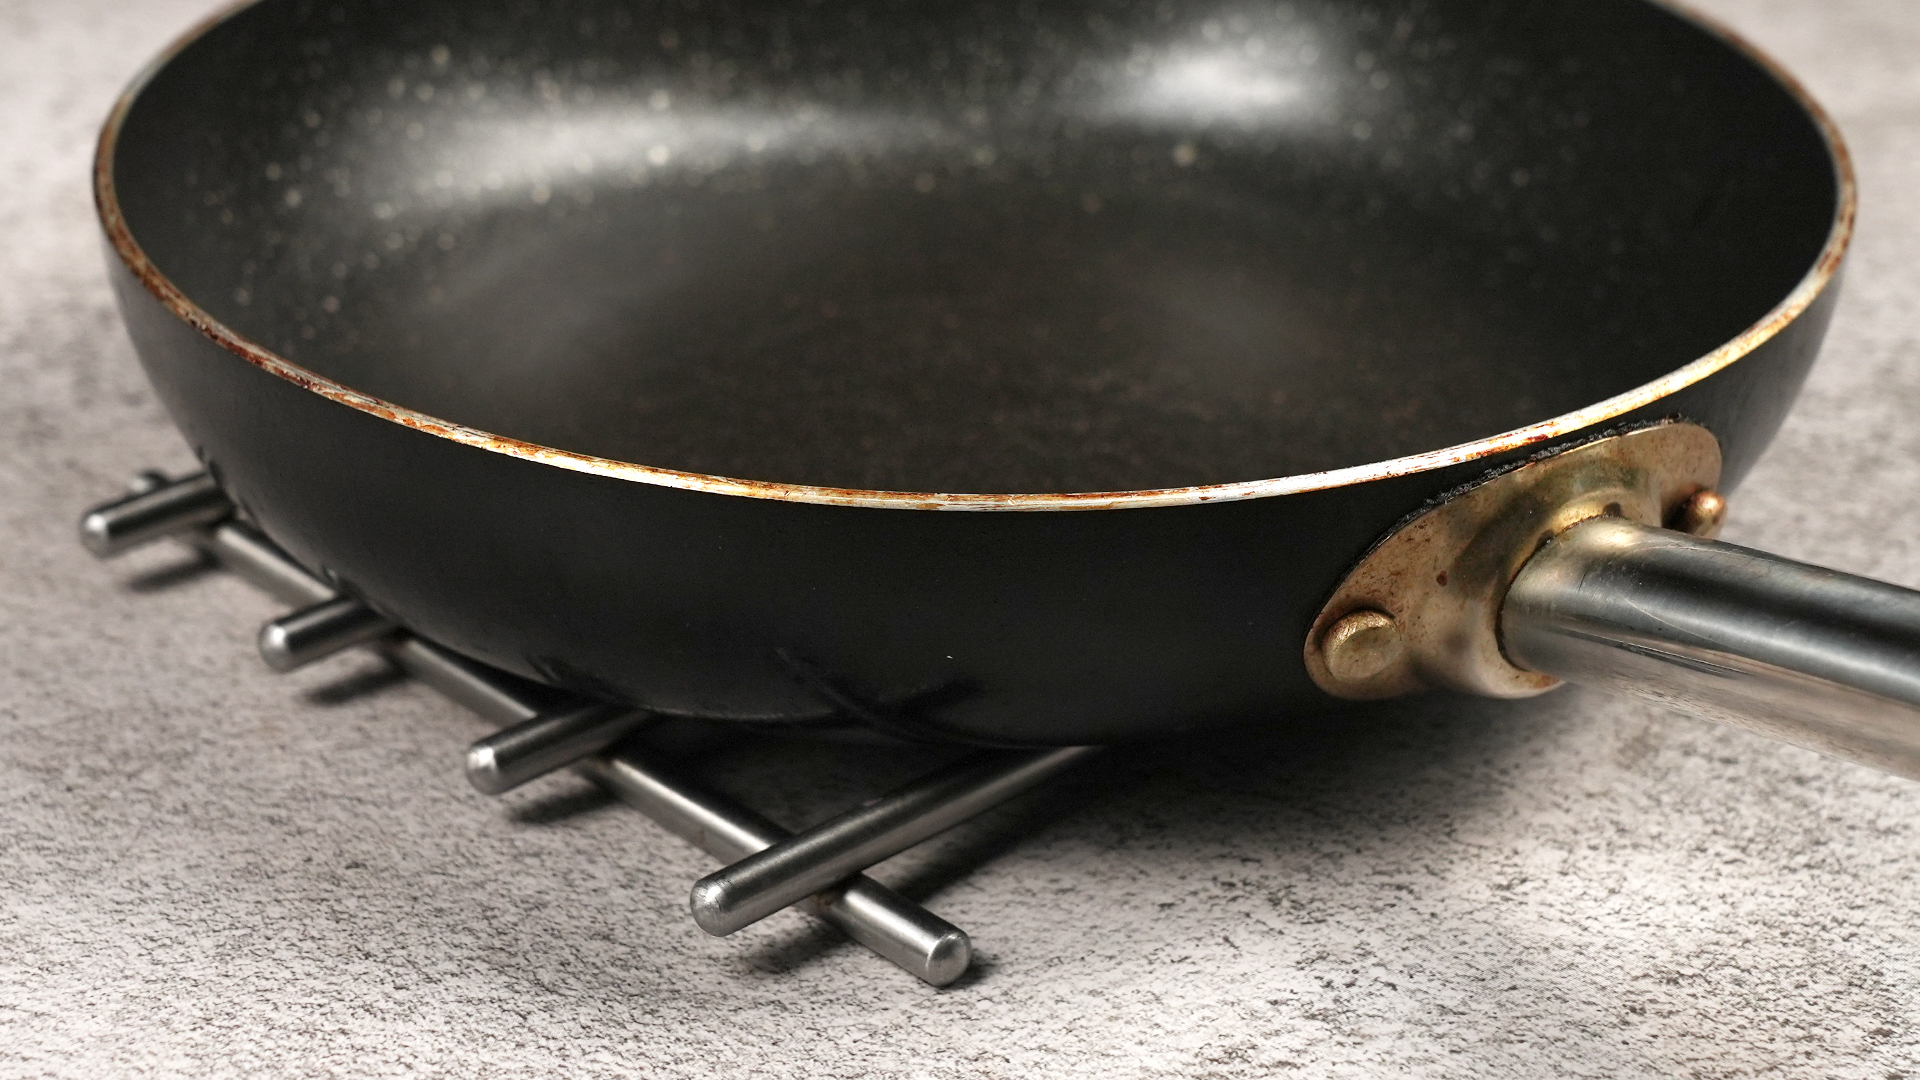
Replace a nonstick pan when the coating is peeling, flaking, deeply scratched, pitted, or no longer releasing food even after proper cleaning. A pan that has lost its nonstick surface will make cooking frustrating and cleaning harder.
Also consider replacing the pan if it is warped and no longer sits flat on the burner. Warping can cause uneven cooking, hot spots, and oil pooling. If eggs always slide to one side like they are trying to escape the pan, the pan may be bent.
Nonstick cookware is not usually a lifetime item. Even high-quality pans eventually wear down. Gentle cooking, hand-washing, soft utensils, and careful storage can help extend the life of your pan, but no coating lasts forever.
Extra Tips to Keep a Nonstick Pan Clean Longer
Cook on Low to Medium Heat
High heat can damage many nonstick coatings and burn oils onto the surface. Use low to medium heat for eggs, pancakes, fish, vegetables, and reheating. If you need a screaming-hot sear, reach for stainless steel or cast iron instead.
Use the Right Utensils
Choose silicone, nylon, or wooden utensils. Avoid knives, metal forks, and sharp-edged tools. Even one careless scrape can leave a mark that collects food and oil later.
Use a Small Amount of Fat
Even though the pan is nonstick, a little oil or butter helps food release and protects the surface. You do not need much. A light coating is enough. Think “slick,” not “deep-fry rehearsal.”
Avoid Empty Preheating for Too Long
Do not leave an empty nonstick pan over heat for a long time. Add oil or food soon after heating, and keep the temperature moderate. Overheating can weaken the coating and create residue that is harder to remove.
Common Mistakes When Cleaning Nonstick Pans
The first mistake is washing the pan while it is still very hot. Let it cool to prevent warping and coating stress. The second mistake is using the wrong scrubber. A rough pad may seem faster, but it can shorten the life of the pan.
The third mistake is ignoring the outside. Grease on the exterior can burn onto the pan and create smoke the next time you cook. The fourth mistake is storing pans directly on top of each other. A simple cloth between pans can prevent scratches.
The fifth mistake is assuming “dishwasher safe” means “dishwasher recommended forever.” A dishwasher may not destroy the pan immediately, but hand-washing is usually gentler and better for long-term performance.
Experience Notes: What I Learned from Cleaning Nonstick Pans in Real Kitchens
After cleaning more nonstick pans than I care to admit, I have learned that most pan problems begin before the sink. Cleaning gets difficult when the pan was overheated, sprayed heavily with aerosol oil, attacked with metal utensils, or left with residue after the last meal. The sink is often where the evidence appears, but the stovetop is usually where the crime happened.
One of the most common examples is the “sticky egg pan.” The pan looks clean, but every egg suddenly clings to it like it has signed a lease. In many cases, the issue is not the egg. It is a thin layer of old oil that has built up on the surface. A gentle baking soda paste often helps, but prevention is better. Wash the pan thoroughly after each use, especially after cooking with butter, cheese, or oil.
I have also learned that soaking is underrated. Many people start scrubbing immediately because they want the pan clean now. But a 10-minute soak can do what five minutes of aggressive scrubbing cannot. Warm soapy water softens stuck food and protects the coating. It is the kitchen version of working smarter, not harder.
Another practical lesson: never stack nonstick pans without protection. It feels harmless when you are unloading the dishwasher or clearing the counter quickly. Then one day you see a long scratch across the cooking surface and realize the villain was not your spatula. It was the bottom of another pan. A paper towel, dish towel, or pan protector between pans is a small habit that saves money.
Burnt spots require calm. The worst thing you can do is panic and reach for steel wool. Instead, add water, a few drops of dish soap, and use low heat to loosen the residue. Let the pan cool, then wipe gently. If it still does not come off, try baking soda paste. If it still laughs at you, accept that the stain may be cosmetic or the pan may be near retirement.
I also recommend keeping one nonstick pan for delicate foods and using other cookware for high-heat cooking. Nonstick is wonderful for eggs, crepes, pancakes, fish, and quick sautés. It is not the best choice for hard searing steak or blackening vegetables over intense heat. When you use each pan for the job it does best, cleaning becomes easier and your cookware lasts longer.
Finally, I have learned that a nonstick pan does not need perfection to be useful. A few exterior stains or light discoloration do not mean failure. What matters is the cooking surface. If it is smooth, intact, and still releases food, keep using it. If it is peeling, rough, deeply scratched, or flaking, do not turn dinner into a science experiment. Replace it and give the new pan the gentle treatment from day one.
Conclusion
Cleaning a nonstick pan is all about gentle habits. Let it cool, wash it by hand, use mild soap, choose a soft sponge, avoid abrasive tools, and dry it completely before storage. For stubborn residue, use a short soak, simmer soapy water, or apply a baking soda paste with a light touch.
The better you care for your nonstick pan, the longer it will keep doing its favorite trick: letting food slide out without a dramatic rescue mission. Treat the coating kindly, avoid high heat and metal tools, and your pan will reward you with easier cooking, faster cleanup, and fewer breakfasts that require negotiation.