
A stripped nut has a special talent: it can turn a five-minute repair into a staring contest with a piece of metal that has absolutely no feelings. One minute you are confidently holding a wrench; the next, the nut is rounded, rusty, or frozen in place like it signed a long-term lease.
The good news is that damaged nuts are usually removable without destroying the surrounding part. The key is to stop using the same method that caused the damage, work from gentle techniques to more aggressive ones, and know when the nut should be sacrificed for the greater good. This guide explains how to remove stripped, rounded, rusted, or seized nuts safely using extraction sockets, locking pliers, penetrating oil, heat, nut splitters, and other proven methods.
Important distinction: A nut may have rounded exterior corners, damaged threads, corrosion, or all three. A rounded nut needs more grip. A seized nut needs help breaking corrosion. A thread-damaged nut may come off but should almost always be replaced.
Start by Assessing the Damage Before You Touch Another Tool
Before grabbing a bigger wrench and entering your “I can fix this with confidence and rage” phase, inspect the nut carefully. The removal method depends on what is actually wrong.
- Rounded corners: The flats of the hex nut are worn down, so a normal wrench or socket slips.
- Rust or corrosion: The nut may still have good shape, but rust has bonded it to the bolt or stud.
- Thread damage: The nut may turn but refuse to travel along the bolt.
- Limited access: The nut is tucked into a tight space where a full socket or large pliers cannot fit.
- Safety-critical location: The nut is part of a wheel, suspension, brake system, fuel system, electrical connection, or structural assembly.
If the nut is on a wheel stud, brake component, suspension part, steering linkage, gas appliance, or pressurized line, slow down. These fasteners are not ideal candidates for experimental hammering. A stripped nut is annoying; a damaged wheel stud, brake line, or fuel fitting can become expensive or dangerous very quickly.
Gather the Right Tools for Removing a Damaged Nut
You do not need a mechanic’s entire tool truck, but the right few tools dramatically improve your odds. A basic damaged-nut removal kit should include:
- Penetrating oil
- Wire brush
- Six-point sockets in both metric and SAE sizes
- Breaker bar or long-handled ratchet
- Locking pliers
- Nut extractor sockets
- Hammer and punch
- Nut splitter or rotary cutting tool for last-resort removal
- Safety glasses and gloves
Whenever possible, use a six-point socket instead of a twelve-point socket. A six-point socket grips more of the nut’s flat sides and is less likely to slip over damaged corners. Twelve-point sockets are convenient, but on a rounded nut they can behave like a tiny metal ice rink.
Method 1: Clean the Nut and Use Penetrating Oil
If rust, dirt, paint, or road grime is involved, start with cleaning. Use a wire brush to expose the nut’s edges and the visible threads of the bolt or stud. Removing crusty buildup gives your tool a better chance of making full contact.
Next, apply penetrating oil around the threads and where the nut meets the surface behind it. Allow the oil time to work into the corrosion. Reapply if necessary rather than immediately forcing the nut with maximum leverage.
After the oil has had time to penetrate, try gently tightening the nut a fraction of a turn before loosening it. That tiny movement can break the rust bond. Then work the nut back and forth rather than applying one heroic, all-or-nothing pull. Controlled movement is usually more effective than brute force, and it is far less likely to snap the bolt.
When This Method Works Best
Penetrating oil works especially well on a nut that still has reasonably sharp flats but is stuck because of rust or oxidation. It will not rebuild a rounded hex shape, but it can make the removal tool’s job much easier.
Method 2: Try a Correctly Fitting Six-Point Socket
Sometimes the nut looks stripped only because the wrong tool was used. Before declaring it hopeless, test a new six-point socket that fits tightly. Make sure the socket is fully seated over the nut, not perched halfway on the damaged corners.
If the original size slips, a socket one size smaller may grip, especially if the nut has only mild rounding. Metric and SAE sizes are close enough in some cases that a neighboring size can grab better, but do not randomly force sockets onto the nut. You want a tight fit, not a socket that becomes a permanent resident of the repair.
A light tap with a hammer can help seat a socket over slightly rounded corners. Use controlled taps, especially near aluminum, plastic, wheel studs, sensors, or delicate components.
Method 3: Use a Nut Extractor Socket
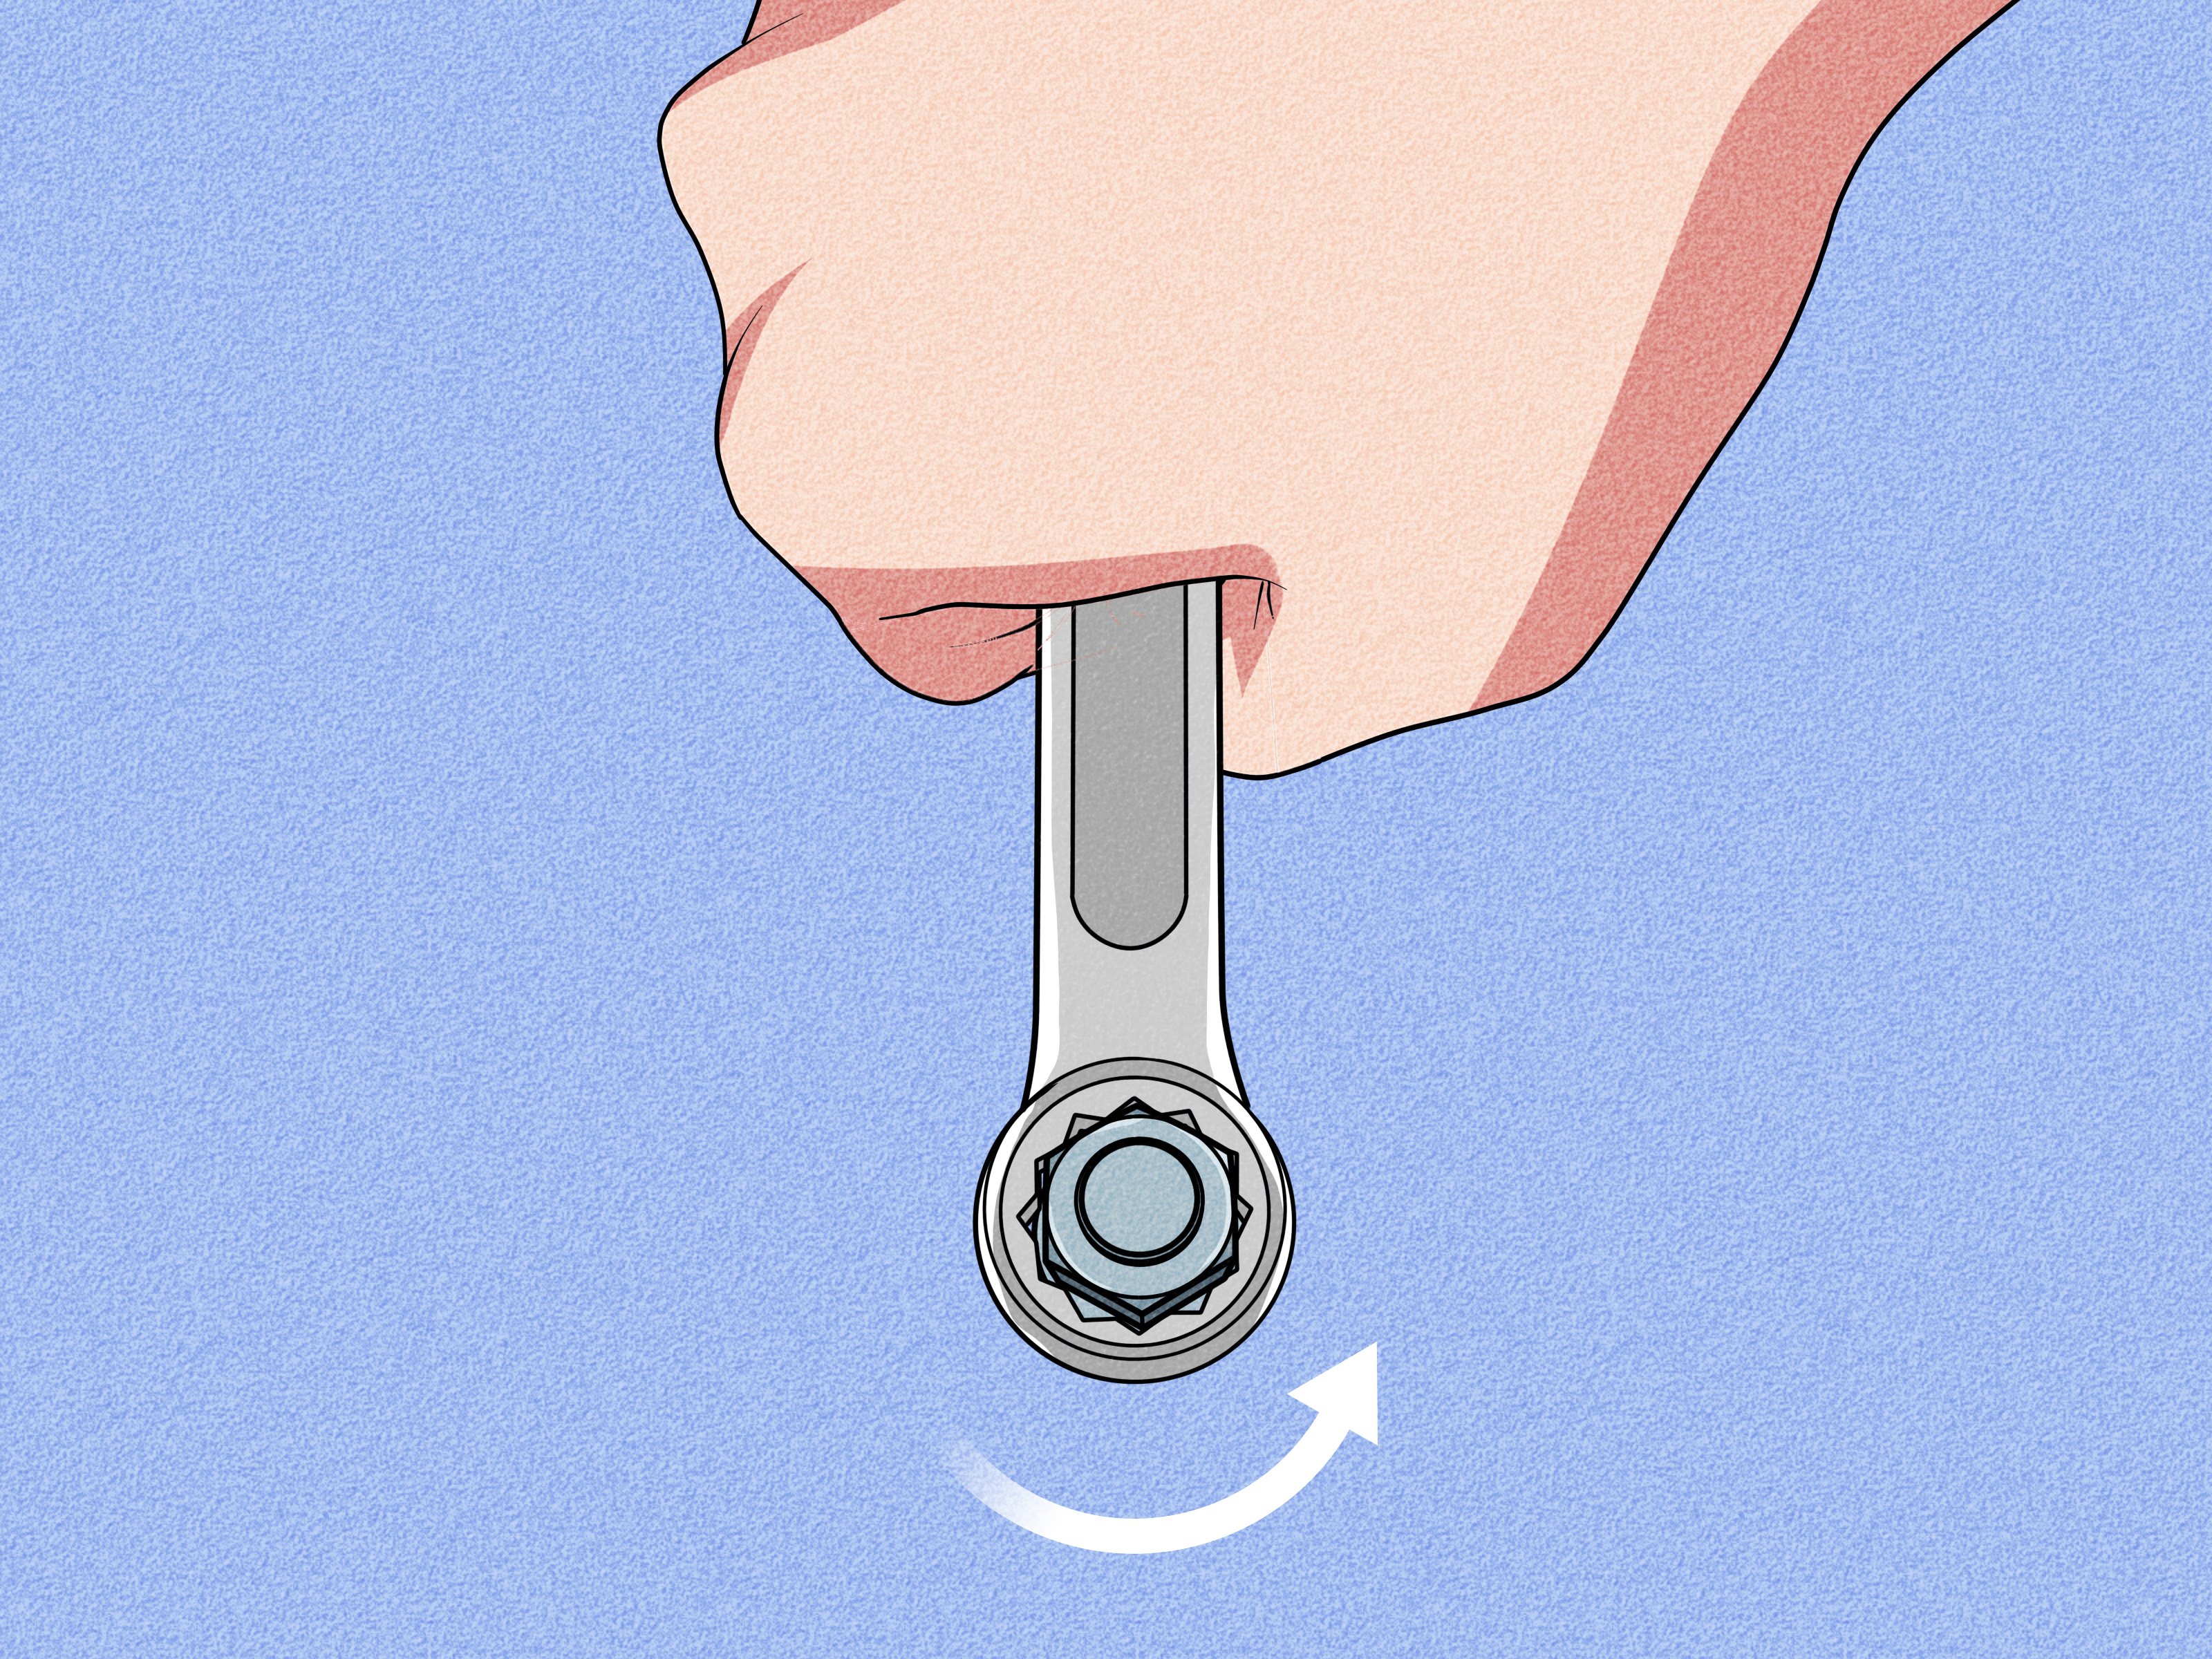
For most rounded nuts, a dedicated nut extractor socket is the best solution. These sockets have reverse spiral flutes or gripping teeth inside. As you turn counterclockwise, the extractor bites deeper into the damaged nut.
Choose an extractor that fits snugly. It should need a firm push or gentle hammer tap to seat. Attach it to a ratchet or breaker bar, keep the tool straight, and apply steady pressure. Avoid jerking the handle sideways, because side-loading can crack the extractor or damage the surrounding fastener.
Many extractor sockets are impact-rated, but do not assume every socket can safely be used with an impact wrench. Use an impact tool only when the extractor is specifically rated for it. A regular chrome socket can fracture under impact force, which is a bad way to add flying metal to your afternoon.
How to Remove the Nut From the Extractor
Once the damaged nut is off, it may remain wedged inside the extractor. Place the extractor over a solid surface and use a punch through the drive end to tap the nut out. Do not keep using that damaged nut just because it survived the adventure. Replace it.
Method 4: Grip the Nut With Locking Pliers
Locking pliers work well when enough of the nut is exposed and there is room to turn them. Adjust the jaws so they clamp aggressively onto two opposing flat sides of the nut. The pliers should lock with real resistance; if they close too easily, they are not gripping hard enough.
Once the pliers are locked, turn slowly and keep the jaws square to the nut. If the pliers slip repeatedly, stop. Every slip rounds the nut further and may reduce your chance of using an extractor socket afterward.
This method is most effective on large, accessible nuts, especially those on brackets, lawn equipment, outdoor furniture, basic household hardware, and non-critical automotive components. It is much less effective in cramped engine bays or recessed suspension areas.
Method 5: Add Controlled Leverage With a Breaker Bar
A breaker bar can help loosen a stubborn nut because its long handle provides more leverage than a standard ratchet. Use it only after you have a secure grip with a six-point socket or extractor socket.
Apply force gradually. Keep your body balanced and pull rather than push whenever possible, so you are less likely to fall if the tool slips. Do not extend a ratchet handle with a random pipe unless the ratchet is designed to handle that load. A broken ratchet, scraped knuckles, and a sudden vocabulary expansion are not signs of a successful repair strategy.
Method 6: Use Heat Carefully for a Seized Nut
Heat can help break corrosion by expanding the nut slightly. However, this is an advanced technique and should be used only when the surrounding area is safe. Never apply open flame near fuel lines, gasoline, batteries, brake fluid, rubber boots, plastic components, wiring, pressurized systems, or flammable vapors.
If heat is appropriate, warm the nut itself rather than the bolt or stud. The goal is to expand the nut enough to loosen its grip. After heating, allow it to cool slightly, apply penetrating oil only after the metal is no longer dangerously hot, and try removal with an extractor socket or six-point socket.
For wheel studs, suspension hardware, brake assemblies, and anything near seals or bearings, professional help is often the smarter option. Heat can damage nearby components long before it loosens the nut.
Method 7: Split or Cut the Nut as a Last Resort
When the nut is completely rounded, seized, or damaged beyond gripping, it may need to be destroyed. This sounds dramatic because it is dramatic, but it can save the bolt, stud, or surrounding assembly.
Use a Nut Splitter
A nut splitter uses a hardened chisel-like wedge to crack the nut. Position the tool carefully on one flat side of the nut and tighten it until the metal splits. For stubborn nuts, you may need to split two sides before the nut releases.
A nut splitter is useful when you need to preserve the bolt or stud and have enough clearance around the nut. It is not ideal near fragile castings, thin brackets, or components that could be damaged by the splitting force.
Cutting With a Rotary Tool or Grinder
A rotary tool, cutoff wheel, or angle grinder can cut a groove through the nut. Cut almost through one side, then use a cold chisel to crack the remaining metal. Do not cut into the bolt threads unless you are prepared to replace the bolt or stud.
Protect nearby surfaces with a metal shield where possible. Sparks can damage paint, melt plastic, ignite flammable debris, and make an otherwise calm repair feel like a low-budget action movie.
What to Do When the Nut Turns but Will Not Come Off
If the nut turns freely but does not move along the threads, the bolt threads may be stripped or damaged. Try pulling outward on the nut while turning it, using a flat pry tool only where it will not damage the surrounding part. Sometimes slight outward pressure helps the nut catch the remaining threads.
If that fails, the nut may need to be split or cut off. Once removed, inspect the bolt or stud carefully. If the threads are flattened, cross-threaded, stretched, or galled, replace the hardware rather than trusting it for future use.
When You Should Stop and Call a Professional
DIY is rewarding, but not every stubborn nut deserves a full weekend of escalation. Consider professional help when:
- The nut is on a wheel stud or locking lug nut.
- The fastener supports brakes, steering, suspension, or structural components.
- The area contains fuel, gas, electrical wiring, refrigerant, or pressurized lines.
- The bolt is already bending, stretching, or starting to snap.
- You need welding, torch heat, or a grinder in a tight space.
- The replacement part will cost far more than a shop’s removal labor.
There is no prize for turning a simple repair into a parts-ordering marathon. Sometimes the expert move is recognizing that the nut has already won enough of your day.
How to Prevent Stripped and Damaged Nuts in the Future
Most damaged nuts are preventable. The habits below will protect both your hardware and your mood:
- Use the exact socket or wrench size whenever possible.
- Choose six-point sockets for tight or corroded nuts.
- Seat sockets fully before applying force.
- Clean rust and debris before removal or installation.
- Use a torque wrench for wheel nuts and other critical fasteners.
- Do not overtighten with an impact wrench.
- Replace damaged, stretched, heavily corroded, or cross-threaded hardware.
- Use anti-seize compound only where the vehicle manufacturer or equipment maker recommends it.
Correct torque matters because too little torque can allow parts to loosen, while too much can stretch threads, distort components, and make future removal miserable. For vehicle wheel nuts, always use the torque specification in the owner’s manual or service information for that exact vehicle.
Real-World Lessons From Removing Damaged Nuts
Experience teaches one lesson faster than any tool catalog: the first mistake is usually not the stripped nut. The first mistake is the moment someone notices the wrench slipping and decides that more force will somehow create more grip. It will not. Metal is stubborn, but it is also honest. If the tool is slipping, the setup is wrong.
A common example is the rusty outdoor equipment nut. It may be on a mower blade, garden cart, trailer bracket, or old patio project that has survived several winters and at least one questionable storage decision. The nut looks ugly, but its hex shape may still be usable. In these cases, cleaning the fastener, applying penetrating oil, waiting patiently, and using a six-point socket often works better than immediately reaching for locking pliers. The most successful removal is usually the least dramatic one.
Another lesson comes from automotive work, especially lug nuts. A lug nut can look like an easy target because it is right there in the open, practically asking for attention. But wheel studs are safety-critical, and an overpowered impact wrench can turn a simple tire change into a broken-stud repair. When a lug nut is rounded, a dedicated extractor socket is usually safer than trying several adjustable wrenches, pliers, and increasingly creative hammer techniques. Once the damaged lug nut is removed, inspect the stud threads and replace the nut. Reusing damaged wheel hardware is false economy.
Tight spaces create a different kind of frustration. Under a sink, behind an appliance, or inside an engine bay, a normal extractor socket may be too bulky. This is where slim locking pliers, wrench inserts, crowfoot-style tools, or carefully chosen specialty extractors become useful. The important lesson is not to force a large tool into a small gap. If the tool cannot sit squarely on the nut, it may slip and cause more damage than the original problem.
Experienced repairers also learn to protect the surrounding part before escalating. A nut can be replaced for a few dollars. A damaged aluminum housing, brake line, painted panel, wiring harness, or threaded stud can cost far more. Before cutting or splitting a nut, pause and ask what will happen if the cutting wheel goes one millimeter too deep. That single question prevents many expensive repairs.
Heat is another area where restraint matters. Heat can be effective against corrosion, but it does not care whether it is loosening a nut or cooking a rubber bushing, melting a wire cover, damaging a seal, or igniting residue nearby. The best technicians use heat as a controlled tool, not a magic spell. When the area is crowded or flammable, they choose another method or send the job to someone with safer equipment.
Finally, damaged-nut removal teaches the value of replacement hardware. Once a nut has been rounded, split, cut, overheated, or fought with using an extractor, its career is over. Replacing it is not wasteful; it is the final step of the repair. New hardware, correct torque, and a properly seated six-point socket next time will keep your future self from meeting the same nut again under less cheerful circumstances.
Conclusion
Removing a stripped or damaged nut is less about raw strength and more about choosing the right escalation path. Start with cleaning, penetrating oil, and a properly fitted six-point socket. Move to extractor sockets or locking pliers when the corners are rounded. Use heat only when the area is safe, and reserve cutting or splitting for nuts that are beyond saving.
The best result is not merely getting the nut off. It is getting the nut off without damaging the bolt, stud, surrounding component, or your patience beyond repair. Replace compromised hardware, torque critical fasteners correctly, and your next repair will be much less likely to begin with the phrase, “Well, that does not look good.”