
Hanging a mirror sounds easy until you remember two tiny details: mirrors are breakable, and walls are surprisingly dramatic. One wrong nail hole, one wobbly hook, and suddenly your “quick decor update” becomes a home repair subplot. The good news? You can hang a mirror on a wall without nails, and you do not need to be a contractor, a magician, or that one neighbor who owns every tool known to civilization.
Whether you are renting, avoiding holes in freshly painted drywall, decorating a dorm, or simply refusing to negotiate with a hammer today, there are several nail-free mirror hanging methods that can work beautifully. The key is choosing the right method for the mirror’s weight, frame style, wall surface, and location. A tiny entryway mirror and a heavy bathroom vanity mirror are not the same beast. One is a kitten. The other is a glass panther.
This guide covers three simple, practical ways to hang a mirror without nails: heavy-duty adhesive picture hanging strips, mirror adhesive or mounting tape, and removable hooks or no-drill hanging solutions. You will also learn when each method is safe, when it is a terrible idea wearing a clever disguise, and how to prep your wall so your mirror stays where you put it.
Before You Start: Check the Mirror, the Wall, and Reality
Before you choose a hanging method, inspect three things: the mirror’s weight, the back of the mirror, and the wall surface. This step is boring in the same way seat belts are boringuntil they matter.
Weigh the mirror first
Do not guess the weight. Mirrors are sneaky. A small framed mirror can weigh more than it looks, especially if the frame is wood, metal, or thick resin. Use a bathroom scale if you can. Weigh yourself holding the mirror, then weigh yourself without it, and subtract the difference. Congratulations: you have done math for interior design.
Once you know the weight, compare it with the stated weight capacity on the adhesive strips, hooks, tape, or mirror adhesive. Do not use the maximum rating as a challenge. If a product says it holds up to 15 pounds, do not hang a 14.9-pound mirror over a hallway where people slam doors and children practice indoor sprinting.
Inspect the back of the mirror
Framed mirrors often have D-rings, sawtooth hangers, wire, or a flat backing. Adhesive picture hanging strips usually work best on flat, smooth, clean backing. If the back is paper, fabric, unfinished wood, dusty fiberboard, or weirdly textured, adhesive strips may not bond well.
Frameless mirrors are different. They usually need either mirror adhesive, mirror clips, a support channel, or another system designed for glass. Regular construction adhesive can damage the mirror backing, causing dark spots, silvering damage, or sad little blotches that look like the mirror has developed a skin condition. Use adhesive labeled safe for mirrors.
Know your wall surface
Most nail-free methods work best on smooth painted drywall, finished wood, tile, glass, metal, or painted concrete. They are less reliable on textured walls, dusty plaster, brick, wallpaper, flaking paint, raw wood, or surfaces exposed to heavy moisture. If the wall feels chalky, greasy, bumpy, damp, or crumbly, pause. Adhesive needs clean contact, not a mystery texture buffet.
Way 1: Use Heavy-Duty Adhesive Picture Hanging Strips
Heavy-duty adhesive picture hanging strips are often the easiest way to hang a lightweight framed mirror without nails. These strips usually work like hook-and-loop fasteners: one strip sticks to the wall, one strip sticks to the mirror, and the two pieces lock together. They are popular because they are renter-friendly, removable, and do not require tools.
This method is best for small to medium framed mirrors that fall within the product’s weight and size limits. It is not ideal for oversized mirrors, fragile antique mirrors, frameless glass, very valuable pieces, or mirrors placed above beds, cribs, sofas, or anywhere a falling object could become a dramatic event.
Best for
Use adhesive picture hanging strips for lightweight framed mirrors in bedrooms, entryways, closets, dorm rooms, apartments, and smooth-wall spaces where you want a clean, damage-free look. They are especially helpful when you want to test a mirror location before committing to a more permanent installation.
What you need
- Heavy-duty adhesive picture hanging strips rated for your mirror’s weight
- Rubbing alcohol and a clean cloth
- Tape measure
- Pencil or painter’s tape
- Level
Step-by-step instructions
- Clean the wall. Wipe the hanging area with rubbing alcohol and let it dry completely. Do not use household cleaners that leave residue. Adhesive is picky, like a cat with a velvet pillow.
- Clean the mirror back. Make sure the backing is smooth, dry, and dust-free. If the surface is rough, peeling, or paper-covered, adhesive strips may not be suitable.
- Plan the height. For most rooms, the center of the mirror looks natural around eye level. In entryways and bathrooms, adjust based on who will use it and what the mirror should reflect.
- Attach the strips. Pair the strips together if the product uses a locking system, then place them evenly on the back of the frame. Put strips near the upper corners and lower corners to distribute weight.
- Press firmly. Press the strips onto the frame for the time recommended on the package. Then remove the wall-side liners.
- Position and press. Hold the mirror level, press it firmly to the wall, and apply steady pressure across the strip locations.
- Let the adhesive set. Many adhesive strip systems require waiting before the full weight is supported. Follow the package directions exactly. This is not the moment for freestyle DIY jazz.
Pro tips for success
Use more strips only when the manufacturer allows it and gives a combined weight rating. Do not assume that doubling strips always doubles safety. Place strips vertically if instructed, press firmly, and avoid hanging on freshly painted walls until the paint has cured. Many products recommend waiting several days after painting before using adhesive strips.
Also, avoid applying adhesive strips to wallpaper. Wallpaper may separate from the wall, taking your mirror on a short but memorable flight. If your wall is heavily textured, choose another method.
Way 2: Use Mirror Adhesive or Heavy-Duty Mounting Tape
Mirror adhesive is a strong, often permanent way to mount a mirror without nails. This is the method many people use for frameless bathroom mirrors, vanity mirrors, gym mirrors, and decorative wall mirrors that are meant to stay put for years. It creates a sleek look because no visible hardware is needed.
However, “permanent” is the keyword wearing a neon vest. Mirror adhesive is not the best choice if you are renting, planning to move the mirror soon, or unsure about the placement. Removing a glued mirror can damage drywall, paint, and sometimes the mirror itself. In other words, choose this method when you are ready for commitment.
Best for
Mirror adhesive works well for frameless mirrors, bathroom mirrors, and mirrors mounted to suitable surfaces such as sealed drywall, tile, concrete, or finished panels. It is especially useful when you want a clean, built-in look without clips or brackets.
What you need
- Mirror-safe adhesive or mirror mastic
- Caulk gun if using cartridge adhesive
- Painter’s tape
- Level
- Tape measure
- Temporary support blocks, spacers, or a helper
- Clean cloth
Step-by-step instructions
- Choose the correct adhesive. Use a product specifically labeled for mirrors. Regular adhesive may damage the reflective backing.
- Prepare the wall. The surface should be clean, dry, structurally sound, and free of dust, grease, loose paint, or wallpaper. Painted surfaces may need additional prep depending on the adhesive instructions.
- Mark the outline. Use painter’s tape and a level to mark the mirror’s final position. This prevents the classic DIY tragedy known as “almost straight.”
- Apply adhesive correctly. Follow the product directions for bead size, spacing, and placement. Many mirror adhesives should be applied in vertical beads rather than sealed circles, which can trap moisture or interfere with curing.
- Set the mirror in place. Carefully lift the mirror and press it into position. For larger mirrors, use a helper. Glass does not care about your pride.
- Support while curing. Use painter’s tape, temporary blocks, or another safe support system as recommended by the adhesive manufacturer. Do not rely on wishful thinking while adhesive cures.
- Wait the full cure time. Give the adhesive the recommended time to set before touching, cleaning, or decorating around the mirror.
What about mounting tape?
Heavy-duty double-sided mounting tape can be useful for small mirrors, lightweight decorative mirror tiles, or flat-backed mirrors on very smooth surfaces. It is usually easier and cleaner than liquid adhesive, but it is not always removable without damage. Weight capacity can change depending on wall texture, surface porosity, temperature, humidity, and how fully the tape contacts both surfaces.
If using mounting tape, choose a tape rated for indoor wall mounting and check whether it is safe for mirrors. Apply it only to flat, clean surfaces. Press firmly and evenly. Avoid using tape alone for large, heavy, expensive, or irreplaceable mirrors.
Safety warning for mirror adhesive
Do not use mirror adhesive over wallpaper, peeling paint, dirty tile, soft drywall paper, or damp surfaces. In bathrooms, make sure the adhesive is appropriate for humidity. If the mirror is large, heavy, or installed in a high-traffic area, consider combining adhesive with a support ledge, J-channel, or professional installation. Nail-free does not mean gravity-free.
Way 3: Use Removable Hooks, Over-the-Door Hangers, or a No-Drill Leaning Setup
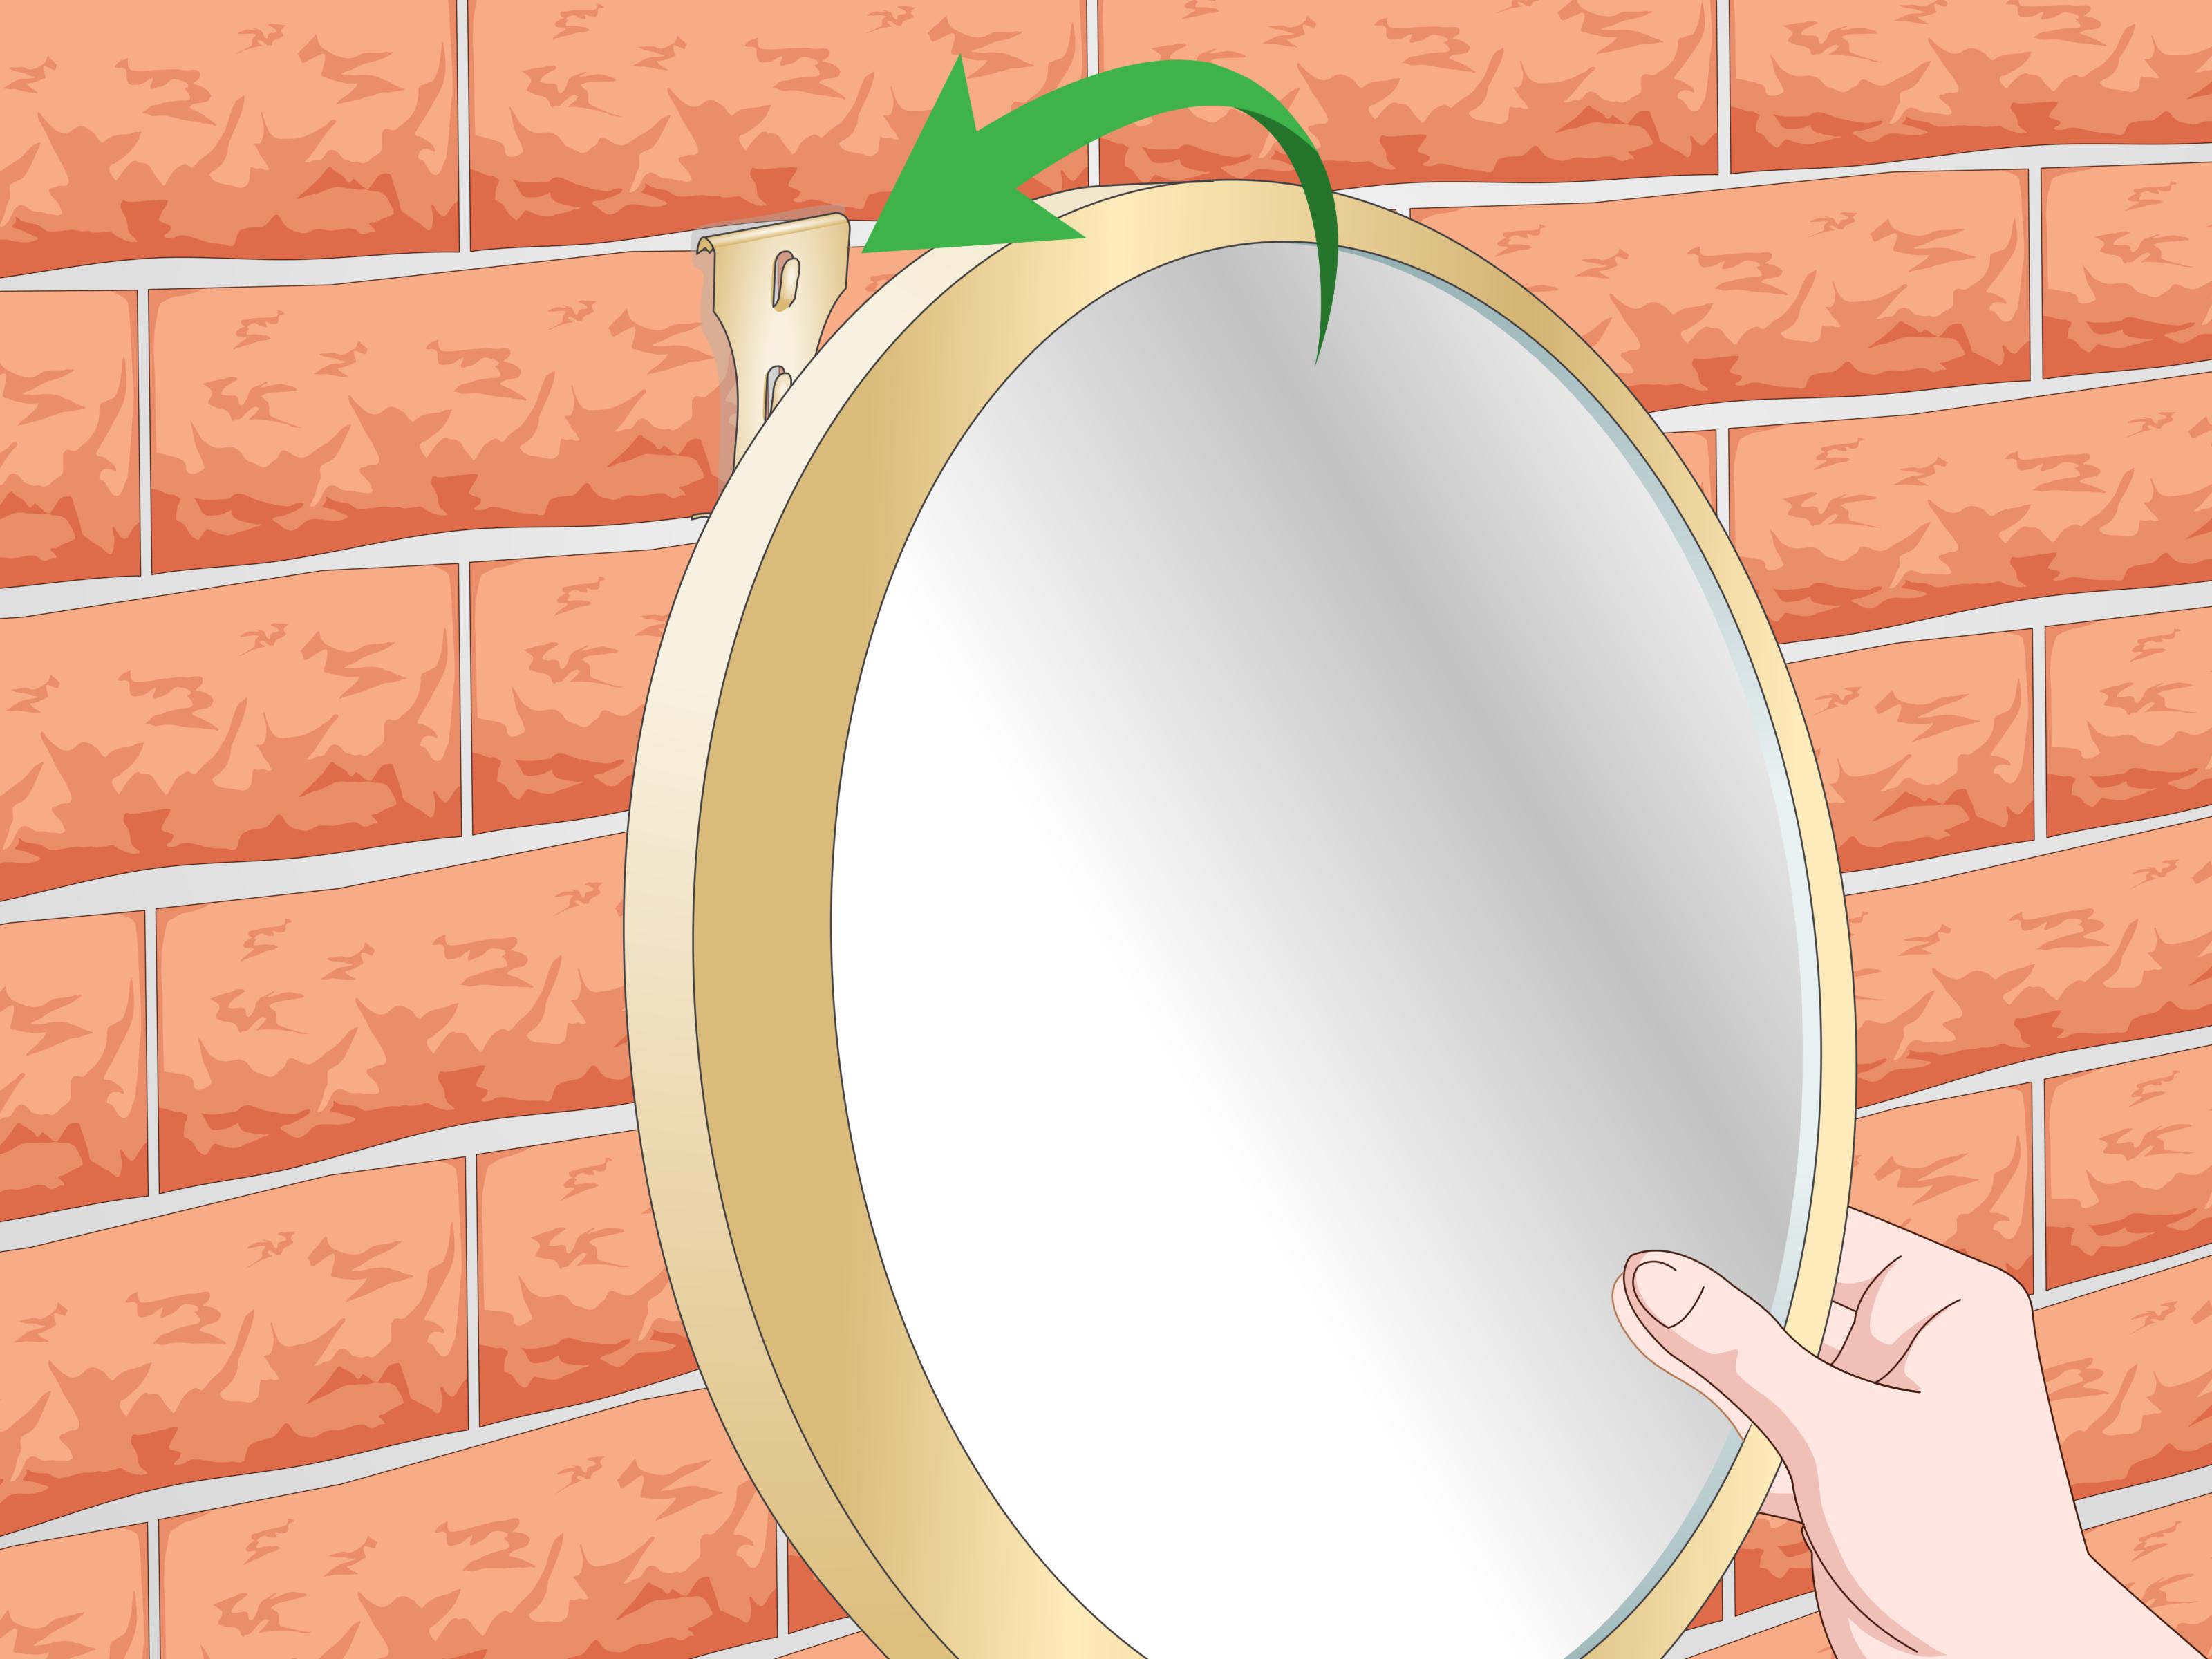
The third simple way to hang or display a mirror without nails is to use removable hanging hardware or a no-drill setup. This category includes adhesive hooks for very light framed mirrors, over-the-door mirror hangers, suction-cup systems for certain tile or glass surfaces, and leaning mirrors secured safely in place.
This method is best when you want flexibility. Maybe you are in a rental. Maybe your lease treats wall holes like federal crimes. Maybe you just enjoy moving furniture every three weeks because “the room energy changed.” Whatever the reason, removable mirror solutions can work if you respect their limits.
Option A: Adhesive hooks for lightweight framed mirrors
Adhesive hooks can hold small framed mirrors that have a hanging wire or built-in loop, but they must be rated for the mirror’s weight. Use this only for lightweight mirrors, and avoid glass-heavy, valuable, antique, or oversized pieces. Adhesive hooks are convenient, but they are more vulnerable to humidity, wall texture, temperature changes, and long-term adhesive fatigue.
To use adhesive hooks, clean the wall with rubbing alcohol, let it dry, apply the hook according to the instructions, press firmly, and wait the recommended setting time before hanging the mirror. Make sure the mirror hangs flat and does not pull the hook outward at an angle.
Option B: Over-the-door mirror hangers
If you need a full-length mirror without wall holes, an over-the-door mirror is one of the easiest solutions. It hangs from hooks over the top of a door, which means no nails, no screws, and no adhesive stuck to paint. This is ideal for bedrooms, closets, dorms, and apartments.
Check that the door can close properly with the hanger in place. Add small felt pads behind the mirror to prevent rattling and protect the door finish. If the mirror swings when the door opens, use removable lower stabilizers or small adhesive bumpers designed for that purpose.
Option C: Lean a large mirror safely
Leaning a mirror against the wall can look intentional, relaxed, and stylish. It is common with large floor mirrors, mantel mirrors, and oversized decorative mirrors. The trick is to make it safe. A leaning mirror should sit on a stable floor, angle slightly back toward the wall, and have anti-slip pads under the bottom edge.
For homes with pets, children, or enthusiastic vacuuming, secure the mirror with a no-damage safety strap if possible, or place it where it cannot easily tip. If your mirror is tall and heavy, leaning without any restraint may be risky. Chic is nice. Shattered glass is not a design style.
How to Choose the Best Nail-Free Mirror Hanging Method
Choose adhesive picture hanging strips if your mirror is lightweight, framed, flat-backed, and within the product’s weight limit. This is usually the best solution for renters who want a removable option on smooth painted walls.
Choose mirror adhesive if your mirror is frameless, heavier, or meant to be permanently installed. This method offers a clean, professional look, especially in bathrooms and vanity areas, but it can damage the wall during removal.
Choose removable hooks, over-the-door hangers, or a leaning setup if you need flexibility, are working with a full-length mirror, or want to avoid both holes and permanent adhesive. This is often the easiest path for dorms, closets, and rental bedrooms.
Common Mistakes to Avoid
Ignoring the weight limit
The number on the package matters. It is not a decorative suggestion. Always compare the mirror’s real weight with the product rating, and consider using a safety margin. A mirror that is too heavy for adhesive strips can fall, break, damage the wall, and turn your calm Saturday into a broom-and-regret situation.
Skipping wall cleaning
Dust, grease, soap film, and cleaning residue can weaken adhesive. This is especially important in bathrooms and kitchens, where invisible grime likes to host tiny parties on the wall. Clean the surface and let it dry before applying anything sticky.
Using the wrong adhesive
For frameless mirrors, use mirror-safe adhesive. Standard construction adhesive may stain or damage the mirror backing. For removable strips, use products designed for wall hanging, not random tape from a junk drawer that has been there since 2017.
Hanging on weak surfaces
Wallpaper, peeling paint, textured plaster, damp drywall, and dusty masonry can all cause adhesive failure. If the wall surface is weak, the adhesive may hold perfectlyto the weak layer that then peels off. That is not success. That is a slow-motion prank.
Hanging mirrors in risky locations
Avoid adhesive-only installations above beds, cribs, sofas, or seating areas unless the product and setup are specifically rated and safe for that use. When in doubt, use mechanical support, a professional installer, or a different location.
Practical Examples
Example 1: Small entryway mirror
A 5-pound framed mirror near the front door can usually be hung with heavy-duty adhesive picture hanging strips, as long as the wall is smooth and painted. Clean the wall, place strips evenly on the back, press firmly, and wait before hanging. This gives you a clean look with no nail holes and no “oops, the mirror is crooked” drama.
Example 2: Bathroom vanity mirror
A frameless bathroom mirror is better suited for mirror adhesive or a support system designed for mirrors. Because bathrooms have humidity and frequent temperature changes, choose adhesive intended for mirrors and follow cure-time instructions carefully. Temporary support is important while the adhesive sets.
Example 3: Full-length bedroom mirror
For a full-length mirror in a rental bedroom, an over-the-door mirror or safely leaned floor mirror may be smarter than adhesive strips. Full-length mirrors can be heavy, and a door or floor-based solution avoids stressing the wall surface.
Extra Experience: What I Have Learned from Nail-Free Mirror Hanging
Here is the honest truth about hanging mirrors without nails: the method is only as good as the preparation. Most failures do not happen because the product is useless. They happen because someone skipped a step, used the wrong surface, underestimated the mirror’s weight, or trusted a dusty wall with the confidence of a motivational speaker.
In real homes, walls are rarely perfect. A wall may look clean but still have lotion mist, cooking residue, old cleaner, bathroom humidity, or paint that never fully cured. Adhesive strips and hooks need firm contact with the actual wall surface, not a layer of invisible gunk. The best installs start with cleaning, drying, measuring, and waiting. The waiting part is hard because the mirror is right there, looking helpful. But adhesive needs time to bond. Rushing it is like pulling cookies from the oven after three minutes and calling them “minimalist biscuits.”
Another lesson: mirror weight is deceptive. Thin mirrors can feel light until you add a chunky frame. Decorative frames often weigh more than the glass. A cute round mirror from an online shop might arrive with a surprisingly heavy metal frame, and suddenly the adhesive strips you bought for “small decor” are not enough. Weighing the mirror first prevents this problem. It also helps you choose whether you need strips, adhesive, hooks, or a totally different plan.
Location matters too. A mirror on a quiet bedroom wall has an easier life than a mirror on a bathroom wall next to a steamy shower. A hallway mirror near a slamming door gets vibration. A mirror on a textured wall has less adhesive contact. A mirror above a bench or bed carries more risk if it falls. When the location is demanding, choose a stronger method or avoid adhesive-only mounting.
For renters, the best approach is usually the most reversible one. Adhesive picture hanging strips are excellent for lightweight framed mirrors, but they still need to be removed properly. Pull the tab slowly downward along the wall, not outward. Pulling outward can remove paint, drywall paper, and your security deposit’s will to live. If a strip breaks, gentle heat from a hair dryer can sometimes soften adhesive residue, but test carefully and avoid overheating paint.
For homeowners, mirror adhesive can look beautifully seamless, especially in bathrooms. But permanent adhesive is not casual. Once a mirror is glued, moving it later may mean repairing drywall. That is fine if you are sure about the placement. It is less fine if you change your mind every time you open a home decor app.
The most reliable nail-free mirror projects share one habit: they respect gravity. Adhesive can be strong, but gravity works every day, all day, without vacation. Choose the right method, follow the instructions, and do not hang precious, heavy, or fragile mirrors with a product meant for lightweight decor. Done correctly, a nail-free mirror can brighten a room, make a small space feel larger, and spare your wall from unnecessary holes. Done carelessly, it can become modern art on the floor.
Conclusion
Learning how to hang a mirror on a wall without nails is mostly about matching the method to the mirror. Heavy-duty adhesive picture hanging strips are great for lightweight framed mirrors. Mirror adhesive or mirror-safe mounting tape can create a clean, permanent look for suitable frameless mirrors. Removable hooks, over-the-door hangers, and leaning setups offer flexible solutions for renters, dorms, closets, and anyone who wants style without wall damage.
The most important rules are simple: weigh the mirror, clean the surface, follow the product instructions, respect weight limits, and avoid risky locations. Nail-free does not mean rule-free. But with the right method, you can hang a mirror securely, upgrade your room, and keep your walls looking fresh. Your hammer can remain peacefully unemployed.
Note: Always follow the manufacturer’s instructions for the specific adhesive strips, hooks, mounting tape, or mirror adhesive you use. For heavy, antique, oversized, or high-value mirrors, professional installation is the safest choice.