
If you have ever looked at a gorgeous loaf of sourdough and thought, “That seems like a hobby for people who own three aprons and casually say words like hydration,” good news: you can absolutely make amazing sourdough bread at home. Yes, it takes time. Yes, your starter may act like a moody pet made of flour. But once you pull a crackly, golden loaf from the oven and hear that tiny crust song as it cools, you will understand why so many home bakers become gloriously obsessed.
This guide walks you through the best sourdough bread recipe for beginners and improving bakers alike. You will learn how to make sourdough bread with a chewy crumb, crisp crust, deep flavor, and enough structure to make you feel like you should open a tiny bakery in your kitchen. We will cover ingredients, timing, shaping, proofing, baking, troubleshooting, and the real-life experiences that make sourdough both humbling and wildly fun.
Why This Is the Best Sourdough Bread Recipe
The best sourdough loaf is not the one with the most dramatic holes or the most intimidating schedule. It is the loaf you can actually make, repeat, and improve. This recipe keeps the ingredient list simple and the process practical:
- One active sourdough starter
- Manageable hydration for home bakers
- Stretch-and-folds instead of heavy kneading
- Overnight cold proof for better flavor and easier scoring
- Dutch oven baking for bakery-style crust
In other words, this loaf is ambitious enough to feel artisanal, but not so dramatic that it requires a weather station, a spreadsheet, and emotional support.
Ingredients for Homemade Sourdough Bread
Main Dough
- 500 grams bread flour
- 350 grams water, room temperature
- 100 grams active sourdough starter
- 10 grams fine sea salt
Optional for Dusting
- Rice flour or all-purpose flour for your proofing basket and work surface
This formula gives you a dough that is friendly enough for beginners but still capable of producing a beautiful artisan-style loaf. Bread flour helps build better gluten strength, while a 100% hydration starter keeps things straightforward.
Tools You Will Want Nearby
- Large mixing bowl
- Kitchen scale
- Dough scraper
- Proofing basket or bowl lined with a floured towel
- Sharp blade or lame for scoring
- Dutch oven with lid
- Cooling rack
Can you make sourdough without every fancy tool? Absolutely. But a scale and a heavy lidded pot make life much easier. Guessing flour amounts by eye is a lovely way to create a mystery loaf, and not always in a fun way.
Before You Start: Make Sure Your Starter Is Ready
A strong starter is the engine of good sourdough bread. If your starter has been lounging in the refrigerator for a while, feed it and let it become lively before baking. Ideally, it should look puffy, bubbly, and at least double in size after feeding. A starter that smells pleasantly tangy and slightly fruity is usually in a good place. A starter that looks sleepy and flat is basically telling you, “Please do not make me perform today.”
For this recipe, feed your starter about 4 to 6 hours before mixing the dough, depending on your kitchen temperature. Warmer rooms speed things up, cooler rooms slow them down. Sourdough is wonderful, but it does not care about your weekend plans.
How To Make Sourdough Bread Step by Step
Step 1: Mix the Flour and Water
In a large bowl, combine the 500 grams of bread flour with 325 grams of the water. Mix until no dry flour remains. Cover the bowl and let it rest for 30 to 45 minutes.
This rest is often called an autolyse. It gives the flour time to hydrate, makes the dough easier to handle, and helps gluten start developing without a lot of effort. Think of it as letting the dough wake up before asking it to do cardio.
Step 2: Add the Starter and Salt
Add 100 grams of active sourdough starter, the 10 grams of salt, and the remaining 25 grams of water. Pinch and fold the dough until everything is fully incorporated. The dough will feel shaggy, sticky, and a little rude at first. Keep going. Cover and let it rest for 30 minutes.
Step 3: Perform Stretch-and-Folds
Over the next 2 hours, do 4 sets of stretch-and-folds, about every 30 minutes. To do one set, wet your hand, grab one side of the dough, stretch it upward, and fold it over the center. Rotate the bowl and repeat until you have folded all four sides.
Each round helps build structure without traditional kneading. By the last fold, the dough should feel smoother, stronger, and more elastic. It is one of the most satisfying transformations in baking: a sticky blob slowly becoming a proper loaf candidate.
Step 4: Bulk Fermentation
After the final fold, cover the dough and let it rise at room temperature until it looks noticeably puffier, smoother, and slightly jiggly. In many kitchens, this takes about 3 to 5 more hours, but the clock is not the boss here. Your dough is.
Look for these signs:
- The dough has risen by roughly 30% to 50%
- Small bubbles are visible along the sides or top
- The surface looks airy rather than dense
- The dough jiggles when you gently shake the bowl
If your kitchen is cool, fermentation may take longer. If it is warm, watch the dough closely so it does not overproof.
Step 5: Pre-Shape and Rest
Turn the dough onto a lightly floured work surface. Using a dough scraper, gently shape it into a loose round. Let it rest uncovered for 20 minutes.
This bench rest helps the gluten relax so final shaping is easier. It also gives you a moment to admire your work and wonder if you are becoming the type of person who says things like “the crumb was a little tighter than I wanted.”
Step 6: Final Shape
Shape the dough into a tight boule or batard, depending on your proofing basket. The goal is to create surface tension without tearing the dough. A tighter shape helps the loaf hold itself tall in the oven instead of spreading like it has given up on life.
Place the shaped dough seam-side up in a well-floured proofing basket or towel-lined bowl.
Step 7: Proof the Dough
You have two good options:
- Room-temperature proof: Let the dough rise for 1 to 2 hours until slightly puffy.
- Cold proof: Cover and refrigerate it for 8 to 16 hours.
The overnight refrigerator proof is my favorite for flavor, convenience, and easier scoring. Cold dough is less sticky, holds its shape better, and makes you look more skilled than you may feel at that exact moment.
Step 8: Preheat the Oven and Dutch Oven
Place your Dutch oven with the lid on inside the oven and preheat to 475°F for at least 30 to 45 minutes. This step matters. A ripping-hot pot creates the burst of steam and heat that gives sourdough its great oven spring and crackly crust.
Step 9: Score and Bake
Turn the dough onto parchment paper or directly onto a safe transfer surface. Score the top with a sharp blade. One deep slash is perfect for a beginner loaf. Fancy wheat patterns can wait until your hands stop shaking.
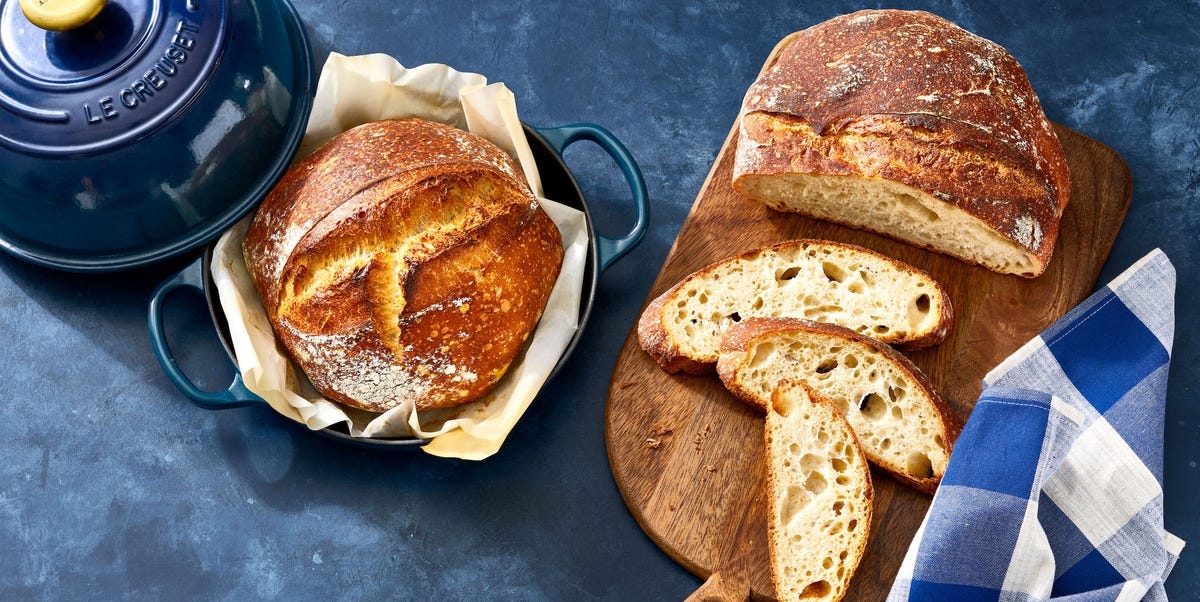
Carefully lower the dough into the hot Dutch oven, cover, and bake for 20 minutes. Then remove the lid, reduce the oven to 450°F, and bake for another 20 to 25 minutes until the loaf is deep golden brown.
If you use a thermometer, the center should be around 205°F to 210°F. If not, trust your senses: the loaf should look dark and richly colored, feel light for its size, and sound hollow when tapped on the bottom.
Step 10: Cool Before Slicing
This is the hardest step. Transfer the loaf to a wire rack and let it cool for at least 1 hour, preferably 2. Cutting too soon can make the crumb gummy because the inside is still setting. I know it smells incredible. I know butter is waiting. Stay strong.
What Makes Great Sourdough Bread?
Great sourdough is about balance. You want a loaf that has:
- A crisp, deeply browned crust
- A moist, chewy crumb
- A pleasant tang, not an aggressive face-puckering sourness
- Enough structure to hold shape
- Enough openness to feel light and airy
The best sourdough bread recipe is not built on one magic trick. It comes from several small, smart choices: ripe starter, patient fermentation, gentle handling, and proper baking. A lot of sourdough success is really just resisting the urge to rush.
Common Sourdough Mistakes and How To Fix Them
1. Dense Loaf
This usually means underproofing, weak starter, or not enough gluten development. Make sure your starter is strong, do your folds, and give bulk fermentation enough time.
2. Flat Loaf
Often caused by overproofing or weak shaping. If the dough spreads quickly and feels very loose, it may have gone too far. Next time, shorten the final proof or shape more tightly.
3. Gummy Interior
You may have sliced too early or underbaked the loaf. Bake until the crust is deeply colored, then cool completely before cutting.
4. Pale Crust
Your oven or Dutch oven may not have been hot enough, or the loaf needed more time uncovered. Sourdough loves bold color. Do not pull it out just because it looks “pretty okay.”
5. Dough Too Sticky To Handle
That can happen if your flour absorbs less water, your kitchen is warm, or the dough is underdeveloped. Use wet hands for folds, flour your surface lightly, and do not be afraid to reduce the water slightly next time.
How To Store Sourdough Bread
Once fully cooled, store your loaf cut-side down on a board for the first day, or wrap it in paper or a clean towel. For longer storage, freeze slices or half a loaf in a freezer-safe bag. Sourdough usually keeps better than standard bread, but it is still bread, not a superhero.
To refresh slightly stale sourdough, sprinkle it lightly with water and warm it in the oven for a few minutes. The crust perks back up beautifully, like it just had coffee.
Serving Ideas for Fresh Sourdough Bread
- Toast with salted butter and honey
- Avocado toast with chili flakes
- Grilled cheese with sharp cheddar
- Breakfast eggs and jam
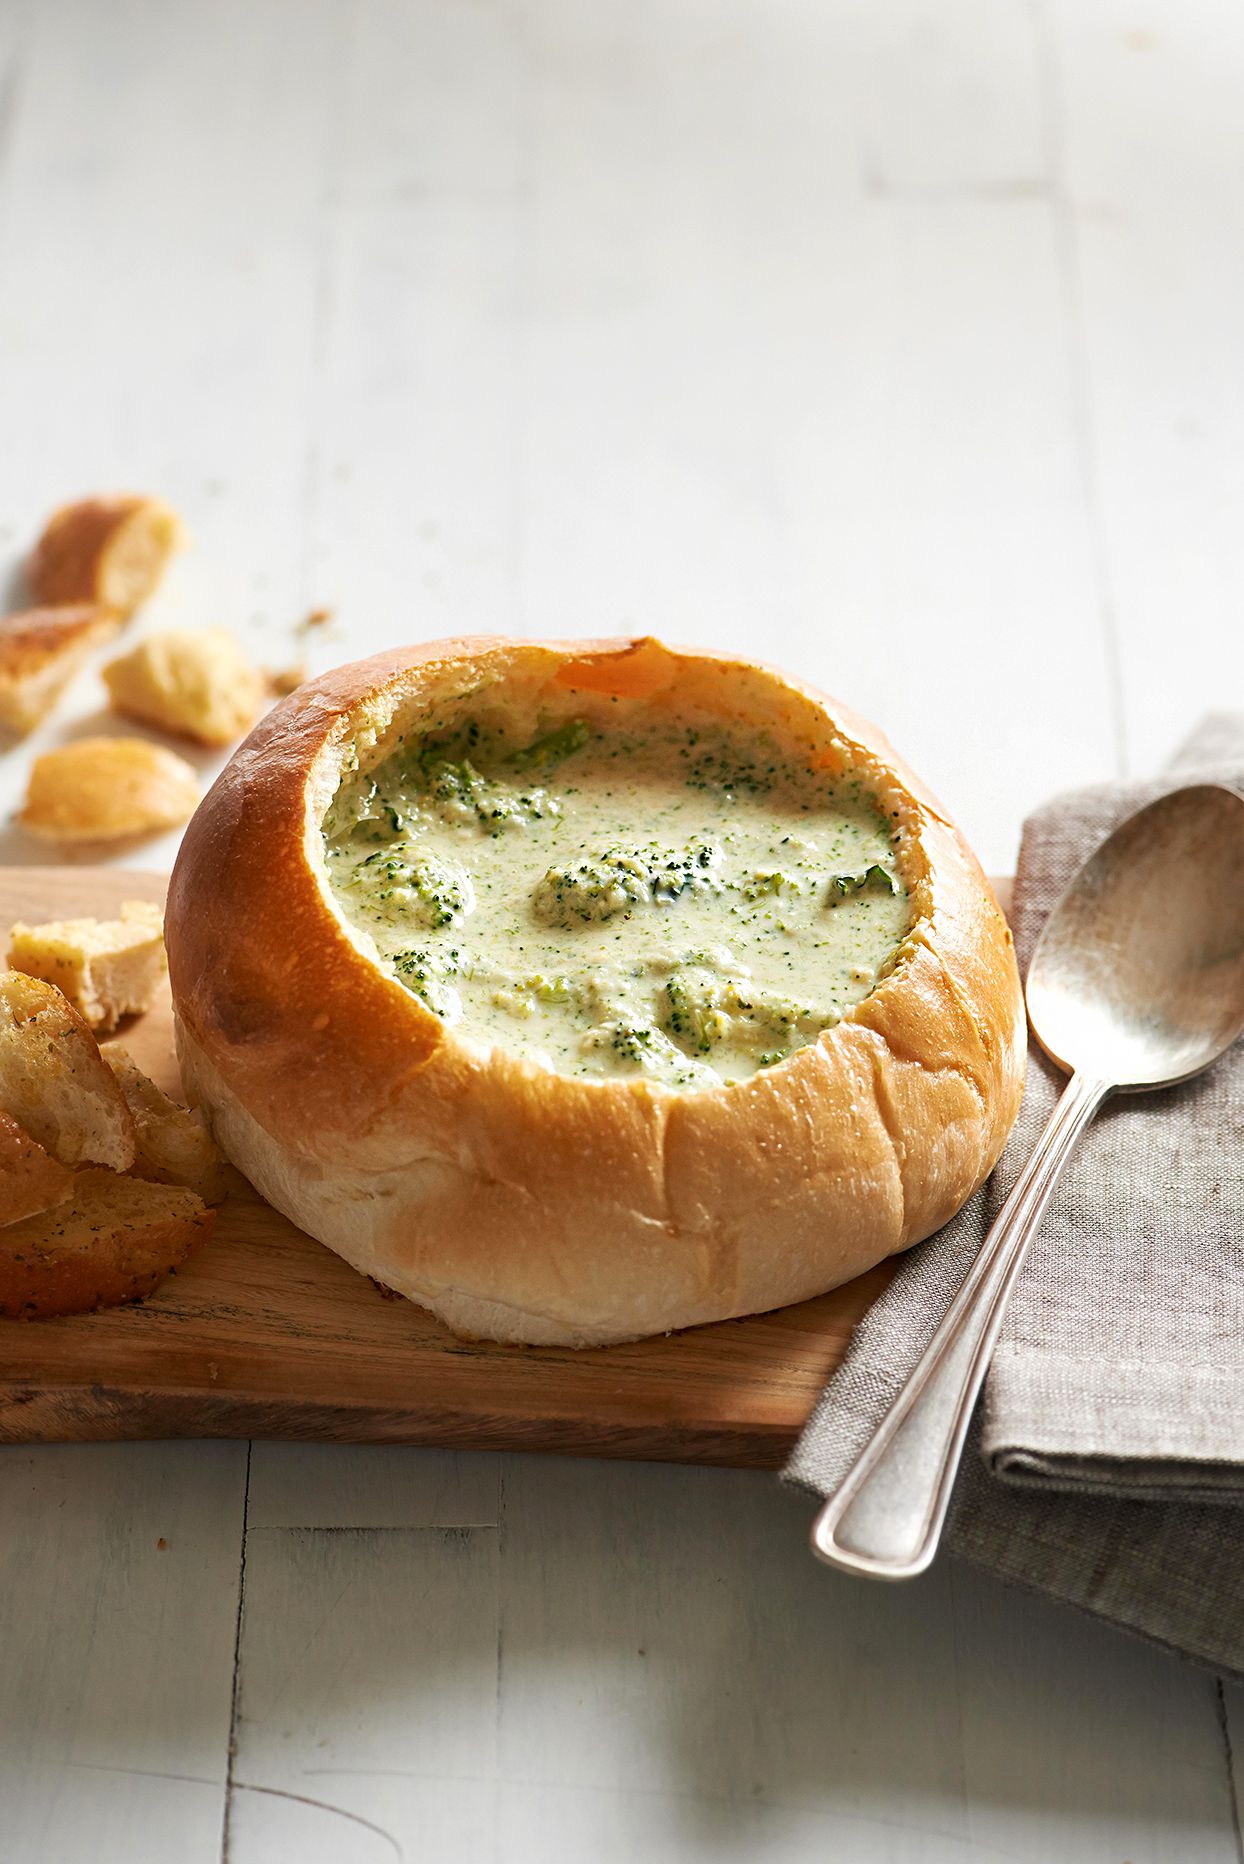
- Tomato soup on the side for dramatic dipping
- Fancy cheese board moment, even if it is just you and a cutting board
Real-Life Sourdough Experiences: What This Bread Teaches You
Making sourdough bread is one of those kitchen experiences that starts as a recipe and quietly turns into a relationship. At first, you expect simple instructions and immediate results. Then you realize sourdough has moods. Your starter rises faster one day, slower the next. Your dough behaves beautifully in October and then acts like a wet blanket in July. You begin by wanting bread, but somewhere along the way you become a person who checks dough bubbles like they are stock prices.
The first real lesson sourdough teaches is patience. Not fake patience, either. Real patience. The kind where you cannot force the dough to ferment faster just because you suddenly got hungry. You learn to wait for the dough to look right instead of obeying a rigid schedule. You start noticing the difference between dough that is merely alive and dough that is truly ready. That is a surprisingly satisfying skill to build.
There is also the humbling part. Almost every sourdough baker has a memory of a loaf that looked promising and then baked up like a decorative brick. Maybe the starter was too weak. Maybe the dough overproofed while you answered emails. Maybe you slashed it with all the confidence of a professional baker and still ended up with a weird side blowout that looked like the loaf was trying to escape. It happens. In fact, it happens a lot. The good news is that even the ugly loaves are often delicious when toasted.
Then come the small victories. The first time the dough tightens up after folds, you feel clever. The first time a loaf springs high in the oven, you feel unstoppable. The first time you hear that crust crackle while cooling, it feels oddly emotional for something made of flour and water. Family members wander into the kitchen asking what smells so good. You try to act casual, but inside you are already accepting imaginary awards for excellence in fermentation.
Sourdough also changes how you think about bread. Store-bought loaves start feeling a little less magical once you understand the work behind a naturally leavened loaf. You notice crust color, crumb texture, and aroma more carefully. You realize bread can be nutty, tangy, mildly sweet, deeply savory, and intensely comforting all at once. You stop seeing bread as a side item and start seeing it as the event.
And perhaps the best part is this: sourdough rewards attention, not perfection. You do not need to be a professional baker to make a fantastic loaf. You need curiosity, a little consistency, and enough humor to survive the occasional sticky disaster. Over time, you stop chasing flawless sourdough and start enjoying the process itself. That is when your bread really gets better. Not because you found a secret ingredient, but because your hands learned what the dough was trying to say all along.
Conclusion
If you have been looking for the best sourdough bread recipe, this is an excellent place to begin. It gives you a practical formula, flexible timing, and the core techniques that matter most: an active starter, good fermentation, gentle dough strengthening, smart shaping, and a hot Dutch oven. Once you master this loaf, you can experiment with whole wheat flour, seeds, different hydration levels, and more dramatic scoring patterns.
Most importantly, remember that learning how to make sourdough bread is part craft, part science, and part comedy. Some loaves will be glorious. Some will be weird. Both kinds will teach you something. And when you finally slice into a loaf with a crisp crust, airy crumb, and real sourdough flavor, the whole flour-dusted adventure feels very worth it.