
A holiday decorating project does not need to involve a lumberyard, an engineering degree, or an emergency call to the glitter containment department. Sometimes, one inexpensive glass holder, a little metallic shine, and a quiet afternoon are enough to give a room that polished, celebratory glow.
This festive DIY glam candle holder is designed to look luxurious without demanding a luxury budget. It can brighten a dining table, dress up an entryway, add sparkle to a mantel, or become a handmade gift that looks far more expensive than it was. Better still, the design can be adapted for Christmas, New Year’s Eve, weddings, birthdays, fall gatherings, or any random Tuesday that needs better lighting.
Why a DIY Glam Candle Holder Works So Well
Candlelight creates instant atmosphere, while reflective finishes amplify that effect. Metallic paint, mirrored glass, rhinestones, and glitter catch small points of light and scatter them around the room. A plain glass votive can therefore become a surprisingly dramatic decorative accent.
Designers frequently use candle holders in groups, combining different heights or slightly different shapes while maintaining a unified color palette. Matching every piece perfectly is not necessary. In fact, a collection of mismatched holders can look intentional when the finishes share a common tone such as champagne gold, silver, rose gold, or antique brass.
This project is also an excellent opportunity to reuse items already at home. Clean glass jars, empty cosmetic containers, small dessert jars, and simple votive holders can often be transformed instead of discarded. Repurposed glass has long been used for party lighting and handmade tabletop decorations because light passes beautifully through clear or translucent surfaces.
Choose Your Glam Style Before Buying Supplies
“Glam” does not have to mean covering every available surface in enough sparkle to guide aircraft. The most attractive pieces usually combine one dramatic finish with one or two quieter details.
Classic Gold Glam
Use warm gold paint, champagne glitter, and clear rhinestone trim. This version pairs beautifully with evergreen branches, cream candles, red ornaments, and natural wood.
Winter Silver Glam
Choose silver leaf paint, mirrored accents, white glitter, and crystal beads. The finished candle holder will feel icy and elegant without requiring the room to resemble the inside of a freezer.
Rose Gold Celebration
Combine blush ribbon, rose gold paint, and iridescent glitter. This palette works for holiday parties, bridal showers, birthdays, Valentine’s Day, or modern bedroom decor.
Black-Tie Glam
Paint the base satin black and add a narrow band of gold or silver rhinestones. This version looks especially sophisticated for New Year’s Eve or a formal dinner table.
Rustic Glam
Mix metallic paint with natural twine, small pinecones, wood beads, or a simple velvet bow. The contrast keeps the piece festive while softening its shine.
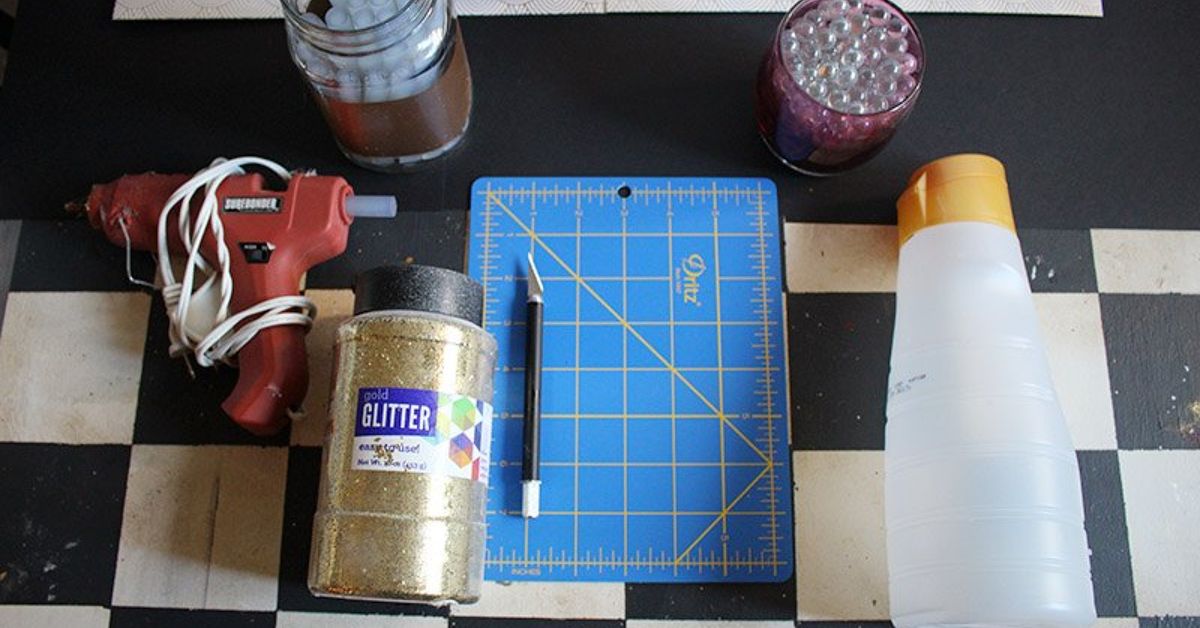
Supplies for the Festive DIY Glam Candle Holder
- One clear glass votive, hurricane, or small candle container
- One stable glass, ceramic, or metal base
- Battery-operated LED tea light or LED votive
- Clear adhesive formulated for glass or mixed materials
- Metallic craft paint or spray paint suitable for the chosen surface
- Fine or chunky glitter
- Decoupage medium or clear craft sealer
- Rhinestone ribbon, pearl trim, metallic cord, or decorative mesh
- Painter’s tape
- Foam brush or small artist’s brush
- Microfiber cloth and rubbing alcohol
- Wax paper, scrap cardboard, or a washable craft mat
- Protective gloves and ventilation appropriate for the products used
A battery-operated light is the best default choice for this decorative project. It allows glitter, ribbon, adhesive, and other embellishments to be used without placing them near an open flame. LED candles can also be used inside ordinary jars, silhouette holders, and outdoor-style luminaries to produce a warm glow with fewer placement restrictions.
How to Make a Glam Candle Holder Step by Step
Step 1: Clean Every Surface Thoroughly
Remove labels, price stickers, wax residue, and dust. Wash the glass with mild soap and water, dry it completely, and wipe the areas to be painted or glued with rubbing alcohol.
This step may feel less exciting than opening the glitter, but skipping it can cause paint, sealer, or adhesive to peel. Manufacturers of decorative glass coatings generally recommend starting with a clean, dry surface and applying multiple light coats rather than one heavy coat.
Step 2: Test the Proportions
Place the glass candle container on the proposed base without adhesive. Check that the base is wider than the container, sits flat, and does not wobble.
Turn the pieces around and view them from several angles. A stemmed dessert glass, an inverted glass bowl, a short candlestick, or a small ceramic pedestal can all work. The goal is to create height without building something that behaves like a tiny decorative skyscraper during an earthquake.
Step 3: Create the Metallic Finish
Use painter’s tape to protect any area you want to remain clear. Paint the base, the lower third of the glass container, or both. Apply thin coats and follow the drying and ventilation directions on the product label.
For a mercury-glass-inspired appearance, use a specialty mirror-effect coating designed for glass. Reflective coatings are commonly applied to the reverse side or inside of clear glass to create a mirror-like finish. However, when decorating a holder that may contain a real candle, verify that the coating is approved for that use. For the safest and simplest version of this project, use an LED candle.
Step 4: Add Controlled Sparkle
Brush a narrow band of decoupage medium around the lower portion of the holder. Sprinkle glitter over the wet area while rotating the glass. Place a folder, tray, or folded sheet of paper underneath so the excess glitter can be poured back into its container.
Allow the first layer to dry before deciding whether another is necessary. Glitter has impressive diplomatic skills: it will quietly negotiate its way onto your sleeves, your floor, and possibly your breakfast. Working in thin, controlled sections keeps the project manageable.
Glitter candle-holder projects commonly use a brushed-on decoupage medium followed by a generous coating of glitter. After drying, loose particles can be tapped or brushed away.
Step 5: Seal the Glitter
Apply a thin clear topcoat over the glitter after the adhesive has dried. The sealer reduces shedding and gives the finish a more polished appearance.
Do not flood the glitter with sealer. A heavy coat can turn crisp sparkle into a cloudy, uneven patch. Two light coats are usually neater than one heroic puddle.
Step 6: Attach the Holder to Its Base
Follow the directions for a transparent adhesive designed to bond the materials you are using. Apply a small, even amount to the contact area, center the glass carefully, and leave the project undisturbed for the full curing period.
A structural bond needs more than five minutes of optimism. Even when an adhesive feels dry on the surface, it may not be fully cured. Avoid lifting the finished holder by the upper container until the bond has reached its recommended strength.
Step 7: Add One Finishing Detail
Glue rhinestone ribbon, pearl trim, metallic cord, or a small velvet bow around the lower outside edge. Keep embellishments away from the opening and use restraint. One clean band often looks more luxurious than several competing trims.
Leftover holiday ribbon is especially useful for this step. Ribbon scraps can be reused on vases, candle holders, planters, and other accessories to connect ordinary decor with a seasonal color scheme.
Step 8: Add the Light
Place a battery-operated tea light inside the holder and dim the room. Rotate the piece until its most attractive side faces outward. If the light has a timer, activate it so the display turns on automatically each evening.
How to Style the Finished Candle Holder
Create a Group of Three
Make three holders in different heights and arrange them in a loose triangle. Repeating the same finish ties them together, while the height variation gives the display movement.
Build a Holiday Table Centerpiece
Place the holders on a mirrored tray with ornaments, pinecones, faux snow, or clipped greenery. Leave enough open space so the arrangement does not interfere with serving dishes or block conversation.
Glass candle holders are commonly used on mantels, tabletops, and in seasonal centerpieces because their glow adds warmth without requiring a large decorative footprint.
Decorate an Entryway
Pair one tall glam candle holder with a bowl of ornaments and a small vase of greenery. The light creates a welcoming focal point without overcrowding the console table.
Add Sparkle to a Mantel
Alternate candle holders with miniature trees, framed photographs, or simple ceramic houses. Do not line up every item at the same height. A staggered arrangement feels softer and more natural.
Use It as a Handmade Gift
Wrap the finished holder in tissue paper and place it in a sturdy box with an LED candle and spare battery. Add a tag explaining that the item was handmade. That sentence alone makes small imperfections feel charming rather than suspicious.
Festive Variations for Every Season
Christmas
Use gold glitter, red velvet ribbon, miniature bells, or a removable sprig of faux pine. Keep the greenery outside the holder and away from heat sources.
New Year’s Eve
Choose black, silver, and holographic finishes. Add number stickers for the coming year or arrange several holders along a table with mirrored confetti.
Valentine’s Day
Use blush pink, deep red, rose gold, and pearl trim. A small heart stencil can add detail without making the project look like it was attacked by a greeting-card aisle.
Fall and Thanksgiving
Try copper paint, amber glass, bronze glitter, and velvet ribbon. Group the holder with small pumpkins, dried leaves, and wood accents.
Birthdays and Weddings
Match the holder to the party palette. Clear rhinestones and champagne metallics are versatile, while colored glass paint can coordinate the candlelight with flowers, napkins, or table linens.
Common DIY Candle Holder Mistakes
Using Too Much Adhesive
Excess glue can squeeze out around the base and remain visible after drying. Apply a controlled amount and clean accidental drips according to the manufacturer’s directions.
Applying One Heavy Coat of Paint
Thick paint is more likely to run, pool, or dry unevenly. Several light coats create a smoother finish.
Decorating Before Checking Stability
A beautiful candle holder that tips easily is not a successful project. Test the balance before adding paint, trim, or adhesive.
Mixing Too Many Glam Elements
Gold paint, silver glitter, pearl trim, rhinestones, lace, bells, sequins, and three bows may be individually attractive. Together, they can resemble a craft store arguing with itself. Choose a dominant finish and one supporting texture.
Handling the Project Too Soon
Paint, sealer, and adhesive all require drying or curing time. Moving the holder early can leave fingerprints, crooked trim, or a weak bond.
Essential Candle Safety
This decorative tutorial is intended primarily for battery-operated LED candles. Decorative glue, glitter, ribbons, greenery, paper, and fabric should not be exposed to an open flame.
When using any real candle, place it in a nonflammable holder on a sturdy, uncluttered surface. Keep combustible materials away, never leave the flame unattended, and position the candle where children or pets cannot knock it over. The Consumer Product Safety Commission also recommends trimming candle wicks before lighting.
Holiday decorating requires extra caution because candles are involved in a substantial share of home decoration fires during the winter season. Decorative materials should therefore remain well separated from flames, and an LED alternative is preferable when the design includes glued embellishments.
Cleaning and Storing the Candle Holder
Dust the finished surface with a soft, dry brush or microfiber cloth. Avoid soaking areas covered with glitter, paint, ribbon, or adhesive. If the clear interior needs cleaning, use a barely damp cloth and dry it immediately.
Before storing the piece, remove the LED candle and battery. Wrap the holder in acid-free tissue paper or a soft cloth, then place it upright in a rigid container. Do not stack heavy decorations on top of it.
Label the box with the color and room where the candle holder is normally displayed. This tiny organizational step saves time next season, particularly when every holiday storage box appears to contain the same mysterious combination of tangled lights and one lonely ornament hook.
Realistic Experiences and Lessons From Making a Glam Candle Holder
The most noticeable lesson from a project like this is that preparation affects the final appearance more than expensive supplies do. A budget glass holder can look polished when it is spotless, evenly painted, and carefully centered on its base. A costly container can still look homemade in the unfortunate sense of the word when fingerprints are sealed beneath the paint or the trim leans downhill.
Choosing the right base is often the first unexpected challenge. A holder may look stable while sitting empty but become top-heavy after a tall glass cylinder is attached. Testing several combinations before gluing anything prevents frustration. Placing the temporary arrangement on the actual table is also helpful. A tall design that looks elegant on a workbench may block everyone’s view during dinner.
Glitter creates another valuable lesson: more is not always more. The first instinct is often to cover the entire holder. In practice, a narrow glitter band usually produces a cleaner, more sophisticated result. Leaving part of the glass clear lets the light remain visible and creates contrast between sparkle and transparency.
Color can look different once the light is switched on. Champagne glitter may appear pale in daylight but become warm gold beside an amber LED. Silver paint can look cool and modern under white lighting, while rose gold becomes softer near warm holiday lights. Testing the finish in both daytime and evening conditions makes it easier to decide whether another coat is needed.
Drying time is where patience earns its decorative paycheck. It is tempting to attach trim as soon as the paint feels dry or lift the candle holder shortly after gluing the base. That impatience can create smudges or weaken the joint. The project becomes much less stressful when it is divided into short sessions: clean and paint first, glue the next day, then decorate after the bond has cured.
Placement also changes the personality of the finished piece. On a mantel, one candle holder may look lonely. Beside framed art, greenery, and a second object of similar height, it becomes part of a complete composition. On a dining table, three small holders often work better than one oversized centerpiece because they spread the glow while leaving room for plates and conversation.
A surprising benefit is how easily the holder can be restyled. Instead of permanently attaching every seasonal accent, removable ribbon, small ornament clips, or temporary decorative collars can be used. Gold and clear glass can support red ribbon in December, blush ribbon in February, and a simple ivory band for weddings or spring gatherings.
The project is also useful for learning when to stop. After the metallic finish, glitter band, and rhinestone trim are complete, adding another bow may seem irresistible. Stepping away for ten minutes often makes the decision easier. If the piece already catches the light from across the room, it has probably achieved sufficient glamour and does not need to audition for a second career as a disco ball.
Finally, using an LED candle makes the finished decoration far more flexible. It can sit near faux greenery, ribbon, books, framed photographs, or other decorative accessories without introducing an open flame. A timer-enabled LED also turns the holder into effortless evening decor. Once programmed, it glows at the same time each night, creating the impression that the household is highly organizedeven when the craft supplies are still hiding under the dining table.
Conclusion
A festive DIY glam candle holder is a small project with a surprisingly large decorative payoff. By combining an inexpensive glass container with metallic paint, controlled sparkle, elegant trim, and an LED light, it is possible to create a centerpiece that feels personal, polished, and ready for celebration.
The best results come from thoughtful proportions, careful surface preparation, thin coats of paint, restrained embellishment, and enough drying time. Once complete, the holder can be adapted for holidays, weddings, birthdays, seasonal displays, or everyday decor. It is proof that a home does not need an enormous decorating budget to shine. Sometimes it simply needs better lighting and a responsibly managed quantity of glitter.