
Black mold in a shower is the unwanted roommate nobody invited. It shows up in grout lines, hides in silicone caulk, creeps along tile corners, and somehow manages to look smug while doing it. The good news? In many cases, small patches of shower mold can be cleaned safely with basic supplies, a little patience, and a prevention routine that does not require turning your bathroom into a science lab.
Before we start scrubbing like we are auditioning for a cleaning commercial, here is the important part: not every black stain is the infamous “toxic black mold,” and color alone does not tell you exactly what kind of mold you have. What matters most is moisture. Mold grows where water lingers, airflow is weak, and soap scum provides a cozy buffet. That makes showers one of its favorite vacation destinations.
This guide explains how to clean black mold in a shower using 12 practical steps, including how to handle mold on tile, grout, caulk, shower doors, curtains, and corners. You will also learn when to stop cleaning and call a professional, because sometimes the mold is not “just a spot”it is a tiny villain with a basement apartment behind the wall.
Why Black Mold Grows in Showers
Showers create the perfect mold environment: warmth, humidity, standing water, body oils, shampoo residue, soap scum, and porous surfaces like grout. If your bathroom fan is weak, your shower curtain stays bunched up, or your grout has not been sealed since flip phones were cool, mold has an open invitation.
Common places where black mold appears in a shower include:
- Grout lines between tiles
- Silicone caulk around the tub, shower pan, or corners
- Under shampoo bottles and soap dishes
- Along shower door tracks
- Behind shower curtains or liners
- Ceiling corners above the shower
- Cracked tile, loose grout, or damp drywall near the shower
Surface mold on nonporous materials like glazed tile or glass is usually easier to remove. Mold embedded deep inside caulk, crumbling grout, drywall, or wood may require replacement or professional remediation.
Safety First: When Cleaning Is Not Enough
Small areas of mold on hard shower surfaces can often be handled at home. However, do not treat every mold problem like a weekend chore. Call a qualified mold remediation professional if the mold covers a large area, keeps returning quickly, appears after flooding, smells strongly musty, or may be growing behind walls, under flooring, or inside HVAC systems.
You should also be extra cautious if someone in the home has asthma, severe allergies, chronic lung disease, a weakened immune system, or strong symptoms around mold. Mold exposure can irritate the eyes, skin, nose, throat, and lungs, and it may worsen asthma or allergy symptoms in sensitive people.
Supplies You Will Need
Gather your cleaning gear before starting. Running around the house with wet gloves while looking for a brush is how a simple cleaning job turns into a slapstick episode.
- Rubber gloves
- Protective eyewear
- N95 mask or similar protective mask, especially for scrubbing
- Old clothes
- Nylon scrub brush or old toothbrush
- Microfiber cloths or disposable towels
- Spray bottle
- Dish soap
- White vinegar, 3% hydrogen peroxide, or a mold-removal cleaner
- Optional: diluted household bleach for certain nonporous surfaces
- Trash bag for disposable cleaning materials
- Squeegee for prevention
Important safety rule: Never mix bleach with ammonia, vinegar, hydrogen peroxide, toilet bowl cleaner, or any other cleaner. Mixing cleaning products can create dangerous fumes. Use one cleaning method at a time, rinse well, and ventilate the space.
Easy Ways to Clean Black Mold in a Shower: 12 Steps
Step 1: Inspect the Moldy Area
Start by checking where the mold is growing and how much area it covers. Look at grout, caulk, corners, shower door tracks, the ceiling above the shower, and the wall outside the tub or shower pan. If the mold is limited to small patches on tile, grout, glass, or plastic, you can usually clean it yourself.
If the surface feels soft, crumbly, swollen, or permanently damp, stop and investigate further. Mold on drywall, wood trim, or subflooring often means water is getting somewhere it should not. Cleaning the visible surface without fixing the moisture source is like deleting a smoke alarm instead of putting out the fire.
Step 2: Ventilate the Bathroom
Open a window if you have one, turn on the bathroom exhaust fan, and keep the door open while cleaning. Fresh air helps reduce fumes from cleaning products and helps the shower dry faster afterward.
Avoid pointing a portable fan directly at moldy surfaces while you scrub. That can blow spores and dust around the room. The goal is gentle air exchange, not creating a mold-themed snow globe.
Step 3: Put On Protective Gear
Wear rubber gloves, eye protection, and a mask before spraying or scrubbing. Mold, grime, and cleaning solutions can irritate your skin, eyes, and airways. If you are using a stronger bathroom cleaner or diluted bleach, protective gear becomes even more important.
Old clothes are also a smart choice. Mold cleaning is not the moment for your favorite hoodie. Showers have corners, corners have splashback, and splashback has no respect for fashion.
Step 4: Remove Bottles, Mats, and Shower Accessories
Take out shampoo bottles, soap trays, razors, loofahs, bath mats, shower caddies, and anything else sitting in the moldy area. Mold often hides under bottles because trapped water sits there for hours. Clean the bottoms of bottles before putting them back.
Wash fabric bath mats according to their care labels. Replace moldy loofahs or sponges. If a plastic shower curtain liner has heavy staining that will not wash out, replacing it may be easier and more hygienic than trying to rescue it from retirement.
Step 5: Pre-Clean Soap Scum and Dirt
Before using a mold cleaner, wash the area with warm water and a few drops of dish soap. Scrub away soap scum, body oils, mineral deposits, and surface grime. Mold removal works better when the cleaner can actually touch the mold instead of fighting through a layer of shampoo residue from three product trends ago.
Rinse the surface and wipe away loose debris. This step is especially helpful on shower doors, tile walls, and grout lines that feel slick or cloudy.
Step 6: Choose the Right Mold Cleaner
For many shower surfaces, you can start with white vinegar, 3% hydrogen peroxide, or a commercial mold and mildew cleaner labeled for bathroom use. Vinegar is commonly used on tile and glass. Hydrogen peroxide can help lift stains on grout. Commercial products may work faster, but always follow the label.
Bleach can be used on some hard, nonporous, color-safe surfaces, but it is not always the best option for porous materials. If you use bleach, dilute it properly, ventilate the room, wear protection, and never mix it with other cleaners. A common safety limit is no more than 1 cup of household bleach per gallon of water.
For natural stone showers, be careful. Vinegar and acidic cleaners can damage marble, travertine, limestone, and some sealants. Use a stone-safe cleaner instead.
Step 7: Apply Cleaner and Let It Sit
Spray or apply your chosen cleaner to the moldy area. Let it sit long enough to loosen the mold and staining, usually 10 to 15 minutes for many cleaners unless the label says otherwise. Do not let harsh cleaners dry on the surface, especially on metal fixtures, natural stone, or colored grout.
For vertical grout lines, a gel-based cleaner may cling better than a thin liquid. For corners, apply cleaner with a cloth or brush so it reaches the crease where the wall meets the tub or shower pan.
Step 8: Scrub Grout Lines Gently but Firmly
Use a nylon grout brush or old toothbrush to scrub the moldy grout. Work in small sections. Scrub in circles, then along the grout line. The goal is to remove mold without damaging the grout.
Avoid metal brushes because they can scratch tile, damage grout, and leave rust marks. If grout crumbles while you scrub, it may need repair or replacement. Mold loves cracked grout because water can sneak behind the tile and throw a private pool party.
Step 9: Treat Moldy Caulk Separately
Silicone caulk is tricky. If mold sits on the surface, cleaning may work. If black stains are inside or behind the caulk, scrubbing usually will not remove them permanently. In that case, the best fix is to remove the old caulk, clean and dry the area thoroughly, and apply fresh mold-resistant bathroom caulk.
Pay close attention to the seam where the tub or shower pan meets the wall. If the caulk is peeling, cracked, or pulling away, water can get behind it. That is not just a cleaning problemit is a moisture problem wearing a tiny black disguise.
Step 10: Rinse and Dry the Shower Completely
After scrubbing, rinse the area thoroughly with clean water. Wipe surfaces with a microfiber cloth, then let the shower dry completely. This step matters more than people think. Leaving surfaces wet after cleaning gives mold a chance to return before you have even put the scrub brush away.
Use a squeegee on glass, tile, and shower walls. Dry corners and ledges by hand. Keep the curtain or shower door open so air can circulate.
Step 11: Wash or Replace Shower Curtains, Liners, and Mats
Shower curtains and liners can hold soap scum and moisture, making them mold magnets. Many fabric curtains and some plastic liners can be washed in a machine with warm water and mild detergent. Add towels to the load to help scrub the liner gently as it washes.
Hang curtains fully open afterward so they dry evenly. If a liner has heavy black staining, a sour smell, or a slimy texture that will not wash away, replace it. There is no trophy for saving a $6 liner that has clearly chosen the dark side.
Step 12: Prevent Mold From Coming Back
The best way to clean black mold in a shower is to make your bathroom less friendly to mold afterward. Run the exhaust fan during showers and for at least 20 minutes after. Open the bathroom door when privacy is no longer required. Use a squeegee after each shower. Fix leaks quickly. Keep grout sealed. Wash shower curtains regularly.
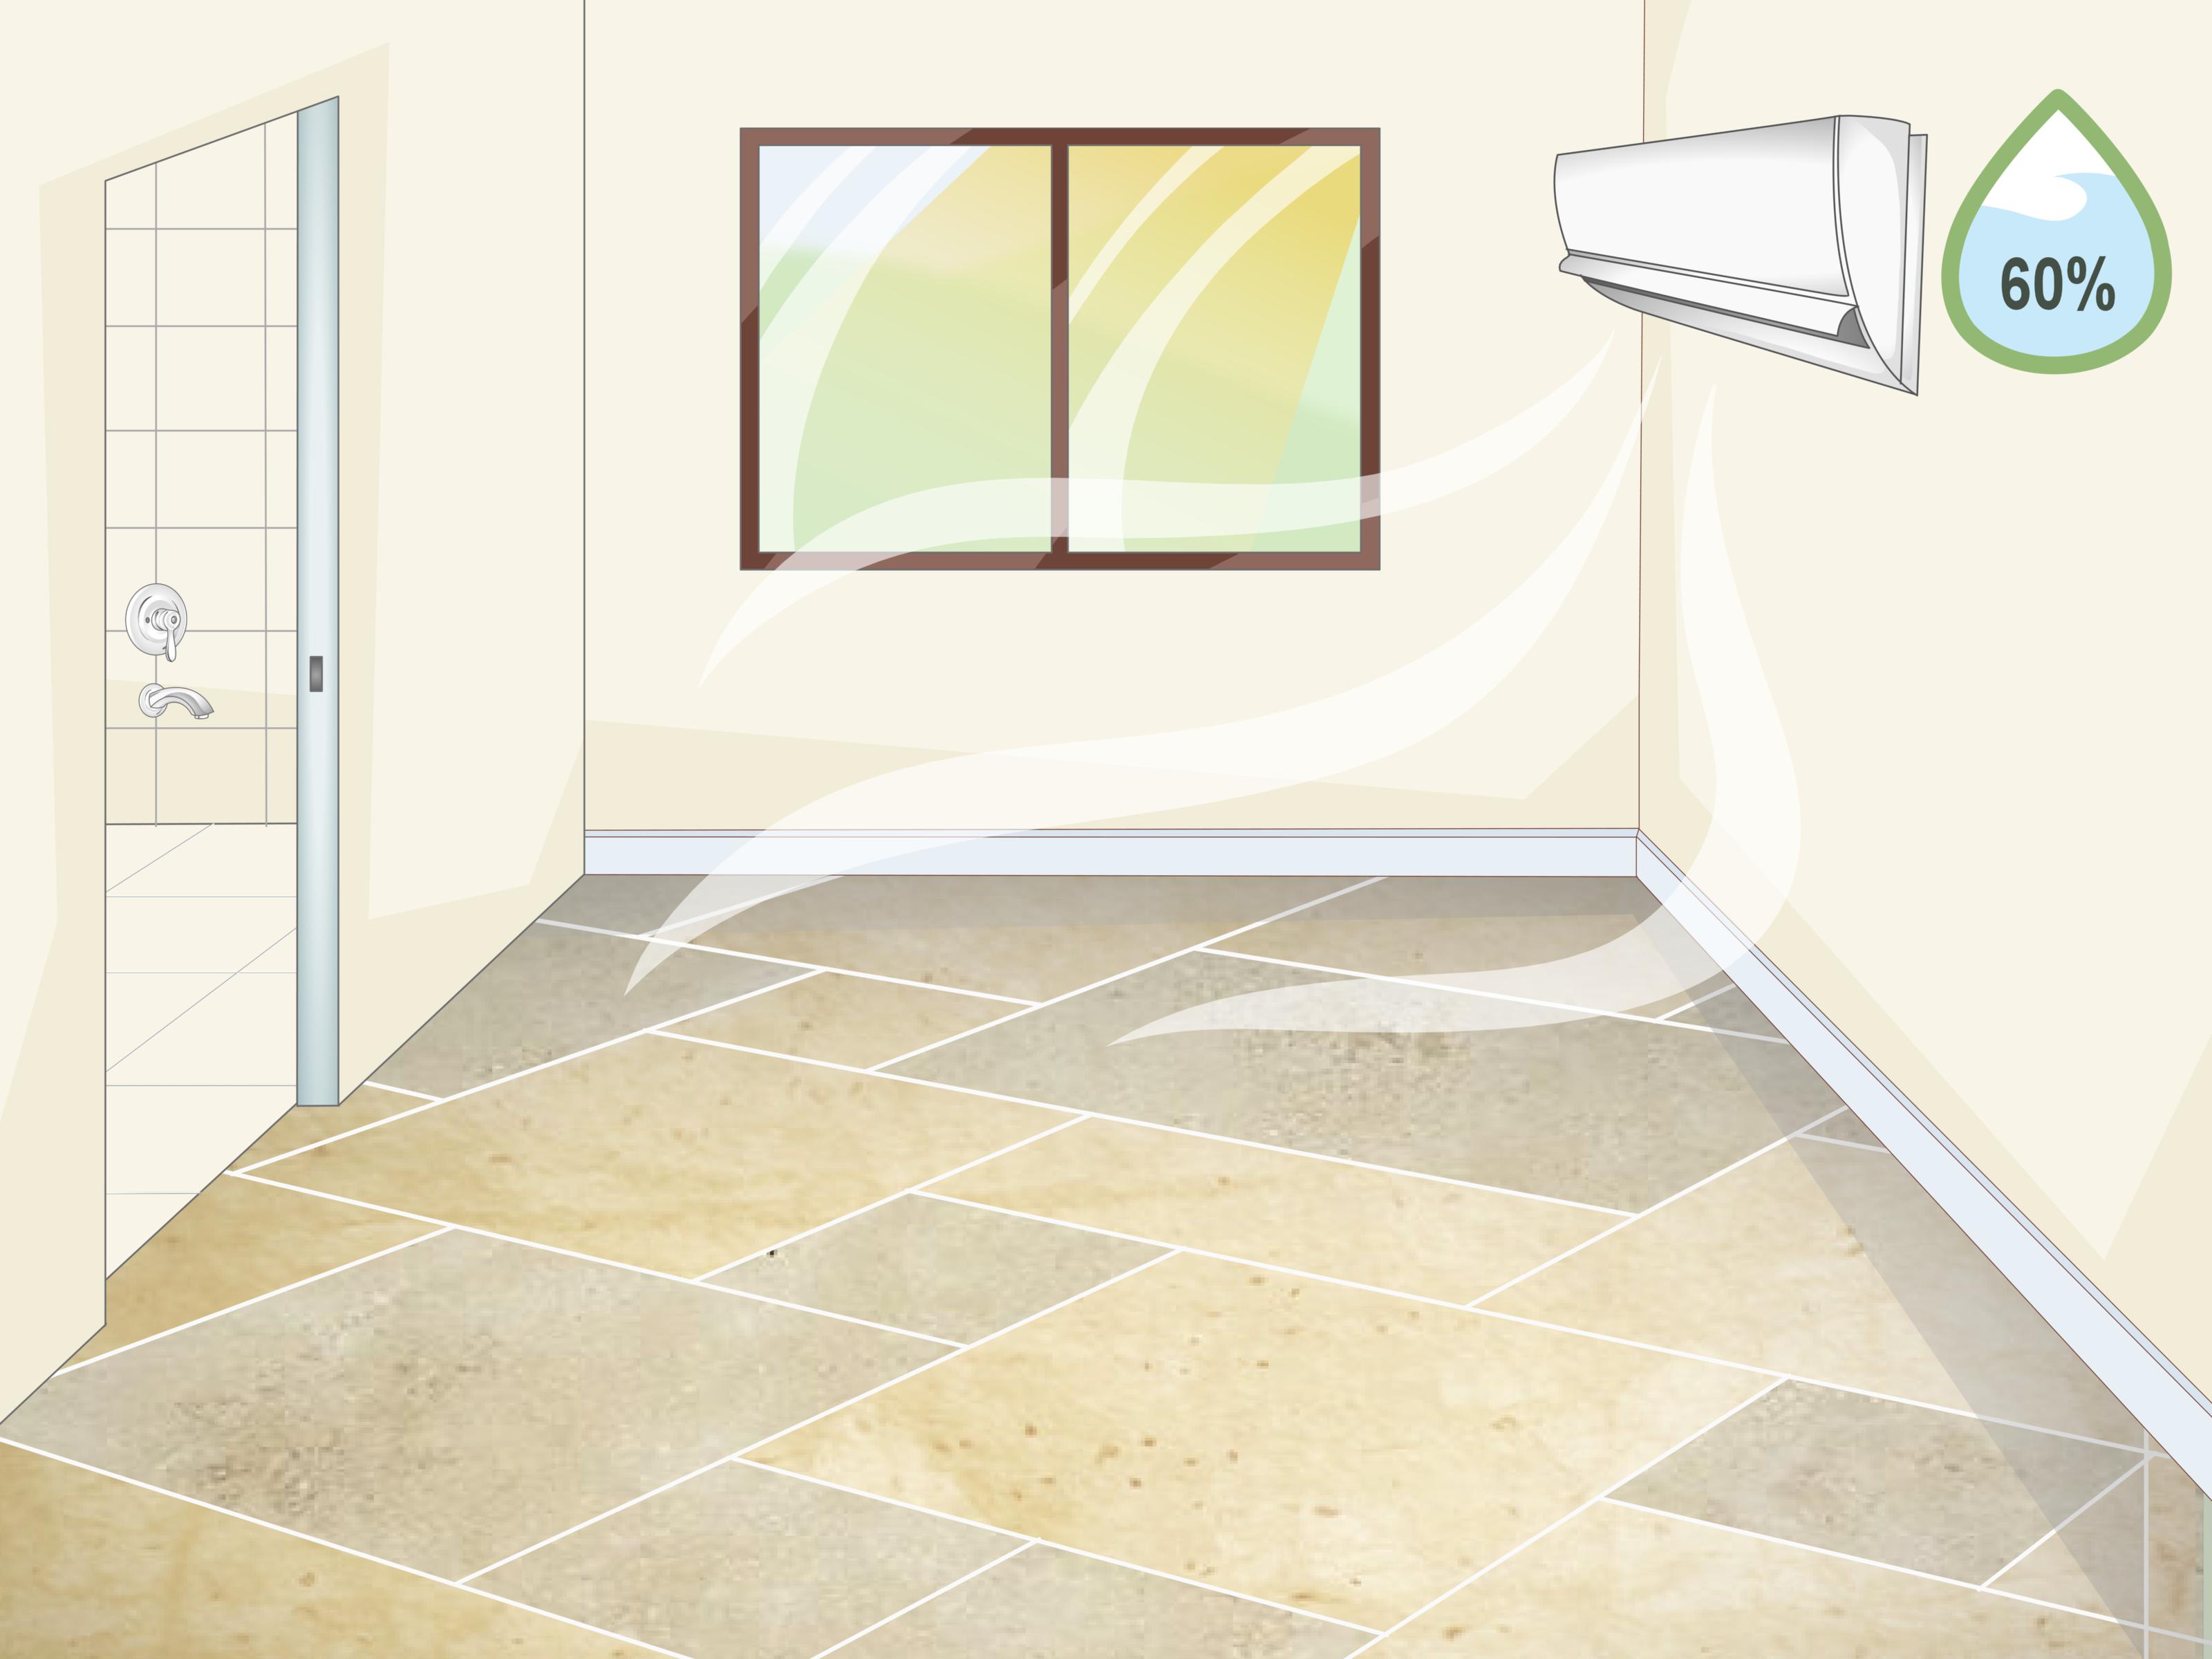
Try to keep indoor humidity below 50% when possible. In humid climates or windowless bathrooms, a dehumidifier may help. Also, avoid storing too many bottles on the shower floor or ledges. Every bottle creates a little wet shadow where mold can settle in and start charging rent.
Best Cleaning Methods by Shower Surface
Tile Walls
Glazed ceramic and porcelain tiles are usually easy to clean because they are nonporous. Use dish soap first, then vinegar, hydrogen peroxide, or a bathroom mold cleaner. Rinse well and dry with a towel.
Grout
Grout is porous, so it stains more easily than tile. A nylon brush, patience, and repeated light cleaning are better than one aggressive attack. Once grout is clean and dry, consider sealing it to reduce future moisture absorption.
Silicone Caulk
Surface stains may come off, but deep black mold inside caulk usually means replacement. Use mold-resistant bathroom caulk and let it cure fully before using the shower.
Glass Shower Doors
Glass often collects hard-water spots and soap scum, which help mold cling around seals and tracks. Clean the glass, scrub the tracks with a small brush, rinse, and dry. Keep a squeegee nearby for daily use.
Natural Stone
Do not use vinegar, lemon juice, or acidic cleaners on natural stone. Use a cleaner made for stone surfaces and follow the manufacturer’s instructions. Resealing stone may be necessary if water no longer beads on the surface.
Common Mistakes to Avoid
Mistake 1: Mixing Cleaners
More chemicals do not mean more cleaning power. Mixing products can create dangerous fumes. Use one cleaner at a time, rinse thoroughly, and read labels.
Mistake 2: Ignoring the Moisture Source
If mold keeps returning, moisture is still present. Look for leaks, weak ventilation, cracked grout, damaged caulk, or standing water.
Mistake 3: Scrubbing Too Hard
Aggressive scrubbing can damage grout and caulk, creating more places for water to hide. Use steady pressure and the right brush.
Mistake 4: Closing the Shower Curtain Too Tightly
A bunched-up curtain dries slowly. Spread it open after showering so air can reach both sides.
Mistake 5: Forgetting Weekly Maintenance
Waiting until mold looks dramatic makes cleaning harder. A quick weekly wipe-down is much easier than a monthly battle scene.
When to Call a Professional
Call a professional if the mold covers a large area, returns within days, appears on drywall or wood, follows a plumbing leak, or comes with a persistent musty odor. You should also get help if cleaning makes symptoms worse or if someone in the home has serious respiratory issues.
Professional mold remediation is not just about making stains disappear. A good remediation process identifies moisture sources, contains affected areas, removes contaminated materials when needed, and helps prevent the problem from returning.
of Real-World Experience: What Actually Works in a Moldy Shower
After dealing with shower mold in real homes, one lesson becomes obvious: prevention beats heroic scrubbing every single time. The people with the cleanest showers are not always the people who buy the strongest cleaners. They are usually the people who run the fan, use a squeegee, keep the curtain open, and do tiny maintenance jobs before mold gets comfortable.
One of the most common patterns is the “clean today, mold next week” cycle. Someone sprays the grout, scrubs until their arm feels like overcooked spaghetti, and celebrates the victory. Then seven days later, the black spots return. That usually means the cleaner was not the main issue. The bathroom is staying too wet. Maybe the exhaust fan is weak. Maybe the family takes back-to-back hot showers. Maybe the shower door stays closed all day. Mold does not need luxury accommodations. It just needs damp surfaces and time.
A simple habit that makes a big difference is using a squeegee after every shower. It sounds too easy, almost suspiciously easy, like advice from someone who alphabetizes their spice rack. But removing water from walls, doors, and ledges cuts down the moisture mold needs. It also reduces soap scum and hard-water buildup, which means your weekly cleaning takes minutes instead of requiring motivational music.
Another practical tip is to look under bottles. Shampoo, conditioner, body wash, shaving cream, and soap dishes trap water underneath them. When those items sit in the same place for weeks, they create perfect little mold circles. A shower caddy that drains well is better than lining bottles along the tub edge like a beauty product parade. Once a week, lift everything, rinse the ledge, and dry it.
Caulk deserves special attention. Many people keep scrubbing black caulk stains long after the battle is lost. If the mold is behind the caulk, no spray will magically reach it. Recaulking may sound intimidating, but it is often the cleanest long-term solution. Remove the damaged caulk, clean the area, let it dry completely, and apply a fresh bead of bathroom-grade mold-resistant caulk. The drying part is crucial. Sealing moisture behind new caulk is basically gift-wrapping the problem.
For grout, gentle repetition works better than panic scrubbing. Use a grout brush, clean in small sections, rinse well, dry fully, and seal the grout once it is clean. Sealed grout does not become waterproof armor, but it does resist moisture better. Think of it as a raincoat, not a submarine.
The biggest experience-based takeaway is this: black mold in a shower is usually a moisture management problem first and a cleaning problem second. Clean the mold, yes. But then change the environment. Ventilate. Dry surfaces. Fix leaks. Reduce clutter. Keep humidity under control. Do those boring little things consistently, and your shower will stop looking like it is slowly turning into a haunted cave.
Conclusion
Cleaning black mold in a shower does not have to be complicated, but it does need to be done safely and consistently. Start by checking the size and source of the problem. Wear protective gear, ventilate the bathroom, remove soap scum, choose the right cleaner for the surface, scrub gently, rinse thoroughly, and dry everything completely.
For tile and glass, regular cleaning usually works well. For grout, patience and sealing help prevent repeat growth. For moldy caulk, replacement is often the real solution. Most importantly, control moisture after the cleanup. Run the fan, open the curtain, squeegee the walls, fix leaks, and give mold fewer chances to make a comeback.
In short, the best shower mold strategy is part cleaning, part prevention, and part refusing to let your bathroom become a tropical rainforest with shampoo.