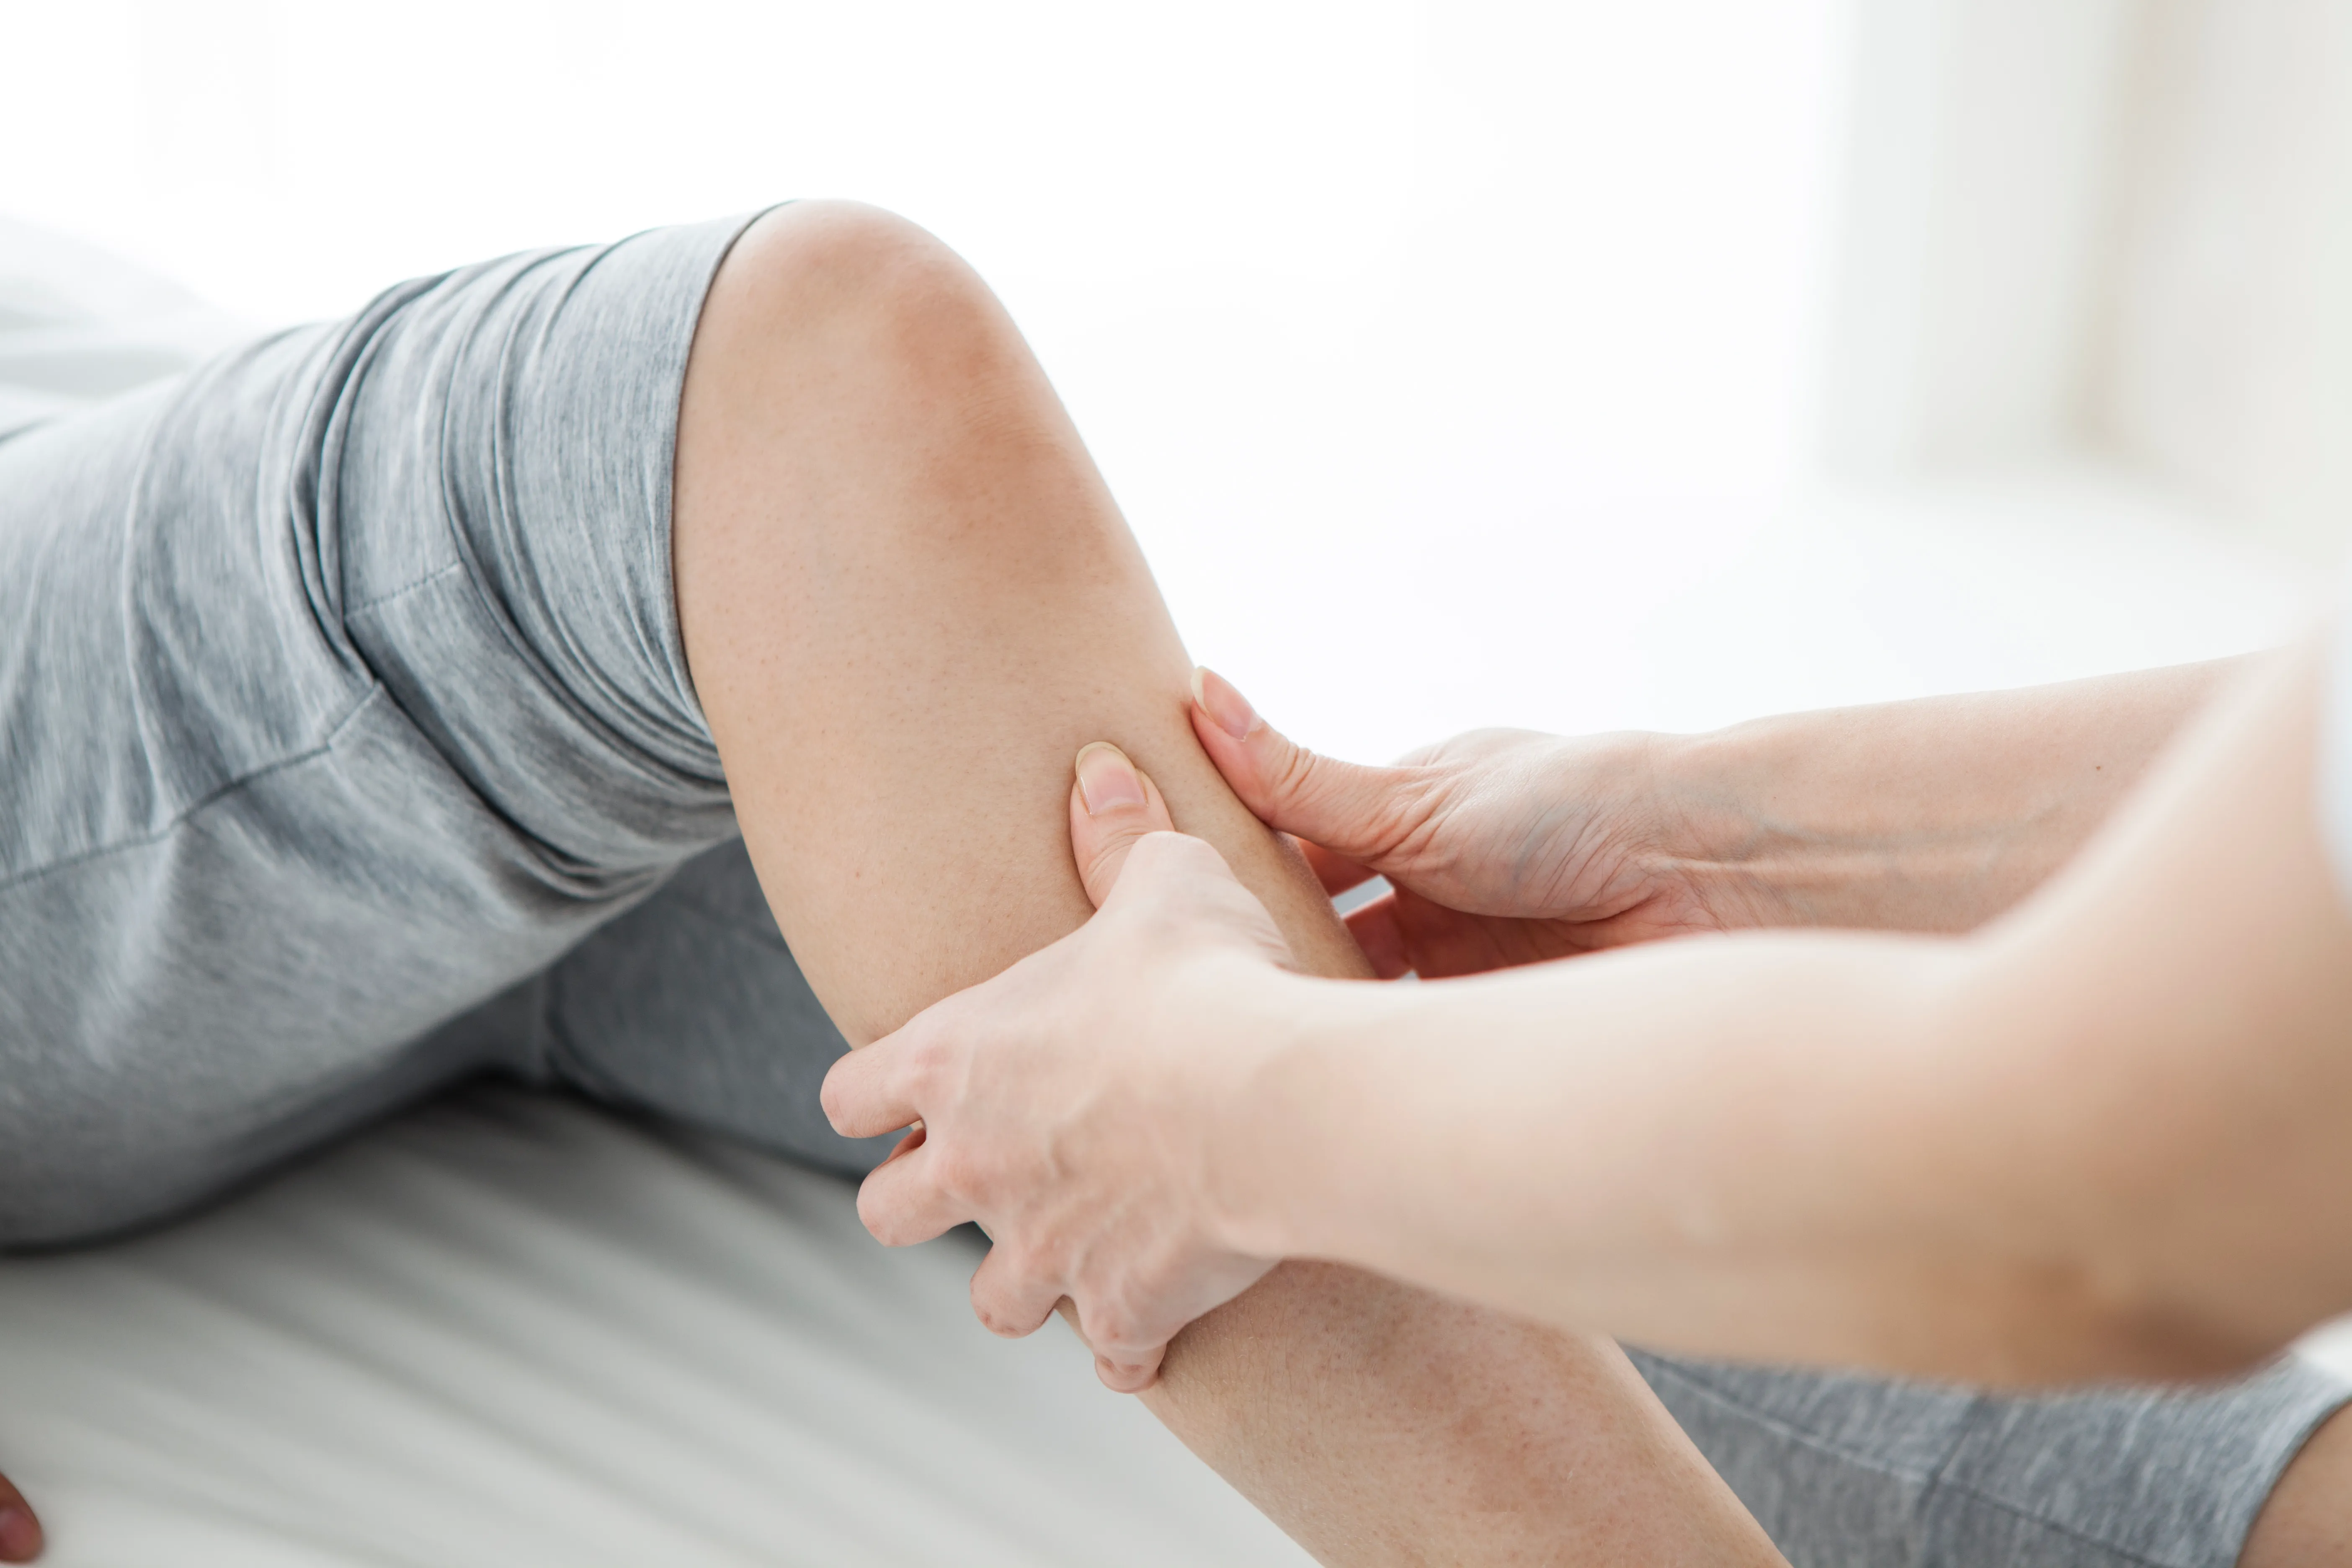

A tibia/fibula fracture has a dramatic way of turning normal life into a very slow obstacle course. One day you are walking across the room like a regular human. The next, your lower leg is wrapped, braced, casted, booted, or decorated with hardware that sounds like it belongs in a garage. The good news: recovery is absolutely possible. The less glamorous news: it takes patience, consistency, and exercises that look suspiciously simple until your leg informs you that, yes, ankle pumps are now a full-body event.
This guide explains effective rehab exercises for tibia/fibula fracture recovery, including gentle range-of-motion work, strengthening, balance training, gait practice, and practical tips for rebuilding confidence. It is written for educational use, not as a replacement for your surgeon or physical therapist. Before starting or changing any exercise routine, get medical clearanceespecially if you had surgery, plates, screws, an intramedullary nail, an open fracture, a tibial plateau fracture, or any instructions about non-weight-bearing.
Understanding Tibia/Fibula Fracture Recovery
The tibia is the larger shinbone and carries most of the body’s weight. The fibula is the smaller bone on the outside of the lower leg, but “smaller” does not mean “unimportant.” It helps stabilize the ankle and supports lower-leg mechanics. When one or both bones break, recovery depends on the location of the fracture, whether the bones shifted, whether surgery was needed, and how the surrounding joints, muscles, and soft tissues responded to the injury.
Rehabilitation usually has one major goal: restore safe movement without rushing the bone. That means improving ankle and knee range of motion, reducing stiffness, rebuilding calf, quad, hamstring, hip, and glute strength, retraining walking mechanics, and gradually returning to daily activities. Think of it less like flipping a switch and more like convincing your leg to rejoin the team after a long, dramatic vacation.
Before You Start: The Golden Rules of Rehab
Follow Your Weight-Bearing Status
Weight-bearing instructions are not casual suggestions. They are the traffic lights of fracture recovery. Your provider may prescribe non-weight-bearing, toe-touch weight-bearing, partial weight-bearing, weight-bearing as tolerated, or full weight-bearing. Do not upgrade yourself because you feel “pretty good today.” Bones can be sneaky; they may feel better before they are ready for full load.
Use Pain as Information, Not a Challenge
Mild soreness during rehab can happen, especially after immobilization. Sharp pain, increasing swelling, new numbness, calf pain, fever, wound drainage, or pain that worsens after activity should be reported to your healthcare team. Rehab is supposed to rebuild capacity, not prove you are secretly a superhero.
Move Nearby Joints When Allowed
Even when the fracture site needs protection, approved movement of the toes, ankle, knee, hip, and core can help reduce stiffness and maintain circulation. Your physical therapist may start with gentle non-weight-bearing exercises, then progress to resistance, standing strength work, balance drills, and walking practice.
Phase 1: Early Recovery Exercises for Mobility and Circulation
This phase often happens while you are still in a boot, brace, splint, or cast, depending on your medical plan. Only perform exercises that your provider allows. The goal is to keep safe areas moving, manage swelling, and limit muscle loss.
1. Toe Curls and Toe Spreads
Sit or lie down with your leg supported. Gently curl your toes, then spread them apart. Hold each position for two to three seconds. Repeat 10 to 20 times. This small movement helps wake up the foot muscles and encourages circulation. It is not flashy, but neither is brushing your teethand both matter.
2. Ankle Pumps
If your ankle is cleared for movement, point your toes away from you, then pull them back toward your shin. Move slowly and avoid forcing range. Try 10 to 20 repetitions, several times a day. Ankle pumps are commonly used after lower-limb injury because they encourage gentle motion and help fight that “my foot has become a decorative object” feeling.
3. Ankle Alphabet
With your leg supported, use your big toe like a pen and trace the letters of the alphabet in the air. Keep the motion controlled. This exercise moves the ankle in multiple directions without requiring weight-bearing. Start with uppercase letters; lowercase letters are optional for overachievers and people who enjoy tiny ankle calligraphy.
4. Quad Sets
Lie on your back or sit with your leg straight. Tighten the muscle on the front of your thigh by gently pushing the back of your knee toward the bed or floor. Hold for five seconds, then relax. Repeat 10 to 15 times. Quad sets help maintain thigh activation, which is important for standing, walking, stairs, and eventually not negotiating with chairs before sitting down.
5. Glute Sets
Squeeze your buttock muscles, hold for five seconds, then relax. Repeat 10 to 15 times. Glute strength supports walking mechanics and hip stability. This exercise is simple, private, and surprisingly usefulbasically the quiet intern of early rehab.
Phase 2: Range-of-Motion Exercises After Clearance
Once your clinician allows more motion, range-of-motion exercises become a major part of tibia/fibula fracture rehabilitation. The ankle and knee often become stiff after immobilization. Restoring motion early, safely, and consistently can make later strengthening much smoother.
1. Heel Slides
Lie on your back with your injured leg supported. Slowly slide your heel toward your buttocks, bending the knee as far as comfortable. Then slide the heel back out until the leg is straight. Repeat 10 to 15 times. If needed, use a towel behind the thigh to assist the movement without yanking. Heel slides help restore knee flexion, especially after tibial shaft or tibial plateau injuries.
2. Seated Knee Extensions
Sit in a chair with your feet supported. Slowly straighten the injured knee as much as comfortable, hold for two seconds, then lower with control. Repeat 10 to 15 times. This exercise supports quad activation and knee mobility. Keep the motion smooth; no dramatic kicking unless you are auditioning for a very cautious musical.
3. Towel Calf Stretch
Sit with the leg extended. Loop a towel around the ball of the foot and gently pull until you feel a stretch in the calf. Hold for 15 to 30 seconds. Repeat two to four times. Do not force the ankle, especially if the fracture involved the ankle joint or if you have surgical restrictions.
4. Seated Ankle Circles
With your foot off the floor or lightly supported, slowly circle the ankle clockwise and counterclockwise. Aim for 10 circles each direction. This helps restore ankle mobility in a controlled way. Move like you are stirring soup, not starting a lawn mower.
Phase 3: Early Strengthening Exercises
When your provider confirms that strengthening is appropriate, exercises usually begin with non-weight-bearing or low-load movements. The goal is to rebuild muscle without overloading healing bone.
1. Straight Leg Raises
Lie on your back with the injured leg straight and the other knee bent. Tighten your quad, then lift the injured leg about 12 inches. Hold briefly, then lower slowly. Repeat 8 to 12 times. If your knee bends during the lift or your hip hikes up, reduce the height or ask your physical therapist for a modification.
2. Side-Lying Hip Abduction
Lie on your uninjured side. Keep the injured leg straight and lift it slightly upward, then lower slowly. Repeat 8 to 12 times. This strengthens the outer hip muscles, which help stabilize the pelvis during walking. Weak hips can lead to limping, and limping can invite knee, ankle, hip, and back complaints to the party.
3. Resistance Band Ankle Work
After clearance, use a light resistance band for ankle strengthening. Move the foot up, down, inward, and outward against gentle resistance. Perform 8 to 15 repetitions in each direction. Focus on control rather than power. If your whole leg is twisting to move the ankle, the band is too strong or your body is trying to cheat like a student who forgot the exam was today.
4. Seated Calf Raises
Sit with both feet flat on the floor. Lift your heels while keeping your toes down, then lower slowly. Start with both feet, then progress as approved. Repeat 10 to 15 times. This helps reactivate the calf muscles, which are often weak after weeks of limited walking.
Phase 4: Weight-Bearing Strength and Gait Training
Once your medical team allows partial or full weight-bearing, rehab becomes more functional. This is where walking mechanics, balance, and strength all start shaking hands. Progress slowly and use crutches, a walker, boot, brace, or cane as instructed.
1. Weight Shifts
Stand near a counter for support. Shift your weight gently from side to side, then forward and back. Keep the movement small at first. This teaches your body to accept load through the healing leg. Use your hands for balance, not for gripping the counter like it owes you money.
2. Mini Squats
Stand with feet hip-width apart and hold a stable surface. Bend the knees slightly, keeping your weight controlled and your knees aligned over your toes. Return to standing. Repeat 8 to 12 times. Mini squats strengthen the quads, glutes, and hips while preparing you for daily tasks such as sitting, standing, and picking up something you dropped for the third time.
3. Standing Calf Raises
When approved, stand with support and lift both heels off the floor. Lower slowly. Begin with both legs and progress toward more weight on the injured side as tolerated. Repeat 8 to 15 times. Strong calves help with push-off during walking, stair climbing, and eventually jogging if that is one of your goals.
4. Step-Ups
Use a low step. Place the injured leg on the step, press through the foot, and step up with control. Step down slowly. Start low and use a railing or counter. Repeat 6 to 10 times. Step-ups are excellent for rebuilding functional strength, but they should not be rushed if you still have swelling, poor balance, or pain.
5. Gait Practice
Walking after a tibia/fibula fracture often feels awkward. A physical therapist may help you work on heel strike, foot roll-through, knee bend, hip control, and even stride length. The goal is not just to walk farther; it is to walk better. A stylish limp may seem charming in pirate movies, but in real life it can overload other joints.
Phase 5: Balance and Proprioception Exercises
After a fracture, the leg may lose proprioceptionyour body’s ability to sense joint position and movement. Balance training helps your ankle, knee, hip, and brain communicate again. This matters for preventing falls and returning to sports or active hobbies.
1. Supported Single-Leg Stand
Stand near a counter. Shift weight onto the injured leg and lift the other foot slightly. Hold for 5 to 20 seconds, using your hands as needed. Repeat several times. Do not practice this in the middle of the room while feeling brave. Bravery is not a balance strategy.
2. Tandem Stance
Stand with one foot directly in front of the other, like you are on a tightrope. Hold a stable surface. Keep your posture tall and breathe normally. Hold for 10 to 30 seconds. Switch feet. This improves balance without requiring full single-leg loading.
3. Clock Taps
Stand on the injured leg with support nearby. Use the other foot to tap forward, sideways, and backward like points on a clock. Keep the standing knee soft and aligned. This builds control, hip stability, and confidence.
Returning to Higher-Level Activity
Running, jumping, sports drills, hiking, and heavy lifting should come only after your provider confirms the fracture has healed enough and your physical therapist sees adequate strength, mobility, and control. A common progression may include stationary cycling, pool walking, elliptical training, treadmill walking, incline walking, light jogging intervals, and sport-specific drills. The exact path depends on your injury and goals.
A helpful benchmark is symmetry. Can you walk without limping? Can you go up and down stairs with control? Is swelling manageable after activity? Is ankle and knee motion close to the other side? Can you balance safely? If not, your body may be politely asking for more preparation before you sprint into your comeback montage.
Common Rehab Mistakes to Avoid
Doing Too Much on a Good Day
Recovery is not linear. Some days feel great; other days your leg acts like it filed a complaint. A sudden jump in activity can trigger swelling and soreness. Increase walking, strengthening, and standing time gradually.
Ignoring the Hip and Core
Tibia/fibula fracture rehab is not only about the shin and ankle. Hip strength, core control, and posture affect walking mechanics. Exercises such as bridges, side-lying hip work, and gentle core training can support the whole chain.
Skipping Home Exercises
Physical therapy appointments matter, but the home program is where progress stacks up. Five to ten minutes done consistently can beat one heroic session followed by four days of couch negotiations.
Comparing Your Timeline to Everyone Else’s
One person may walk comfortably after a few months; another may need longer because of surgery, fracture complexity, joint involvement, swelling, or other injuries. Comparison is useful for shoe prices, not bone healing timelines.
Practical Recovery Tips That Make Rehab Easier
Keep swelling under control with elevation and compression if recommended. Wear supportive footwear when you transition out of a boot. Track your exercises in a notebook or phone app so you can see progress that may not be obvious day to day. Celebrate small wins: better ankle motion, less swelling, smoother stairs, or the glorious moment when carrying a cup of coffee while walking no longer feels like an Olympic event.
Also, prioritize sleep and nutrition. Healing tissue needs energy, protein, vitamins, minerals, and hydration. Ask your healthcare provider whether you need specific nutrition guidance, especially if you have dietary restrictions or medical conditions. Rehab is not just what happens on the exercise mat; it is the whole recovery environment.
Experience-Based Recovery Notes: What Tibia/Fibula Rehab Often Feels Like
The lived experience of tibia/fibula fracture recovery is usually more emotional than people expect. At first, the biggest challenge may be logistics. Showering becomes a construction project. Stairs become a strategic mission. Dropping your phone on the floor may feel like betrayal. During this early stage, many patients find that creating a simple daily routine helps: medication schedule if prescribed, safe transfers, approved exercises, elevation breaks, and short periods of movement for the rest of the body.
When physical therapy begins, the first sessions may feel humbling. Exercises that look almost too easyankle pumps, quad sets, heel slidescan reveal how quickly stiffness and weakness appear after immobilization. This is normal. The goal is not to dominate the first week of rehab. The goal is to show the nervous system and muscles that movement is safe again. A common experience is that progress seems invisible for several days, then suddenly the ankle bends a little more or the knee feels less wooden. Tiny improvements matter.
The transition to weight-bearing can be exciting and weird at the same time. Many people expect the leg to feel ready the moment they are cleared to put weight on it. Instead, it may feel foreign, shaky, heavy, or overly sensitive. That does not automatically mean something is wrong. It often means the foot, ankle, calf, knee, hip, and brain are relearning load. Weight shifts, gait training, and supported standing help rebuild trust. This phase rewards patience more than intensity.
Another common experience is uneven confidence. You may feel fine walking in a hallway but nervous outside on gravel, grass, wet pavement, or crowded sidewalks. Balance training is useful here, but so is gradual exposure. Start with predictable surfaces, use support as needed, and slowly expand your comfort zone. Confidence is a rehab skill too.
Swelling can also be discouraging. A leg may look reasonable in the morning and puffy by evening, especially after increased activity. This does not always mean you failed; it may mean the leg is still adapting. Track what you did, how long swelling lasted, and whether symptoms improved with rest and elevation. If swelling increases dramatically or comes with concerning symptoms, contact your healthcare provider.
Perhaps the most important lesson is that recovery is not only about “doing exercises.” It is about rebuilding a relationship with your leg. Some days require discipline. Some require rest. Some require asking for help, which can be surprisingly difficult. Over time, the boring basicsconsistent mobility work, steady strengthening, careful walking practice, sleep, nutrition, and follow-up appointmentsturn into real progress. Not movie-montage progress, unfortunately. More like spreadsheet progress. But spreadsheets can be beautiful when they end with walking normally again.
Conclusion
Effective rehab exercises for tibia/fibula fracture recovery should be progressive, safe, and personalized. Early recovery often focuses on circulation, swelling control, and gentle mobility. Later stages build strength, restore gait, improve balance, and prepare the body for higher-level activity. The best plan is not the hardest plan; it is the one that matches your healing stage and that you can perform consistently.
Work closely with your surgeon and physical therapist, respect weight-bearing instructions, and treat small gains as real victories. A tibia/fibula fracture may slow you down, but with smart rehabilitation, patience, and a little humor, you can rebuild strength one careful step at a time.