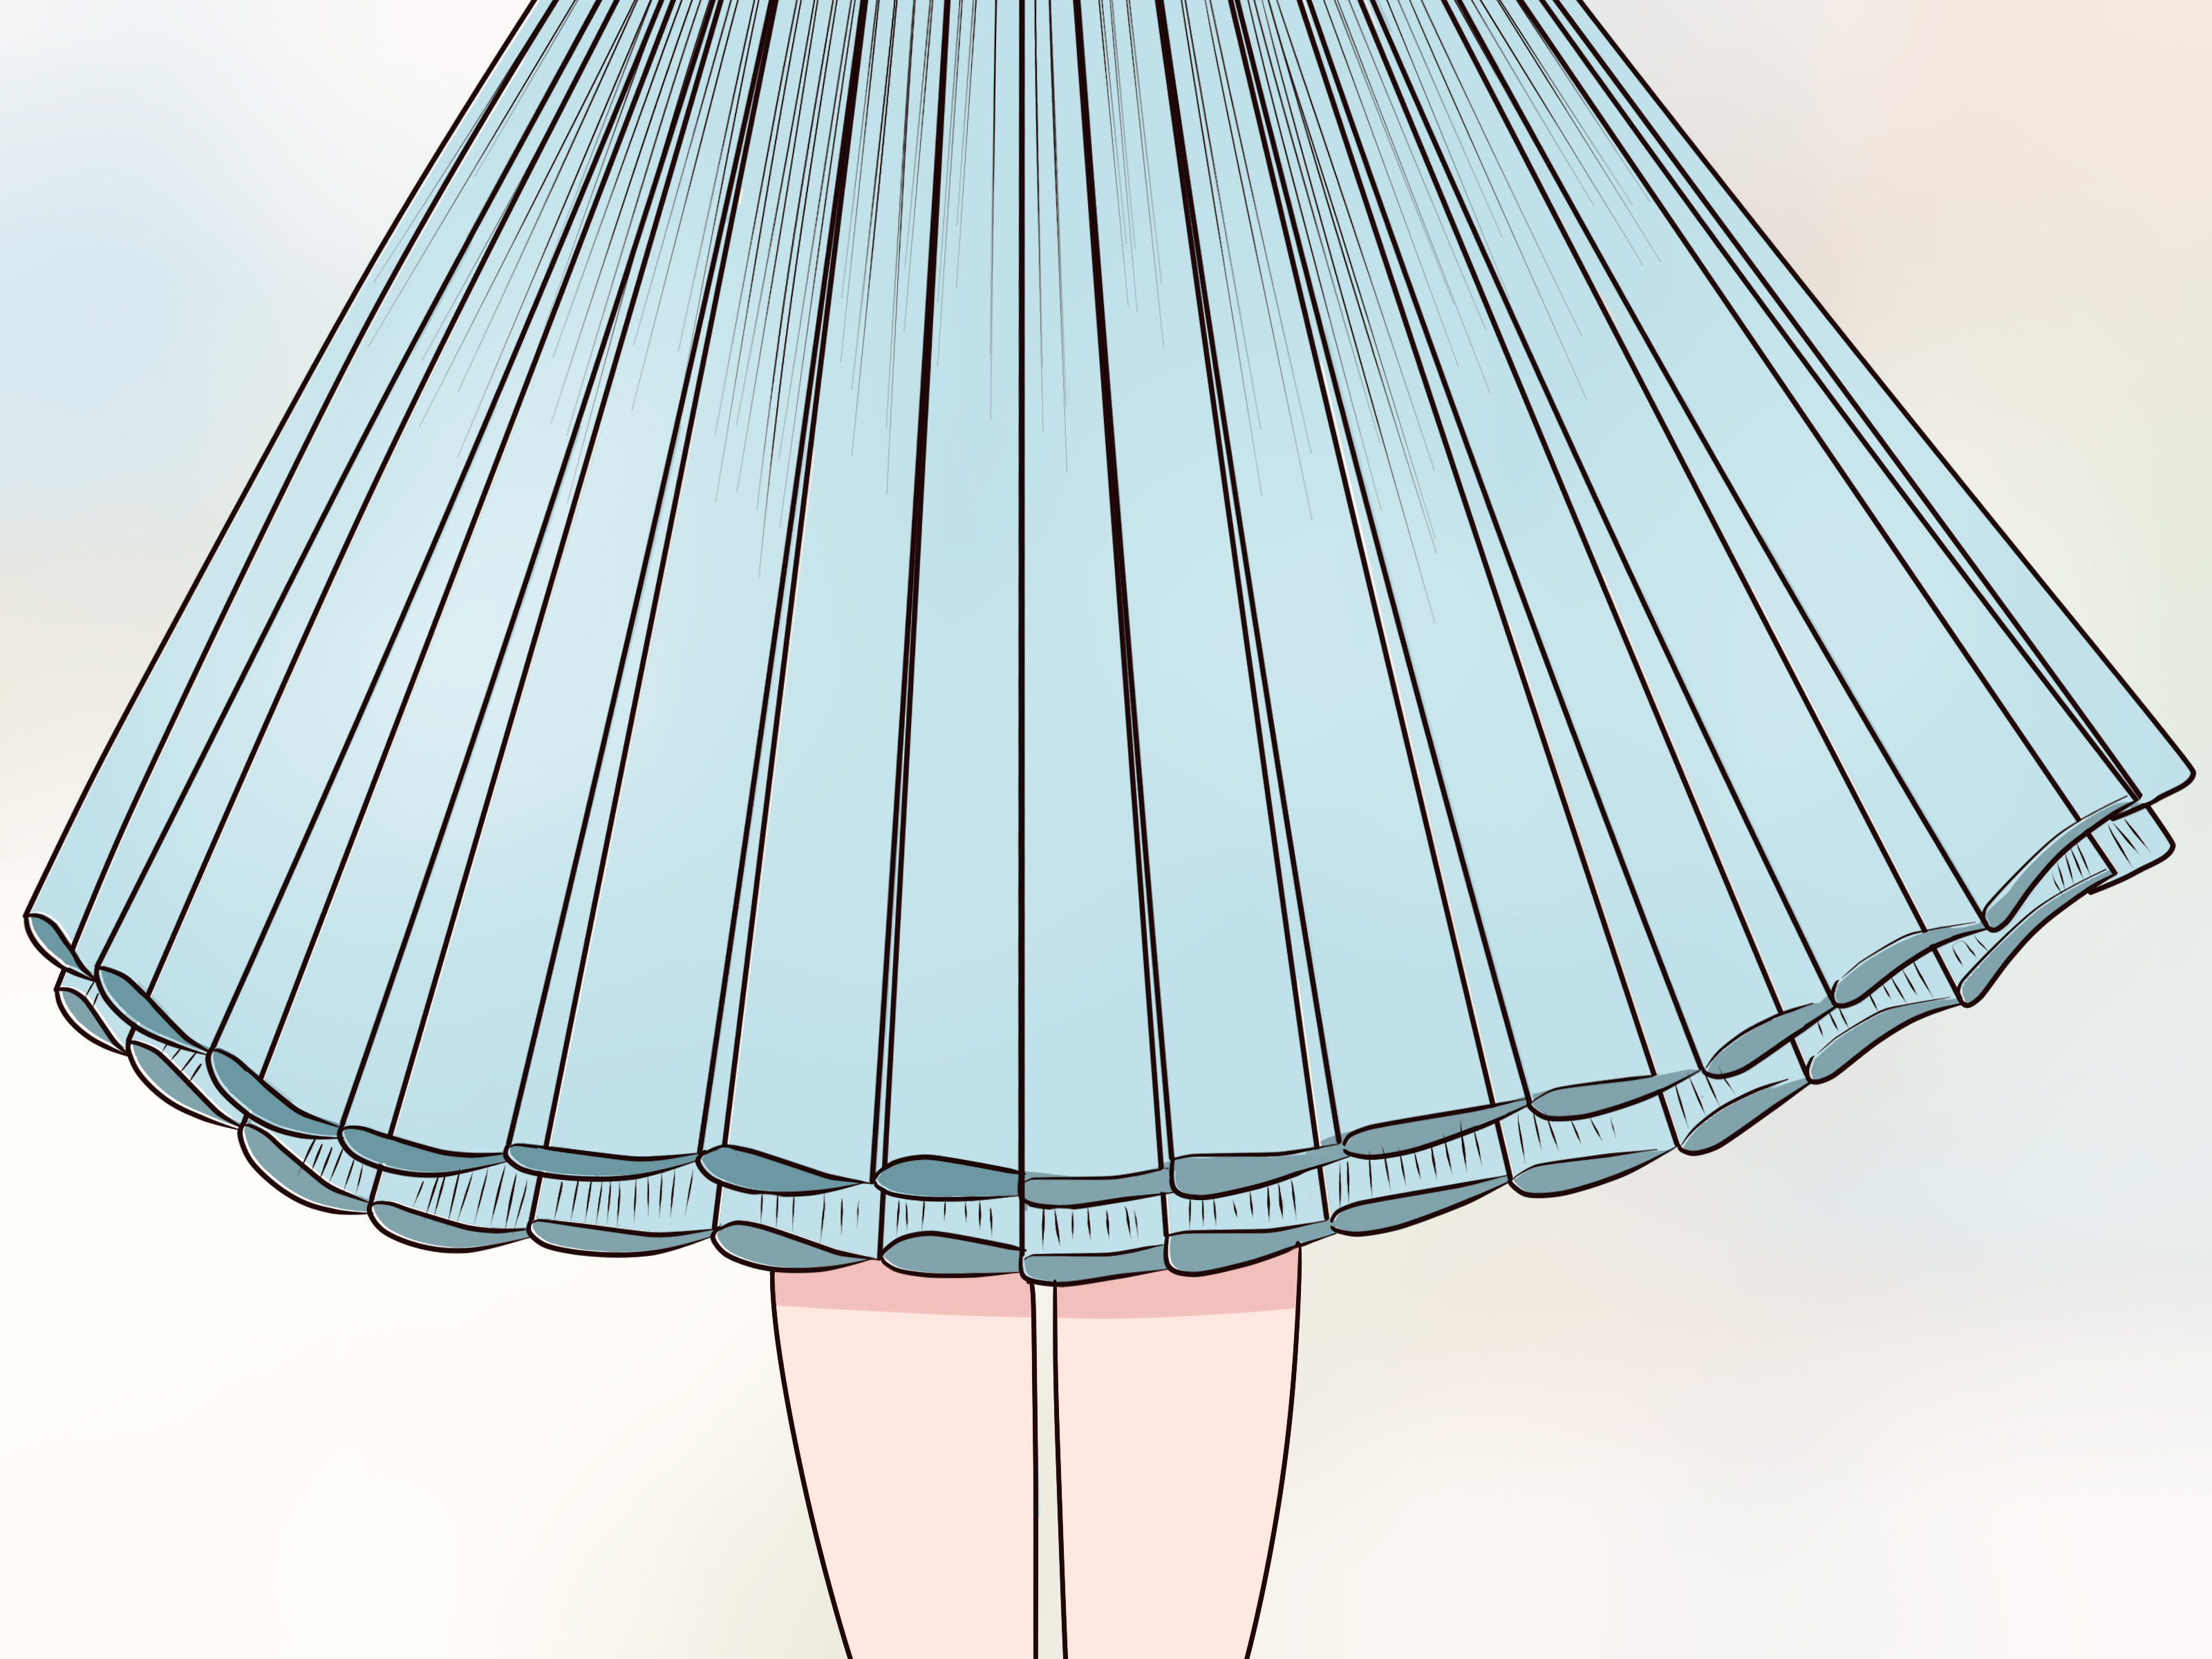

Adding tulle to a prom dress is one of those magical DIY projects that can turn “pretty” into “main character entering the ballroom in slow motion.” Whether your dress needs more volume, a softer silhouette, a dramatic overskirt, or a dreamy layer of sparkle, tulle is the lightweight fabric that does the most without acting like it worked hard. It is sheer, airy, affordable, and surprisingly forgivingas long as you treat it gently and do not attack it with dull scissors like you are opening a shipping box.
This guide explains how to add tulle to a prom dress in 15 clear steps, from choosing the right type of tulle to sewing, gathering, attaching, trimming, and finishing the look. You do not need to be a couture designer with a Paris atelier and a tiny dramatic dog. You do, however, need patience, a measuring tape, sharp tools, and the willingness to test before stitching directly onto the dress you plan to wear in public, in photos, and possibly in front of your crush.
Before You Start: Know What Tulle Can Do for a Prom Dress
Tulle can change a prom dress in several ways. It can add volume under the skirt, create a soft overlay on top of the existing fabric, build a removable overskirt, cover a short hemline, add romantic ruffles, or create a layered fairy-tale effect. The best method depends on the dress shape, the fabric, and your comfort level with sewing.
If your dress is fitted through the hips, tulle is usually easiest to add as a detachable overskirt or a hem detail. If your dress already has a full skirt, you can sew tulle into the lining or waistband to create extra puff. If your dress is simple satin, crepe, or chiffon, a sheer tulle overlay can add softness without making the dress look heavy. In other words, tulle is the glittery sidekick your prom dress did not know it needed.
Supplies You Will Need
- Soft bridal tulle, glitter tulle, illusion tulle, or stiff netting, depending on the look you want
- Matching all-purpose polyester thread
- Fine sewing needle, such as a universal or Microtex needle
- Sharp fabric scissors or a rotary cutter and cutting mat
- Measuring tape
- Fabric clips or fine pins
- Hand-sewing needle
- Seam ripper
- Tailor’s chalk or washable fabric marker
- Safety pins for fitting
- Iron with steam setting or garment steamer
- Pressing cloth
- Elastic, ribbon, or hook-and-eye closures if making a detachable overskirt
How to Add Tulle to a Prom Dress: 15 Steps
Step 1: Decide Where the Tulle Will Go
Start by choosing the purpose of the tulle. Are you adding volume underneath the dress, a sheer layer over the skirt, a ruffle at the hem, or a removable overskirt? This decision controls everything: how much fabric you buy, where you sew, and how visible your stitches will be. For beginners, adding tulle to the inside lining or making a detachable overskirt is usually easier than sewing directly onto the outside of the dress.
Step 2: Study the Dress Construction
Turn the dress inside out and inspect the seams, lining, zipper, waistline, and hem. Look for places where you can attach tulle without changing the fit. The lining seam near the waist is often the best hidden attachment point. Avoid sewing tulle into areas that stretch, pull, or sit tightly against the body. Prom dresses already have enough drama; the zipper does not need to join the cast.
Step 3: Choose the Right Type of Tulle
Soft bridal tulle creates a romantic, floaty look. Stiffer tulle or dress netting adds volume and structure. Glitter tulle brings sparkle but may shed glitter on everything you love, including your floor, your chair, and possibly your future. Illusion tulle is very fine and delicate, making it useful for overlays and subtle layers. If you want fullness under a skirt, choose medium or stiff tulle. If you want a graceful outer layer, choose soft tulle.
Step 4: Match or Contrast the Color
For a seamless look, choose tulle close to the dress color. For a dimensional effect, choose one shade lighter or darker. Ivory over blush, navy over silver, black over emerald, or champagne over gold can create a designer-style finish. Always test the tulle over the dress fabric in natural light because store lighting can lie with the confidence of a reality TV villain.
Step 5: Measure the Dress Carefully
Measure the waistline or attachment area, the skirt length, and the hem circumference. If you are adding an underskirt layer, measure from the waist seam or lining attachment point to the desired finished length. If you are adding a hem ruffle, measure around the bottom of the dress. For fullness, tulle is often cut 1.5 to 3 times wider than the area where it will be attached. More width means more gathers and more volume.
Step 6: Buy More Tulle Than You Think You Need
Tulle is inexpensive compared with most formalwear fabrics, and extra fabric gives you room for mistakes, test stitches, and matching layers. A slim dress may need only a few yards for a hem detail, while a full prom skirt can require 8 to 12 yards or more, especially if you want multiple layers. When in doubt, buy extra from the same bolt so the color and texture match.
Step 7: Pre-Steam and Smooth the Tulle
Tulle wrinkles easily, but it can melt or warp under high heat. Use steam carefully, and always place a pressing cloth between the tulle and iron if you must press it. A garment steamer is safer for most tulle. Hang the fabric and let gravity help relax the wrinkles. Do not flatten tulle aggressively, or you may remove the airy shape that makes it beautiful.
Step 8: Cut the Tulle in Single Layers
Lay the tulle flat on a large table or clean floor. Use pattern weights, books, or smooth household objects to stop it from shifting. Cut one layer at a time with sharp scissors or a rotary cutter. Tulle does not usually fray, so you often do not need a traditional hem. Clean cutting matters more than edge finishing. A jagged edge will show, especially when the dress moves.
Step 9: Create Tulle Panels or Strips
For an underskirt, cut wide rectangular panels. For a hem ruffle, cut long strips. For an overlay, cut panels that match the skirt shape. For a detachable overskirt, cut one or more large skirt panels and gather them into a waistband. Label the layers with small paper notes if needed. Once several pieces of tulle are floating around, they can start looking identical, like very fashionable ghosts.
Step 10: Sew Side Seams If Needed
If your tulle pieces need to form a loop, sew the short edges together using a narrow seam allowance. A straight stitch works for most tulle, but a narrow zigzag can add flexibility. Test on scraps first. Use a fine needle, matching thread, and a gentle touch. Do not tug the fabric through the machine; guide it lightly so the feed dogs can move it naturally.
Step 11: Gather the Top Edge
Set your sewing machine to a long stitch length and sew two parallel rows of basting stitches along the top edge of the tulle. Leave long thread tails. Pull the bobbin threads gently to gather the tulle until it matches the waistline, lining seam, or hem area where you plan to attach it. Distribute the gathers evenly. Uneven gathers can make one side look princess-worthy and the other side look like it lost an argument.
Step 12: Pin or Clip the Tulle to the Dress
Attach the gathered tulle to the inside lining, waist seam, or marked placement line. Use clips whenever possible because pins can snag delicate tulle. If you must use pins, choose fine pins and place them within the seam allowance. Try the dress on carefully before sewing permanently. Check the length, volume, balance, and comfort. Sit down, turn, and walk a few steps to make sure the new layer does not catch or bunch.
Step 13: Baste Before Final Sewing
Hand-baste or machine-baste the tulle in place before sewing the final seam. Basting is not glamorous, but it is the difference between “custom prom dress” and “why is the left side levitating?” Basting allows you to check the drape, adjust gathers, and correct placement before permanent stitching. Use contrasting thread if you need to see it clearly, then remove it later.
Step 14: Sew the Tulle Securely
Sew slowly along the attachment line. If you are attaching tulle to a lining, stitch through the lining and tulle only, not the outer dress fabric, unless the design requires visible stitching. If the dress has a zipper, keep tulle away from the zipper teeth. Backstitch carefully or tie thread ends by hand to avoid bulky knots. For delicate fabrics, tying thread tails can look cleaner than heavy backstitching.
Step 15: Trim, Fluff, and Final-Fit the Dress
Hang the dress and let the tulle settle. Then trim uneven edges while the dress is hanging or on the wearer. Tulle can appear shorter or longer depending on how it falls, so do not rush this step. Trim small amounts at a time. Fluff the layers with your hands, steam lightly if needed, and try the dress on with the shoes you plan to wear. Prom photos are forever; uneven hems are also forever if nobody catches them in time.
Best Ways to Add Tulle Based on Dress Style
For a Ball Gown
Add several layers of gathered tulle to the lining at the waist or lower hip area. If the skirt already has structure, focus extra tulle near the hem to increase shape without making the waist bulky. Layering shorter tulle tiers underneath can create a fuller bell shape.
For an A-Line Dress
A-line dresses work beautifully with soft tulle overlays or underskirt layers. Keep the gathers smooth at the waist so the skirt flows naturally. Too much stiff tulle can make the dress look wider than intended, so build volume gradually.
For a Mermaid or Trumpet Dress
Attach tulle at or below the flare point, not at the hips. A tulle godet, fishtail ruffle, or layered lower skirt can add movement without disturbing the fitted shape. This method is dramatic, elegant, and excellent for anyone who wants to sweep into the room like they own a red carpet.
For a Short Prom Dress
Add tulle as a hem extension, layered underskirt, or sheer overskirt. A short dress can become high-low, tea-length, or full-length with the right tulle layer. Make sure the transition looks intentional by adding a waistband, satin ribbon, beaded trim, or lace appliqué.
Common Mistakes to Avoid
The biggest mistake is using the wrong tulle. Stiff netting under a sleek dress can create odd bumps, while very soft tulle may not add enough volume. Another common mistake is skipping the test stitch. Tulle can slip, pucker, or get pulled into the needle plate if your machine settings are not right. Always test first.
Do not sew tulle too close to a zipper. It may catch when the dress opens and closes. Do not add too many layers at the waist if the dress is already snug. Extra fabric adds bulk, and bulk can change how the dress fits. Finally, do not cut the finished length while the dress is lying flat. Tulle behaves differently when hanging, especially in multiple layers.
How to Make the Tulle Look Professional
To make added tulle look intentional, repeat design details from the original dress. If the bodice has pearls, add a pearl-trim waistband. If the dress has lace, use lace appliqués to hide the attachment line. If the dress has satin straps, finish a detachable tulle overskirt with a satin ribbon waistband. The secret is visual consistency. The tulle should look like it was invited to the party, not like it climbed onto the dress at the last minute.
Layering also matters. A single layer of tulle may look too sheer, while too many layers can look bulky. Start with two layers, then add more only if needed. For soft volume, use multiple layers of fine tulle. For strong structure, use one or two layers of stiffer netting underneath and soft tulle on top.
Should You Sew It or Make It Detachable?
If you are nervous about altering the dress permanently, make a detachable tulle overskirt. This is a smart option for expensive dresses, borrowed dresses, or dresses you may want to wear again. A detachable overskirt can tie at the waist with ribbon, close with hooks and eyes, or attach with snaps. It gives you two looks: dramatic for photos and easier to manage for dancing.
If the dress needs structural volume, sewing tulle into the lining may be better. This keeps the fullness hidden and secure. For a polished alteration, attach the tulle to an existing seam rather than stitching randomly across the skirt. Hidden construction usually looks more professional and feels more comfortable.
Experience Notes: Real-Life Lessons from Adding Tulle to a Prom Dress
The first real lesson is that tulle has a personality. It is light, pretty, and delicate, but it also likes to float, cling, and move when you are trying to cut it in a straight line. The easiest way to control it is to slow down. Clear a large workspace, smooth the fabric gently, and use weights instead of trying to pin every inch. If you cut tulle while it is wrinkled or twisted, the finished edge may look uneven even if your measurements were correct.
Another useful experience is to test the volume before sewing. Many people imagine they need six layers of tulle, then discover that six layers make the dress look less “Cinderella” and more “decorative cupcake.” Pin or clip the gathered tulle inside the dress and try it on. Take photos from the front, side, and back. Photos reveal shape issues that mirrors sometimes miss. If the side view looks bulky, reduce the gathers or move the tulle lower on the skirt.
Comfort matters more than people expect. Prom is not just standing beautifully for five minutes. It is walking, sitting, dancing, taking photos, getting in and out of a car, and possibly eating fries afterward because formal events make everyone hungry. Tulle should not scratch your legs, catch on your shoes, or make the skirt impossible to manage. If the tulle feels rough, add it outside the lining or cover the inner seam with soft bias tape.
Color matching is another area where experience saves the day. Tulle can look different when layered over fabric. White tulle over a colored dress may create a frosty effect. Black tulle can deepen the dress color. Glitter tulle may look amazing in photos but can shed. Before buying ten yards, place a sample over the dress and check it in daylight, indoor light, and camera flash. Prom dresses are photographed constantly, so the camera test is not optional.
One of the best tricks is to use trim strategically. If the attachment line is not perfect, a satin ribbon, beaded belt, lace appliqué, or small row of rhinestones can hide it beautifully. This does not mean covering mistakes lazily; it means finishing the design like a dressmaker. Many formal dresses use trims to transition between fabrics, so this technique can make your DIY tulle addition look custom rather than crafty.
Finally, give yourself more time than you think you need. Adding tulle is not difficult, but the fitting and trimming stages can take a while. The project becomes stressful when you are hemming tulle the night before prom while someone asks, “Are you almost done?” every eight minutes. Finish early, hang the dress, let the layers settle, and do a final try-on with shoes and accessories. A calm final fitting is worth more than any last-minute sparkle.
Conclusion
Learning how to add tulle to a prom dress is a creative way to customize your look, add volume, and make a dress feel more personal. The process works best when you choose the right tulle, measure carefully, gather evenly, and attach the fabric where the dress already has structure. Whether you create a hidden underskirt, a romantic overlay, a dramatic hem ruffle, or a detachable overskirt, the goal is the same: make the tulle look like it belongs.
Take your time, test every stitch, and remember that small adjustments can make a huge difference. A little extra fullness can transform the silhouette. A soft overlay can make a simple dress feel dreamy. A removable overskirt can give you a grand entrance and a dance-floor-friendly second look. With patience and a few smart sewing choices, your prom dress can go from lovely to unforgettablewithout needing a fairy godmother, although snacks and good lighting definitely help.