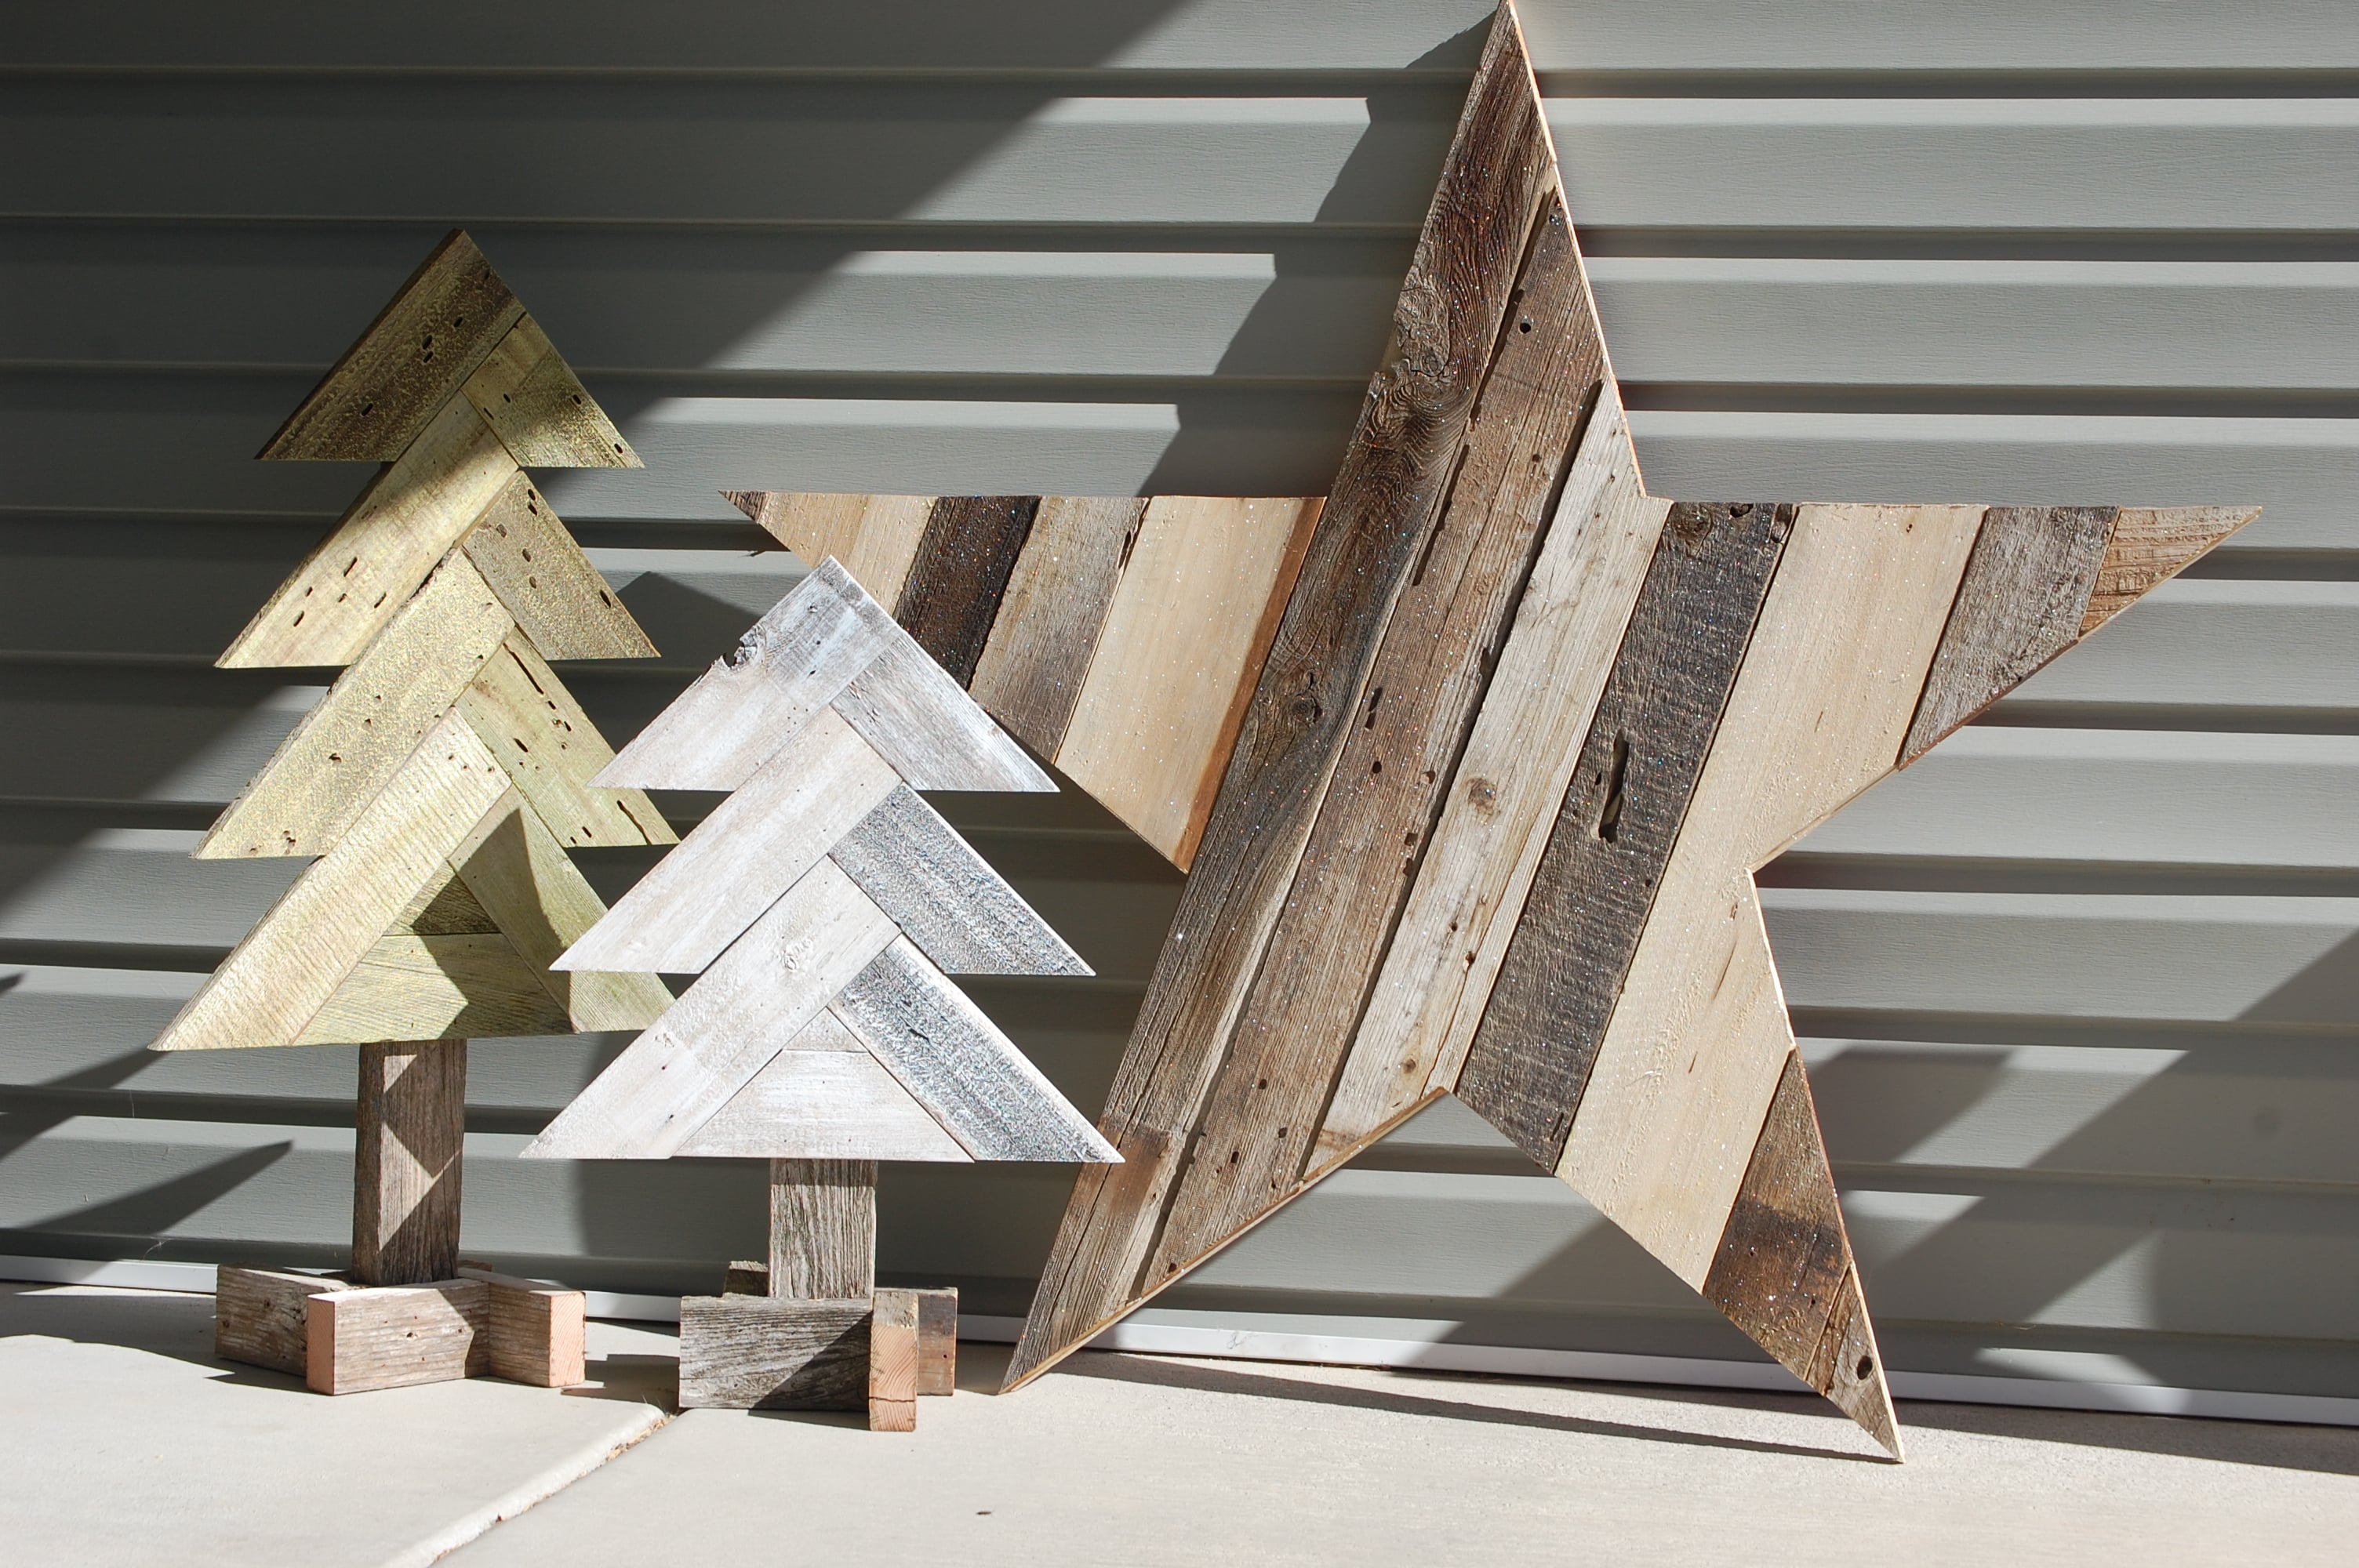

There are two kinds of old fence boards in this world: the ones that go to the landfill, and the ones that get a glorious second life as farmhouse wall decor. Today, we are choosing glory. If you have a stack of weathered fence pickets leaning behind the garage like they are waiting for a retirement plan, this large rustic wood star is the perfect DIY project.
A rustic wood star made from old fence boards is affordable, beginner-friendly, and packed with character. Every nail hole, gray streak, saw mark, and sun-baked crack adds charm you simply cannot buy in a craft store without paying “boutique distressing” prices. The finished star can hang over a mantel, sit on a porch, decorate a barn wall, become patriotic Fourth of July decor, or bring cozy Christmas energy without screaming “I was made in a factory.”
This guide walks you through the full process: choosing safe reclaimed wood, drawing a large star template, cutting fence boards, attaching them to a plywood backing, finishing the surface, and hanging it securely. We will also cover common mistakes, design variations, and real-world lessons learned from building rustic decor with old lumber.
Why Old Fence Boards Are Perfect for a Rustic Wood Star
Old fence boards are ideal for this project because they already have what new lumber tries to fake: texture, age, color variation, and outdoor-worn personality. Cedar, pine, redwood, and pressure-treated fence pickets often develop a silvery gray surface after years in the sun. That natural weathering makes a wooden star look warm and handmade rather than overly polished.
Using reclaimed fence boards also keeps usable material out of the trash. A large DIY wood star does not need perfect boards. In fact, slightly imperfect boards usually look better. A knot near one star point? Beautiful. A faded paint line? Even better. A tiny split that does not affect strength? Congratulations, your star now has “character,” which is DIY language for “we meant to do that.”
Safety First: Check the Fence Boards Before You Build
Before cutting old fence boards, inspect them carefully. Reclaimed wood can hide nails, screws, staples, insects, rot, and old coatings. Run a magnet or metal detector over each board if you have one. Pull all visible nails with pliers or a pry bar. A hidden nail can ruin a saw blade faster than you can say, “Well, that sounded expensive.”
Avoid boards that are soft, crumbly, moldy, or heavily rotten. Surface weathering is fine; structural decay is not. If the wood smells musty, sheds powder, or breaks apart in your hands, skip it. Also be cautious with treated lumber, especially if the source is unknown. Older treated wood may contain chemicals you do not want to breathe as dust. Wear eye protection, gloves, and a dust mask when cutting or sanding any reclaimed wood.
Tools and Materials You Will Need
Materials
- Old fence boards or reclaimed fence pickets
- One piece of plywood for backing, about 4 feet by 4 feet
- Construction adhesive or exterior-rated wood glue
- 1-inch or 1 1/4-inch brad nails, screws, or narrow crown staples
- Sandpaper in 80-grit and 120-grit
- Clear exterior sealer, spar urethane, or matte polyurethane
- Heavy-duty picture hanger, D-rings, or French cleat
Tools
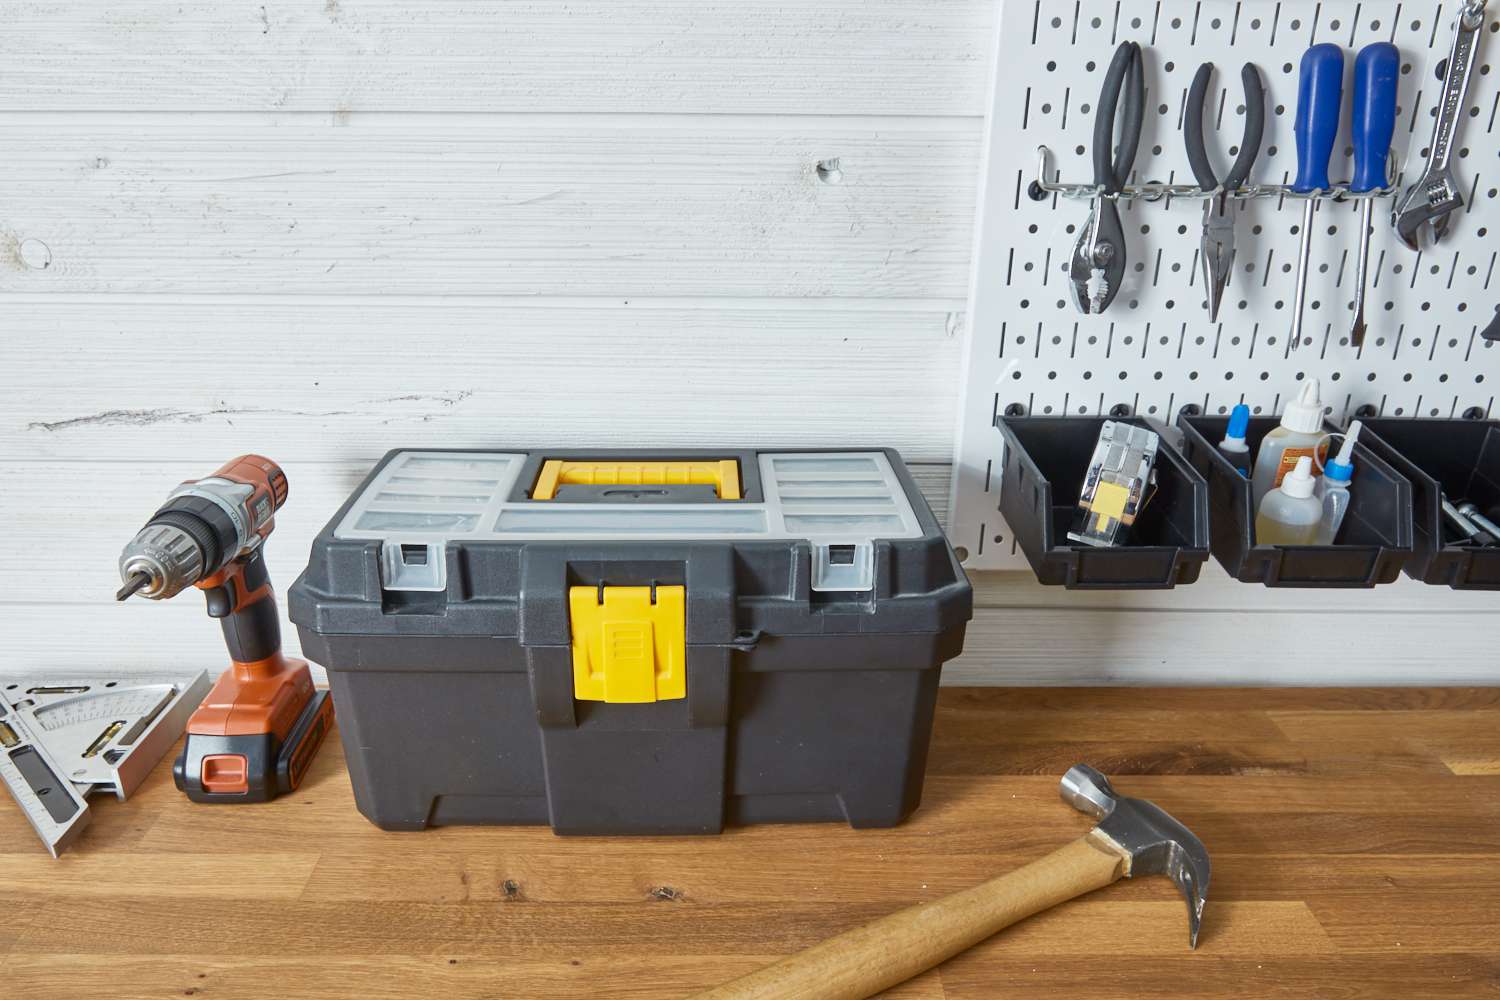
- Tape measure
- Pencil or chalk line
- Straightedge
- Protractor or angle finder
- Jigsaw or circular saw
- Miter saw for angled cuts
- Clamps
- Caulk gun
- Drill or brad nailer
- Orbital sander or sanding block
Step 1: Decide How Large You Want the Star
A large rustic wood star looks best when it feels intentional. For a mantel, a 24-inch star may be enough. For a porch wall, barn door, or outdoor display, go bigger: 36 to 48 inches wide. A 4-foot star has major visual impact and makes excellent use of old fence boards.
The easiest method is to create a plywood star backing first, then cover it with fence boards. This gives the final piece strength and makes assembly much simpler. Instead of trying to join ten narrow boards into a perfect freestanding star, you are basically creating a rustic wood mosaic on top of a sturdy star-shaped base.
Step 2: Draw the Star Template on Plywood
Lay your plywood flat on sawhorses or a worktable. Mark a vertical center line from top to bottom. For a five-point star, you can use a protractor to mark the angles. A practical method is to mark 18 degrees on each side of the center line from the top point, then use 36-degree angles to create the lower points and inner valleys.
If geometry was not your favorite subject, do not panic. This is a rustic decor project, not a NASA docking maneuver. You can also print or project a star outline, enlarge it, and trace it onto the plywood. Another simple trick is to draw a large plus-shaped guide, mark five outer points, then connect them lightly until the star looks balanced.
Once you are happy with the shape, darken the final cut lines. Step back and look at the star from a distance. If one point looks like it stayed up too late, adjust it now. It is much easier to fix pencil lines than plywood.
Step 3: Cut Out the Plywood Star
Clamp the plywood securely so the cut area hangs slightly off your work surface. Use a jigsaw for the inner corners and a circular saw for longer straight sections if you prefer. Cut slowly and keep both hands in safe positions. Let the saw do the work; forcing it can lead to rough edges or wandering cuts.
After cutting, lightly sand the plywood edges to remove splinters. This backing will not be the star of the show, but it should still be clean and safe to handle. If the plywood is thin, consider adding small wood blocks or strips to the back later for extra stiffness.
Step 4: Clean and Prepare the Old Fence Boards
Brush dirt and cobwebs from the fence boards. A stiff nylon brush works well. If the boards are very dirty, wipe them with a damp cloth and let them dry completely before cutting. Do not soak old boards unless you have plenty of drying time. Wood movement can cause twisting, cupping, or gaps after assembly.
Sand lightly with 80-grit or 120-grit sandpaper. The goal is not to erase the weathered surface. You want to remove loose splinters while keeping the aged texture. Think “comfortable rustic,” not “brand-new cutting board.” Pay extra attention to edges where people might touch the finished star.
Step 5: Arrange the Fence Boards on the Star
Place the plywood star on the floor or worktable. Lay fence boards over it until the entire star is covered. You can run all boards in one direction for a clean farmhouse look, alternate directions for a patchwork style, or create a diagonal layout for extra movement.
For the most natural look, mix boards with different tones. Place dark gray boards beside lighter tan boards. Rotate pieces so nail holes and knots are spread throughout the design. If one board has a fantastic weathered streak, give it a prime location. Rustic projects are very democratic, but the best-looking board deserves a little celebrity treatment.
Step 6: Trace the Star Shape onto the Boards
When you like the layout, trace the plywood star outline onto the fence boards. Number each board on the back so you can put everything back in the same order after cutting. This small step saves a large amount of frustration. Without numbering, the project can turn into a wooden jigsaw puzzle designed by a mischievous raccoon.
Use a pencil, chalk, or painter’s tape to mark the cut lines. Make sure each board is supported while marking, especially near the star tips. Accuracy matters most at the outer points and inner valleys. Small gaps can look rustic; giant gaps can look like the star had a disagreement with itself.
Step 7: Cut the Fence Boards
Cut each fence board along the traced lines. A miter saw is excellent for straight angled cuts, while a jigsaw works well for awkward angles and small pieces. If the board is narrow, clamp it securely before cutting. Keep your fingers away from the blade path, and never cut a tiny piece that cannot be safely held or clamped.
Dry-fit each piece on the plywood backing after cutting. Trim as needed. Do not aim for machine-perfect seams. A rustic wood star looks better with small irregularities. The goal is a balanced outline and secure coverage, not flawless cabinetmaking.
Step 8: Glue and Fasten the Boards to the Backing
Apply construction adhesive or exterior-rated wood glue to the plywood backing in a zigzag pattern. Press the fence boards into place, following your numbered layout. Work in sections so the adhesive does not skin over before you place the boards.
Clamp larger pieces if needed. For extra strength, add brad nails, screws, or staples from the front or back. If you fasten from the front, choose a finish that blends with the rustic look. Dark brad nail heads usually disappear into weathered wood. If you fasten from the back, make sure your fasteners are short enough that they do not poke through the front and create a surprise acupuncture wall hanging.
Let the adhesive cure according to the product directions. Many construction adhesives need about 24 hours for a strong cure. Do not rush this step. A large wood star has weight, and gravity has never once said, “Take your time, I’ll be gentle.”
Step 9: Sand the Edges and Touch Up the Shape
Once the adhesive has cured, flip the star over and check the outline. If any fence board pieces extend beyond the plywood backing, trim them with a jigsaw or sand them flush. Smooth sharp edges and splinters. Keep the face lightly textured, but make the sides comfortable to handle.
If gaps bother you, fill them with slivers of scrap fence board rather than wood filler. Filler often looks too smooth and new against reclaimed wood. Tiny gaps, however, are usually part of the charm. Rustic decor is wonderfully forgiving. It is the rare design style where “slightly crooked” can be upgraded to “handcrafted personality.”
Step 10: Choose a Finish
You can leave the star raw if it will hang indoors in a dry place. Raw reclaimed wood has a soft, natural look. For outdoor use, or for a porch that gets humidity and sunlight, apply a clear exterior finish. Spar urethane is a popular option because it is made for wood exposed to moisture, sunlight, and temperature changes.
Use a matte or satin finish if you want to preserve the rustic look. Glossy finishes can make old fence boards look a little too shiny, like they got dressed for a gala they did not understand. Apply thin coats, brush with the grain, and seal edges and end grain well. Let each coat dry before adding the next.
Step 11: Add Hanging Hardware
A large rustic wood star can be heavier than it looks. Use strong hanging hardware. A French cleat is one of the best options for a large piece because it spreads the weight across the back. Heavy-duty D-rings with picture wire can also work for indoor display, as long as they are rated for the weight.
If the star will hang outdoors, use exterior-rated screws and hardware. Mount it into studs, solid wood, masonry anchors, or another strong surface. Do not rely on a tiny nail in drywall unless your decorating style includes sudden crashing noises.
Design Ideas for Your Rustic Fence Board Star
Natural Weathered Gray
Keep the original sun-bleached fence board surface and seal it with a clear matte finish. This style works beautifully with farmhouse, coastal, cabin, and modern rustic decor.
Patriotic Red, White, and Blue
Paint sections of the star in muted red, white, and navy. Sand lightly after painting so the weathered texture shows through. This version is perfect for Memorial Day, the Fourth of July, Veterans Day, or year-round Americana decor.
Christmas Star with Subtle Shimmer
Add a light dusting of metallic spray, dry-brushed white paint, or antique gold wax. Keep it subtle. You want “holiday glow,” not “the craft aisle exploded.”
Two-Sided Seasonal Star
If your plywood backing is clean enough, decorate both sides. One side can be Christmas-themed, while the other can be patriotic or neutral. Add removable hanging hardware or a freestanding display stand so you can flip the star with the seasons.
Common Mistakes to Avoid
The first mistake is using unsafe wood. Do not cut boards that may contain hazardous coatings, heavy rot, or unknown chemical contamination without proper precautions. The second mistake is over-sanding. Too much sanding removes the very character that makes reclaimed fence boards special.
Another common mistake is skipping the dry fit. Always arrange and test the pieces before gluing. Once adhesive is spread, the clock starts ticking, and nobody does their best layout work while racing sticky glue. Finally, do not underestimate the weight. Large wood decor needs serious hanging hardware.
Real-World Experience: What This Project Teaches You
Building a large rustic wood star from old fence boards is one of those DIY projects that looks simple on paper and teaches you a dozen useful lessons by the time you are done. The first lesson is that old wood has opinions. New lumber tends to sit politely where you place it. Old fence boards twist, cup, bow, and occasionally behave like they are auditioning for a pirate ship. That does not mean they are unusable. It means you need patience, clamps, and a flexible attitude.
The second lesson is that layout matters more than perfection. When you spread the boards over the star backing, the color pattern can make or break the final look. If all the dark boards sit on one side, the star may feel visually lopsided. If all the knotty boards crowd into one point, that point becomes the main character. A good layout spreads texture evenly, almost like arranging toppings on a pizza. Nobody wants all the pepperoni in one corner.
The third lesson is that rustic does not mean careless. The best rustic projects look relaxed, but they are still built thoughtfully. The points should be sharp enough to read as a star. The boards should be secure. The edges should not attack people with splinters. The finish should protect the wood without smothering the weathered surface. Good rustic decor has balance: rough enough to feel authentic, finished enough to belong in a home.
One practical experience many DIYers discover is that old fence boards cut differently from board to board. Some pieces slice cleanly. Others splinter near the end grain. Painter’s tape over the cut line can reduce tear-out, and using a sharp blade makes a big difference. If a point chips, save the tiny broken piece. Sometimes it can be glued back on. Other times, you simply rotate that board to a less noticeable area and pretend the chip was part of the grand artistic vision.
Another real-life tip: do not finish the star in poor lighting. Weathered wood changes dramatically depending on light. What looks balanced in a dim garage may look patchy in bright daylight. Step outside before gluing everything down. Take a photo with your phone. Photos reveal odd color clusters and crooked lines faster than your eyes do in the moment.
The final lesson is that this project is oddly satisfying. You take boards that once stood in rain, sun, wind, and probably witnessed at least one neighborly argument about property lines, and you turn them into something decorative and lasting. That is the magic of reclaimed wood projects. They are not just cheaper than buying new decor; they feel personal. The finished star carries a story, even if the story includes sawdust in your shoes and one board that refused to cooperate until you introduced it to a clamp.
Conclusion
Learning how to build a large rustic wood star from old fence boards is a rewarding way to turn scrap lumber into standout decor. With a plywood backing, reclaimed fence pickets, safe cutting practices, strong adhesive, and a protective finish, you can create a durable piece that works for holidays, porch styling, farmhouse interiors, or year-round wall art.
The beauty of this DIY rustic wood star is that it does not need to be flawless. The weathered boards provide the personality. Your job is to shape, arrange, fasten, and finish them so the final piece feels intentional. Whether you keep it natural gray, add patriotic paint, or give it a soft holiday shimmer, this project proves that old fence boards still have plenty of star power left.