
Learning how to build a skateboard ramp is one of those DIY projects that sounds mildly dangerous, wildly fun, and suspiciously likely to turn your driveway into the neighborhood’s unofficial skatepark. The good news? A basic skateboard ramp is absolutely buildable if you plan carefully, measure twice, cut once, and resist the temptation to “eyeball it” like a backyard pirate with a circular saw.
This guide focuses on building a beginner-friendly quarter pipe or small backyard skate ramp using common materials such as plywood, 2×4 lumber, exterior screws, steel coping, and a smooth riding surface. The same principles also apply to mini ramps, bank ramps, launch ramps, and small halfpipe projects. You will learn how to choose a ramp design, draw the transition, frame the structure, install plywood layers, add coping, finish the riding surface, and maintain the ramp so it does not turn into a soggy wooden potato after the first rainstorm.
Before you start, check your local building rules, homeowners association guidelines, and property setbacks. Some towns treat larger skateboard ramps like accessory structures, especially if they are over a certain height. A portable ramp is often easier to manage than a permanent one, but local rules vary. Also, wear eye protection, gloves, hearing protection, and a dust mask when cutting wood. Skateboarding already has enough ways to earn bruises; your saw does not need to contribute.
What Type of Skateboard Ramp Should You Build?
The best skateboard ramp for beginners is usually a quarter pipe between 2 and 3 feet tall, about 4 feet wide, with a smooth transition and a stable deck. It gives enough curve to practice pumping, kickturns, rock-to-fakies, axle stalls, and basic coping tricks without feeling like you accidentally built a wooden cliff.
Common DIY Ramp Options
- Quarter pipe: A curved ramp with one transition and a deck at the top. Great for backyard practice.
- Mini ramp: Two quarter pipes facing each other with flat bottom between them. Better for flow, pumping, and lip tricks.
- Bank ramp: A straight angled ramp, easier to build than a curved transition.
- Launch ramp or kicker: A small ramp used to pop tricks, usually portable and compact.
For this step-by-step guide, we will use a practical 3-foot quarter pipe as the main example. It is big enough to be useful but still realistic for a home builder with basic tools.
Materials and Tools You Will Need
The exact material list depends on the ramp size, but the following supplies are common for a small quarter pipe build. Use exterior-grade materials if the ramp will live outdoors.
Basic Materials
- 3/4-inch plywood for the side templates and deck
- 3/8-inch plywood for bendable riding layers
- 2×4 lumber for framing and joists
- Exterior-grade deck screws or galvanized screws
- Steel pipe for coping, commonly around 2 inches outside diameter
- Masonite, hardboard, Skatelite, Ramp Armor, or another ramp surface
- Sheet metal or plastic threshold for the bottom transition
- Wood sealer, exterior paint, or ramp-specific coating
- Tarp for weather protection
Tools
- Tape measure and pencil
- Chalk line or straightedge
- Circular saw
- Jigsaw
- Drill or impact driver
- Countersink bit
- Clamps
- Level
- Safety glasses, gloves, and dust mask
Choose screws instead of nails for most of the build. Screws hold better, are easier to remove if you make a mistake, and are less likely to pop up through the riding surface. A raised nail head on a skate ramp is not a “feature.” It is a tiny metal ankle villain.
Step 1: Plan the Ramp Size and Location
Start by choosing where the ramp will sit. A flat concrete pad, level driveway, garage floor, or compacted outdoor area works well. Avoid placing a wooden ramp directly on wet soil. Moisture under the structure can cause rot, warping, and delamination.
For a backyard quarter pipe, a common beginner size is 3 feet tall, 4 feet wide, and about 6 feet long from the back of the deck to the bottom of the transition. If you are building a mini ramp, include enough flat bottom between the two transitions. Too little flat bottom makes the ramp feel twitchy and fast; too much makes it feel sleepy. Like coffee, ramp geometry is best in the right dose.
Planning Checklist
- Measure your available space, including safe roll-away room.
- Check local rules for height, setbacks, and permits.
- Decide whether the ramp must be movable.
- Plan drainage if the ramp will stay outdoors.
- Keep noise and neighbors in mind.
Step 2: Draw the Transition
The transition is the curved part of the ramp. A smooth transition is what makes a skateboard ramp feel good. A bad transition feels like riding over a confused speed bump.
Lay a sheet of 3/4-inch plywood on a flat surface. To draw the curve, use an 8-foot 2×4 as a giant compass. Drill a pencil-sized hole near one end of the 2×4. Measure your transition radius from that hole, usually around 6 feet for a small 3-foot quarter pipe, and place a screw at that point. Anchor the screw into a scrap board or the edge of your plywood setup, then swing the pencil through the hole to draw a clean arc.
After drawing the curve, mark the top deck area and the notch for the coping. Many builders cut a small notch near the top so the steel pipe can sit securely while still protruding slightly above the riding surface. The coping should be exposed enough to grind and stall on, but not so much that it feels like hitting a curb hidden in the ramp.
Step 3: Cut the Side Templates
Use a jigsaw to cut along your transition line. Work slowly and keep the blade steady. Once the first side is cut, use it as a template to trace the second side. Matching sides are critical. If one side is different from the other, the ramp may twist, and your skateboard will know. Skateboards are excellent at detecting lazy carpentry.
After both sides are cut, sand rough edges and test the shape visually. The curve should look smooth from bottom to top. This is the skeleton of your ramp, so take your time here.
Step 4: Frame the Ramp with 2x4s
Stand the two side pieces parallel to each other at the desired width, usually 4 feet. Connect them with 2x4s across the ramp. The 2×4 supports should run horizontally from side to side and follow the curve of the transition. Space them close enough to support the plywood, commonly around 8 inches on center for strong backyard ramps.
Use longer screws for framing connections, and pre-drill near board ends if the wood wants to split. Keep checking that the frame stays square. Measure diagonally from corner to corner; if both diagonal measurements match, the ramp is square. If they do not, adjust before adding the surface layers.
Framing Tips
- Use straight lumber whenever possible.
- Place extra support where plywood seams will land.
- Keep the bottom edge flush so the ramp sits evenly.
- Do not leave large unsupported gaps under the riding surface.
Step 5: Build the Deck Platform
The deck is the flat platform at the top of the quarter pipe. It gives you a place to stand, drop in, and prepare for tricks. Frame the deck with 2×4 supports and cover it with 3/4-inch plywood. For a small ramp, a deck depth of 2 feet is workable, while a deeper deck feels more comfortable and less like balancing on a bookshelf.
If the ramp is taller than 2 or 3 feet, consider adding a guardrail behind the deck, especially if younger skaters will use it. A simple rail can prevent accidental backward steps. It should be strong, smooth, and placed far enough back that it does not interfere with riding.
Step 6: Install the Coping
Coping is the steel pipe at the lip of the ramp. It is what makes stalls, grinds, and lip tricks possible. Black steel pipe is a common choice because it is strong and has the right feel under trucks.
Cut the pipe to match the ramp width. Drill holes through the pipe so you can fasten it into the frame. A common method is to drill a larger access hole on the outside of the pipe and a smaller screw hole through the inside wall. This allows the screw head to pass through the outer hole and bite into the wood through the inner hole.
Install the coping into the notch at the top of the transition. It should sit straight from side to side and protrude slightly above the riding surface. Many skaters like around 3/8 inch of exposure, though personal preference varies. Too little coping makes tricks feel mushy; too much makes dropping in feel spicy in a bad way.
Step 7: Add the First Plywood Layer
Now comes the satisfying part: covering the frame. Use 3/8-inch plywood for the curved riding surface because it bends more easily than thicker plywood. Position the plywood so the grain helps it bend across the curve. Start at the top near the coping and work downward, fastening the sheet into the 2×4 supports.
Use screws about every 8 to 12 inches along the supports. Make sure each screw hits framing, not just empty plywood. A chalk line across the sheet can help you follow the hidden joists. If the plywood resists bending, do not force it with one heroic screw. Instead, work gradually from one side to the other and from top to bottom.
Step 8: Add the Second Plywood Layer
A second layer of 3/8-inch plywood makes the ramp stronger, smoother, and less bouncy. Stagger the seams so they do not land directly over the seams from the first layer. This improves strength and reduces weak spots.
Fasten the second layer securely into the framing. Countersink the screw heads slightly so they do not stick up. Raised screws are not just annoying; they can catch wheels, damage decks, and turn a normal fall into a dramatic backyard theater production.
Step 9: Install the Final Riding Surface
The final surface determines how fast, smooth, and weather-resistant your skateboard ramp will be. Masonite or hardboard is inexpensive and smooth, but it does not love rain. If your ramp is outdoors, a premium ramp surface such as Skatelite or another phenolic/composite material lasts longer and handles weather better. If your budget says “masonite,” protect it carefully with sealer and a tarp.
Lay the final surface over the plywood layers. Stagger seams when possible and avoid lining up every joint in one place. Drill pilot holes, countersink the screws, and keep screw heads flush with the surface. On the final layer, closer screw spacing helps prevent lifting and vibration.
Step 10: Add the Bottom Threshold
The bottom of the ramp needs a smooth connection to the ground. Without a threshold, wheels can catch where the ramp meets concrete or pavement. Use thin sheet metal, a steel plate, or durable plastic to create a clean roll-on edge.
Drill holes in the threshold, countersink them, and screw the plate down so the heads are flush. Test it by rolling a skateboard slowly onto the ramp. If the wheels bump hard or catch, adjust the plate before anyone skates at speed.
Step 11: Seal and Weatherproof the Ramp
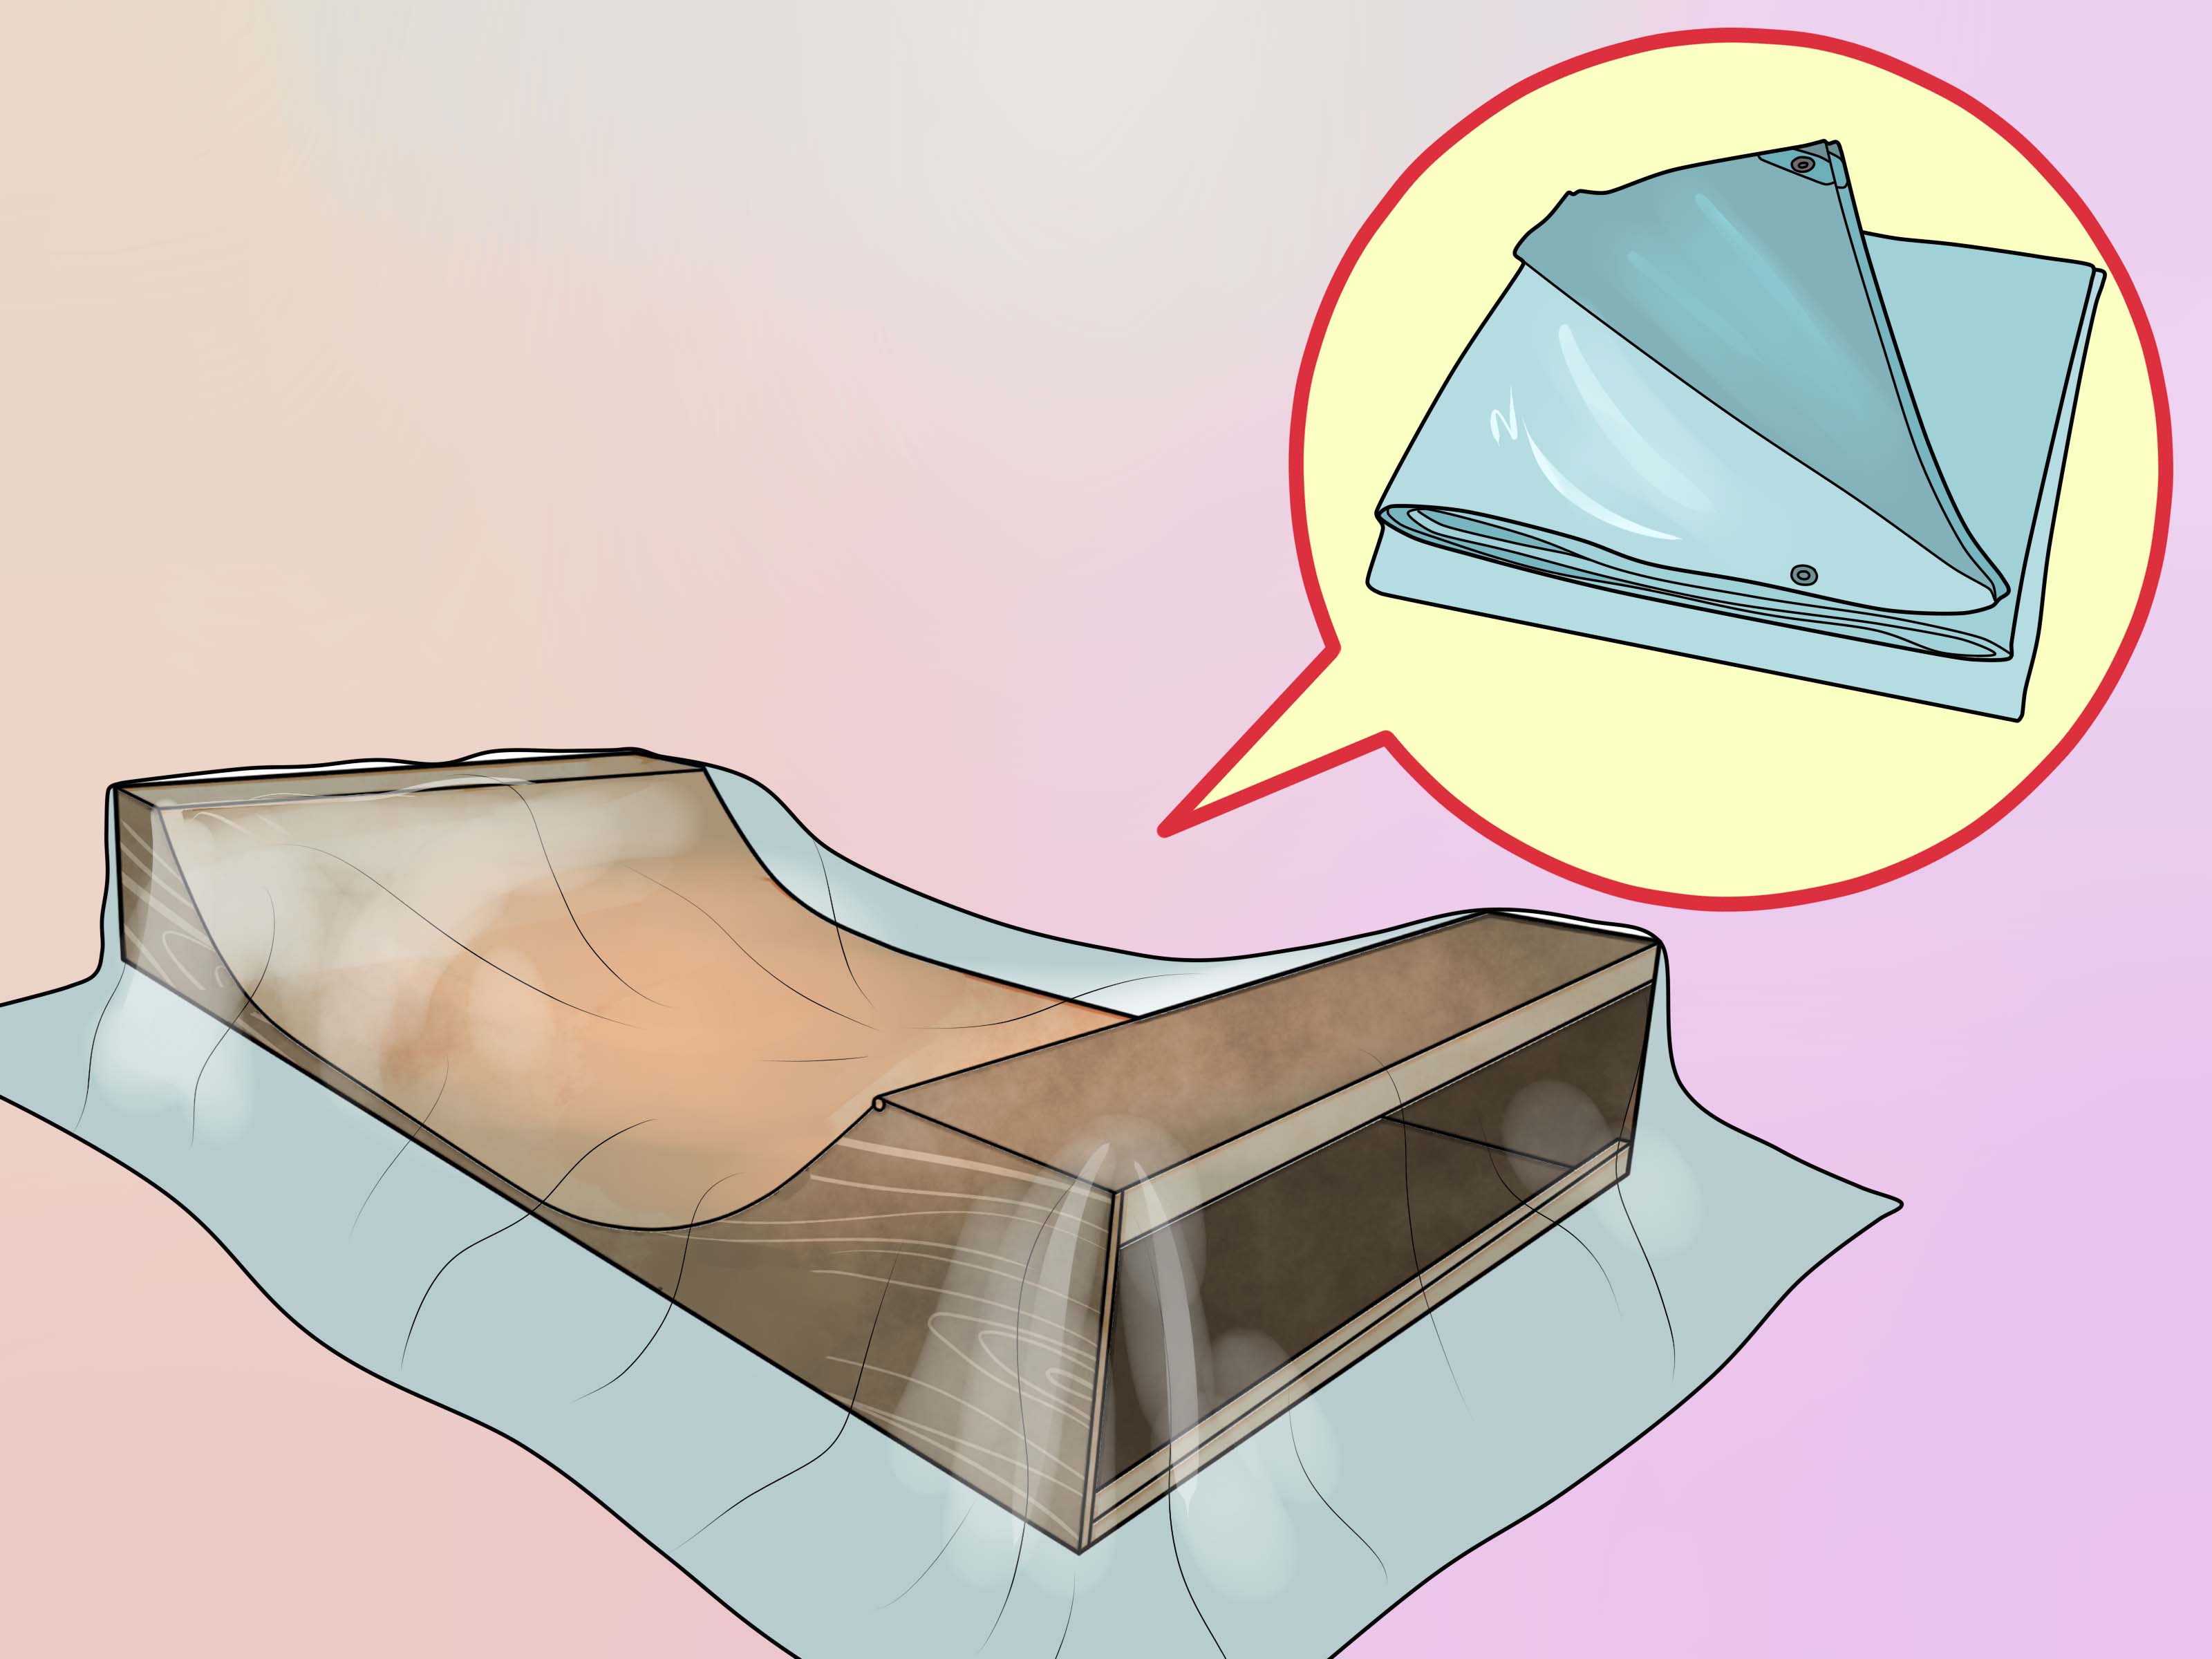
Outdoor skateboard ramps need protection from water. Seal exposed plywood edges, screw holes, and cut ends. Apply exterior paint, spar urethane, deck coating, or ramp-specific sealant depending on your surface choice. Cover the ramp with a heavy tarp during rain or snow, and lift the tarp occasionally so trapped moisture can escape.
If possible, raise the ramp slightly on blocks or skids to keep the frame from sitting in water. Good airflow under the ramp helps the wood dry faster. Standing water is one of the biggest enemies of a backyard ramp, right behind poor measurements and the friend who says, “Trust me, I can clear that.”
Step 12: Inspect Before You Skate
Before the first session, inspect everything. Push on the frame. Walk across the deck. Roll slowly over the transition. Check for wobble, sharp edges, proud screws, gaps, splinters, and loose coping. A ramp should feel solid, not like it is negotiating with gravity.
Pre-Skate Safety Check
- All screws are tight and flush.
- The coping is secure and even.
- The surface has no bumps, cracks, or lifted seams.
- The ramp does not rock or shift.
- The landing area is clear.
- Skaters wear helmets and pads, especially beginners.
Common Skateboard Ramp Building Mistakes
Using Too Little Support
If the 2x4s are spaced too far apart, the riding surface can flex, crack, or feel dead. Close spacing makes the ramp stronger and more predictable.
Forgetting to Stagger Seams
Stacked plywood seams create weak lines. Stagger layers so the surface behaves like one strong shell.
Ignoring Weather
Indoor materials do not magically become outdoor materials because you asked nicely. If the ramp lives outside, use exterior screws, seal the wood, protect the surface, and cover it.
Leaving Screw Heads High
Every screw head should be flush or slightly countersunk. A smooth ramp is safer, faster, and more fun.
Maintenance Tips for a Longer-Lasting Ramp
Inspect your ramp weekly if it gets heavy use. Tighten loose screws, replace damaged sheets, and sand rough spots. After storms, remove the tarp, let the ramp breathe, and check for water pooling. Reapply protective coating as needed, especially before wet seasons.
If the ramp becomes soft, swollen, or delaminated, replace the damaged section. Do not skate rotten plywood. It may look solid from above, but the first hard landing can reveal its true personality: betrayal.
Final Thoughts: Build Smart, Skate Smarter
Building a skateboard ramp is part carpentry, part geometry, and part commitment to having more fun in your driveway than most adults are emotionally prepared for. The best ramp is not always the biggest one. It is the one that fits your space, matches your skill level, stays solid under your feet, and survives more than one weather forecast.
Start with a simple design, use strong materials, measure carefully, and pay attention to the small details: smooth transitions, secure coping, flush screws, sealed edges, and a stable base. Once the ramp is finished, progress gradually. Learn how the transition feels, practice basic movements, and keep safety gear nearby. A well-built ramp can give you years of sessions, laughs, slams, victories, and the occasional neighbor staring over the fence wondering when you became a carpenter with kickturns.
Builder’s Field Notes: Real-World Experience From Making a Backyard Skate Ramp
The first thing you learn when building a skateboard ramp is that wood has opinions. Plywood bends, but only when it feels respected. A 3/8-inch sheet will usually curve nicely over a quarter pipe frame, yet it still needs patient fastening. The easiest method is to start near the coping, secure the top edge, then work down the transition slowly. When people rush this step, the plywood can bubble between supports or pull screws sideways. That tiny bump may not look dramatic, but wheels will find it every single time.
The second lesson is that a ramp feels only as good as its frame. A beautiful surface over weak framing is like putting fresh grip tape on a soggy cracker. Use straight lumber, keep your 2×4 spacing consistent, and add extra blocking under seams. When a ramp feels loud, hollow, or bouncy, the problem is often underneath the surface, not on top of it. Spending another hour reinforcing the frame can make the ramp ride quieter and last longer.
Coping placement is another detail that separates a fun ramp from a frustrating one. If the coping is buried too deep, stalls feel sticky and grinds do not lock in properly. If it sticks out too far, dropping in feels harsh. A small adjustment with shims can completely change how the ramp rides. Before permanently closing everything up, stand on the deck, look down the pipe, and make sure the coping is straight. Crooked coping is not charming. It is just geometry being rude.
Weatherproofing also matters more than most first-time builders expect. The ramp may look invincible on day one, but rain can sneak into exposed plywood edges, screw holes, and seams. Once water gets inside, layers can swell and separate. Seal cut edges before final assembly when possible, then coat the finished ramp. If you use Masonite outdoors, treat it like a house cat: it may enjoy the outside briefly, but it should not be abandoned in the rain.
Finally, test the ramp slowly. Do not make the first ride a full-speed hero moment for social media. Roll up the transition, kickturn, check the threshold, and listen for movement. Tighten screws after the first few sessions because wood can settle. A backyard ramp becomes better when you maintain it, adjust it, and learn its personality. Build carefully, skate patiently, and your ramp will become more than a project. It becomes the place where tricks finally click.