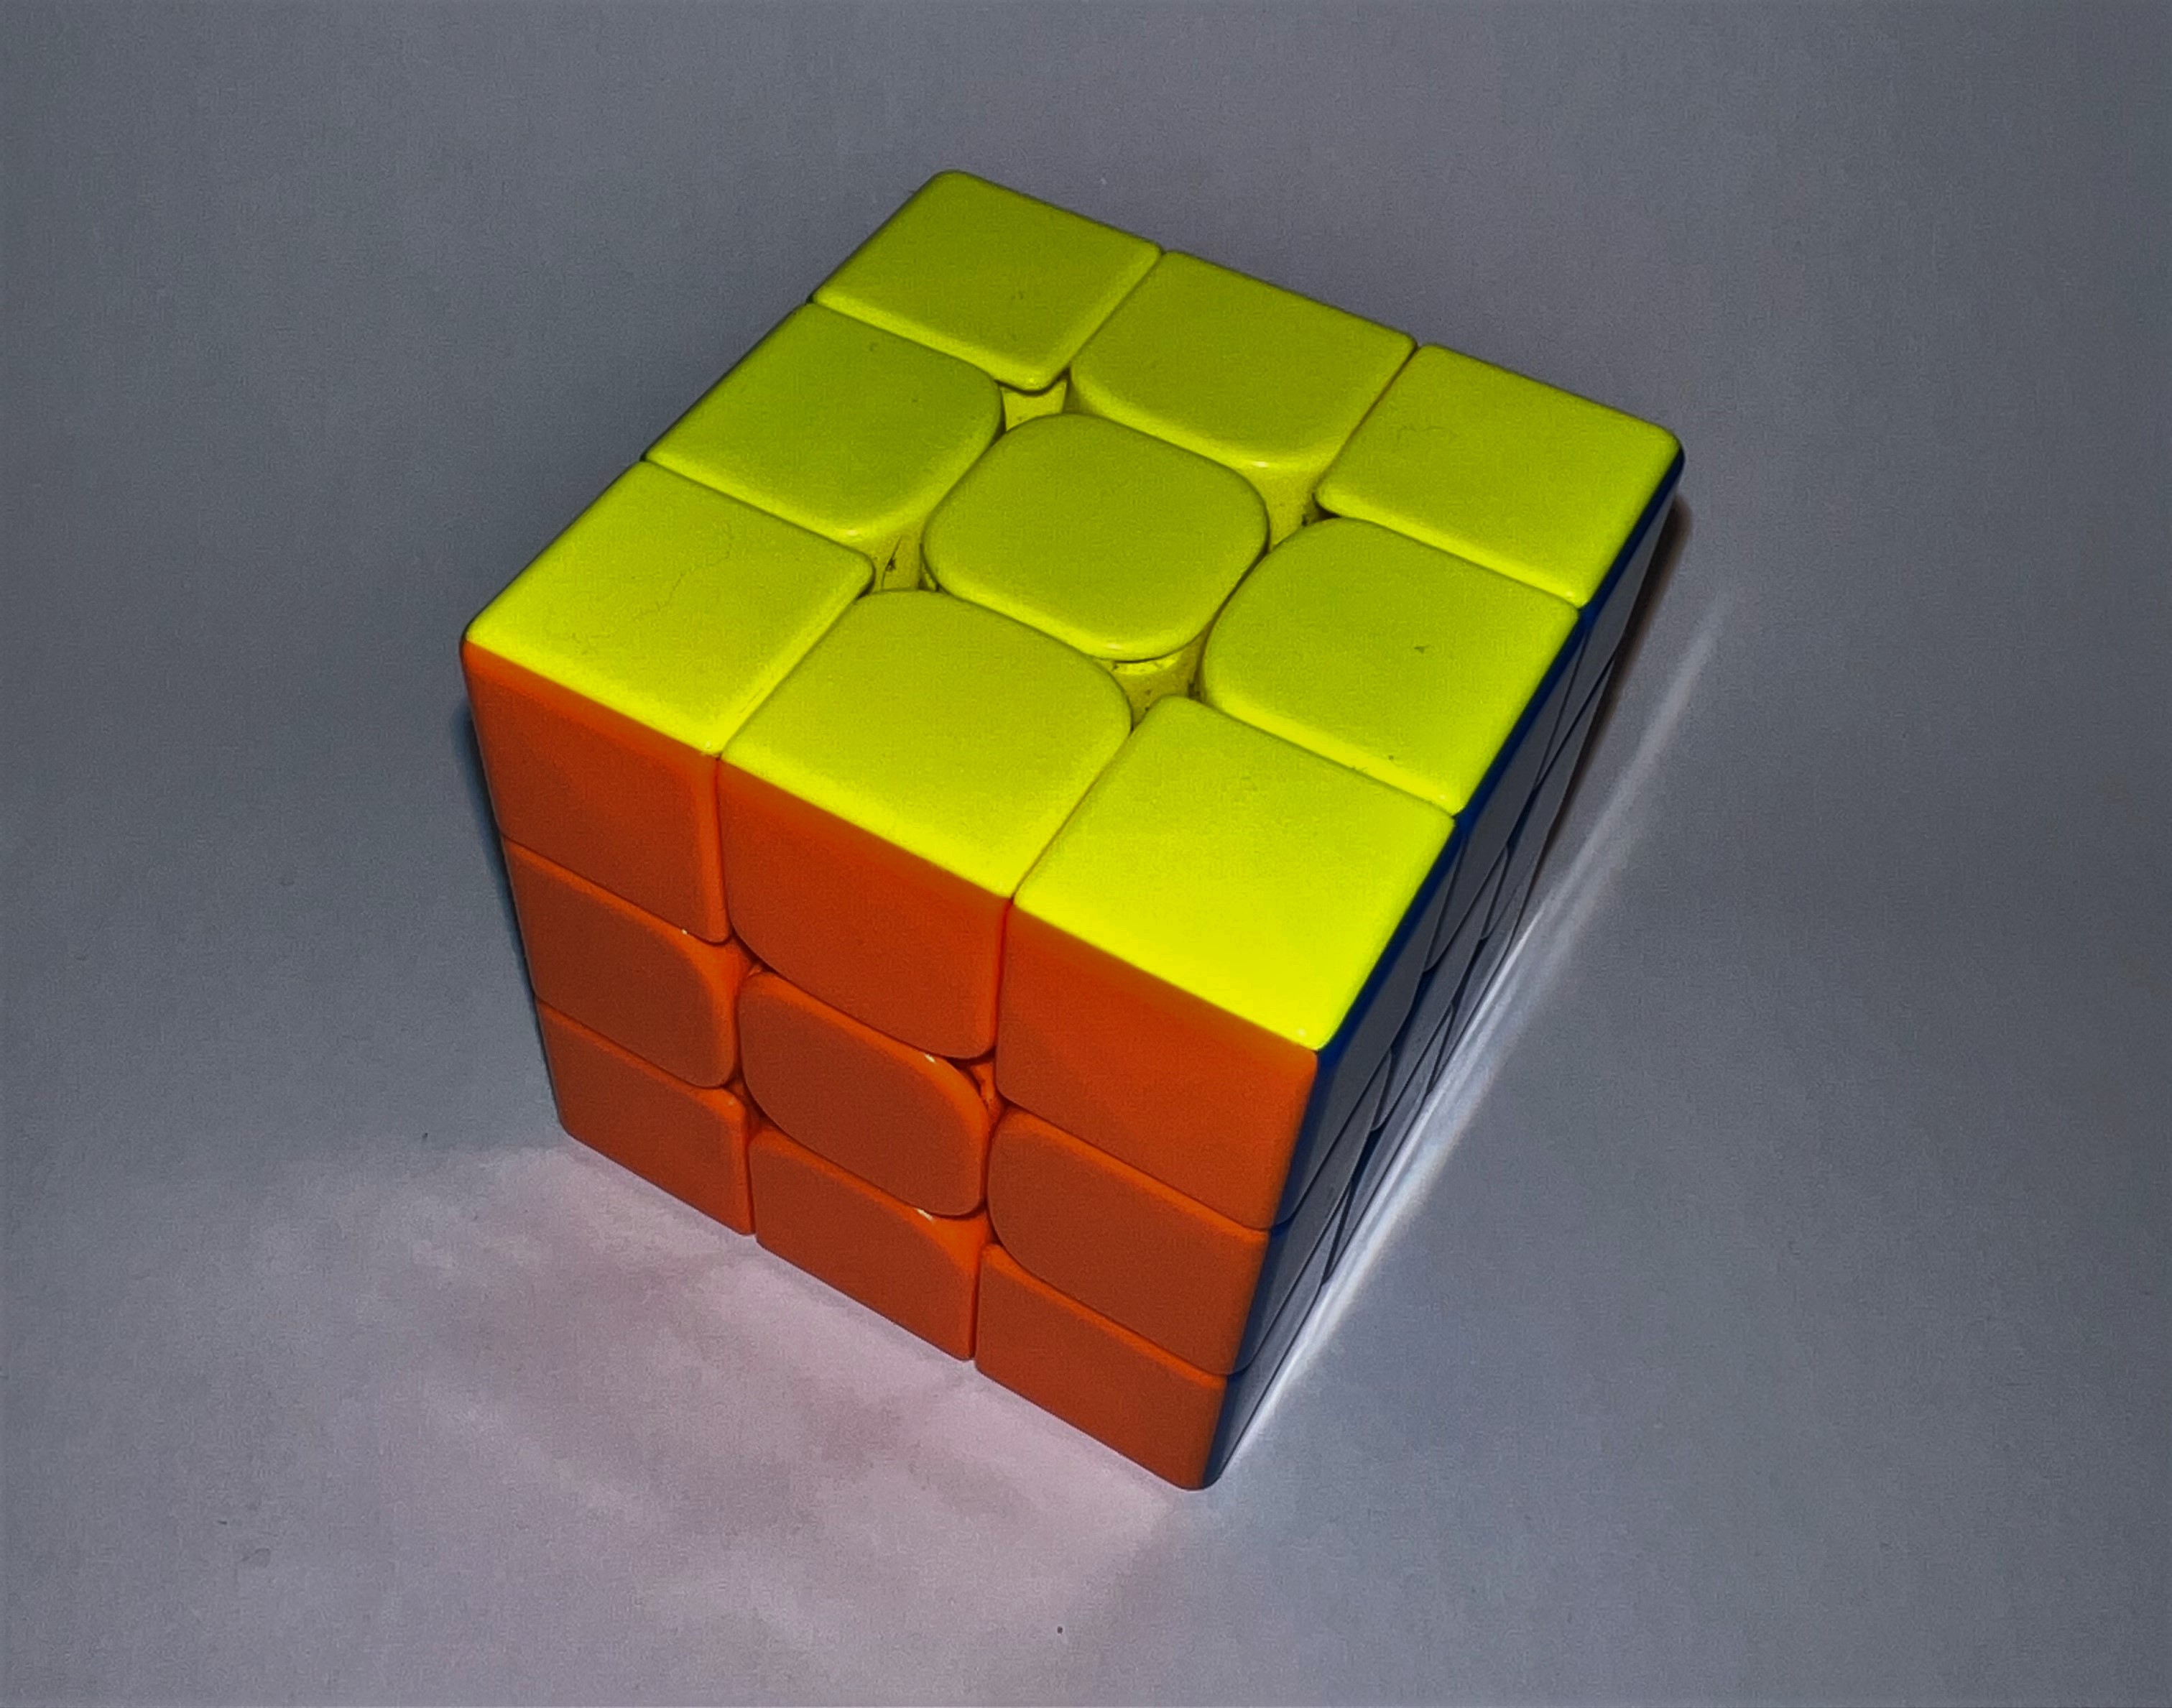

A popped Rubik’s Cube looks dramatic. One second you are confidently turning the top layer like a future world champion, and the next second an edge piece launches across the room like it has resigned from puzzle duty. The good news is simple: a popped cube is usually not broken. Most of the time, it is just loose, dry, turned too aggressively, or briefly pushed past what its mechanism can handle.
This guide explains how to fix a popped Rubik’s Cube safely, whether one edge came out, a corner escaped, or several pieces decided to hold a tiny plastic protest. You will learn how to identify the piece, reinsert it correctly, check whether the cube is still solvable, and prevent future pops with better tension, lubrication, and turning habits.
The instructions below are written for a standard 3×3 Rubik’s Cube or modern 3×3 speed cube. The same ideas apply to many twisty puzzles, but big cubes such as 4×4, 5×5, and 6×6 have more complicated internal pieces, so they require extra patience and fewer superhero moves.
Why Rubik’s Cubes Pop in the First Place
A cube “pop” happens when one or more pieces come out of the mechanism during a turn. On a 3×3 cube, the main removable pieces are edges and corners. Centers are usually attached to the internal core, often by screws, springs, rivets, or another tension system. Edge pieces have two colored stickers or tiles, while corner pieces have three.
Common causes include loose tension, uneven tension, rough turning, dry plastic contact points, overly aggressive corner cutting, worn pieces, or a low-quality cube mechanism. Modern speed cubes are designed to turn quickly and cut corners, but even a good cube has limits. If you try to force a turn while another layer is misaligned, the cube may politely disagree by throwing a piece at your desk.
How to Fix a Popped Rubik’s Cube: 8 Steps
Step 1: Stop Turning and Collect Every Piece
As soon as a piece pops out, stop turning the cube. Do not keep solving, do not shake it, and definitely do not slap it back together in panic. More movement can shift nearby pieces and make a small repair more annoying than it needs to be.
Pick up the popped piece and check whether it is an edge, corner, or center cap. An edge has two colors. A corner has three colors. A center cap has one color and usually snaps onto a fixed center piece. If more than one piece came out, place them on the table with their colored sides facing up so you can see what you are working with.
This is also the moment to check under your chair. Rubik’s Cube pieces have a mysterious talent for hiding exactly where your foot wants to step next.
Step 2: Inspect the Piece and the Cube Mechanism
Before reinserting anything, inspect the popped piece. Look for cracked plastic, bent tabs, missing tiles, loose magnets, or a broken stem. Then inspect the gap in the cube where the piece came from. If you see dirt, hair, dust, or plastic shavings, remove them gently with a dry cloth or soft brush.
If the piece is cracked, forcing it back into place may make the damage worse. A small stress mark is usually fine, but a broken foot or torn internal tab can cause repeated popping. In that case, the best fix may be replacing the piece or retiring the cube from high-speed solves. Every cube deserves dignity, even the crunchy old one in the drawer.
Step 3: Turn the Top Layer 45 Degrees to Create Space
For most 3×3 cubes, the easiest way to reinsert a popped piece is to turn the top layer about 45 degrees. This creates a wider opening between the surrounding pieces. You are not trying to solve anything yet; you are simply making a doorway for the escaped piece to return home.
If your cube is adjustable and the gap still feels too tight, loosen the nearest center screw slightly. A quarter turn is usually enough. Do not remove the screw unless you are fully disassembling the cube. If your cube has a modern spring compression or magnetic adjustment system, use the smallest change possible. The goal is to create enough flexibility for repair, not to turn the cube into a plastic maraca.
Step 4: Reinsert an Edge Piece First
If an edge popped out, hold it so the two colors match the two adjacent center colors where it belongs. For example, a red-blue edge must sit between the red center and blue center. Slide one side of the edge under a neighboring corner, then press the other side gently into the gap.
Use steady pressure rather than a sudden snap. The internal foot of the edge needs to tuck beneath the surrounding pieces. If it will not go in, rotate the nearby layer a little more and try again. Never jam the piece straight down with full force. That is how tabs crack, springs bend, and your cube starts making noises usually associated with breakfast cereal.
Step 5: Reinsert a Corner Piece at an Angle
If a corner popped out, match its three colors to the three centers around its slot. Corners must go into the correct corner position because each corner has a unique color combination. Place one side of the corner into the gap first, angle the piece slightly, and then press it down and inward until it seats properly.
The corner may need a tiny twist as it goes in, but do not twist it randomly once it is installed. A single twisted corner can make an otherwise normal cube impossible to solve using legal moves. If you accidentally twist a corner while repairing, correct it immediately by turning it back to the orientation that matches the surrounding colors.
Step 6: Rebuild Carefully if Several Pieces Popped Out
If several pieces came out, treat the repair like a small reassembly. Start by identifying the fixed center colors. On a standard cube color scheme, each face color is determined by its center, and opposite center colors remain fixed. Build around those centers by placing edges between matching centers and corners where all three colors meet.
A practical method is to restore one layer first. Insert the four edges around one center, then the four corners of that layer. Next, insert middle-layer edges from above. Finally, complete the last layer by sliding in corners and edges gently while turning a nearby face slightly to create room.
Whenever possible, rebuild the cube in a solved or nearly solved state. Randomly inserting pieces may look fine at first, but it can create an impossible cube. That means you could spend twenty minutes solving only to discover the puzzle is mathematically grinning at you.
Step 7: Check Whether the Cube Is Solvable
After the piece is back in place, turn each face slowly. If everything moves freely, try solving the cube. If the cube reaches an impossible-looking state, the repair may have placed or oriented a piece incorrectly.
Common signs of an unsolvable assembly include one flipped edge, one twisted corner, or two pieces swapped. A normal 3×3 cannot reach those states through regular turning alone. To fix this, remove the incorrect piece or pieces and place them back in the correct orientation. If you are not sure, assemble the cube into a fully solved state: each face one color, each edge between matching centers, and each corner matching all three adjacent center colors.
This is not cheating when the cube physically popped. You are restoring the puzzle to a legal mechanical state. The cube broke the normal rules first; you are just being the responsible adult in the room.
Step 8: Adjust Tension, Lubricate, and Test the Cube
Once the cube is repaired, test all six faces with slow turns. If the cube feels too loose, tighten each adjustable center evenly. Turn each screw by the same small amount, such as one quarter turn, then test again. Uneven tension can make one side feel stable while another side keeps popping.
If the cube feels dry, scratchy, or catchy, apply a small amount of cube-safe lubricant to the internal contact points. Use lubricant made for speed cubes, not cooking oil, petroleum jelly, or random garage chemicals. Household oils can attract dirt, soften plastic, or make the cube feel gummy. Start with one or two drops, turn the cube for a minute, and add more only if needed.
Finally, practice smoother turning. Accurate turning reduces stress on the mechanism. Speed comes from control first, chaos second, and preferably not from launching an edge piece into your coffee.
Quick Troubleshooting Guide
The Piece Will Not Fit Back In
Turn the top layer 45 degrees, loosen tension slightly if your cube allows it, and insert the piece at an angle. Do not force it straight in.
The Cube Pops Again Immediately
The tension may be too loose, uneven, or the piece may be damaged. Tighten the cube evenly and inspect the internal feet of the popped piece.
The Cube Feels Slow After Repair
You may have tightened it too much or added too much lubricant. Loosen the screws slightly and break in the lube with gentle turns.
The Cube Cannot Be Solved After Repair
A piece was likely inserted in an impossible position or orientation. Check for a flipped edge, twisted corner, or swapped pieces, then reassemble that section correctly.
How to Prevent Rubik’s Cube Pops
The best repair is the one you do not have to make again. Keep your cube clean, tensioned evenly, and lightly lubricated. Avoid forcing turns when layers are badly misaligned. If you are learning speed solving, slow down for a week and focus on accurate finger tricks. Your times may temporarily look less exciting, but your cube will stop trying to escape.
Also remember that different cubes are built differently. A classic Rubik’s brand cube may not offer the same tension control as a modern speed cube. A premium speed cube may have adjustable magnets, spring compression settings, and flexible corner-cutting, but it still needs sensible setup. Loose settings can feel fast, but if the cube pops every other solve, it is not fast; it is just dramatic.
Personal Experience: What Fixing a Popped Cube Teaches You
The first time a Rubik’s Cube pops, it feels like a disaster. The cube is in your hands, one piece is on the floor, and your brain immediately announces, “Well, we broke mathematics.” In reality, fixing a popped cube is one of the best ways to understand how the puzzle works. You stop seeing it as a mysterious block and start seeing it as a clever mechanical system built from centers, edges, corners, tension, and alignment.
In my experience, beginners usually make two mistakes. The first is forcing the piece back in without checking where it belongs. That can create an impossible cube, especially if a corner goes in twisted or an edge is flipped. The second mistake is tightening the cube too much afterward. A cube that never pops but turns like a locked safe is not much fun either. The sweet spot is balance: tight enough to stay together, loose enough to move smoothly.
A useful habit is to repair slowly and test often. Insert the piece, turn each face gently, and listen to the cube. A healthy cube has a smooth, consistent feel. A problem cube clicks, catches, grinds, or feels loose on one side and stiff on another. Those tiny clues tell you whether the issue is tension, dirt, dryness, or a damaged piece.
Another lesson is that smooth turning beats wild turning. Many cubers blame the puzzle when the real problem is aggressive corner cutting. Modern cubes forgive a lot, but they are not magic. If you constantly start the next turn before finishing the previous one, the pieces twist against each other under stress. Sooner or later, something pops. Slowing down slightly can actually make you faster because your turns become cleaner and your pauses shrink.
Fixing a popped cube also builds confidence. Once you know how to reinsert an edge or corner, the fear disappears. You can clean your cube, adjust it, lubricate it, and maintain it instead of treating it like a sealed artifact from an ancient puzzle temple. That confidence matters, especially for kids, beginners, and anyone learning speedcubing. A pop is not the end of the cube. It is a small maintenance moment, a mechanical hiccup, and occasionally a reminder to stop turning like you are trying to start a lawn mower.
The best advice is simple: stay calm, identify the piece, create space, insert gently, check solvability, and tune the cube afterward. Do that, and your Rubik’s Cube will be back in action quickly. It may even forgive you.
Conclusion
Learning how to fix a popped Rubik’s Cube is easier than it looks. Most pops happen because of loose tension, rough turning, dry contact points, or an overworked mechanism. By identifying the piece, inserting it at the right angle, checking the cube’s solvability, and adjusting tension afterward, you can repair a 3×3 cube without panic or damage.
The next time an edge or corner pops out, do not declare the cube dead. Give it a careful inspection, a gentle repair, and maybe a tiny pep talk. With the right technique, your cube can go from “plastic explosion” back to “satisfying clicky puzzle” in just a few minutes.
Note: This guide is intended for standard 3×3 Rubik’s Cubes and common 3×3 speed cubes. If a part is cracked, broken, or repeatedly popping after proper tension adjustment, replacement parts or a new cube may be the safer long-term fix.