
A wobbling ceiling fan can make an otherwise peaceful room feel as though a small helicopter is preparing to land above the sofa. The shaking may be subtle at first, but it can progress into rattling, clicking, uneven rotation, and an understandable reluctance to stand directly underneath the fan.
Fortunately, most ceiling fan wobble problems are caused by ordinary issues such as uneven dust buildup, loose screws, misaligned blades, a poorly seated downrod, or minor differences in blade weight. Many of these problems can be diagnosed with a screwdriver, a tape measure, and a little patience.
This step-by-step guide explains how to fix a wobbling ceiling fan safely, starting with the simplest solutions and working toward blade balancing and professional repair. Do not skip the early steps. A balancing weight cannot repair a loose mounting bracket any more than a decorative pillow can repair a broken couch leg.
Why Is My Ceiling Fan Wobbling?
A ceiling fan stays stable when its mounting hardware is secure and every blade travels through the same level path with approximately equal weight. When one part becomes loose, bent, dirty, or misaligned, the rotating assembly pulls unevenly and the fan begins to shake.
Common causes of ceiling fan wobble
- Uneven dust or greasy residue on the fan blades
- Loose blade screws or blade-arm fasteners
- A loose canopy, mounting bracket, or downrod connection
- A hanger ball that is not seated correctly in its bracket
- Warped, cracked, drooping, or mismatched blades
- Bent or damaged blade holders
- An electrical box that is loose or not rated for ceiling-fan support
- Small weight differences between otherwise undamaged blades
- Loose light shades, bulbs, pull chains, or decorative components
A tiny amount of movement may be visible on some fans, especially at higher speeds. Pronounced side-to-side movement, repeated knocking, a moving canopy, or a fan that appears to tug at the ceiling should be investigated immediately.
What You Will Need
- A stable step ladder tall enough for comfortable access
- Phillips and flathead screwdrivers
- An adjustable wrench or nut driver, if required by the fan
- A microfiber cloth or old pillowcase
- Mild dish soap and water
- A tape measure or rigid ruler
- Painter’s tape and a pencil
- A noncontact voltage tester
- A ceiling fan balancing kit
- The fan manufacturer’s installation manual, when available
Use the correct screwdriver size for each fastener. A driver that is too small can strip the screw head, turning a five-minute repair into an afternoon of creative vocabulary.
Safety First: Turn Off the Power
Switch the fan off and wait for the blades to stop completely. For cleaning alone, the wall switch may be sufficient, provided nobody can accidentally turn it on. For any work involving the canopy, mounting bracket, wiring area, or downrod connection, turn off the circuit at the breaker panel.
Confirm that the power is off with a noncontact voltage tester before approaching exposed wiring. Keep the floor dry, use a stable ladder, and ask another adult to steady the ladder when practical. Never stand on a rolling chair, folding table, stack of books, or any other structure invented during a moment of misplaced confidence.
Stop and contact a licensed electrician if you find burned wiring, melted connectors, sparking, a scorched smell, a damaged ceiling box, or movement where the electrical box meets the ceiling structure.
How to Fix a Wobbling Ceiling Fan Step by Step
Step 1: Observe the wobble before touching anything
Run the fan briefly at low, medium, and high speed while remaining safely on the floor. Note when the wobble is strongest and whether it is accompanied by clicking, scraping, humming, or rattling.
Watch the canopy near the ceiling, the downrod, the motor housing, and the blade tips. If the canopy or ceiling box moves with the fan, turn the unit off and do not continue operating it. That pattern suggests a mounting problem rather than a simple blade imbalance.
Step 2: Clean every blade thoroughly
Turn off the fan and clean both sides of every blade. An old pillowcase works well: slide it over a blade, press lightly, and pull it back so the dust remains inside instead of holding a convention on the floor.
For greasy kitchen residue, use a barely damp microfiber cloth with a small amount of mild dish soap. Avoid soaking wood, fiberboard, or veneer blades. Dry every blade completely before testing the fan because uneven moisture can temporarily create another imbalance.
Clean the blade arms and motor housing as well, but do not push debris into ventilation openings. Once the blades are dry, test the fan. Sometimes the “major mechanical failure” was simply three years of dust sitting heavily on one side.
Step 3: Tighten the blade screws
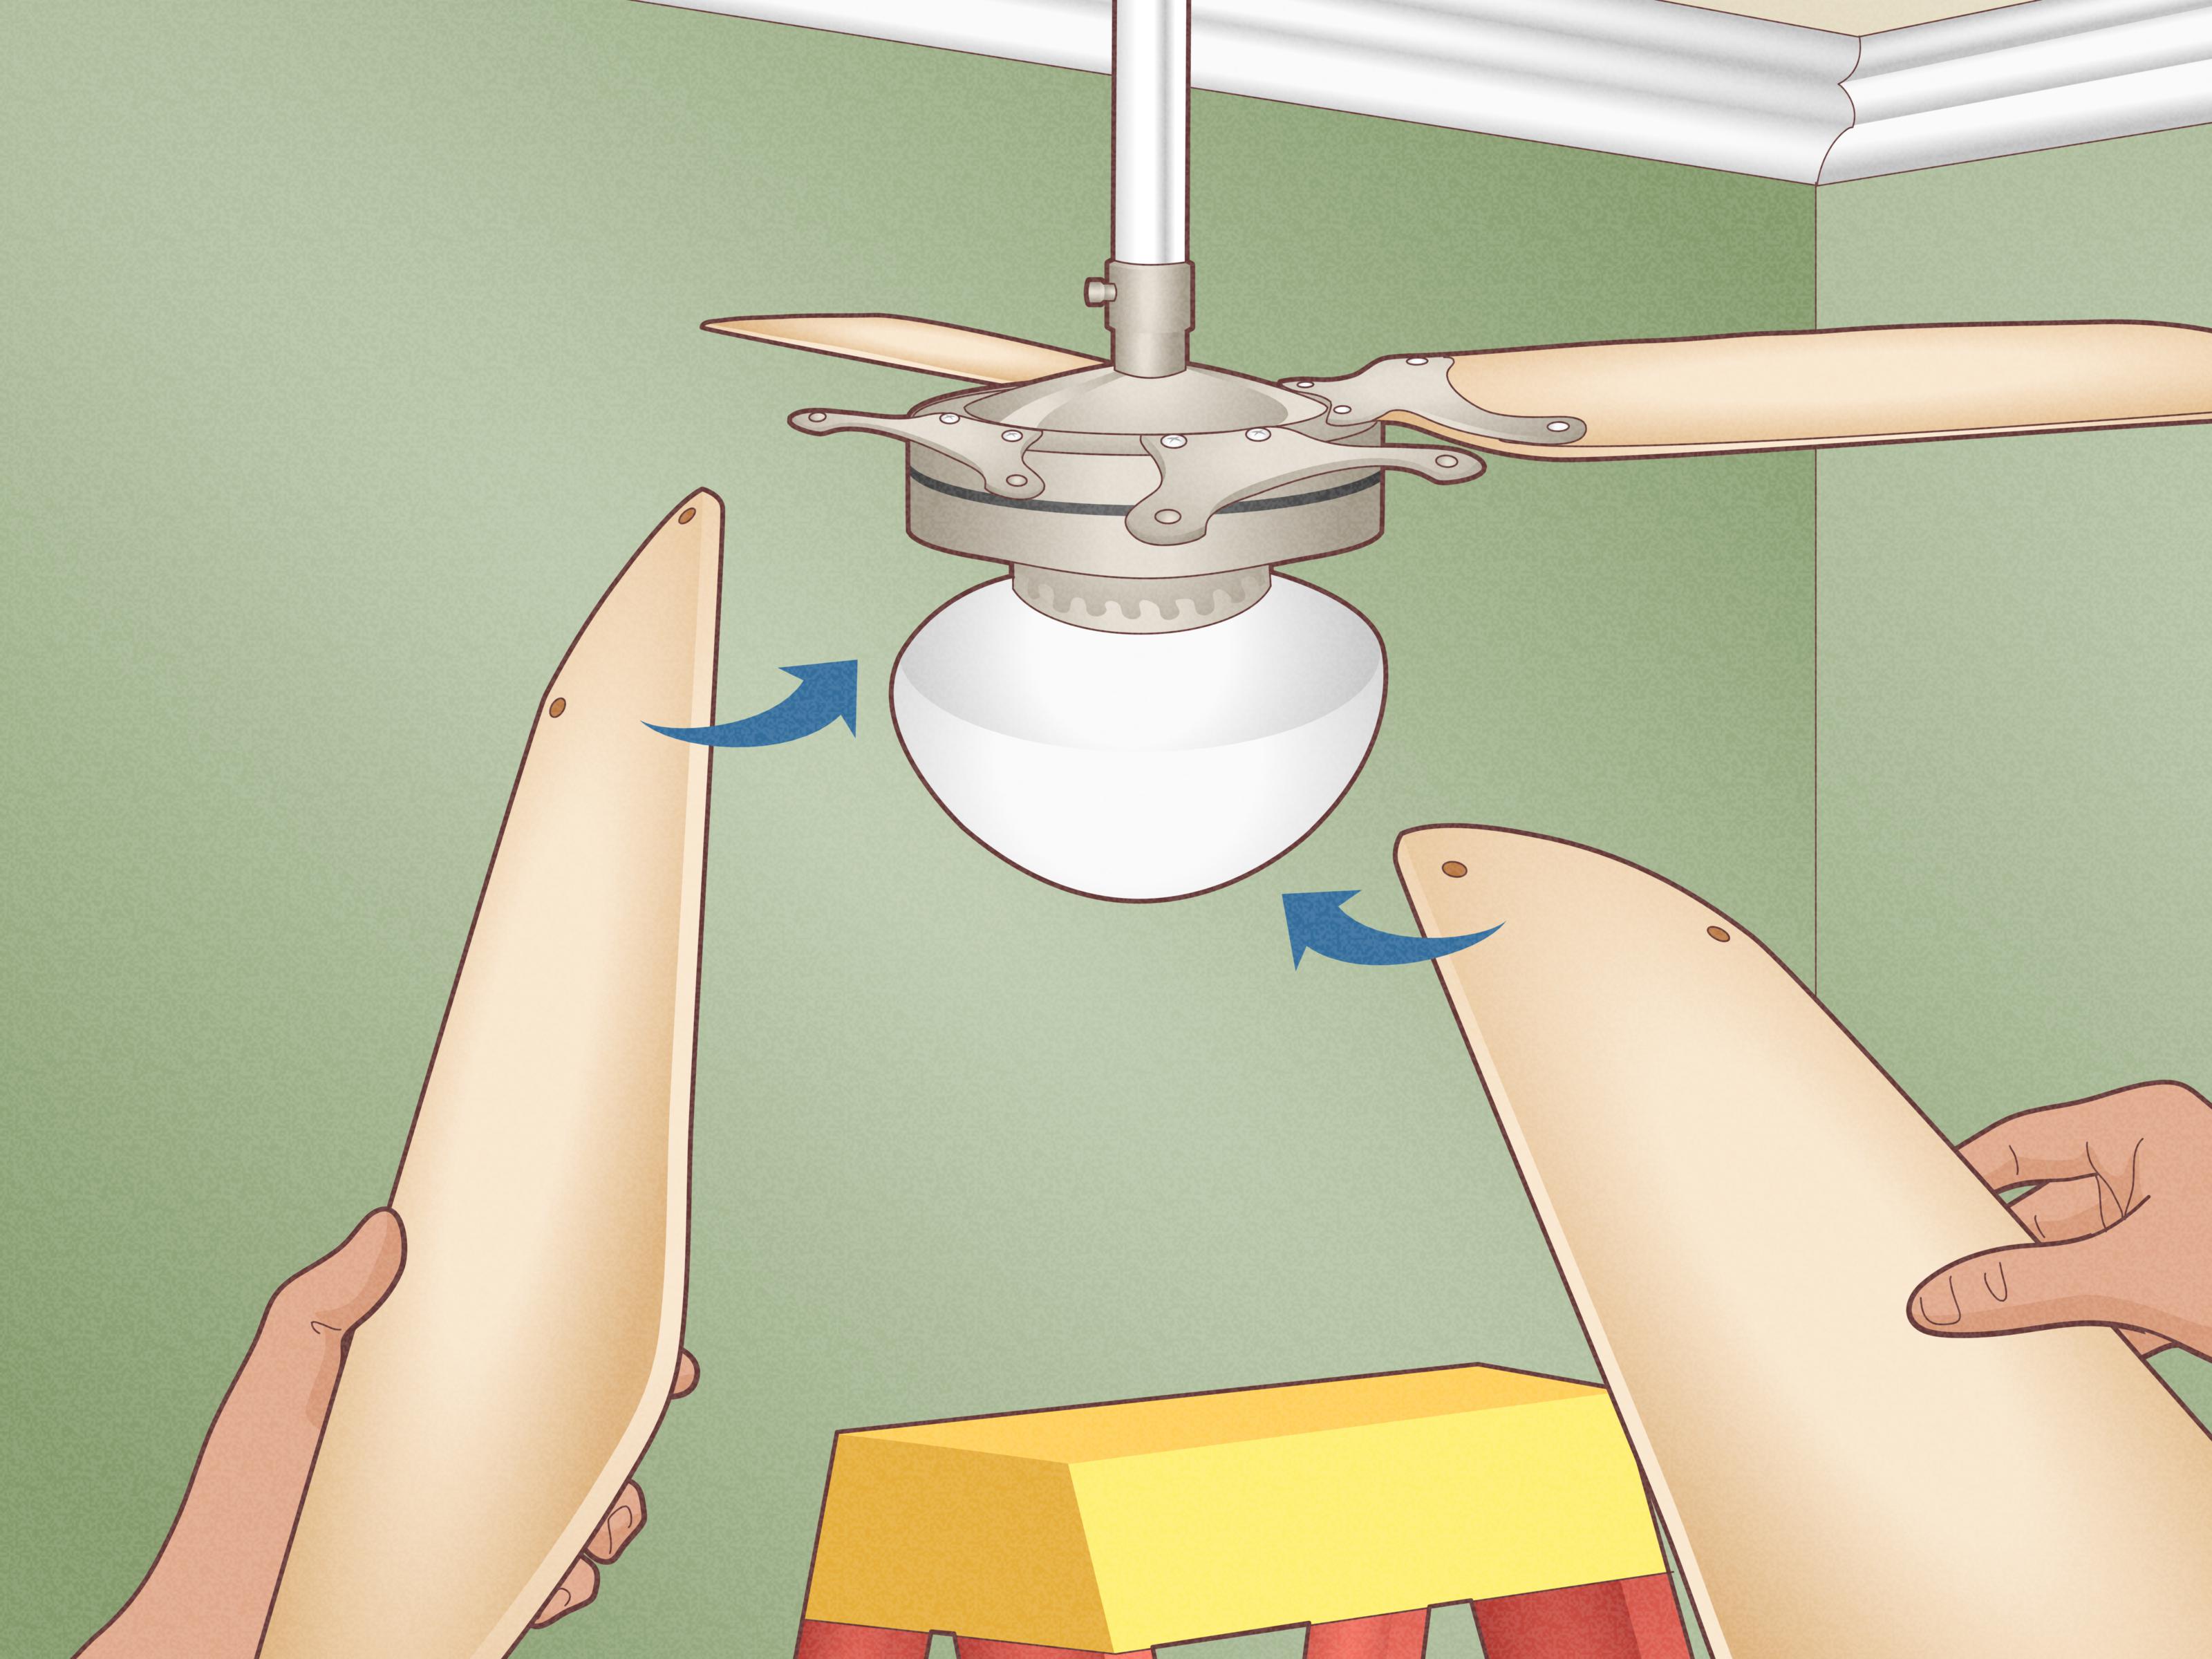
With the power off, inspect the screws connecting each blade to its blade holder. Tighten them until snug, using the same firm pressure on every blade. Do not overtighten screws into wood or composite material because the fastener may strip the hole or damage the blade.
Next, check the fasteners connecting each blade holder to the motor housing. A slightly loose holder can allow the blade to rise and fall during rotation, producing both wobble and rhythmic clicking.
While working, inspect for missing washers, rubber grommets, or spacers. These components may be part of the original design, so do not remove them simply because they appear soft or slightly flexible.
Step 4: Secure the light kit and accessories
If the fan includes a light, make sure the bulbs are properly seated and the glass shades are secure. Tighten shade screws evenly and only as much as necessary. Excessive pressure can crack glass.
Check decorative caps, pull-chain extensions, switch-housing screws, and remote-receiver covers. A loose accessory may imitate the sound of an unbalanced fan even when the blade assembly is reasonably stable.
Make sure pull chains are not striking the light fixture or each other. Shortening or repositioning a chain can eliminate a mysterious click that occurs once per revolution.
Step 5: Check the canopy, mounting bracket, and downrod
Turn off the breaker before opening the canopy. Support the fan as directed by its manual and inspect the mounting hardware. Tighten loose canopy and mounting-bracket screws with the correct tool.
On a downrod-mounted fan, check the screws at both ends of the downrod. Confirm that retaining pins, clips, and set screws are present and secure. Many downrod fans use a hanger ball that fits into a matching groove in the ceiling bracket. If the ball is sitting incorrectly, the fan may rock even when every blade is perfectly balanced.
Do not improvise replacement pins, screws, or brackets. Obtain parts approved for the specific fan model.
Step 6: Verify that the electrical box is fan-rated
A ceiling fan must be supported by an electrical box and mounting system designed for a rotating fan load. A box intended only for a lightweight ceiling fixture may not provide adequate support.
Look for labeling that indicates the box is acceptable for fan support, along with its stated weight limit. The box should be firmly attached to a ceiling joist, structural brace, or approved fan-support bar. It should not shift when moderate hand pressure is applied to the mounting bracket.
If the box is loose, damaged, unsupported, or not clearly rated for a fan, stop the repair and call an electrician. Blade weights will not solve structural movement, and continued operation could loosen the installation further.
Step 7: Measure blade alignment
Choose one fixed point on the ceiling directly above the tip of a blade. Measure the vertical distance from that point to the blade tip. Rotate the fan by handnever by switching on the motorand move each remaining blade into exactly the same position for measurement.
Record the measurements. Every blade tip should travel at nearly the same height. Repeat the check near the middle of each blade if the difference is difficult to identify.
If one blade sits higher or lower, first loosen and reseat it, then tighten its fasteners evenly. Inspect its blade holder for visible damage. Some general repair advice suggests bending a holder back into position, but many manufacturers warn against bending blade arms. Follow the instructions for your exact model. Replacing a damaged holder is usually safer than testing how much metal fatigue it can tolerate.
Step 8: Inspect for warped or cracked blades
Look across the blades at eye level. A warped blade may twist, sag, cup, or appear to have a different pitch from the others. Moisture and temperature changes can distort wood and composite blades, especially on fans that are not rated for damp or outdoor locations.
Replace cracked, swollen, badly warped, or chipped blades. Use manufacturer-approved replacements made for the fan model. Do not mix random blades with different lengths, weights, materials, or mounting patterns.
When matched individual replacements are unavailable, replacing the complete blade set is usually the better approach because all blades need to work together as a balanced group.
Step 9: Use a ceiling fan balancing kit
Use a balancing kit only after cleaning the fan, tightening the hardware, checking the mount, and confirming that the blades are undamaged. A typical kit contains a temporary plastic clip and one or more adhesive weights.
- Label the blades with small pieces of painter’s tape.
- Place the balancing clip near the middle of the first blade.
- Climb down and turn on the fan at the speed that produced the strongest wobble.
- Turn the fan off and wait for it to stop completely.
- Move the clip to the next blade and repeat the test.
- Identify the blade on which the clip creates the greatest improvement.
- Move the clip inward or outward along that blade in small increments, testing after each adjustment.
- When the smoothest position is found, attach an adhesive weight to the top center of the blade at that location.
- Remove the temporary clip and test all fan speeds.
Place the permanent weight on the top of the blade so it is less visible. Clean and dry the attachment area first, and press the adhesive firmly according to the kit instructions. Never operate the fan with a loosely taped coin or another object that could become airborne.
Step 10: Retest the fan carefully
Restore power and run the fan at low speed first. Observe it for several minutes before moving to medium and high speed. Listen for new rattles and watch the canopy, downrod, motor housing, and blade tips.
A successful repair should produce smooth rotation without severe side-to-side motion. Recheck the adhesive weight after the first several hours of operation and again after a few days.
What Different Wobble Patterns May Mean
The fan wobbles only at high speed
This pattern commonly points to a small blade-weight difference, slightly uneven blade alignment, or hardware that moves only under greater rotational force. Recheck the blade measurements and use a balancing kit after confirming the mounting system is secure.
The fan started wobbling after installation
Inspect the hanger ball, downrod pin, set screws, bracket, and blade placement. Make sure shipping blocks or packing material were removed and that the correct screws and washers were used in the correct locations.
The fan wobbles and clicks
Check blade screws, blade holders, light-kit components, pull chains, and the canopy. A loose part may shift or strike another component once during every rotation.
The fan wobbles and the canopy moves
Turn it off immediately. The mounting bracket, electrical box, or structural support may be loose. This is not a balancing-kit problem and should be inspected before the fan is used again.
The fan still wobbles after balancing
Remove the balancing weight and investigate the structure again. Possible causes include a damaged blade holder, incorrectly seated downrod, defective bracket, loose electrical box, internal motor damage, or incompatible replacement blades.
When to Call a Professional
DIY troubleshooting is appropriate for cleaning, tightening accessible fasteners, measuring blade height, and using a manufacturer-approved balancing kit. Call a licensed electrician or qualified ceiling-fan technician when:
- The electrical box moves, sags, or lacks a fan-support rating
- The ceiling around the fan is cracked, damp, or sagging
- Wiring is exposed, burned, brittle, or improperly connected
- The fan sparks, smells hot, or repeatedly trips a breaker
- The hanger bracket or structural brace is damaged
- The motor housing grinds, overheats, or rotates unevenly
- The fan remains severely unstable after basic troubleshooting
- The fan is mounted on a very high, vaulted, or difficult-to-access ceiling
Replacement may be more practical when an old fan needs multiple blades, blade arms, mounting parts, and motor work. A new fan installed correctly is preferable to turning the old one into a ceiling-mounted collection of experimental repairs.
Practical Repair Experiences and Lessons Learned
The following composite scenarios reflect common homeowner repair experiences rather than a claim of personal firsthand work.
Experience 1: The kitchen fan that only needed cleaning
A homeowner noticed that a kitchen ceiling fan shook at medium speed but looked normal on low. The first assumption was a failing motor. A closer inspection showed that the blades had collected a mixture of dust and cooking residue. One blade, located closest to the range, had a noticeably heavier coating.
After the breaker was switched off, both sides of every blade were cleaned and dried. The wobble nearly disappeared without replacing a single part. The useful lesson was to begin with the least invasive repair. Removing the canopy, buying a balancing kit, or shopping for a motor would have been wasted effort when the real problem was airborne pancake history.
Experience 2: The new fan with a loose blade holder
Another common situation involves a fan that begins wobbling shortly after installation. Because the unit is new, people sometimes assume the blades were manufactured incorrectly. In one representative case, all the blade screws appeared tight, but one blade holder was not fully secured to the motor housing.
The fastener became visible only after each blade connection was checked systematically. Tightening it corrected both the wobble and a soft clicking noise. This experience shows why “I already checked the screws” is not always the same as checking every screw in an organized sequence.
Experience 3: The fan that improved only with a balancing kit
A bedroom fan remained stable on low speed but developed a mild wobble on high. The mounting bracket was secure, the hanger ball was seated properly, all blades were level, and no damage was visible. In this case, a small manufacturing or material weight difference between blades was the likely culprit.
Each blade was numbered with painter’s tape, and the temporary clip was tested one blade at a time. The fourth blade produced an immediate improvement. Moving the clip toward the blade tip reduced the wobble further, and a permanent weight was attached at the best location. The fan then operated smoothly at all speeds.
The important lesson was patience. Moving the clip randomly and running repeated tests without labeling the blades creates confusion. A numbered, one-variable-at-a-time approach turns balancing into a simple experiment instead of ceiling-fan roulette.
Experience 4: The outdoor fan with warped blades
A covered-porch fan gradually developed drooping blades after several humid seasons. Tightening the screws helped briefly, but measurements showed that two blade tips were traveling lower than the others. The blade material had absorbed moisture and permanently changed shape.
Adding weights would have addressed weight differences but not the distorted blade path. Replacing the complete blade set with compatible damp-rated parts solved the problem. This scenario highlights the difference between an unbalanced blade and a damaged blade. One can often be corrected with a small weight; the other belongs in the replacement pile.
Experience 5: The wobble that revealed an unsafe ceiling box
The most important type of repair experience begins when the canopy moves with the fan. In a representative older-home installation, the fan had been attached to a box originally intended for a light fixture. The box shifted when the mounting bracket was touched.
The homeowner wisely stopped the DIY process and hired an electrician to install an approved fan-support box and brace. Blade balancing would have hidden none of the structural movement. The experience demonstrates why the mounting inspection belongs near the beginning of the troubleshooting process, not at the end after several hours of polishing blades and rearranging tiny weights.
How to Prevent Future Ceiling Fan Wobble
- Clean both sides of the blades regularly.
- Inspect accessible screws whenever rattling begins.
- Keep indoor-only fans away from damp or exposed locations.
- Use matching, manufacturer-approved replacement parts.
- Check the balancing weights during seasonal cleaning.
- Do not hang decorations, plants, or other objects from the fan.
- Address new vibration promptly instead of allowing it to loosen more hardware.
A quick inspection once or twice a year can prevent a small loose screw from becoming a noisy, room-shaking performance.
Conclusion
To fix a wobbling ceiling fan, begin with cleaning and tightening before reaching for a balancing kit. Confirm that the blades are undamaged and aligned, the downrod and hanger ball are properly seated, and the fan is attached to a secure fan-rated electrical box. Use balancing weights only after mechanical and structural problems have been ruled out.
Most minor wobble problems can be corrected without replacing the fan. Severe movement, electrical damage, or a loose ceiling box requires professional attention. The goal is not merely to make the fan look calmer; it is to restore smooth, quiet, and safe operation.
Note: Ceiling fan designs and mounting systems vary. Follow the installation and balancing instructions supplied by the manufacturer. This guide covers general mechanical troubleshooting and is not a substitute for professional electrical inspection.