
Wrinkles are completely normal. Foundation behaving like wet cement in those wrinkles, however, is optional.
Makeup cannot permanently remove fine lines, but the right preparation, foundation, and application technique can soften their appearance considerably. The goal is not to plaster over every crease. It is to create an even, flexible layer that reflects light, balances discoloration, and moves naturally with your face.
This guide explains how to hide wrinkles with makeup, choose a foundation for mature or textured skin, prevent creasing, and achieve a fresh finish without looking overly made up.
Why Foundation Sometimes Makes Wrinkles Look Deeper
Foundation can emphasize wrinkles when it is too dry, too thick, poorly blended, or applied over dehydrated skin. As facial expressions move the skin, excess pigment collects inside forehead lines, crow’s feet, and creases around the mouth.
Powder can create a similar problem. A light dusting may control unwanted shine, but several layers can absorb moisture and make the surface look flat, rough, or chalky. This is particularly noticeable on skin that has become drier or thinner with age.
The most flattering strategy is usually to correct uneven tone with the smallest effective amount of makeup. When discoloration is covered, wrinkles often become less noticeable even though they have not been filled completely.
Prepare Your Skin Before Applying Makeup
Good foundation application begins before the foundation bottle appears. Makeup sits more smoothly when skin is clean, comfortable, and adequately moisturized.
Cleanse Gently
Use a mild facial cleanser and lukewarm water. Aggressive scrubs, strong soaps, and very hot water may leave the skin tight or flaky. If you have an important event, that morning is not the ideal time to test an enthusiastic acid peel that promises to reveal a new face by lunchtime.
Pat the skin dry rather than rubbing it. A clean, soft surface gives foundation a much better starting point.
Apply Moisturizer Strategically
Choose a moisturizer suited to your skin type. Ingredients commonly used to support hydration include glycerin, hyaluronic acid, ceramides, and squalane. Dry skin may prefer a richer cream, while combination or oily skin may be more comfortable with a lightweight lotion or gel cream.
Press moisturizer into dry areas, including the cheeks, around the mouth, and beside the eyes. Avoid piling on so much product that the skin becomes slippery. Allow several minutes for it to settle before applying makeup.
Use Broad-Spectrum Sunscreen
Daily sun protection helps prevent additional photoaging and uneven pigmentation. Apply a broad-spectrum sunscreen with an SPF of at least 30 after moisturizer and before makeup.
A foundation containing SPF can provide an extra layer of protection, but it should not be your only sunscreen. Most people do not apply enough foundation to receive the level of protection printed on its label.
Add Primer Only Where It Helps
Primer is optional, not a mandatory admission ticket to wearing foundation. A hydrating primer can improve comfort on dry skin, while a smoothing primer may visually blur pores and shallow lines.
Use a small amount on areas that need it rather than coating the entire face automatically. Too many skincare and makeup layers can pill, roll into crumbs, or separate. Test your moisturizer, sunscreen, primer, and foundation together before a special occasion.
How to Choose the Best Foundation for Wrinkles
The best foundation for wrinkles is not necessarily labeled “anti-aging.” Texture, coverage, finish, flexibility, and shade accuracy matter more than dramatic promises printed in metallic lettering.
Look for Lightweight, Buildable Coverage
Light-to-medium coverage usually looks more natural on textured skin than an opaque mask. Buildable foundation allows you to apply a thin layer over the face and add more only where redness, sunspots, or uneven tone require it.
Full coverage is not forbidden. It simply needs to be flexible and used selectively. A high-pigment formula can work beautifully when applied in tiny amounts rather than spread as thickly as frosting.
Choose a Natural, Satin, or Soft-Radiant Finish
A satin or natural finish reflects a modest amount of light, which can make the complexion look smoother. Soft-radiant foundations are particularly flattering on dry or dull skin because they restore dimension without covering the face in obvious sparkle.
Very matte foundation may suit people who become oily, but an aggressively dry formula can exaggerate lines. Extremely dewy foundation may also migrate into creases. The ideal finish generally looks like healthy skin rather than polished glass or freshly poured concrete.
Match the Formula to Your Skin Type
| Skin Type | Foundation Features to Consider | Potential Problems |
|---|---|---|
| Dry or dehydrated | Hydrating liquid, serum foundation, skin tint, luminous or satin finish | Heavy powder, fast-drying matte formulas |
| Combination | Flexible liquid with natural finish and buildable coverage | Using one heavy product equally on dry cheeks and an oily T-zone |
| Oily | Lightweight soft-matte or natural foundation with targeted powder | Over-powdering or choosing a formula so dry that it cracks |
| Sensitive | Fragrance-free options and simple formulas tested on a small area first | Trying several new products simultaneously |
Consider Liquid, Cream, and Powder Foundations
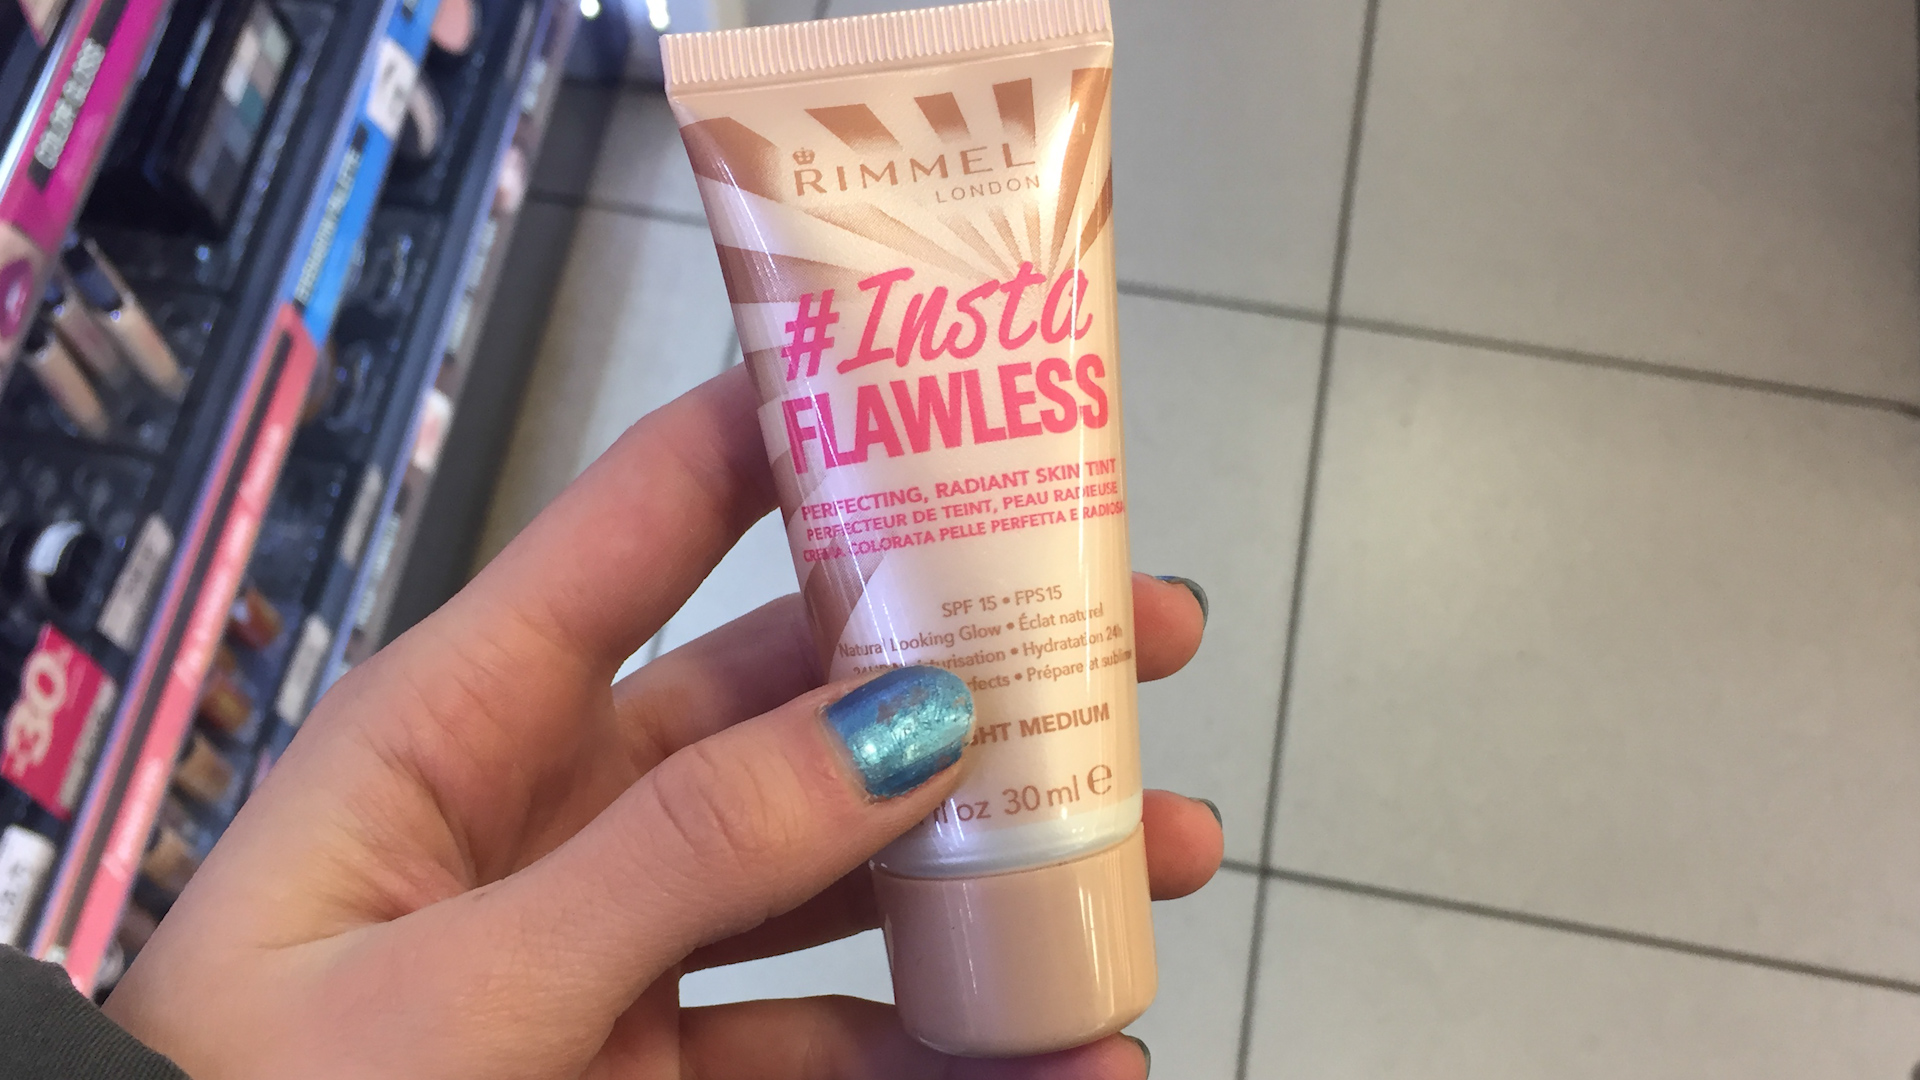
Liquid foundation is often an easy choice for wrinkled or mature skin because it spreads thinly and can provide hydration. Cream foundations offer more coverage and may work well when warmed between the fingers and applied sparingly.
Powder foundation is not automatically unsuitable, but it requires restraint. A finely milled formula can work for normal or oily skin when buffed lightly onto well-moisturized skin. Dry, flaky complexions are more likely to find powder foundation unforgiving.
Find the Correct Shade and Undertone
A poor color match attracts more attention than a fine line ever could. Test foundation along the lower cheek and jaw rather than on your hand. The winning shade should blend into the face and neck in natural daylight.
Undertones are commonly described as warm, cool, neutral, or olive. A warm foundation may appear golden or peachy, while a cool shade may lean pink or rosy. Neutral shades balance the two, and olive shades contain a subtle green or muted golden quality.
Let the swatch dry before deciding. Some formulas deepen or shift slightly after application. If your face is darker than your neck because of sun exposure or pigmentation, choose the shade that creates the most believable transition rather than matching one isolated spot.
How to Apply Foundation Without Emphasizing Fine Lines
Step 1: Begin with Less Than You Think You Need
Place a small amount of foundation on the back of a clean hand or makeup palette. Start around the center of the face, where redness and discoloration are often most visible, and blend outward. The outer edges of the face usually require less coverage.
Step 2: Press and Blend Instead of Rubbing
A damp makeup sponge can press foundation into a thin, even layer. A soft, dense brush can provide slightly more coverage. Fingers also work well for many cream and liquid formulas because warmth helps spread the product.
Avoid repeatedly dragging a brush across loose or dry skin. Use short buffing motions or gentle pressing movements, depending on the formula and your skin’s condition.
Step 3: Build Coverage Only Where Necessary
After the first layer, step back from the mirror. Add a small amount around the nose, on a dark spot, or over persistent redness. Leaving other areas sheer helps the complexion retain natural variation and prevents a heavy finish.
Step 4: Remove Product from Deep Creases
Move your forehead, smile, and gently squint after applying foundation. If product has gathered in expression lines, use a clean sponge, fingertip, or small brush to press away the excess.
This step is especially useful around the mouth and under the eyes. It is far easier to remove a small ridge of foundation now than to discover it in a brightly lit elevator mirror later.
Step 5: Set Selectively
Use a small, soft brush to place finely milled powder only where makeup tends to move or shine. Common areas include the sides of the nose, center of the forehead, chin, and selected portions of the under-eye area.
Do not automatically powder every wrinkle. Leaving the cheeks and outer eye area more natural often creates a fresher result.
How to Conceal Wrinkles in Specific Areas
Forehead Lines
Apply foundation in a very thin layer and blend in the same direction as the skin’s texture. After raising and relaxing your eyebrows, press a clean sponge over the lines to lift away accumulated product. Use little or no powder directly inside deep horizontal creases.
Crow’s Feet and Under-Eye Lines
The eye area usually needs less makeup than expected. Use a lightweight concealer only where darkness is visible, often near the inner corner and along the deepest part of the shadow.
Blend outward with a small brush or fingertip, keeping the layer thin near crow’s feet. If discoloration is strong, a tiny amount of peach or apricot corrector may reduce the need for heavy concealer.
Smile Lines and Creases Around the Mouth
Keep moisturizer and foundation light around moving folds. Heavy concealer placed directly inside a smile line can make the crease look sharper. Correct nearby redness or shadow instead, then remove excess foundation from the fold with a clean detail brush.
Vertical Lip Lines
Apply a thin lip balm and blot away the excess. Use lip liner to define the border and reduce feathering, particularly with creamy or bold lipstick. A liner close to your natural lip color creates definition without looking severe.
Use Color and Light to Shift Attention
Hiding wrinkles does not require turning the entire face beige. Well-placed color can make the complexion appear lively and draw attention toward the eyes, cheeks, or lips.
Cream or liquid blush can add a natural flush without increasing powderiness. Blend it upward across the cheek rather than placing it too close to the nose. A subtle satin highlight may be used on the upper cheekbone, but chunky glitter can emphasize texture.
Softly defined brows frame the face, while mascara adds contrast around the eyes. Choose one or two areas to emphasize. A bright lipstick, for example, can look sophisticated at any age and may be far more interesting than conducting a military operation against one forehead line.
Common Makeup Mistakes That Make Wrinkles More Visible
- Applying too much foundation: Excess pigment has nowhere to go except into pores and creases.
- Skipping moisturizer: Dry patches absorb foundation unevenly and may look rough.
- Using thick concealer under the eyes: Dense coverage can crack as the eye area moves.
- Powdering the entire face heavily: This removes dimension and can emphasize dryness.
- Choosing the wrong shade: A foundation that is too pale, pink, orange, or dark looks obvious regardless of technique.
- Applying shimmer directly over texture: Highly reflective particles may spotlight raised or creased areas.
- Layering incompatible products too quickly: Skincare and makeup may pill or separate when each layer has not had time to settle.
- Inspecting makeup only in a magnifying mirror: Magnification is useful for detail work but cruel as a life coach. Always check the final result from a normal conversational distance.
How to Keep Foundation Fresh During the Day
When makeup begins to crease, adding more foundation is rarely the best first move. Press a clean sponge or fingertip over the area to redistribute the existing product. Blot oil with tissue or blotting paper before applying additional powder.
For dry areas, a light facial mist may help the finish look less powdery, although it will not repair badly separated makeup. Pressing the skin gently with a damp sponge is often more effective than spraying repeatedly.
Carry a small concealer for spot corrections rather than a full-coverage foundation. A targeted touch-up looks cleaner and is less likely to create layers that become increasingly visible as the day continues.
Makeup Hygiene and Skin Safety
Wash brushes used with liquid foundation and concealer regularly, ideally about once a week. Clean sponges thoroughly and allow them to dry in a ventilated location. A permanently damp sponge stored in a closed bag is less a beauty tool and more a tiny laboratory.
Do not share eye or lip products. Replace cosmetics that develop an unusual odor, separation, discoloration, gritty texture, or unexpected change in performance. Keep container openings clean and close lids securely.
When testing a new product, try it on a small area before applying it over the entire face. Stop using cosmetics that cause persistent burning, swelling, itching, or a rash, and seek medical guidance when a reaction is severe or does not improve.
Conclusion: Let Foundation Support Your Skin, Not Smother It
The most effective way to hide wrinkles with makeup is not to bury them under more product. Hydrate the skin, apply proper sun protection, choose a flexible foundation, and build coverage only where it improves the complexion.
A satin or natural-finish liquid foundation is a reliable starting point for many people, but skin type and personal preference still matter. Apply thin layers, remove makeup from expression lines, set only necessary areas, and allow some real skin to remain visible.
Wrinkles may still appear when you smile, laugh, or raise an eyebrow. That is not a foundation failure. It is evidence that your face remains fully operational.
Experience-Based Lessons: What Usually Works in Real Makeup Routines
One of the most common experiences when adjusting makeup for wrinkles is the discovery that a previously reliable routine suddenly stops cooperating. A matte foundation that once lasted through a full workday may begin catching on dry patches. Powder that used to look polished may start collecting beside the eyes. The immediate reaction is often to purchase a heavier product, but the more successful adjustment is usually the opposite.
A typical breakthrough happens when the amount of foundation is cut in half. Instead of applying several pumps across the whole face, the wearer uses one thin layer through the center and blends the remainder toward the hairline. Redness around the nose receives a second tap of foundation, while clear areas remain almost bare. The complexion still looks even, but the smile lines no longer contain visible stripes of pigment.
Another useful lesson comes from comparing application tools. A large buffing brush may produce beautiful coverage on the cheeks but leave too much product around the mouth. A damp sponge can then press away the excess without removing the entire base. Some people prefer fingers for serum foundations because the warmth makes the product spread quickly. The best tool is therefore not always one tool; it may be a small team with clearly assigned responsibilities.
Under-eye concealer often requires the most trial and error. Many wearers initially create a large pale triangle beneath each eye, hoping to brighten the face. In ordinary daylight, that triangle may look dry and disconnected from the rest of the complexion. A more flattering experiment uses a tiny dot near the inner corner and another on the deepest shadow. Once blended, the eyes appear rested without coating every fine line.
Powder is another area where practical experience changes habits. Applying it with a large fluffy brush feels quick, but the powder lands everywhere, including places that were not oily. Switching to a small brush allows precise placement around the nostrils, between the brows, and on the chin. The cheeks remain softly radiant, while the T-zone stays controlled.
Shade matching can also improve through experience. Indoor store lighting may make a foundation appear perfect, yet the same shade can look orange beside a window. Testing two or three shades on the jaw, allowing them to dry, and checking them in daylight prevents expensive surprises. Photographing the swatches without a beauty filter can reveal an undertone mismatch that the bathroom mirror politely ignored.
A final lesson is that makeup should be judged while the face is moving. After application, smile, speak, raise your eyebrows, and wait several minutes. Then remove any product that has settled into creases. This short rehearsal is more useful than endlessly adding coverage to a perfectly still face.
In practice, the winning routine is rarely the one with the most steps. It is the routine that keeps skin comfortable, corrects what matters, and remains flexible throughout the day. When makeup looks like skin from a normal distance and still allows expression, it has done its job exceptionally well.