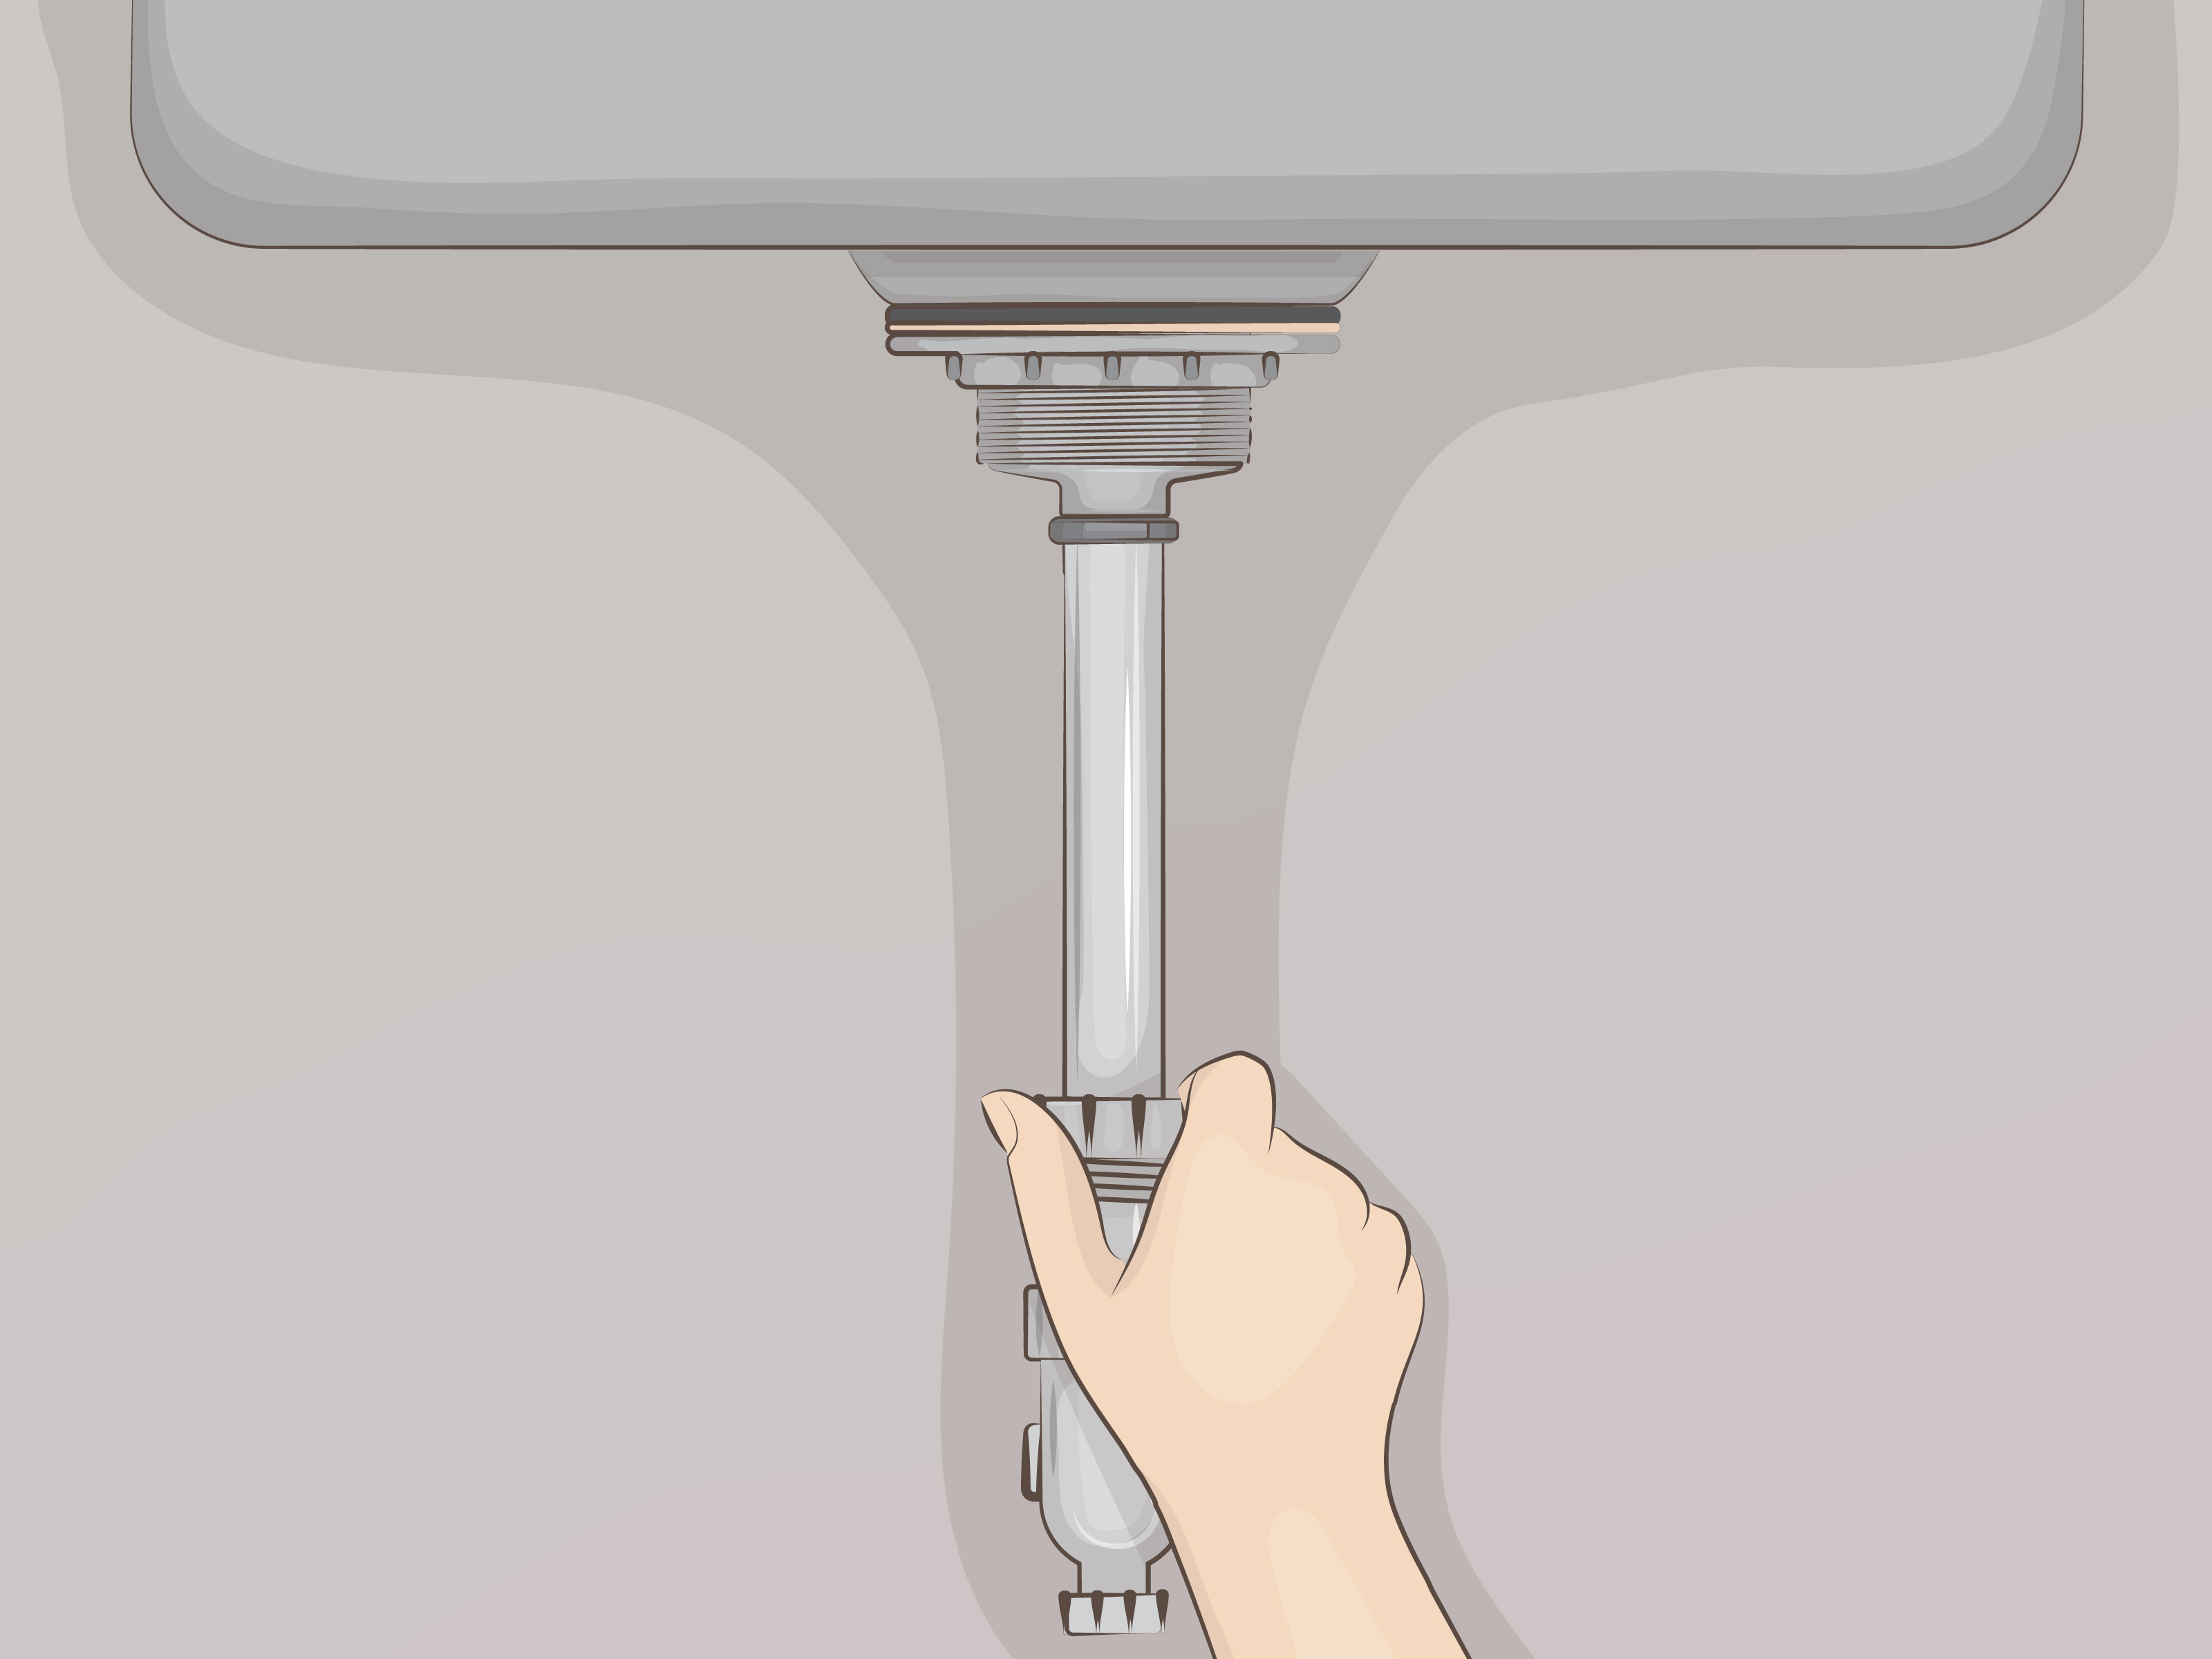

A sink drain has one job: persuade dirty water to leave quietly and never return. Yet this humble collection of flanges, washers, rods, nuts, and curved pipes can turn a pleasant Saturday project into an under-cabinet wrestling match.
The good news is that learning how to install a sink drain does not require a plumbing license or a heroic collection of power tools. Most homeowners can replace a standard bathroom sink drain or kitchen sink strainer with basic hand tools, careful preparation, and a willingness to test every connection before putting the cleaning supplies back under the sink.
This guide explains the complete process, including how to choose the right drain assembly, seal the flange, connect the tailpiece and P-trap, adjust a bathroom pop-up stopper, and troubleshoot leaks.
Understand the Type of Sink Drain You Are Installing
Before loosening anything, identify the drain system. Bathroom and kitchen sinks perform similar work, but their drain assemblies are not interchangeable.
Bathroom Sink Drains
Most bathroom sinks use one of the following designs:
- Lift-rod pop-up drain: A rod behind the faucet connects to a pivot rod beneath the sink, raising or lowering the stopper.
- Push-button drain: Also called a clicker or push-pop drain, this stopper opens and closes when pressed.
- Grid drain: A permanently open drain commonly used in commercial, vessel, or specialty sinks.
Bathroom drains are commonly paired with 1-1/4-inch tubular drain components, although adapters and 1-1/2-inch connections are also available.
Kitchen Sink Drains
A standard kitchen sink normally uses a basket strainer. Its wide, removable basket catches food scraps before they travel into the plumbing and begin planning a blockage.
Kitchen drains generally connect to 1-1/2-inch tubular waste piping. A sink with a garbage disposal uses a disposal mounting flange instead of a conventional basket strainer on that basin.
Overflow and Non-Overflow Drains
Look near the upper wall of a bathroom basin for an overflow opening. If the sink has one, choose a drain body with overflow ports. A vessel sink without an overflow usually needs a non-overflow drain.
Installing the wrong version can prevent the sink from draining correctly or allow water to collect inside the fixture. Measure the opening and read the sink and drain manufacturers’ specifications rather than relying on the timeless DIY technique known as “that looks about right.”
Tools and Materials You May Need
- Replacement drain assembly or basket strainer
- Matching P-trap kit, if necessary
- Adjustable wrench
- Channel-lock or slip-joint pliers
- Flat-head and Phillips screwdrivers
- Plumber’s putty, stain-free putty, or silicone sealant
- Bucket or shallow pan
- Old towels or absorbent rags
- Plastic putty knife
- Small wire brush or old toothbrush
- Flashlight or work light
- Hacksaw or tubing cutter for tubular plastic pipe
- Measuring tape
- Safety glasses and work gloves
Do not automatically use plumber’s putty on every sink. Traditional putty may stain porous materials such as natural stone, and some formulas are unsuitable for certain plastics or acrylic surfaces. Follow the instructions supplied with the sink and drain. Stain-free putty or 100% silicone sealant may be recommended instead.
Preparation Before Removing the Old Drain
Clear everything from the cabinet. Place a towel on the cabinet floor and position a bucket beneath the P-trap. The trap intentionally holds water to block sewer gases, so removing it without a bucket is an excellent way to wash the cabinet with water you would rather not meet.
A drain-only replacement normally does not require shutting off the home’s main water supply. However, close the faucet’s local shutoff valves or make sure nobody uses the faucet while the drain is disconnected. If the faucet is also being replaced, shut off both supply valves and verify that the water has stopped.
Take a photograph of the existing plumbing before disassembly. The image can help you remember washer orientation, pivot-rod placement, and the original route of the trap.
How to Remove an Existing Sink Drain
Step 1: Disconnect the P-Trap
Loosen the slip nuts on both sides of the curved P-trap. Plastic nuts can often be turned by hand. Use pliers gently if they are stuck.
Lower the trap into the bucket and allow the standing water to drain. Inspect the trap for buildup, corrosion, cracks, or lost jewelry. Clean reusable parts with warm water and a brush.
Step 2: Disconnect a Bathroom Pop-Up Mechanism
For a lift-rod drain, locate the perforated clevis strap beneath the sink. Remove the spring clip connecting it to the horizontal pivot rod. Loosen the pivot nut and pull the rod out of the drain body. The stopper can then be lifted from the basin.
Push-button stoppers often unscrew counterclockwise, although the exact procedure varies. Consult the drain instructions if the stopper resists.
Step 3: Remove the Drain Body
Loosen the large mounting nut beneath the sink. Remove the nut, friction washer, and rubber gasket. Push the drain body upward to break the seal around the flange.
For a kitchen basket strainer, hold the basket from above if it spins while you loosen the locknut. Severely corroded metal parts may require penetrating oil, a strainer wrench, or careful cutting.
Step 4: Clean the Drain Opening
Scrape away old putty or silicone with a plastic putty knife. Avoid metal scrapers that can scratch porcelain, enamel, stone, or stainless steel. Clean and dry the opening thoroughly. New sealant adheres best to a clean surface, not to a historical exhibit of previous plumbing attempts.
How to Install a Bathroom Sink Drain
Step 1: Disassemble the New Drain
Separate the flange, drain body, rubber gasket, friction washer, mounting nut, and stopper components. Arrange the parts in installation order and compare them with the manufacturer’s diagram.
Confirm that any side opening for the pivot rod will face the back of the sink. Correct orientation matters because the lift rod and pivot rod need a reasonably straight connection.
Step 2: Seal the Drain Flange
If plumber’s putty is approved, knead it until soft and roll it into a continuous rope roughly 1/2 inch thick. Wrap the rope around the underside of the drain flange and join the ends without leaving a gap.
When silicone is specified, apply a thin, continuous bead beneath the flange. Use enough to form a complete seal, but do not create a silicone volcano.
Step 3: Insert the Drain
Press the flange into the drain opening from above. From beneath the sink, slide the rubber gasket onto the drain body with its tapered or beveled side positioned according to the product instructions. Add the friction washer and mounting nut.
Hand-tighten the mounting nut while keeping the drain body centered. For a lift-rod assembly, make sure the pivot-rod opening points directly toward the back of the sink.
Step 4: Tighten the Mounting Nut
Hold the drain body so it does not rotate, then tighten the nut with pliers or an adjustable wrench. The gasket should compress evenly against the underside of the basin.
Stop when the drain is secure. Excessive force can crack a porcelain sink, distort a gasket, strip plastic threads, or squeeze out so much sealant that very little remains beneath the flange.
Remove the putty or silicone that squeezes out around the flange. Plumber’s putty can usually be lifted away immediately. Allow silicone to cure for the period specified on its label before filling the basin.
Step 5: Install and Adjust the Stopper
Drop the stopper into the drain. On a traditional pop-up assembly, rotate the stopper so its lower loop aligns with the pivot-rod opening.
Insert the pivot rod through the retaining nut and pivot seal, then guide it into the stopper loop. Tighten the pivot nut by hand. The rod should move freely without leaking.
Pass the faucet’s lift rod through the clevis strap. Connect the pivot rod to an appropriate hole in the strap using the spring clip. Operate the lift rod and adjust the connection until the stopper opens high enough for fast drainage and closes tightly enough to hold water.
Step 6: Attach the Tailpiece
Some drain bodies include an integrated tailpiece; others use a separate threaded extension. Install the supplied gasket or thread sealant only where the manufacturer directs it.
Do not wrap thread-seal tape around standard slip-joint connections. Slip joints seal through compression between a beveled washer and the fitting, not through the threads themselves.
How to Install a Kitchen Sink Basket Strainer
Step 1: Apply the Approved Sealant
Roll plumber’s putty into a rope and place it beneath the basket strainer flange, or apply silicone if required for the sink material. Press the strainer into the drain opening from above.
Step 2: Assemble the Underside Components
From beneath the sink, install the rubber gasket, friction washer, and locknut in the order shown by the manufacturer. The rubber gasket creates the seal against the sink, while the friction washer helps the locknut turn without twisting the gasket.
Step 3: Tighten the Strainer
Keep the basket centered while tightening the locknut. A helper can hold the strainer from above, or you can use a basket-strainer tool when necessary.
Tighten gradually and evenly. Remove the excess sealant around the top flange.
Step 4: Connect the Tailpiece
Attach the tailpiece to the bottom of the strainer using the supplied flanged washer and slip nut. The tailpiece must extend far enough into the P-trap inlet to form a secure connection without bottoming out.
For a double-basin sink, dry-fit the continuous-waste fittings before cutting any pipe. Both basins should drain toward one trap without creating upward slopes or stressed connections. A dishwasher connection may require a branch tailpiece or a connection to the garbage disposal.
How to Connect the P-Trap
Slide a slip nut and beveled washer onto the tailpiece. Position the washer so its narrow side enters the receiving fitting. Fit the trap bend over the tailpiece, then connect the trap arm to the wall adapter.
Keep the trap arm level or slightly sloped toward the wall drain. Do not force misaligned pieces together. If the trap does not line up, use approved tubular extensions or offset fittings instead of bending the plumbing into submission.
Start every slip nut by hand to avoid cross-threading. Hand-tighten the connections, align the assembly, and then add a small turn with pliers only when necessary. Plastic slip-joint fittings can crack when overtightened.
Test the New Sink Drain for Leaks
- Wipe every connection dry.
- Place dry paper towels beneath the flange, tailpiece, and P-trap joints.
- Run a small stream of water for about one minute.
- Close the stopper and fill the basin several inches deep.
- Inspect the drain flange from below while the sink is full.
- Release the stopper to send a large volume of water through the drain.
- Check the paper towels for moisture.
A dry slow-flow test is not enough. Some leaks appear only when the basin is full or when a large surge passes through the trap.
Common Sink Drain Installation Problems
Water Leaks Around the Drain Flange
The flange seal may be incomplete, the drain may be off-center, or the mounting gasket may be twisted. Remove the drain, clean both surfaces, apply fresh approved sealant, and reinstall it. Smearing silicone around the visible edge is rarely a durable repair.
A Slip-Joint Connection Drips
Check whether the beveled washer is missing, reversed, damaged, or sitting crooked. Loosen the nut, realign the pipe, and retighten it by hand. Replace hardened or deformed washers.
The Stopper Does Not Hold Water
Adjust the clevis strap so the stopper travels farther downward. Confirm that the pivot rod passes through the stopper loop rather than sitting beneath it. Clean hair, putty, and debris from the stopper seat.
The Sink Drains Slowly
Confirm that the stopper opens fully and that no shipping plug remains inside the drain. Check for a clogged P-trap, an improperly sloped trap arm, or an incompatible overflow drain. Persistent gurgling or recurring slow drainage may indicate a venting or branch-drain problem that requires a plumber.
The Drain Assembly Spins While Tightening
Hold the drain body or basket firmly while tightening the mounting nut. If the flange has already rotated and disturbed the sealant, remove it and apply fresh material rather than hoping optimism will make it watertight.
When to Call a Professional Plumber
A straightforward drain replacement is often DIY-friendly, but professional assistance is appropriate when:
- The wall drain is badly corroded, cracked, or loose.
- The trap cannot be aligned without altering permanent piping.
- Water has damaged the cabinet, wall, or floor.
- The drain repeatedly backs up after the trap has been cleaned.
- The plumbing uses an outdated or prohibited trap configuration.
- A garbage disposal requires new electrical or drain connections.
- Local regulations require a permit or licensed plumbing work.
Conclusion
Installing a sink drain successfully depends less on brute strength than on clean surfaces, correct washer placement, compatible sealant, patient alignment, and thorough testing. Identify the drain type, dry-fit the parts, tighten connections gradually, and test the system with both a small stream and a full basin.
Once the paper towels remain dry, the stopper works properly, and the cabinet no longer smells like an archaeological dig, the installation is complete.
Experience-Based Lessons From Installing Sink Drains
One lesson becomes obvious after working on several sink drains: the visible leak is not always coming from the connection directly above it. Water can travel along a tailpiece, mounting nut, or pipe before dripping from a lower point. Drying the entire assembly and wrapping individual joints with separate paper towels makes leak detection much easier.
It is also worth assembling every component loosely before tightening anything. On one typical bathroom installation, tightening the drain body first caused the pivot-rod opening to face sideways. The stopper technically moved, but the linkage scraped the supply line and never opened completely. Loosening the nut, rotating the drain toward the back, and realigning the linkage fixed the problem in minutes. Doing that before applying final torque would have saved an impressive amount of under-sink muttering.
Kitchen sink installations offer a different lesson: measure the vertical space before buying replacement parts. A deep new sink lowers the basket outlet, which can place it too close to the wall drain. The old P-trap may no longer fit, even though every individual part appears correct. Dry-fitting the basket, tailpiece, disposal, continuous waste, and trap before permanently securing anything exposes this problem early.
Another practical discovery is that more sealant does not create a more professional installation. A uniform ring of plumber’s putty or a controlled bead of silicone works better than a giant mound. Excess material makes the drain harder to center and creates a spectacular cleanup project. The seal comes from complete, even contactnot from attempting to bury the flange in sealant.
Overtightening causes more trouble than cautious tightening. Plastic slip nuts are especially unforgiving. A connection that drips after hand-tightening usually needs realignment or a properly seated washer, not another full turn with large pliers. When a fitting is forced into position, the pipe may appear dry initially and begin leaking later as the stressed joint shifts.
Lighting also matters more than expected. A small rechargeable work light placed inside the cabinet leaves both hands free and makes cross-threaded nuts, crooked washers, and tiny droplets easier to see. Working by phone flashlight is possible, but it usually ends with the phone balanced against a cleaning bottle while gravity considers its options.
Keeping the old components until the new drain passes its final test is another useful habit. The original tailpiece, nut, or adapter may reveal a size difference that was not obvious at the store. Photographing the original layout provides a reference when several nearly identical washers are scattered across the floor.
Finally, never declare victory after running the faucet for five seconds. Fill the basin, inspect the flange under pressure, and release the water all at once. Repeat the test after several minutes. A drain that survives that procedure without producing a single damp spot is far more likely to remain reliable after the cabinet is refilled and everyone forgets the plumbing was recently disturbed.
Note: Sink materials, drain designs, and plumbing requirements vary. Always follow the instructions supplied with the specific sink, drain, faucet, disposal, and sealant, and verify applicable local plumbing codes before altering permanent drain or vent piping.