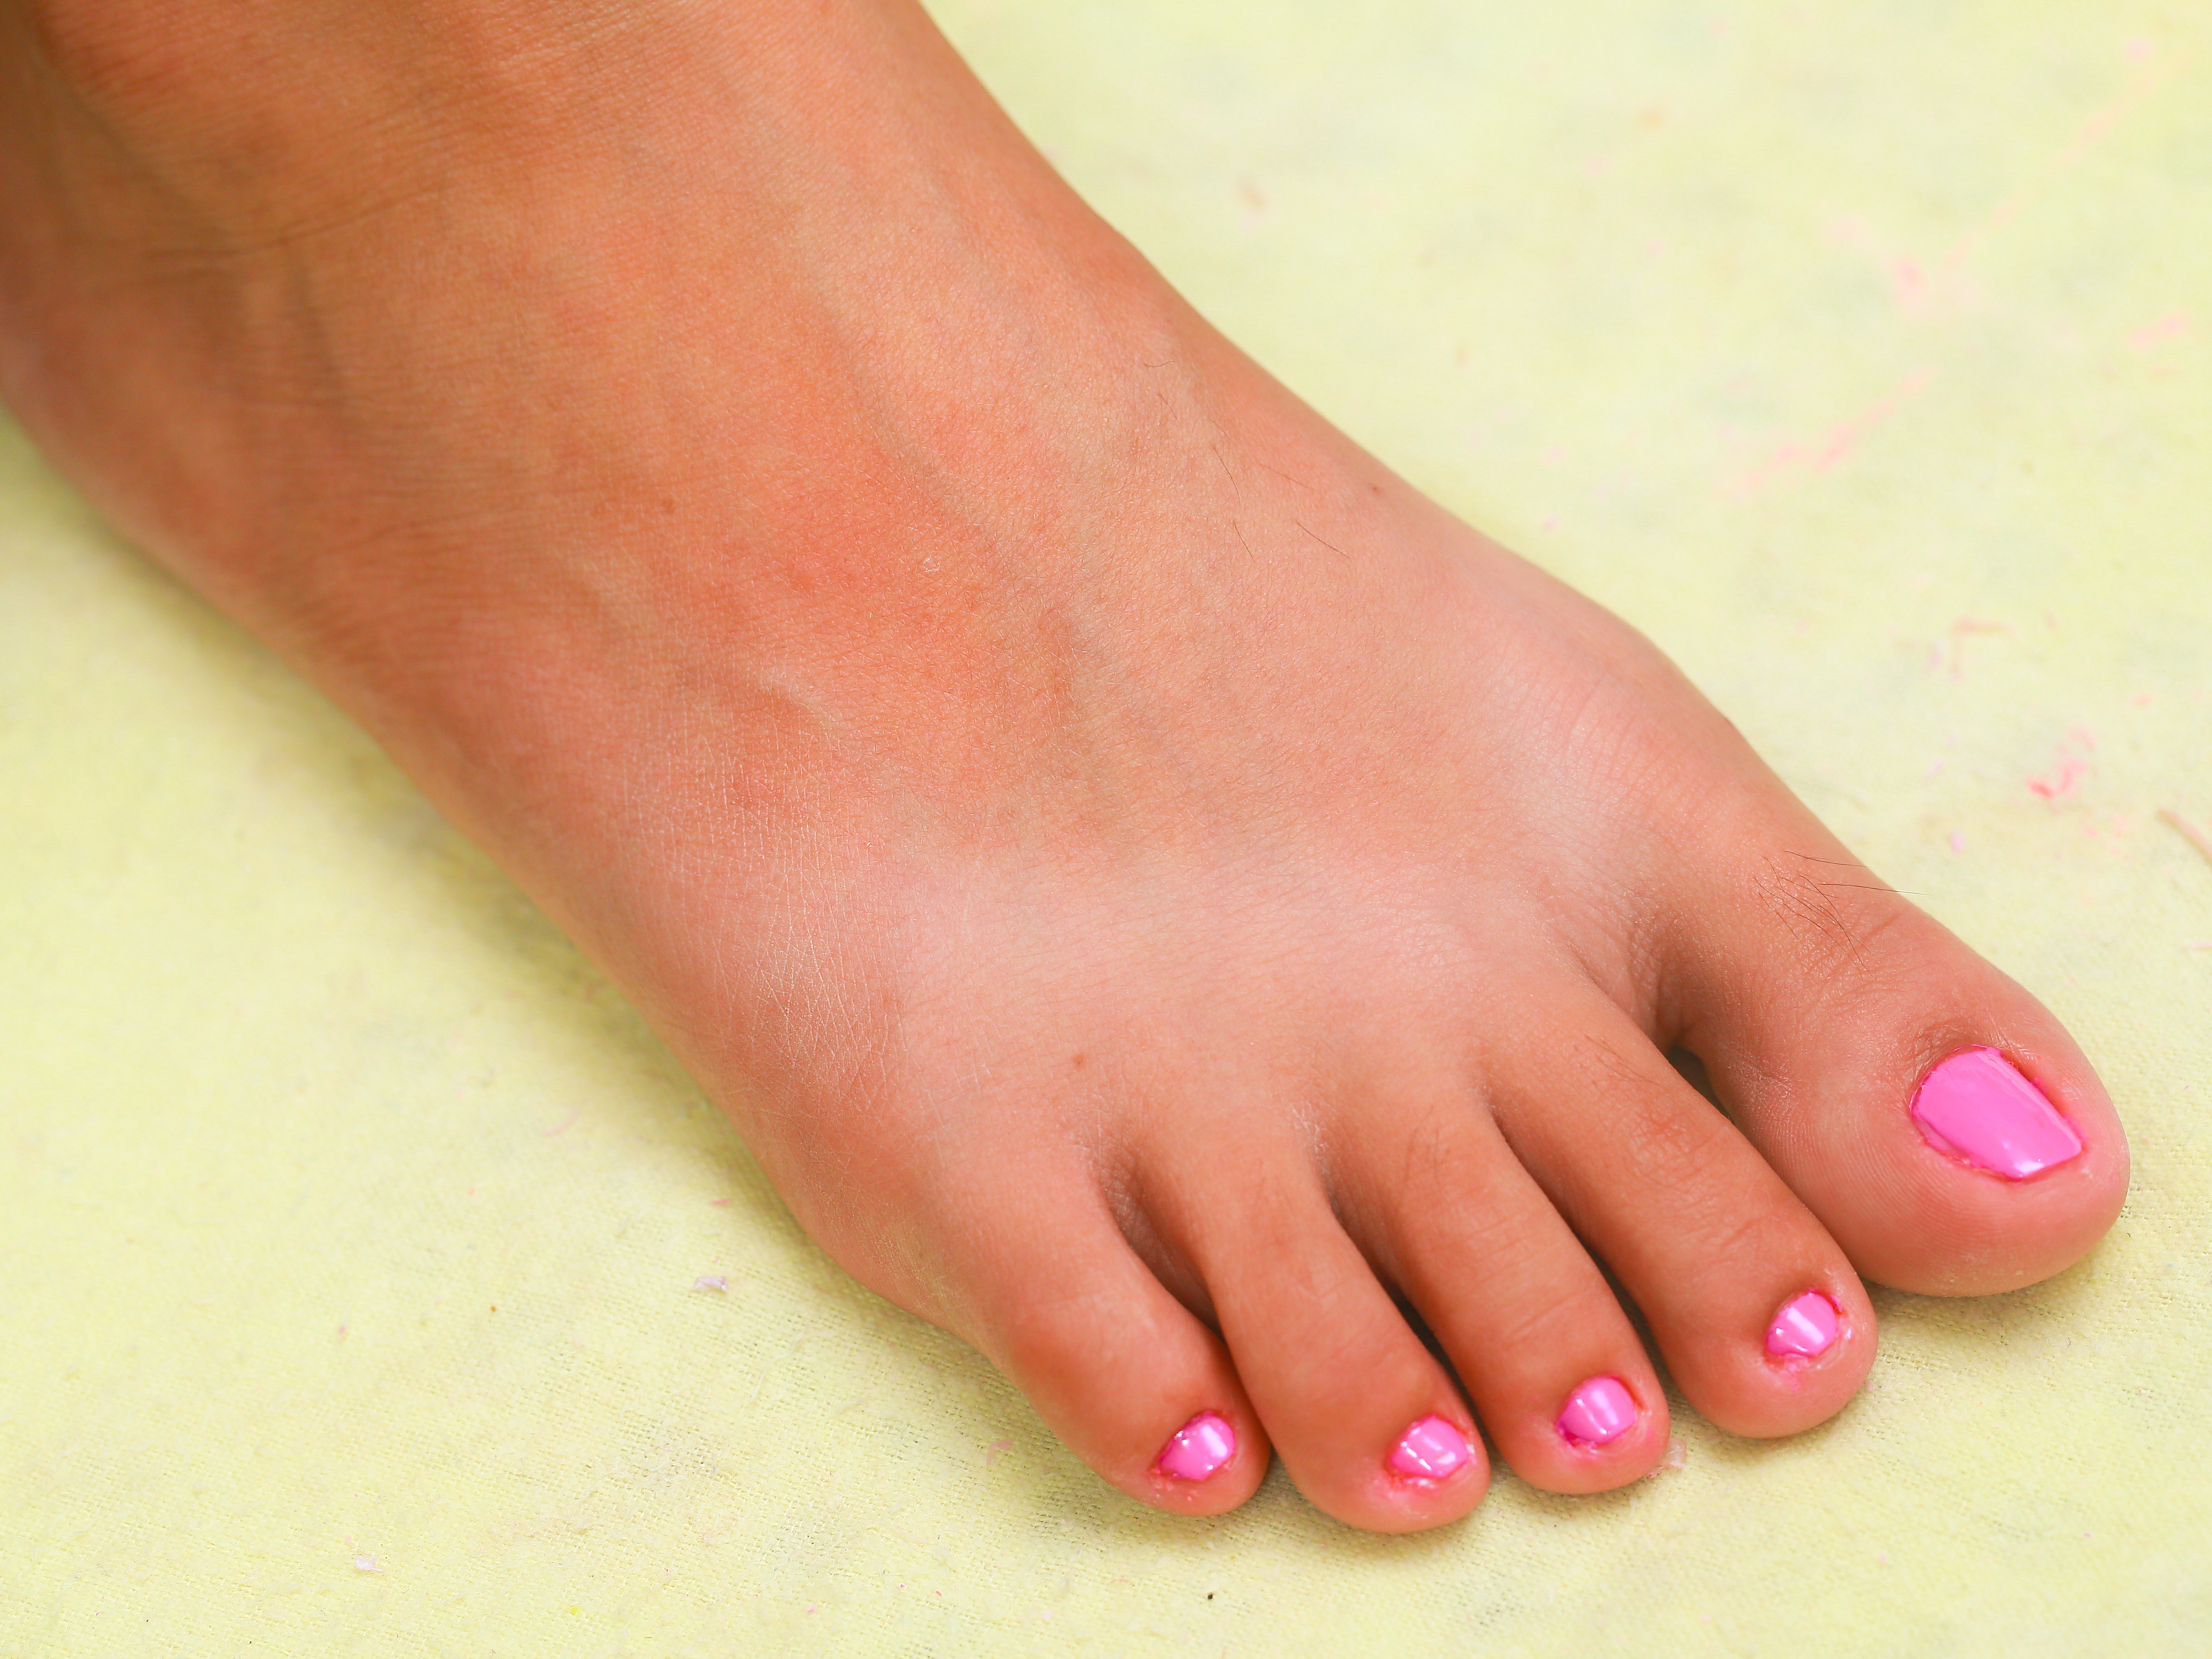

Painting your toe nails sounds simple until you are sitting on the bathroom floor, one foot in the air, trying not to smudge your big toe while your cat, towel, or own impatience threatens the whole operation. The good news? A smooth, shiny, long-lasting pedicure at home is absolutely possible. You do not need a salon chair, a wall of polish colors, or the flexibility of a yoga instructor. You just need clean feet, the right order of steps, and a little drying time that cannot be negotiated with.
This guide explains how to paint your toe nails in 13 steps, from prepping your feet to sealing the final coat. You will also learn practical toenail polish tips, common mistakes to avoid, and simple ways to make your at-home pedicure look neat instead of “I painted these during a power outage.”
Note: This article is intended for healthy toenails. If your toenails are thick, yellow, painful, lifting, bleeding, or oddly discolored, skip the polish and consider asking a dermatologist or podiatrist for advice before covering the problem.
Why Proper Toe Nail Painting Matters
A pretty pedicure is more than color. Good technique helps polish go on smoother, dry more evenly, and last longer. Proper prep also protects the skin around your nails, reduces staining, and helps you notice early signs of nail issues instead of hiding them under five coats of “Beachy Flamingo Sunset.”
Toenails grow slowly, take more pressure from shoes than fingernails, and spend plenty of time in warm, moist environments. That means a smart pedicure routine should include cleanliness, gentle trimming, moisture balance, and polish breaks. When done well, painting your toe nails can be relaxing, affordable, and surprisingly satisfying.
Tools You Need Before You Start
Before the first brushstroke, gather your supplies. A little setup saves you from hopping across the room with wet toes like a very glamorous flamingo.
- Nail polish remover, preferably non-acetone for gentler cleanup
- Cotton pads or lint-free wipes
- Toenail clippers
- Nail file
- Buffer, optional but helpful
- Foot soak basin or warm water
- Mild soap
- Towel
- Cuticle oil or moisturizer
- Orange stick or rubber cuticle pusher
- Toe separators or folded tissue
- Base coat
- Toenail polish color
- Top coat
- Small cleanup brush or cotton swab
How to Paint Your Toe Nails: 13 Steps
Step 1: Remove Old Polish Completely
Start with a clean canvas. Soak a cotton pad with nail polish remover and press it on each toenail for a few seconds before wiping. This helps dissolve the polish instead of smearing it across the nail like abstract art. If glitter polish is involved, patience is your friend. Glitter leaves when glitter is ready.
Check the nail surface after removal. If you see unusual yellowing, thickening, crumbling, pain, or separation from the nail bed, do not simply paint over it. Nail polish can hide changes that deserve attention.
Step 2: Wash and Soak Your Feet
Wash your feet with mild soap and warm water to remove sweat, dirt, lotion, and polish remover residue. A short soak of five to ten minutes can soften the skin and make grooming easier. Avoid a long soak right before painting, though. Nails can absorb water and slightly expand, which may cause polish to chip sooner once the nails dry and shrink back.
Think of this step as politely asking your feet to cooperate. Warm water, a towel, and a calm environment do wonders.
Step 3: Dry Your Feet Thoroughly
After washing or soaking, dry your feet well, especially between the toes. Moisture trapped around the nails can interfere with polish and may create an environment where fungus and bacteria enjoy throwing a tiny party. Use a clean towel and give your toes a minute to air-dry before moving on.
Step 4: Trim Toenails Straight Across
Use clean toenail clippers to trim your nails straight across, then lightly round only the sharp corners with a file. Cutting too deeply into the sides can increase the risk of ingrown toenails, especially on the big toes. Keep the length practical. Very long toenails may press against shoes, while nails cut too short can become tender.
A good rule: leave a small white edge if possible. Your toes should look tidy, not like they lost an argument with the clippers.
Step 5: File the Edges Smooth
Use a nail file to smooth rough edges. File in one direction rather than sawing back and forth aggressively. Gentle filing helps prevent splitting and gives the polish a cleaner outline. Pay attention to the big toenail because it is the star of the pedicure show and, frankly, it knows it.
Step 6: Gently Buff the Nail Surface
Light buffing can help smooth ridges and improve polish application. Use a soft buffer and avoid overdoing it. Toenails are not wooden furniture; they do not need sanding into a new identity. A few gentle passes are enough to even the surface and remove minor roughness.
If your nails are thin, weak, painful, or damaged, skip buffing. Healthy nails can handle light smoothing, but fragile nails need kindness more than shine.
Step 7: Care for Cuticles Without Cutting Them
Apply a drop of cuticle oil or a small amount of moisturizer around each toenail. Then use a rubber cuticle pusher or orange stick to gently nudge cuticles back if needed. Avoid cutting cuticles at home. Cuticles help protect the nail area from infection, and trimming them too aggressively can create tiny openings in the skin.
If there is a hangnail, clip only the loose piece with clean tools. Do not pull it. Pulling a hangnail is the tiny doorway to regret.
Step 8: Clean the Nail Plate Before Polish
Moisturizer is great for skin but not great under polish. Before painting, swipe each toenail with a little nail polish remover or rubbing alcohol on a cotton pad to remove oils from the nail plate. This helps the base coat stick better and reduces peeling.
Be careful not to flood the skin with remover. A quick, targeted swipe is enough.
Step 9: Separate Your Toes
Use foam toe separators, cotton, or folded tissue between the toes. This keeps wet nails from bumping into each other. It may feel a little silly, but toe separators are the quiet heroes of a clean pedicure. Without them, your freshly painted pinky toe may decide to become best friends with its neighbor.
Step 10: Apply a Thin Base Coat
A base coat helps polish adhere, creates a smoother surface, and can reduce staining from darker colors. Apply one thin layer and cap the free edge by lightly brushing across the tip of each nail. Do not glob it on. Thick coats take longer to dry and are more likely to dent, bubble, or peel.
Let the base coat dry for a minute or two before adding color. It does not need to be rock-hard, but it should not feel wet and slippery.
Step 11: Paint the First Thin Coat of Color
Now comes the fun part. Roll the polish bottle between your hands instead of shaking it, which can create bubbles. Wipe one side of the brush against the bottle neck so you do not overload the nail.
Use the three-stroke method: one stroke down the center, one on the left, and one on the right. For small toenails, one or two tiny strokes may be enough. Keep the coat thin. The first coat may look slightly streaky, and that is normal. Do not panic-paint over it. The second coat is where the magic happens.
Step 12: Apply a Second Coat for Even Color
Wait two to three minutes, then apply a second thin coat. This layer builds opacity and depth. Use light pressure and avoid dragging the brush too many times over the same area. If polish gets on the skin, do not wipe wildly with your finger. Let it sit for a moment, then clean it with a small brush dipped in remover or a pointed cotton swab.
If your polish is sheer by design, you may add a third very thin coat. But remember: every extra coat adds drying time. Your sandals may be cute, but they cannot save a pedicure that was rushed into shoes too soon.
Step 13: Seal With Top Coat and Let It Dry
Finish with a clear top coat to add shine and protect the color. Brush it over the entire nail and lightly across the tip. This helps prevent chips, especially on big toes that rub against shoes. Reapply top coat every few days if you want your pedicure to stay glossy longer.
Give your toenails enough time to dry. Even if the surface feels dry after 10 to 15 minutes, deeper layers can remain soft for a while. Wear open-toe shoes after painting and avoid socks, tight shoes, bedsheets, and dramatic toe-related activities for as long as possible.
Common Mistakes to Avoid When Painting Toe Nails
Using Thick Layers
Thick polish looks efficient, but it dries slowly and smudges easily. Two thin coats almost always look better than one heavy coat. Thin coats also reduce bubbling and help the color wear more evenly.
Skipping Base Coat
Skipping base coat may save two minutes today and cost you stained nails tomorrow. This is especially true with reds, blues, greens, and dark berry shades. A base coat creates a protective barrier and helps color apply smoothly.
Painting Over Dirty or Oily Nails
Polish does not stick well to lotion, oil, sunscreen, or dust. Clean the nail plate right before painting, even if you washed your feet earlier. This tiny step can make a big difference in wear time.
Cutting Cuticles
Cuticles are not the villain. They protect the nail area. Cutting them can cause irritation or infection, especially if tools are not properly cleaned. Push gently instead of cutting, and keep the area moisturized between pedicures.
Ignoring Nail Changes
Polish should decorate healthy nails, not disguise problems. If a toenail becomes thick, crumbly, painful, greenish, blackened, or separated from the nail bed, pause the pedicure routine and get professional guidance.
How to Make Your Pedicure Last Longer
To extend your at-home pedicure, start with dry, clean nails and apply thin coats. Cap the nail tips with base coat, color, and top coat. Avoid soaking your feet for long periods right after painting, and wear roomy shoes that do not press on your toenails.
Moisturize your feet daily, but avoid rubbing heavy lotion directly over fresh polish until it is fully cured. If the shine starts to fade, add another layer of top coat after two or three days. Also, give your toenails periodic breaks from polish. A polish-free week now and then lets you check nail health and prevent dryness or staining from going unnoticed.
Best Colors for a Clean At-Home Pedicure
The best toenail polish color is the one that makes you look down and smile. Still, some shades are easier for beginners. Soft pink, beige, sheer peach, and milky white are forgiving because small mistakes are less obvious. Coral, cherry red, and berry shades look classic and cheerful but require a steadier hand. Dark navy, black, emerald, and wine colors look dramatic, but cleanup matters because every tiny wobble wants attention.
If you are new to painting your toe nails, start with a medium shade. Very pale colors can streak, and very dark colors can stain or show uneven edges. A creamy rose, mauve, or warm red is often the sweet spot.
How Often Should You Paint Your Toe Nails?
Many people repaint toenails every two to four weeks, depending on growth, chipping, and personal style. However, leaving polish on for too long can hide changes in nail color or texture. Remove polish regularly, inspect your nails, moisturize, and let them breathe before repainting. If your toenails look dry or stained, take a short polish break and use cuticle oil or a gentle nail moisturizer.
At-Home Pedicure Safety Tips
Clean your tools before and after use. Do not share clippers or files without sanitizing them. Avoid painting over cuts, blisters, or irritated skin. If you have diabetes, poor circulation, nerve problems, or a history of foot infections, be extra careful with trimming and cuticle care. In those cases, professional medical foot care may be safer than aggressive home grooming.
Also, do not shave your legs immediately before a pedicure if your skin is sensitive or prone to nicks. Tiny cuts can increase irritation risk when exposed to soaking water, scrubs, or salon products. At home, gentle is better than heroic.
Personal Experiences and Practical Lessons From Painting Toe Nails at Home
The first lesson of painting your toe nails at home is that confidence is wonderful, but balance is better. Many people begin their pedicure journey thinking, “How hard can this be?” Then they discover that the smallest toe has the surface area of a sunflower seed and the personality of a moving target. The trick is to slow down. Place your foot on a stable towel, bend your knee comfortably, and bring the polish brush to the nail instead of chasing your toe around like it owes you money.
Another useful experience is learning that prep matters more than the polish brand. A fancy bottle cannot perform miracles on oily, wet, or uneven nails. The pedicures that last longest usually begin with boring steps: remove old polish, trim carefully, file the edges, wipe the nail clean, and apply base coat. These steps do not feel glamorous, but they are the reason the final color looks smooth instead of patchy. In nail care, the unglamorous steps are often doing the heavy lifting while the glitter gets applause.
Color choice also teaches patience. A sheer nude may look simple in the bottle but need three coats to appear even. A deep red may look stunning but reveal every shaky brushstroke. A bright coral may lift your mood instantly, especially when the weather is gray or your sandals have been waiting all winter for their big comeback. Over time, many at-home pedicure fans keep a few reliable shades: one neutral for clean everyday wear, one red or berry for classic polish, one playful summer color, and one dramatic shade for when the toes are feeling mysterious.
Drying time is where most home pedicures succeed or collapse. You can do every step perfectly, then ruin everything by putting on socks too soon. The surface may feel dry, but the layers underneath can still be soft. One blanket wrinkle can stamp your big toe like a tiny crime scene. The best strategy is to paint your toe nails when you genuinely have time to stay barefoot. Watch a show, answer emails, read a book, or sit still and admire your work like a person who has earned peace.
Cleanup is another skill that improves quickly. At first, polish on the skin feels like disaster. It is not. A small angled brush dipped in remover can sharpen the edges beautifully. You do not need to repaint the entire nail because of one little smudge. Wait a moment, clean the border, and continue. This single habit can make an at-home pedicure look much more professional.
The final lesson is to respect your toenails as living parts of your body, not just ten tiny billboards for color. Take breaks from polish. Moisturize after removal. Notice changes. Choose comfortable shoes. A beautiful pedicure should make your feet feel cared for, not covered up. When the process becomes a small ritual instead of a rushed chore, painting your toe nails can feel less like beauty maintenance and more like a cheerful reset.
Conclusion
Learning how to paint your toe nails is really about mastering a simple sequence: clean, trim, file, prep, base coat, thin color coats, top coat, and proper drying time. Once you understand the order, the process becomes easier, neater, and more enjoyable. You do not need salon-level tools to create a polished pedicure at home. You need patience, clean nails, gentle technique, and the wisdom not to put on socks five minutes after finishing.
Whether you prefer a barely-there nude, a glossy red, or a vacation-blue shade that says “I may answer emails, but emotionally I am at the beach,” a good pedicure starts with healthy toenails. Paint them beautifully, care for them regularly, and give them a break when needed. Your toes carry you everywhere. The least they deserve is a decent top coat.