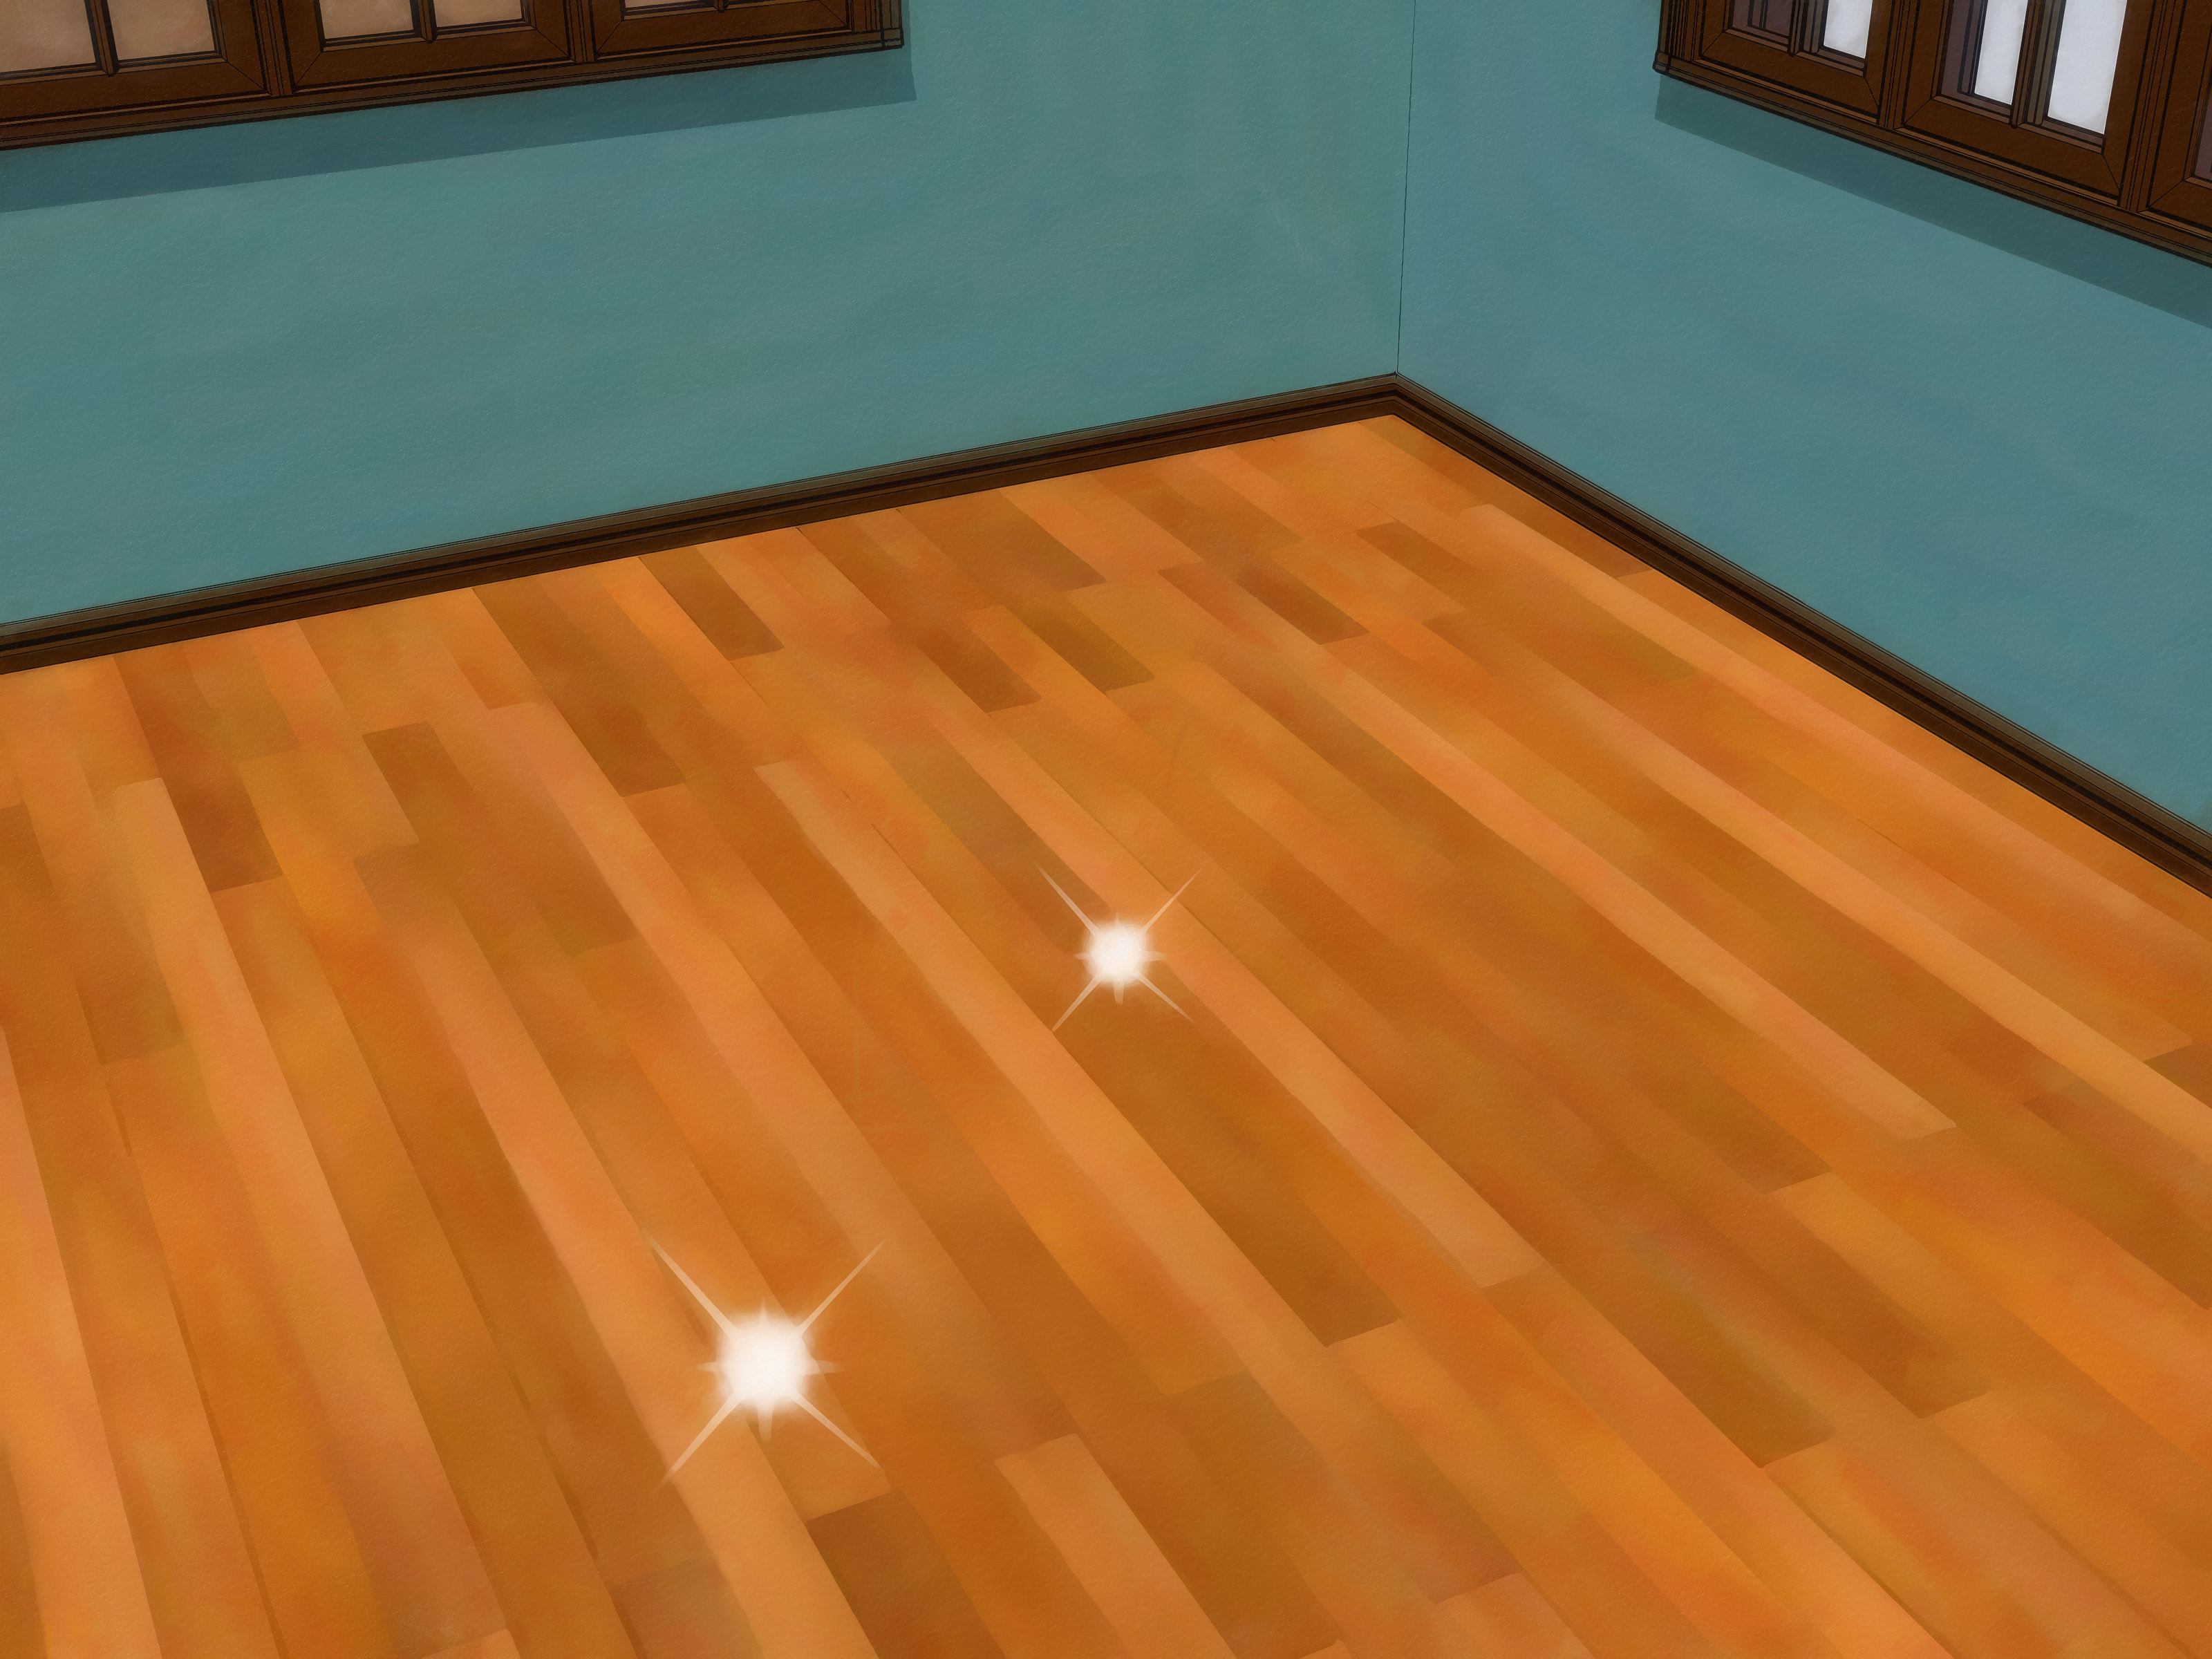

Wood floors are a little like good shoes: when they are clean, polished, and cared for, they make the whole room look better. When they are dull, dusty, or covered in mysterious cloudy streaks, they quietly announce, “Yes, a dog lives here. Possibly three.” The good news is that learning how to polish wood floors is not complicated, and you do not need a professional floor machine, a construction helmet, or a dramatic home-renovation soundtrack.
Polishing wood floors is a practical way to restore shine, smooth out tiny surface scratches, and add a thin protective layer to many modern hardwood floors. However, the secret is knowing what type of floor finish you have, cleaning properly before you polish, and using the right product in the right amount. Too much polish, the wrong cleaner, or a soaking wet mop can turn a simple weekend project into a slippery, cloudy, regret-flavored adventure.
This step-by-step guide explains how to polish hardwood floors safely, what tools to use, what mistakes to avoid, and when polishing is not enough. Whether your floor needs a quick refresh or a “please stop looking tired” makeover, this guide will help you bring back the glow without angering the wood-floor gods.
What Does It Mean to Polish Wood Floors?
Polishing wood floors means applying a thin, compatible floor polish over an existing sealed finish to improve shine and help protect the surface. It is not the same as sanding, refinishing, waxing, or recoating with polyurethane.
Think of polish as a beauty treatment for the top layer of the floor. It can make dull hardwood look brighter, reduce the appearance of light scuffs, and create a more even sheen. But it will not fix deep gouges, pet stains, water damage, cupping, gray worn patches, or areas where the finish has completely disappeared. If your floor has bare wood showing, polish is not a magic potion. It is helpful, not a wizard.
Polishing vs. Refinishing
Polishing is a surface-level maintenance task. Refinishing is a major restoration process that usually involves sanding the floor down, repairing damage, staining if desired, and applying new coats of finish. Polishing can often be done in a few hours, while refinishing may take several days and usually requires more equipment, ventilation, and skill.
If your hardwood floors are simply dull, lightly scratched, or uneven in shine, polish may be the right solution. If the finish is worn through, the wood is stained, or scratches are deep enough to catch a fingernail, refinishing or a professional screen-and-recoat may be a better choice.
Before You Start: Know Your Wood Floor Finish
The most important step in polishing wood floors happens before you open the bottle. You need to know whether your floor has a surface finish or a penetrating finish. Most modern hardwood floors have a surface finish, such as polyurethane or water-based urethane. These finishes create a protective layer on top of the wood, and many are suitable for hardwood floor polish.
Older floors, especially those installed many decades ago and never refinished, may have a penetrating oil or wax finish. These floors absorb finish into the wood rather than sealing it with a hard surface layer. They usually need wax or oil-based care, not standard acrylic or water-based wood floor polish.
The Water Drop Test
To get a general idea of your finish type, place a few drops of water on a hidden area of the floor, such as inside a closet or behind a door. Watch what happens for a short moment, then wipe it away immediately.
- If the water beads up on the surface, your floor likely has a modern surface finish.
- If the water darkens the wood or soaks in quickly, your floor may have a penetrating finish or worn protective coating.
- If you are unsure, test any cleaner or polish in a small hidden area before treating the whole room.
This tiny test can save you from applying the wrong product. Your floor will not send you a thank-you card, but it will quietly remain less damaged, which is basically the same thing.
Tools and Materials You Will Need
Polishing wood floors does not require a garage full of equipment. In fact, simple tools often work best because they help you control moisture, spread polish evenly, and avoid scratching the finish.
- Microfiber dust mop or soft-bristle broom
- Vacuum with a hard-floor setting or soft brush attachment
- pH-neutral hardwood floor cleaner
- Clean microfiber mop pads
- Flat-head microfiber mop or polish applicator
- Wood floor polish compatible with your finish
- Soft cloths for spot cleaning
- Felt pads for furniture legs
- Painter’s tape, if needed, to protect transitions or baseboards
Avoid abrasive scrubbers, steel wool, steam mops, soaking wet string mops, ammonia, bleach, vinegar mixtures, furniture polish, and oil soaps unless your floor manufacturer specifically recommends them. Many of these products can dull the finish, leave residue, or interfere with future recoating.
Step 1: Clear the Room
Start by removing furniture, rugs, pet bowls, floor plants, toys, shoes, and anything else sitting on the floor. Yes, this includes the chair you have been pretending is “temporarily” in the corner for six months.
Polish needs space to dry evenly. If you work around furniture, you may end up with dull islands, shiny borders, and awkward overlap marks. Move lightweight furniture out of the room. For heavy pieces, ask for help or use furniture sliders. Do not drag furniture across the wood unless you enjoy creating fresh scratches immediately before polishing them.
Remove rugs and mats at least 24 hours before polishing if possible. This gives the floor time to breathe and helps you spot hidden grime, trapped moisture, or discoloration underneath.
Step 2: Dust, Sweep, and Vacuum Thoroughly
Polish should never be applied over dirt. Dust, grit, crumbs, and pet hair can become trapped under the polish layer, leaving bumps, streaks, and a finish that looks less “glowing hardwood” and more “sealed-in snack evidence.”
Use a microfiber dust mop or soft broom to remove loose debris. Then vacuum with a hard-floor attachment or a vacuum that lets you turn off the rotating brush roll. Beater bars designed for carpet can scratch wood floors, especially softer species or older finishes.
Work along the direction of the floorboards. Pay special attention to corners, under cabinets, near entryways, and around baseboards where dust likes to gather like it pays rent.
Step 3: Deep Clean Before Polishing
Once the floor is free of dry debris, clean it with a hardwood-safe cleaner. Choose a pH-neutral wood floor cleaner that matches your floor type. For most sealed hardwood floors, a spray cleaner and microfiber mop work well because they keep moisture controlled.
How to Clean the Floor Properly
- Spray a small section of the floor lightly with hardwood floor cleaner.
- Mop with a clean microfiber pad, moving with the grain.
- Replace or rinse mop pads as they become dirty.
- Do not let liquid pool on the floor.
- Allow the floor to dry completely before polishing.
Cleaning is not the glamorous part, but it is the part that decides whether your polish looks smooth or streaky. If cleaner residue remains on the floor, the polish may not bond evenly. If the floor is damp, polish may haze. If the mop pad is dirty, congratulations, you have invented dirt frosting.
Step 4: Inspect for Damage
After cleaning, look closely at the floor. Good lighting helps. Walk around the room and check for deep scratches, gray areas, white water marks, sticky buildup, loose boards, splinters, pet stains, or worn patches where bare wood is exposed.
Polish works best on floors where the protective finish is still intact. If you see large worn-through areas, polishing may temporarily add shine around the damage while making the damaged spots more obvious. In that case, consider a professional screen-and-recoat or full refinishing.
Small scuffs and light surface scratches are usually fine. Some wood floor polishes help fill microscopic scratches and even out sheen. For deeper marks, use a floor repair marker, wood filler, or touch-up kit recommended for your floor before polishing.
Step 5: Choose the Right Wood Floor Polish
Select a polish made specifically for hardwood floors and compatible with your finish. Read the label carefully. Some products are designed for sealed hardwood only. Others may be suitable for engineered wood, laminate, or multi-surface floors. Do not assume one bottle can handle every surface in the house just because it has the word “shine” on it.
Choose the sheen level you want. High-gloss polish gives a shinier, more reflective look, while low-gloss or satin polish creates a softer, more natural appearance. If your floor originally had a satin finish, applying a high-gloss polish may make it look dramatically different. That can be great if you want sparkle. It can be less great if your living room suddenly resembles a bowling alley.
Always Test First
Apply a small amount of polish in a hidden spot and let it dry according to the product directions. Check the color, shine, traction, and clarity. If it looks cloudy, sticky, uneven, or too glossy, stop before treating the entire floor.
Step 6: Apply the Polish in Small Sections
When the floor is clean and completely dry, you are ready to polish. Shake the bottle gently if the manufacturer recommends it. Do not aggressively whip it like salad dressing unless the label says so; bubbles can create an uneven finish.
Start in the farthest corner of the room and work toward the exit. This prevents you from polishing yourself into a corner, which is funny in cartoons and annoying in socks.
- Pour or squirt a small amount of polish directly onto the floor in an “S” pattern.
- Use a clean microfiber applicator pad to spread it evenly.
- Work with the grain of the wood whenever possible.
- Keep the coat thin and smooth.
- Overlap slightly between sections to avoid missed spots.
- Do not overwork the polish once it begins to set.
The goal is an even coat, not a lake. More polish does not mean more shine; it usually means more streaks, longer drying time, and a future afternoon spent wondering how to remove buildup.
Step 7: Let the Floor Dry
Drying time depends on the product, humidity, temperature, airflow, and coat thickness. Many hardwood floor polishes allow light foot traffic after about an hour, but heavy traffic, furniture, and rugs may need to wait 24 hours or longer. Always follow the directions on your specific polish.
Keep kids, pets, shoes, and enthusiastic relatives off the floor while it dries. If necessary, block the doorway. A half-dry polished floor and a curious dog can produce paw-print art that nobody requested.
Do not use fans that blow dust across the room. Gentle ventilation is helpful, but airborne debris can land in wet polish. Also avoid walking on the floor to “check if it is dry.” That is what the label is for. Trust the label. The label has seen things.
Step 8: Replace Furniture Carefully
Once the polish has cured enough for furniture, replace items carefully. Lift furniture instead of dragging it. Add felt pads to chair legs, table legs, sofas, and other heavy pieces. Replace rugs only after the recommended waiting period so the polish can fully harden and avoid sticking or imprinting.
Use breathable rug pads designed for hardwood floors. Some rubber-backed mats can discolor finishes or trap moisture. In entryways, choose mats that catch grit and water before they reach the wood.
How Often Should You Polish Wood Floors?
How often you polish wood floors depends on traffic, lifestyle, finish condition, and the product you use. High-traffic areas such as kitchens, hallways, and living rooms may need polishing every few months. Low-traffic bedrooms or formal rooms may only need polish once or twice a year.
Do not polish just because the calendar says so. Look at the floor. If it is clean but still dull, lightly scuffed, and otherwise in good shape, polishing may help. If it already has buildup, feels tacky, or looks cloudy, adding more polish can make the problem worse. In that case, you may need to remove residue with a product recommended by the polish manufacturer or consult a flooring professional.
Common Mistakes to Avoid
Using the Wrong Product
Furniture polish, acrylic waxes, oil soaps, and multi-surface shine products can leave residue or make floors slippery. Use a product designed for your specific floor finish.
Skipping the Cleaning Step
Polish traps whatever is underneath it. If that happens to be dust, dog hair, or yesterday’s cracker crumbs, the final result will not be elegant.
Using Too Much Water
Wood and standing water are not friends. Use a lightly damp mop for cleaning, never a soaking wet mop. Wipe spills immediately and avoid steam cleaners on hardwood floors.
Applying Too Much Polish
A thick coat can dry unevenly and create streaks. Thin, even layers are safer and better-looking.
Polishing a Damaged Floor
If the finish is worn through, polish cannot rebuild it. Consider recoating or refinishing instead.
How to Keep Wood Floors Shiny Longer
Polishing helps, but daily habits protect the shine. Sweep or dust mop regularly to remove grit. Vacuum with a hard-floor attachment. Place mats near exterior doors. Wipe spills as soon as they happen. Keep pet nails trimmed. Use felt pads under furniture. Avoid walking on hardwood floors with cleats, damaged high heels, or shoes carrying gravel from outside.
Humidity also matters. Wood expands and contracts as moisture levels change. In dry seasons, a humidifier can help reduce gaps. In humid seasons, air conditioning or a dehumidifier can help prevent swelling. Stable indoor conditions are better for both the floor and your sanity.
When Polishing Is Not Enough
Sometimes a floor needs more than polish. If the surface has deep scratches, heavy discoloration, widespread dull patches, peeling finish, water damage, or exposed raw wood, look into a screen-and-recoat or full refinishing.
A screen-and-recoat lightly abrades the existing finish and adds a fresh protective coat. It is less invasive than sanding to bare wood, but it only works when the existing finish is still mostly intact and free from contaminants such as wax or silicone buildup.
Full refinishing is the bigger project. It can restore severely worn hardwood by sanding away old finish and damage, then applying new stain and protective coats. It costs more and takes longer, but for badly worn floors, it may be the only way to bring back true beauty.
Real-World Experience: What Polishing Wood Floors Actually Feels Like
The first thing most homeowners learn when polishing wood floors is that preparation takes longer than polishing. The actual polish application can be surprisingly quick. You pour, spread, smooth, and move on. The slow part is moving furniture, finding dust in corners you swear you cleaned last week, changing mop pads, waiting for the floor to dry, and convincing everyone in the house that “do not walk here” includes them personally.
A practical experience tip: clean the room twice if it has pets, kids, or heavy traffic. The first pass removes obvious dust and grit. The second pass catches the sneaky stuff hiding along baseboards and between planks. A single pet hair trapped in polish is not the end of the world, but once you notice it, your eyes will visit it every time you enter the room. It becomes part of the family.
Another lesson is that lighting changes everything. A floor that looks perfectly clean at noon may reveal streaks and missed spots under evening lamps. Before applying polish, look at the floor from different angles. Natural side light from windows is especially good at exposing residue. If the floor looks cloudy before polishing, stop and clean again. Polish enhances the surface; it does not politely hide every mistake.
Product amount is another area where experience matters. Beginners often apply too much because they want a rich shine. Unfortunately, wood floor polish is not frosting. A heavy coat may dry slowly, show mop marks, or feel slightly tacky. A thin, even coat almost always looks better. If the finish needs more shine, it is usually safer to apply a second coat later if the product allows it, rather than drowning the floor on the first try.
It also helps to plan your exit route. This sounds obvious until you are standing in the middle of a glossy wet floor holding a mop like a confused wizard. Start farthest from the doorway and work backward. Keep supplies outside the room so you do not need to cross wet polish to grab a cloth. If you are polishing a hallway, divide the work into sections so the household still has a route to the bathroom, kitchen, or emergency snack drawer.
Finally, the best polished floors come from consistent maintenance, not heroic rescue missions. A floor that is regularly dusted, cleaned with the right product, protected from grit, and polished only when needed will age more gracefully. It will still get scratches because homes are lived in, not displayed behind velvet ropes. But with the right routine, those scratches become normal character instead of visible neglect. Your wood floors do not need perfection. They need smart care, gentle products, and fewer people dragging chairs like they are auditioning for a furniture-moving Olympics.
Conclusion
Polishing wood floors is one of the simplest ways to restore shine and refresh the look of sealed hardwood without sanding or refinishing. The key is to work carefully: identify your floor finish, clean thoroughly, choose a compatible hardwood floor polish, apply a thin even coat, and allow enough drying time before bringing life back into the room.
Remember, polish is best for floors with intact surface finishes and light wear. It can improve dullness and small scuffs, but it cannot repair deep damage or replace missing finish. Avoid harsh cleaners, steam mops, excess water, and random miracle products that promise to make every surface in your house shine like a new car. Hardwood floors are beautiful, but they are also picky. Treat them kindly, and they will keep making your home look warm, polished, and just a little more expensive than it probably was.
Note: This article is written for general educational use and follows widely accepted wood floor care practices from flooring professionals, manufacturers, and U.S. home improvement guidance. Always follow the instructions from your specific flooring and polish manufacturer before applying any product.