
Note: For a fresh body piercing, commercially packaged sterile saline wound wash is usually the safest and most consistent option. A homemade sea salt soak can be difficult to mix accurately and may become too salty, irritating the healing tissue instead of helping it. Treat sea salt as a simple wellness ingredient for bathsnot a magical cure-all, a disinfectant, or a substitute for medical care.
Sea salt has a talent for making almost anything feel more luxurious. Sprinkle it over dinner, pour it into a bath, and suddenly you are not sitting in your apartment bathroomyou are apparently at a windswept coastal spa with a linen robe and zero unread emails.
But when it comes to piercings, salt water is not just a cozy self-care accessory. A new piercing is a healing wound, which means the goal is gentle cleaning, low irritation, and patience. Lots of patience. The glamorous part of getting a piercing may take five minutes; the healing part can take weeks or months, depending on where it is located.
This guide explains how sea salt soaks fit into piercing aftercare, how to prepare a gentle sea salt bath for relaxation, which ingredients to avoid, and when a little redness is normal versus when it is time to call a healthcare professional.
Sea Salt Soaks for Piercings and Baths Are Not the Same Thing
The phrase “sea salt soak” gets used for two very different things:
- Piercing aftercare: A targeted rinse or compress intended to gently clean around a healing piercing.
- Sea salt bath: A warm bath with salt added for comfort, relaxation, or a spa-like skin-care ritual.
Mixing these two ideas can cause trouble. A full bathtub may be lovely after a long week, but it is generally not the best place for a fresh piercing to spend 20 minutes marinating. Fresh piercings should not be submerged in potentially contaminated water, including pools, hot tubs, lakes, oceans, and even shared or poorly cleaned bathtubs.
In other words: a sea salt bath can be a relaxing ritual for intact skin, while piercing care should stay focused, clean, and boring in the best possible way.
The Best Choice for a Fresh Piercing: Sterile Saline
Before reaching for a jar of sea salt, consider the option most professional piercing organizations recommend: sterile saline wound wash containing only 0.9% sodium chloride and purified water. It is pre-measured, sterile, and much less likely to sting because someone accidentally turned a cup of water into tiny Atlantic Ocean.
Look for a spray or wound wash labeled sterile saline. Avoid products that include fragrance, moisturizers, preservatives, antibacterial additives, essential oils, or contact-lens solution. “Saline” on the label does not automatically mean it is appropriate for a healing piercing.
Why Homemade Piercing Soaks Can Be Tricky
The challenge is concentration. Too little salt may not feel useful, while too much salt can dry, burn, and irritate tissue. Crystal size, measuring spoons, water quality, and enthusiastic “just one more pinch” behavior all make homemade mixtures inconsistent. The Association of Professional Piercers no longer recommends mixing your own sea salt solution because homemade batches are commonly too strong.
That does not mean sea salt is forbidden forever. It means sterile saline is the smarter default when your piercing is fresh, sore, crusty, or still healing.
How to Prepare a Homemade Sea Salt Soak for a Piercing
If sterile saline is not available and your piercer or healthcare professional has specifically recommended a homemade saline-style rinse, keep the process simple and temporary. Do not treat this as a stronger-is-better science experiment.
What You Need
- 1 cup of distilled water or previously boiled water
- 1/4 teaspoon of fine, non-iodized sea salt with no fragrance, color, anti-caking agents, or added minerals
- A clean glass, cup, or small bowl
- Clean gauze or a disposable paper towel
Step-by-Step Instructions
- Wash your hands thoroughly. This is the least exciting step and one of the most important. Dirty hands can introduce bacteria to a healing piercing.
- Prepare safe water. Use distilled water, or boil tap water and allow it to cool until warmnot hot.
- Measure the salt carefully. Add 1/4 teaspoon of fine non-iodized sea salt to 8 ounces of water. Do not eyeball it. Your piercing deserves better than kitchen chaos.
- Stir until fully dissolved. Undissolved salt crystals can be scratchy and irritating.
- Use the solution while it is fresh. Do not store homemade solution for later. Throw away any leftovers after use.
- Apply gently. Saturate clean gauze with the warm solution and hold it against the piercing for a few minutes. Avoid twisting, rotating, or aggressively scrubbing the jewelry.
- Pat dry. Use clean disposable gauze or a paper towel. Damp towels can hold bacteria, and your bathroom hand towel has already been through enough.
If the solution burns sharply, leaves the skin very dry, or makes redness worse, stop using it. Switch to sterile saline and contact a reputable piercer or healthcare professional for individualized guidance.
How Often Should You Clean a New Piercing?
More cleaning is not always better. Over-cleaning can irritate a piercing, strip the surrounding skin, and prolong healing. Sterile saline rinses are commonly used once to three times per day, depending on the location of the piercing and the instructions provided by your piercer.
Your daily shower is also useful. Let clean running water rinse away residue, shampoo, sweat, or loose discharge. Then leave the piercing alone as much as possible. Healing tissue is not impressed by constant poking, spinning, squeezing, or “just checking it” every 12 minutes.
What to Avoid on a Healing Piercing
- Hydrogen peroxide
- Rubbing alcohol
- Tea tree oil
- Harsh antibacterial soaps
- Ointments unless prescribed
- Homemade essential-oil blends
- Changing jewelry before the piercing is healed
- Swimming in pools, hot tubs, lakes, or the ocean during early healing
Harsh products can cause irritation, while over-cleaning may delay healing. Alcohol, peroxide, strong soaps, and ointments are not considered appropriate routine aftercare for healing body piercings.
How to Prepare a Sea Salt Bath for Relaxation
A sea salt bath is a separate ritual from piercing care. It is designed for relaxation, not wound treatment, infection prevention, “detoxing,” or turning your bathroom into a medical facility with candles.
For intact skin, a mild sea salt bath can feel soothing after exercise, travel, a long workday, or a dramatic group chat. The warm water often provides the comfort; the salt is simply the supporting actor with excellent branding.
Simple Sea Salt Bath Recipe
- 1/2 cup to 1 cup plain sea salt
- A standard bathtub filled with comfortably warm water
- Optional: unscented colloidal oatmeal for dry or itchy skin
- Optional: a few drops of fragrance-free bath oil only if your skin tolerates it well
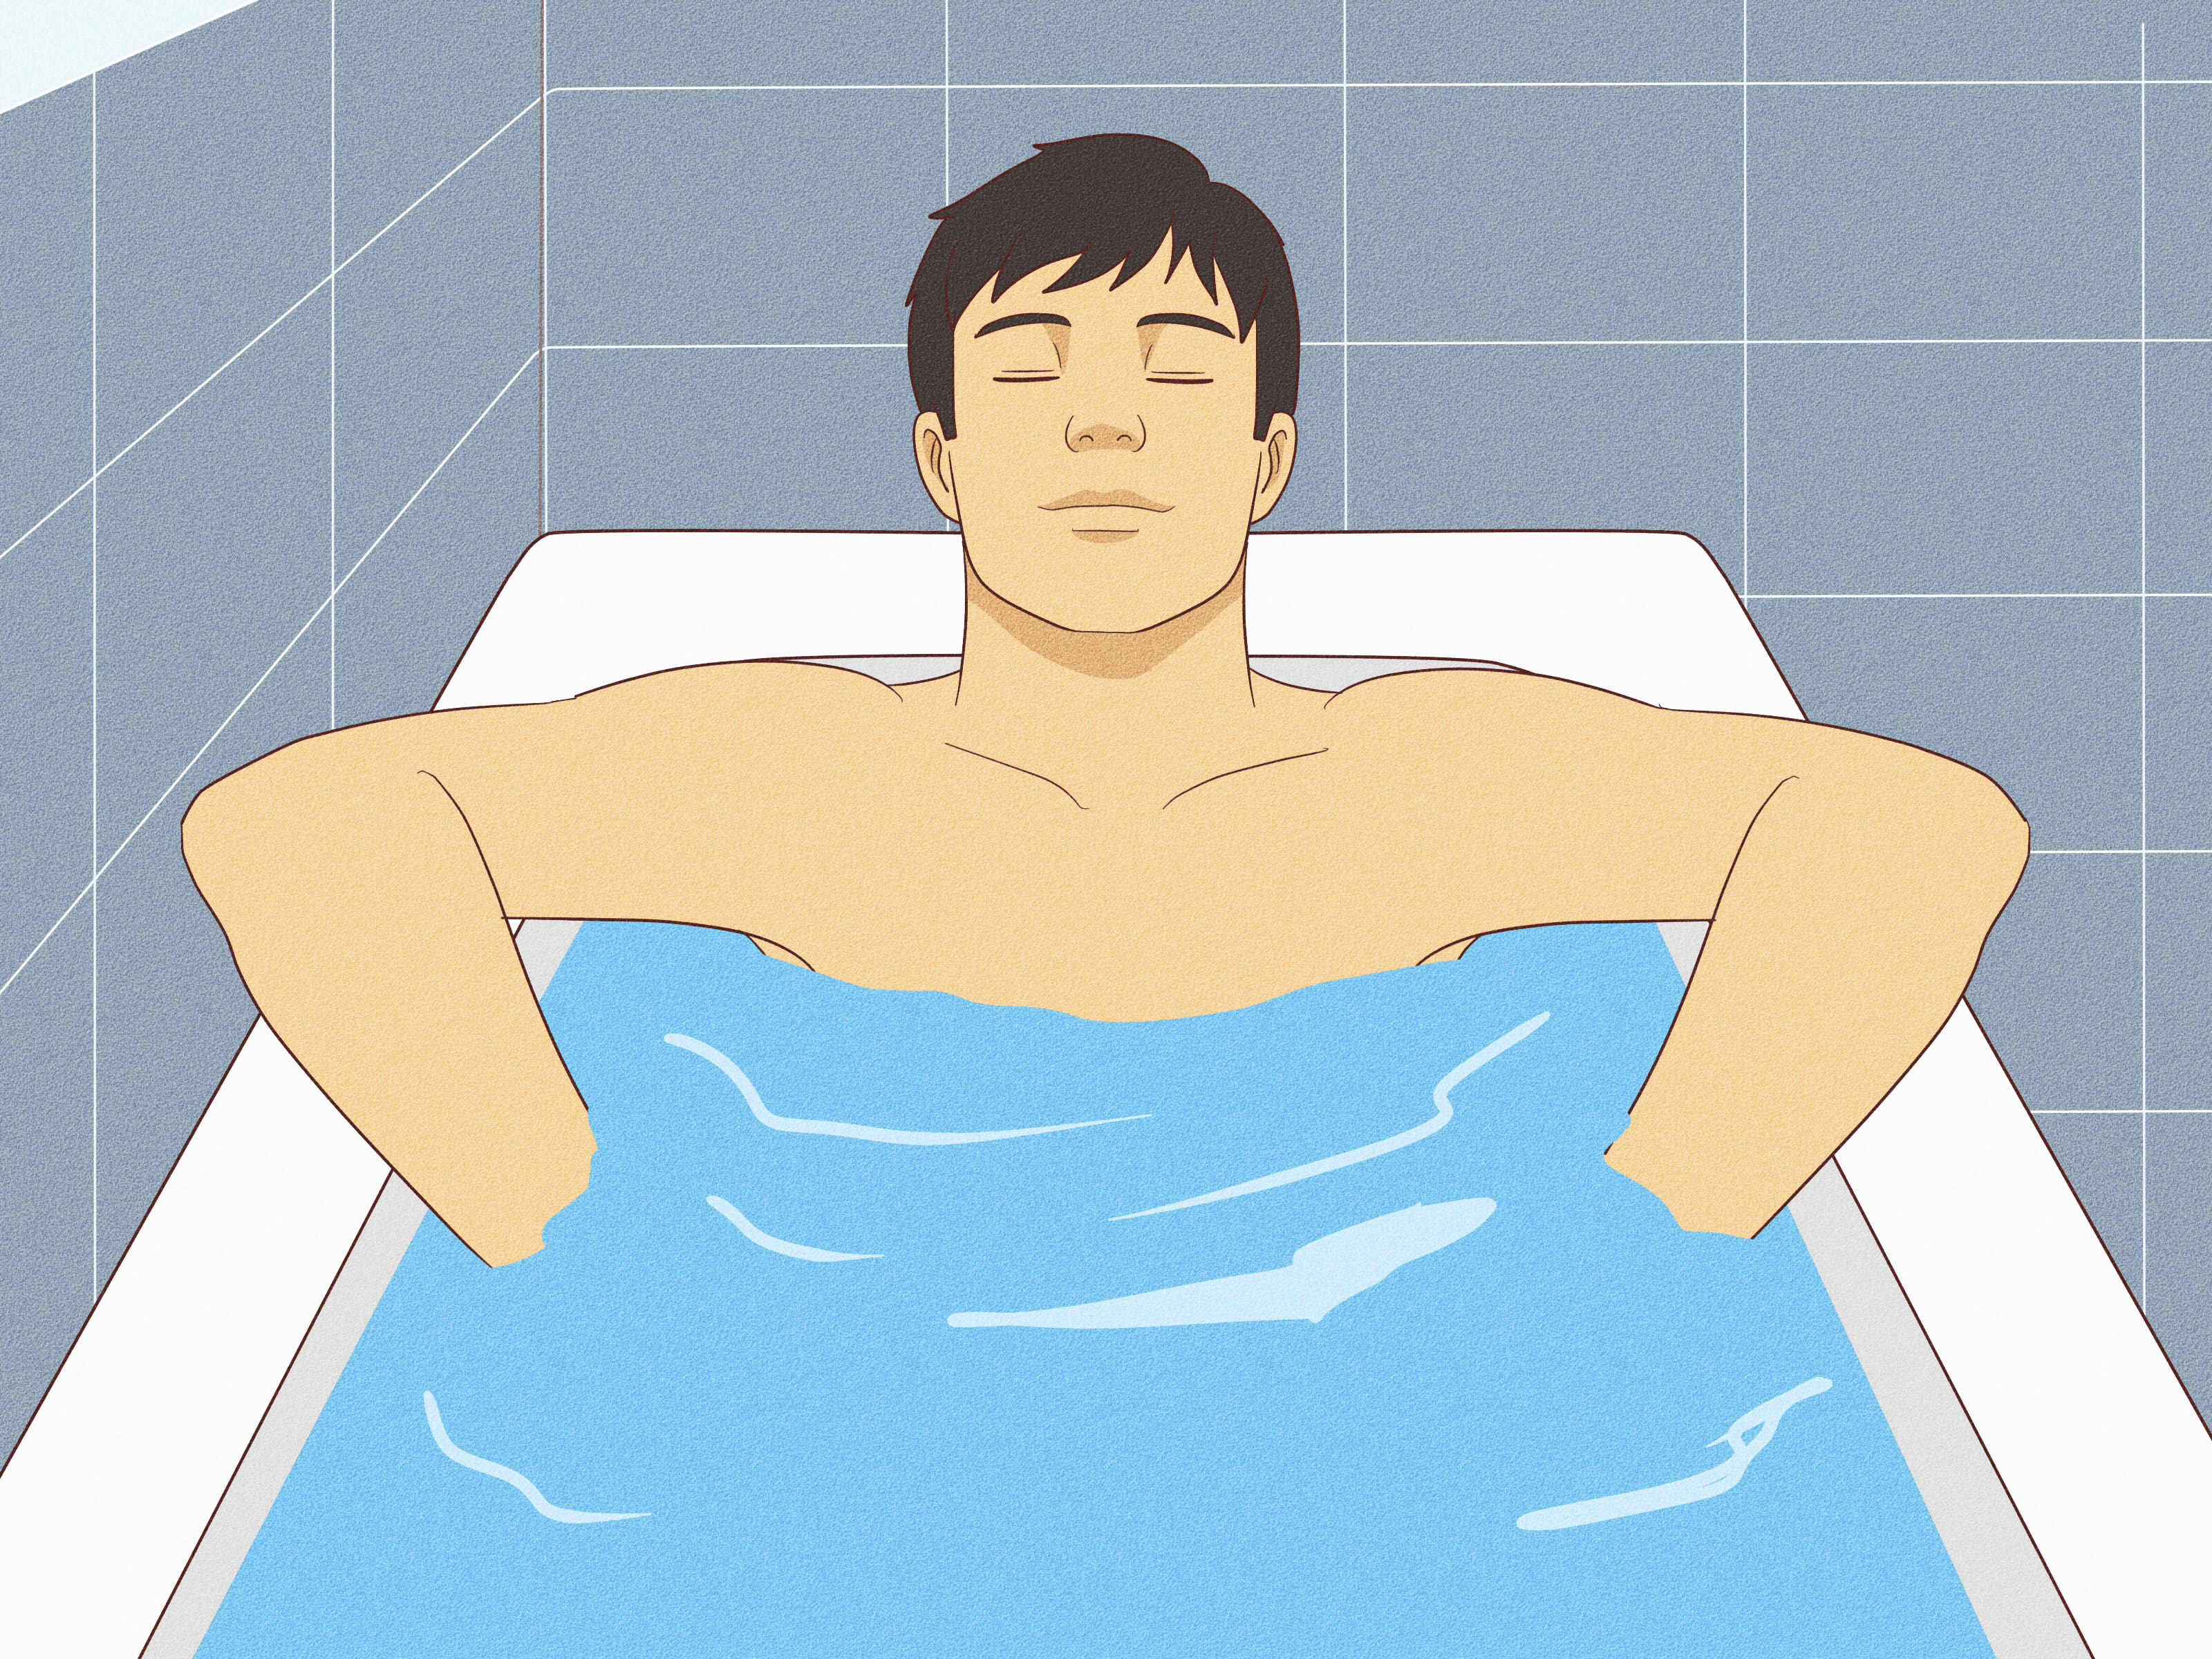
How to Take a Sea Salt Bath
- Fill the bathtub with warm water, not hot water.
- Add 1/2 cup of sea salt first. Use up to 1 cup if your skin tolerates it well.
- Swirl the water until the crystals dissolve.
- Soak for 10 to 15 minutes.
- Rinse your body with fresh water afterward.
- Pat dry gently and apply a fragrance-free moisturizer while your skin is still slightly damp.
Long, hot soaks can dry skin, worsen irritation, and even make small cuts or sores feel worse. People with diabetes, poor circulation, open wounds, severe eczema, fungal infections, or reduced sensation in their feet should check with a healthcare professional before making soaking a regular habit.
Can You Take a Sea Salt Bath With a New Piercing?
It is better to wait until the piercing is well healed. A new piercing is an open pathway through the skin, and soaking in bathwater exposes it to soap residue, skin bacteria, oils, and anything else quietly living in your tub. That is not a personality test your piercing needs to take.
Be especially cautious with cartilage piercings, such as helix, industrial, conch, or tragus piercings. Cartilage infections can become serious and may damage the shape of the ear if treatment is delayed.
If you have a fresh piercing, shower instead of soaking. Keep shampoo, conditioner, body wash, and bath products away from the piercing site as much as possible, then rinse thoroughly with clean water.
Sea Salt Bath Ingredients to Skip
Plain sea salt is enough. You do not need to create a potion that looks like it belongs in a fantasy movie. Skip ingredients that can irritate sensitive skin or complicate piercing care:
- Artificial fragrance
- Strong essential oils
- Glitter or colored bath salts
- Bubble bath products with heavy fragrance
- Alcohol-based products
- Vinegar, lemon juice, or baking soda “detox” mixtures
- Harsh exfoliating scrubs
Sea salt baths may feel relaxing, but they do not remove toxins from the body, cure infections, or replace dermatologist-recommended treatment for eczema, psoriasis, or other skin conditions. Be skeptical of any bath recipe promising to fix your hormones, eliminate inflammation overnight, and organize your inbox before breakfast.
Signs Your Piercing May Need Medical Attention
Some tenderness, mild swelling, and a small amount of clear or pale yellow crusting can occur during normal healing. But worsening symptoms deserve attention.
Contact a healthcare professional promptly if you notice:
- Increasing pain, swelling, warmth, or throbbing
- Redness that spreads beyond the piercing area
- Thick yellow, green, gray, or foul-smelling drainage
- Fever, chills, or feeling generally unwell
- Red streaks extending away from the piercing
- Jewelry becoming embedded in the skin
- Severe swelling around cartilage or facial piercings
Do not remove jewelry on your own if you suspect an infection unless a medical professional instructs you to do so. Closing the outside of the piercing while infection remains inside can sometimes make drainage more difficult. Worsening redness, pain, drainage, swelling, or fever are signs that need medical evaluation.
Common Sea Salt Soak Experiences: What People Often Learn the Hard Way
Sea salt soak advice has been passed around for years, usually from one pierced friend to another, often with the confidence of a person who owns three tiny jars and calls them “the healing station.” Some people swear by warm salt-water compresses. Others discover that their skin gets dry, irritated, or angry after one overly ambitious batch. The difference often comes down to concentration, cleanliness, and whether the piercing was already irritated before the soak began.
A common experience is mistaking normal healing for infection. Fresh piercings can swell, feel tender, produce light crusting, and look slightly pink. That does not automatically mean something has gone terribly wrong. In many cases, the best response is not stronger salt water, more cleaning, or a dramatic emergency jewelry change. It is gentle care, clean hands, and leaving the piercing alone.
Another common lesson is that “natural” does not always mean gentle. Sea salt is natural. So is poison ivy. The important question is whether the product is appropriate for healing skin. A heavily salted homemade mix may sting at first and make someone think it is “working,” but burning is not proof of effectiveness. It can simply mean the solution is too concentrated or the skin is irritated.
People also often learn that baths and piercings are terrible roommates during the early healing stage. A long warm bath may sound like the ideal place to calm down after getting a new navel, nipple, or cartilage piercing. Unfortunately, warm water, soap residue, and prolonged soaking can create an environment that is less than ideal for healing tissue. Many experienced piercers recommend sticking with showers until the piercing has had time to settle.
For bath lovers, the best experience usually comes from keeping the recipe simple. Plain sea salt, warm water, a short soak, and moisturizer afterward are often enough. Adding five different oils, floral petals, glitter, and a neon-blue bath bomb may create an impressive social media photo, but sensitive skin may file a formal complaint.
Another practical discovery: towels matter. A freshly washed towel is great. A damp towel that has been hanging beside the shower for four days is less of a spa accessory and more of a microbial reunion. For piercing care, disposable gauze or a clean paper towel is usually the safer drying option.
Finally, people often realize that healing is slower than expected. Earlobes may calm down relatively quickly, while cartilage, navel, nipple, and certain facial piercings can take much longer. A piercing may look fine on the outside before the internal channel has fully healed. This is why changing jewelry too early, sleeping directly on the piercing, snagging it on clothing, or constantly touching it can restart irritation.
The most successful sea salt soak experience is usually the least dramatic one: use sterile saline for fresh piercings whenever possible, avoid harsh ingredients, keep bath rituals separate from wound care, and give your body enough time to do its job. Healing is rarely exciting, but neither is an infectionand boring aftercare wins that contest every time.
Conclusion
A sea salt soak can be a pleasant addition to a bath routine, but fresh piercings need a more careful approach. Sterile saline wound wash remains the most reliable option because it is clean, measured, and less likely to cause irritation. Homemade sea salt mixtures should be treated as a backup, not a first-line solution.
For baths, keep the ingredients simple, use warm rather than hot water, limit soaking time, rinse afterward, and moisturize your skin. For piercings, resist the urge to over-clean, over-touch, or overthink every tiny crust. A little gentle care and a lot of patience will usually take you farther than an aggressively salty cup of water ever could.