
Adding text to a picture sounds like the kind of task that should take eight seconds. Then you open the wrong app, discover three different “Edit” buttons, accidentally draw a neon-green line across someone’s forehead, and begin questioning every technology purchase you have ever made.
Fortunately, putting text on photos is easy once you know where the correct tool is hiding. Windows includes Paint, Macs have Preview, iPhones and iPads offer Markup, and most Android devices can handle the job through Google Photos. Browser-based editors provide even more control when you need stylish fonts, branded colors, shadows, curved lettering, or social media-ready layouts.
This guide explains how to put text on pictures using built-in and online tools, how to make that text readable, and how to save the finished image without sacrificing your original photo.
Before You Add Text to a Picture
A little preparation prevents the most common editing mistakes. Before opening an image editor, decide what the text needs to accomplish. A family-photo caption can be playful. A product graphic should be clear and persuasive. An instructional screenshot needs labels that remain readable after the image is resized.
Write the text first
Draft the caption in a notes app before placing it on the image. This makes it easier to check spelling, punctuation, names, prices, dates, and calls to action. Text-editing tools are wonderful, but none can protect you from proudly publishing “Summer Sale: 50% Of” to 40,000 followers.
Keep an untouched copy
Duplicate the original picture or choose Save As, Save a Copy, or Export when possible. Some programs flatten text into the image when you save, meaning the words can no longer be edited, moved, or removed independently.
Look for open space
Text is easiest to read when placed over negative space, such as a clear sky, blank wall, blurred background, calm water, or another area without busy details. When the entire photo is visually crowded, add a solid or partially transparent box behind the wording.
How to Put Text on Pictures in Windows
For a quick caption, label, or joke involving a cat who clearly regrets trusting you, Microsoft Paint is usually the fastest free option. It is included with current Windows systems and does not require you to upload the image to a website.
Method 1: Add text with Microsoft Paint
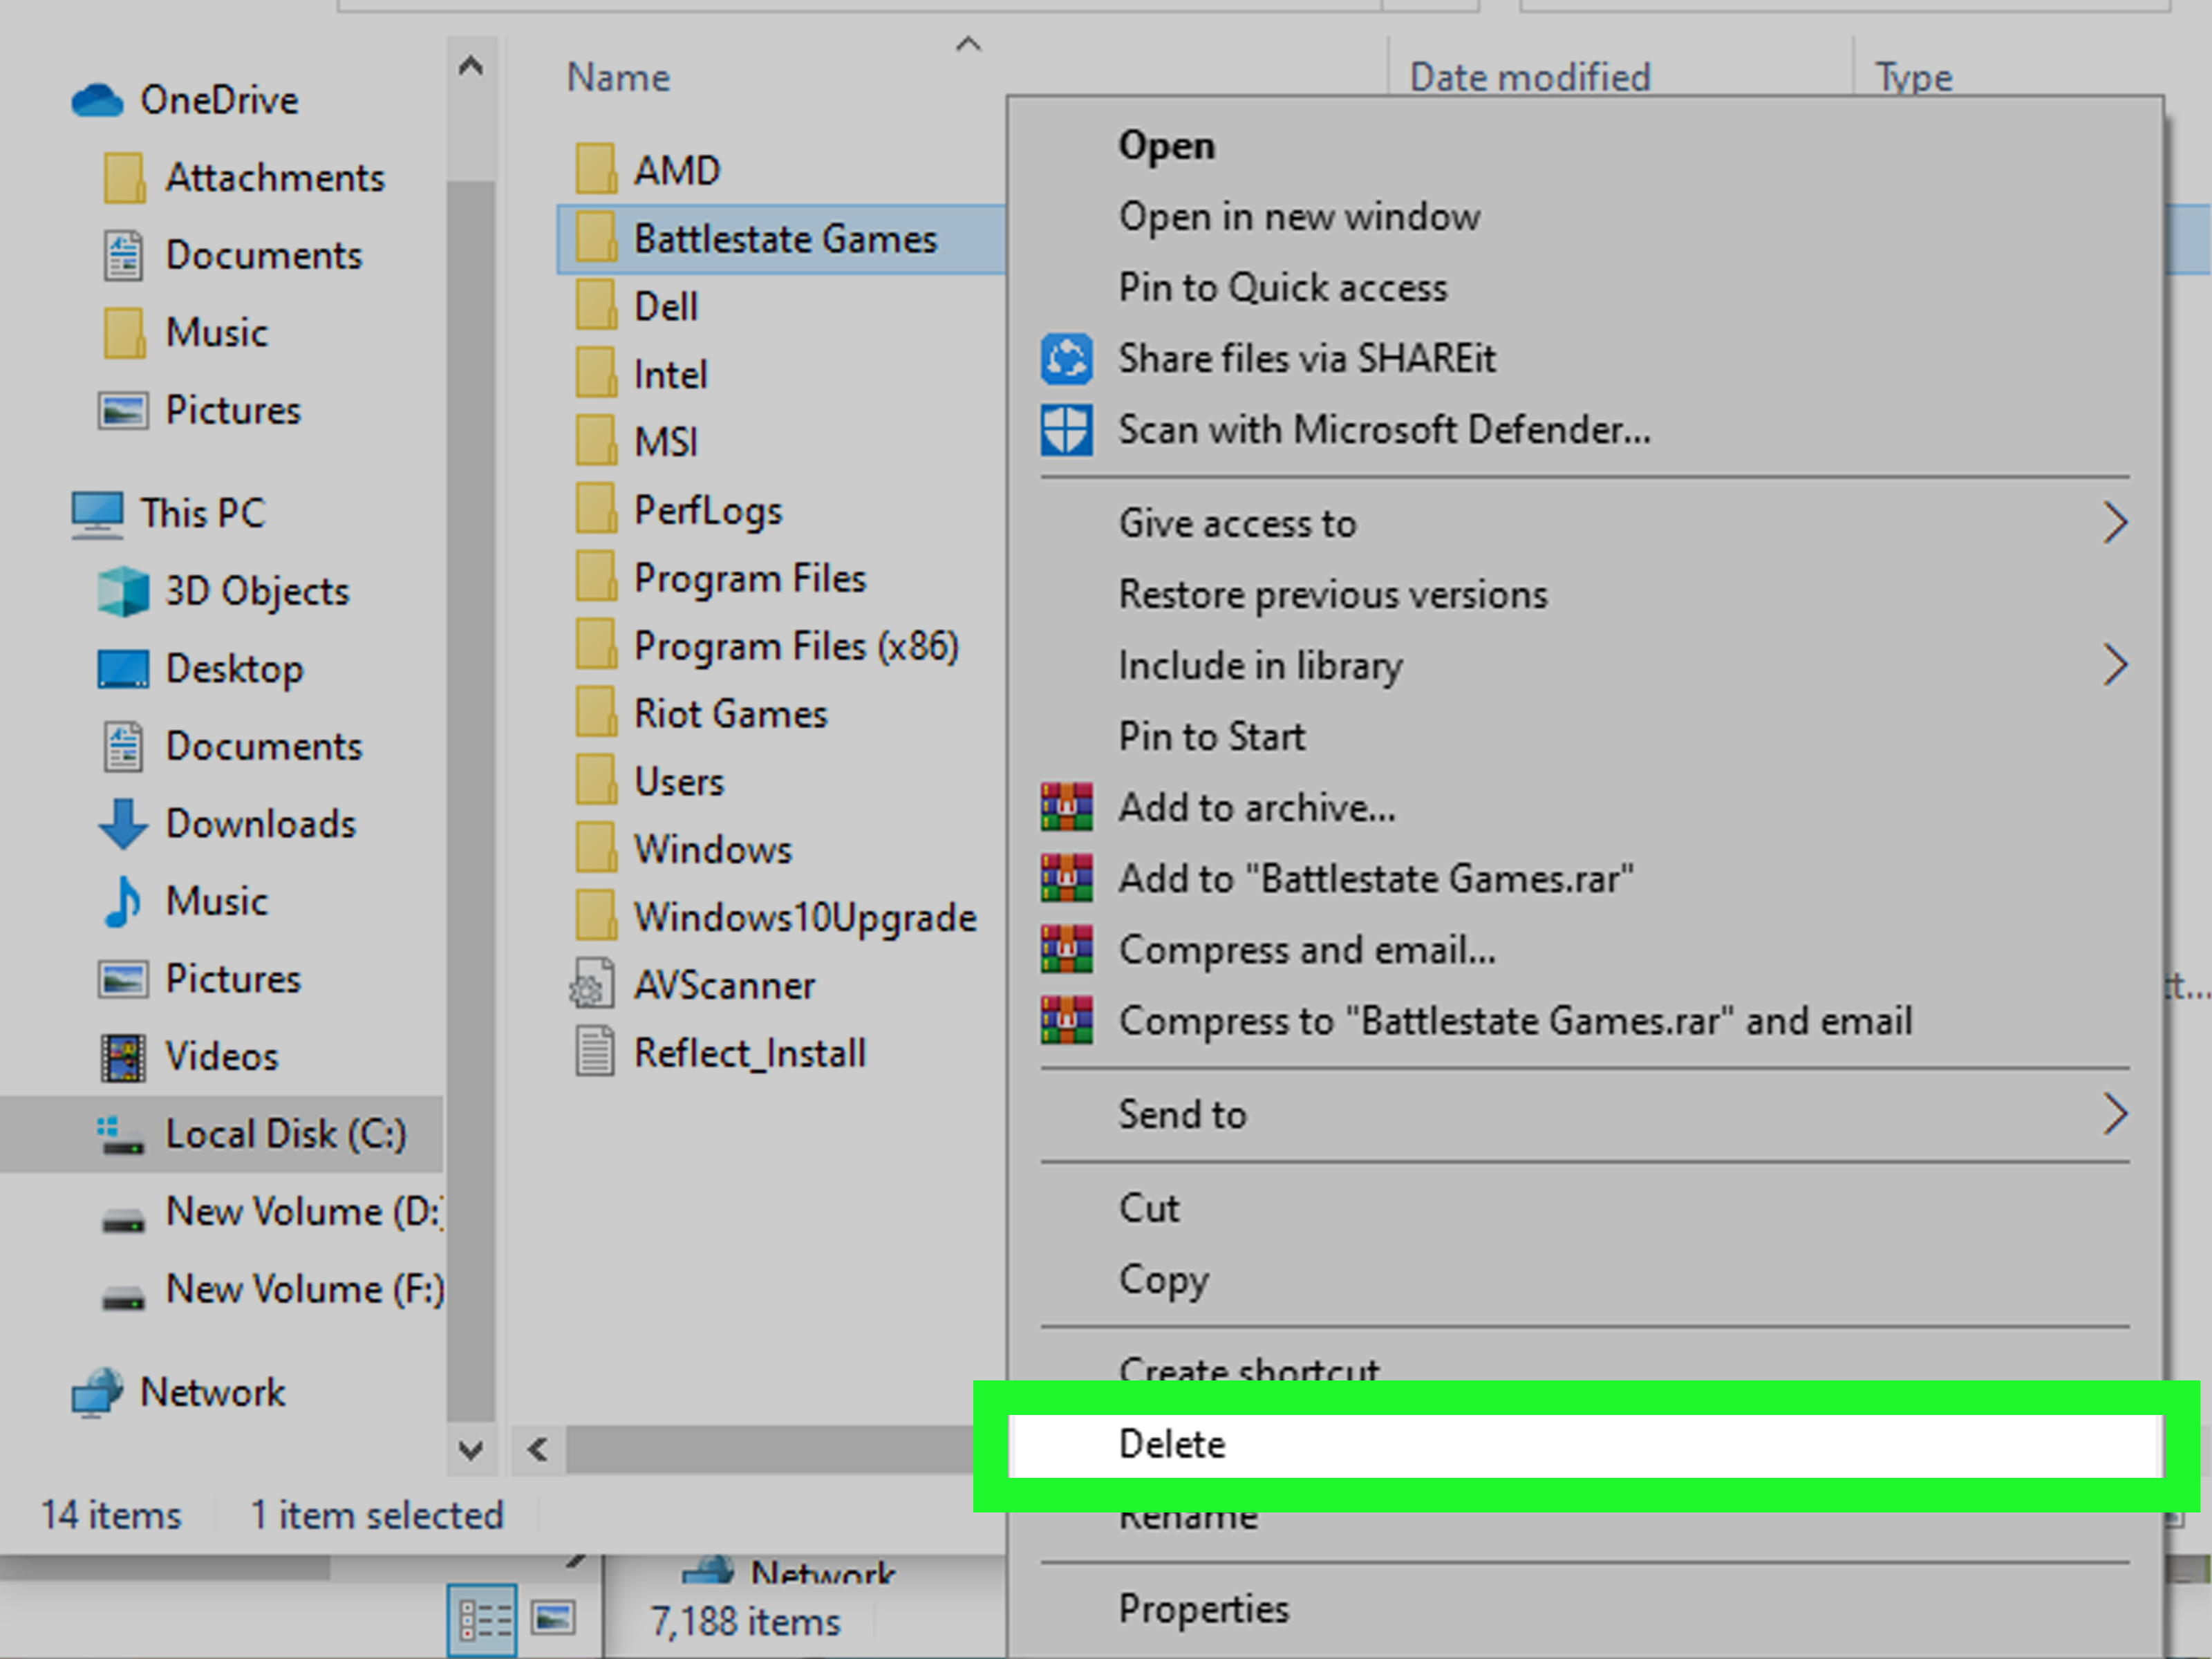
- Locate the picture in File Explorer.
- Right-click the file and select Open with, followed by Paint.
- Select the Text tool, normally represented by an “A” icon in the toolbar.
- Click and drag over the part of the picture where you want the text box.
- Type your caption, label, quotation, or other wording.
- Use the toolbar to choose a font, font size, bold or italic styling, alignment, and text color.
- Choose whether the text background should be transparent or opaque. An opaque background can improve readability over detailed photos.
- Resize or reposition the text box before clicking elsewhere on the canvas.
- Select File and then Save As to create a separate edited file.
Paint is excellent for basic edits, but there is one important catch: once you click away from the text and save the image, the words become part of the picture. Proofread before committing. Paint is forgiving, but it is not a time machine.
Windows also lets you send screenshots from Snipping Tool to Paint for text, sizing, color, and other enhancements. This is especially useful when creating visual instructions or technical support images.
Method 2: Use PowerPoint for more control
PowerPoint is surprisingly capable when you need movable text boxes, multiple captions, shapes, shadows, outlines, or precise alignment.
- Open a blank PowerPoint slide.
- Select Insert and then Pictures to add your image.
- Choose Insert, followed by Text Box.
- Draw the box over the picture and type your text.
- Format the font, color, alignment, outline, shadow, and spacing.
- Set the text box to No Fill and No Outline when you want only the letters to appear.
- Select both the picture and text box, right-click, and choose Group.
- Right-click the grouped result and select Save as Picture.
Unlike Paint, PowerPoint keeps the text as a separate object while you work, so correcting a typo does not require starting over. Microsoft also supports grouping a picture with a text box or WordArt so the elements can be moved and exported together.
How to Add Text to a Picture on a Mac
The Preview app included with macOS can add text without requiring separate design software. It works well for labels, quick captions, arrows, signatures, and annotations.
Use Preview and the Markup toolbar
- Open the image in Preview. If another app opens by default, right-click the file and choose Open With > Preview.
- Click the Show Markup Toolbar button. It resembles the tip of a marker inside a circle.
- Select the Text tool, usually represented by a “T” inside a box.
- A text box will appear on the image. Double-click the placeholder wording and type your own text.
- Drag the text box to the desired position.
- Use the text-style controls to adjust the font, size, color, typeface, and alignment.
- Select File > Export or File > Duplicate when you want to preserve the original.
Apple notes that annotations added directly to an image become difficult to edit, move, or delete after the file is saved. Finish your wording and placement first, or keep a duplicate that you can revisit later.
Use Keynote for designed graphics
For promotional images, event invitations, thumbnails, or quote graphics, Keynote offers more flexibility than Preview. Insert the picture onto a slide, add one or more text boxes, apply shadows or outlines, and export the slide as an image. This workflow is similar to using PowerPoint and makes later revisions much easier.
How to Put Text on Pictures on an iPhone or iPad
You do not need a separate app for simple text overlays on an iPhone or iPad. Apple’s Markup tools are built into Photos and several other supported apps.
- Open the Photos app and select your picture.
- Tap Edit.
- Tap the Markup icon.
- Tap the Add button, represented by a plus sign.
- Select Add Text or Text.
- Tap the text box and choose Edit.
- Enter your wording.
- Use the formatting control to change the font, size, and alignment.
- Tap the color circle to choose a text color.
- Drag the text box into place and use its handles to adjust the size.
- Tap Done, and then tap Done again to save.
Markup is ideal for quick captions, arrows, measurements, reminders, and labels. For a complicated design with several text styles, logos, or carefully aligned elements, a dedicated editor will be easier.
How to Add Text to Pictures on Android
Android menus vary slightly among phone manufacturers, but Google Photos provides a widely available method. Samsung Gallery and other manufacturer apps may also include their own text or decoration tools.
Use Google Photos
- Open Google Photos.
- Select the picture you want to edit.
- Tap Edit.
- Scroll through the editing controls and select Markup.
- Tap Text.
- Type your caption or label.
- Choose a color and adjust the text position.
- Tap Done.
- Select Save copy when that option is available.
Google’s photo-editing documentation includes Markup tools for drawing, highlighting, and placing text over a picture. Menu placement can change after app updates, so check sections labeled Markup, Tools, or Decorations when the Text button is not immediately visible.
How to Put Text on Photos with an Online Editor
Built-in apps are fast, but online photo editors are better for advertisements, blog graphics, Pinterest pins, YouTube thumbnails, memes, digital invitations, and branded social posts. Popular options include Canva, Adobe Express, Kapwing, Picsart, and browser-based creative tools.
The general online workflow
- Open the editor in a trusted browser.
- Upload the photograph or begin with a template.
- Select the Text tool.
- Add a heading, subheading, or body-text box.
- Customize the font, size, color, spacing, alignment, and effects.
- Move the text into an uncluttered area of the picture.
- Preview the image at its expected display size.
- Export it as a JPG or PNG file.
Canva supports movable text boxes, multiple text lines, font combinations, effects, and high-resolution downloads. Adobe Express provides text styles and editable positioning, while Kapwing and Picsart offer controls for captions, outlines, shadows, rotation, branding, and other creative effects. TechSmith Snagit is particularly useful for adding explanatory text and callouts to screenshots.
How to Make Text on a Picture Easy to Read
Create strong contrast
Use light text over a dark area or dark text over a light area. For web graphics containing important information, a practical accessibility target is a contrast ratio of at least 4.5:1 for normal-sized text and 3:1 for large text. These guidelines also apply when words are embedded inside graphics.
Add support behind the lettering
When the background changes from light to dark, a single text color may disappear in several places. Add a subtle shadow, thin outline, dark gradient, blurred region, or semitransparent rectangle behind the words. The goal is clarity, not making every caption look like the title sequence of an action movie.
Use no more than two fonts
One font for the headline and another for supporting information is generally enough. Too many typefaces compete with the photograph and make the image feel less organized. Decorative fonts are best reserved for short phrases; practical details should use a clean, readable typeface.
Keep the message brief
People scan images quickly, particularly on mobile screens. Use a short headline, then place longer information in the accompanying post, article, product description, or caption. When every sentence is squeezed into the picture, the result starts resembling a legal disclaimer printed on a postage stamp.
Check the edges before publishing
Social platforms, website cards, and messaging apps may crop images differently. Keep critical words, logos, prices, and dates away from the outer edges. Preview the graphic on both a phone and a larger screen whenever it will be published publicly.
Choosing the Right Image Format
JPG is usually suitable for photographs and keeps file sizes manageable. PNG is often better for screenshots, diagrams, logos, or graphics containing crisp lettering. Exporting the same JPG repeatedly can gradually reduce quality, so keep an editable master file and produce new copies from that master.
For websites, resize oversized images before uploading them. A 7,000-pixel vacation photo does not need to remain the size of a small billboard merely because it contains the words “Wish You Were Here.”
Common Problems and Quick Fixes
The Text button is missing
Look under Markup, Annotate, Draw, Decorations, Tools, or an Add menu. Update the app when the documented feature is unavailable, because editing controls can move between versions.
The text cannot be edited after saving
The editor probably flattened the text into the photo. Reopen the original image and add the wording again. For future projects, retain an editable PowerPoint, Keynote, Canva, Adobe Express, or layered design file.
The caption looks blurry
Begin with a larger source image, avoid enlarging a low-resolution photo, and export at the final required dimensions. PNG can help preserve the sharp appearance of screenshots and graphic text.
The text disappears against the background
Move it into negative space, change its color, increase its weight, add an outline, or place a translucent shape behind it. Test the final image at thumbnail size; a caption that looks magnificent at 200% zoom may become decorative dust on a phone.
Real-World Experiences When Adding Text to Pictures
The most common mistake in everyday image editing is choosing a tool that is far more complicated than the task. Someone wants to add “Garage Sale, Saturday at 8” to a photo and opens a professional editor with 47 panels, 19 layer modes, and enough controls to redesign a movie poster. Ten minutes later, the garage sale has become emotionally complicated.
For one-line captions, built-in tools usually provide the smoothest experience. Paint works quickly on Windows, Preview handles simple Mac annotations, and Markup is convenient on Apple mobile devices. These tools open fast and keep the workflow focused. The trade-off is that text may become permanent after saving. That limitation matters little for a quick joke shared with friends, but it becomes frustrating when a business price, date, or telephone number changes.
A different pattern appears in recurring content projects. Suppose a small bakery publishes a weekly special using the same photograph layout. Creating every image from scratch in Paint would eventually feel like frosting 300 cupcakes with a toothpick. A reusable Canva, PowerPoint, Keynote, or Adobe Express design is more practical. The photo can be replaced while the logo, font, colors, text position, and background panel remain consistent.
Readability is another lesson that becomes obvious only after an image leaves the editing screen. White lettering over a sunset may look beautiful on a large monitor, yet half the sentence can vanish when viewed on a small phone. A modest shadow or dark transparent gradient often improves the design more than switching through 25 fonts. The best font cannot rescue wording that blends into the clouds.
It is also wise to test the graphic where people will actually see it. A square Instagram image, horizontal website banner, vertical Story, and email thumbnail all create different visual pressures. Text positioned perfectly in one format may be cropped or reduced in another. Keeping the important wording near the center creates a useful safety zone, although platform-specific templates offer better control for serious campaigns.
Saving habits make an enormous difference over time. A practical file set includes the untouched photograph, an editable working version, and a finished export. Clear names such as summer-sale-master and summer-sale-web-final are far more helpful than IMG_4837-final-new-really-final-2. The latter naming system is popular, but only because chaos has excellent marketing.
Finally, effective text overlays do not need to be elaborate. Strong results usually come from a short message, one readable typeface, useful contrast, sensible spacing, and a clear visual hierarchy. Add only what helps the viewer understand or act. When the text begins competing with the photograph for custody of the viewer’s attention, remove something.
Conclusion
You can put text on pictures without purchasing professional design software. Windows users can rely on Paint or PowerPoint, Mac users can work in Preview or Keynote, iPhone and iPad owners can use Markup, and Android users can edit through Google Photos or their phone’s Gallery app. Online editors become valuable when you need templates, multiple text layers, brand styling, or reusable designs.
Whichever method you choose, protect the original image, keep the wording concise, create strong contrast, and preview the result at its real display size. Those simple habits turn an ordinary caption into a clear, polished graphicand dramatically reduce the likelihood of discovering a typo five minutes after publication.