
An air mattress is one of those brilliant modern inventions that makes you feel prepared for anythingovernight guests, camping trips, movie-night sleepovers, or that one cousin who “might stay for just one night” and somehow becomes part of the furniture. But when your trusty inflatable bed starts sagging like a tired pancake, the problem is usually simple: a leak, a weak valve seal, or a patch of fabric that needs a little DIY attention.
The good news? You usually do not need to throw it away. With a little patience, dish soap, a proper patch, and the courage to crawl around listening for a tiny hiss like an amateur air detective, you can repair an air mattress at home. This guide walks you through how to repair an air mattress in 13 easy steps, from confirming the leak to testing the final patch. It also covers common mistakes, repair-kit tips, and real-world experience that can save your next night of sleep from becoming a slow descent to the floor.
Before You Start: Is It Really a Leak?
Before you grab glue and declare war on your mattress, remember that air beds can lose a little firmness naturally. Temperature changes, first-time material stretching, under-inflation, and body weight can make a mattress feel softer by morning. If your air mattress is brand new, inflate it fully and let it rest for several hours, then top it off. If it keeps going flat after that, you probably have a leak.
Tools and Materials You Will Need
Gather everything before you begin so you are not hunting for scissors with one hand while holding down a half-glued patch with the other. You will need a spray bottle, water, a few drops of dish soap, a clean cloth, rubbing alcohol or mild cleaner, a permanent marker, fine-grit sandpaper, scissors, a vinyl or PVC patch, and air mattress repair adhesive. A manufacturer repair kit is best, but a high-quality inflatable patch kit can also work well.
For temporary emergency repairs, duct tape may help you survive one night, but it is not a reliable long-term fix. Think of duct tape as the snack before dinnernot the whole meal.
How to Repair an Air Mattress: 13 Easy Steps
Step 1: Inflate the Air Mattress Fully
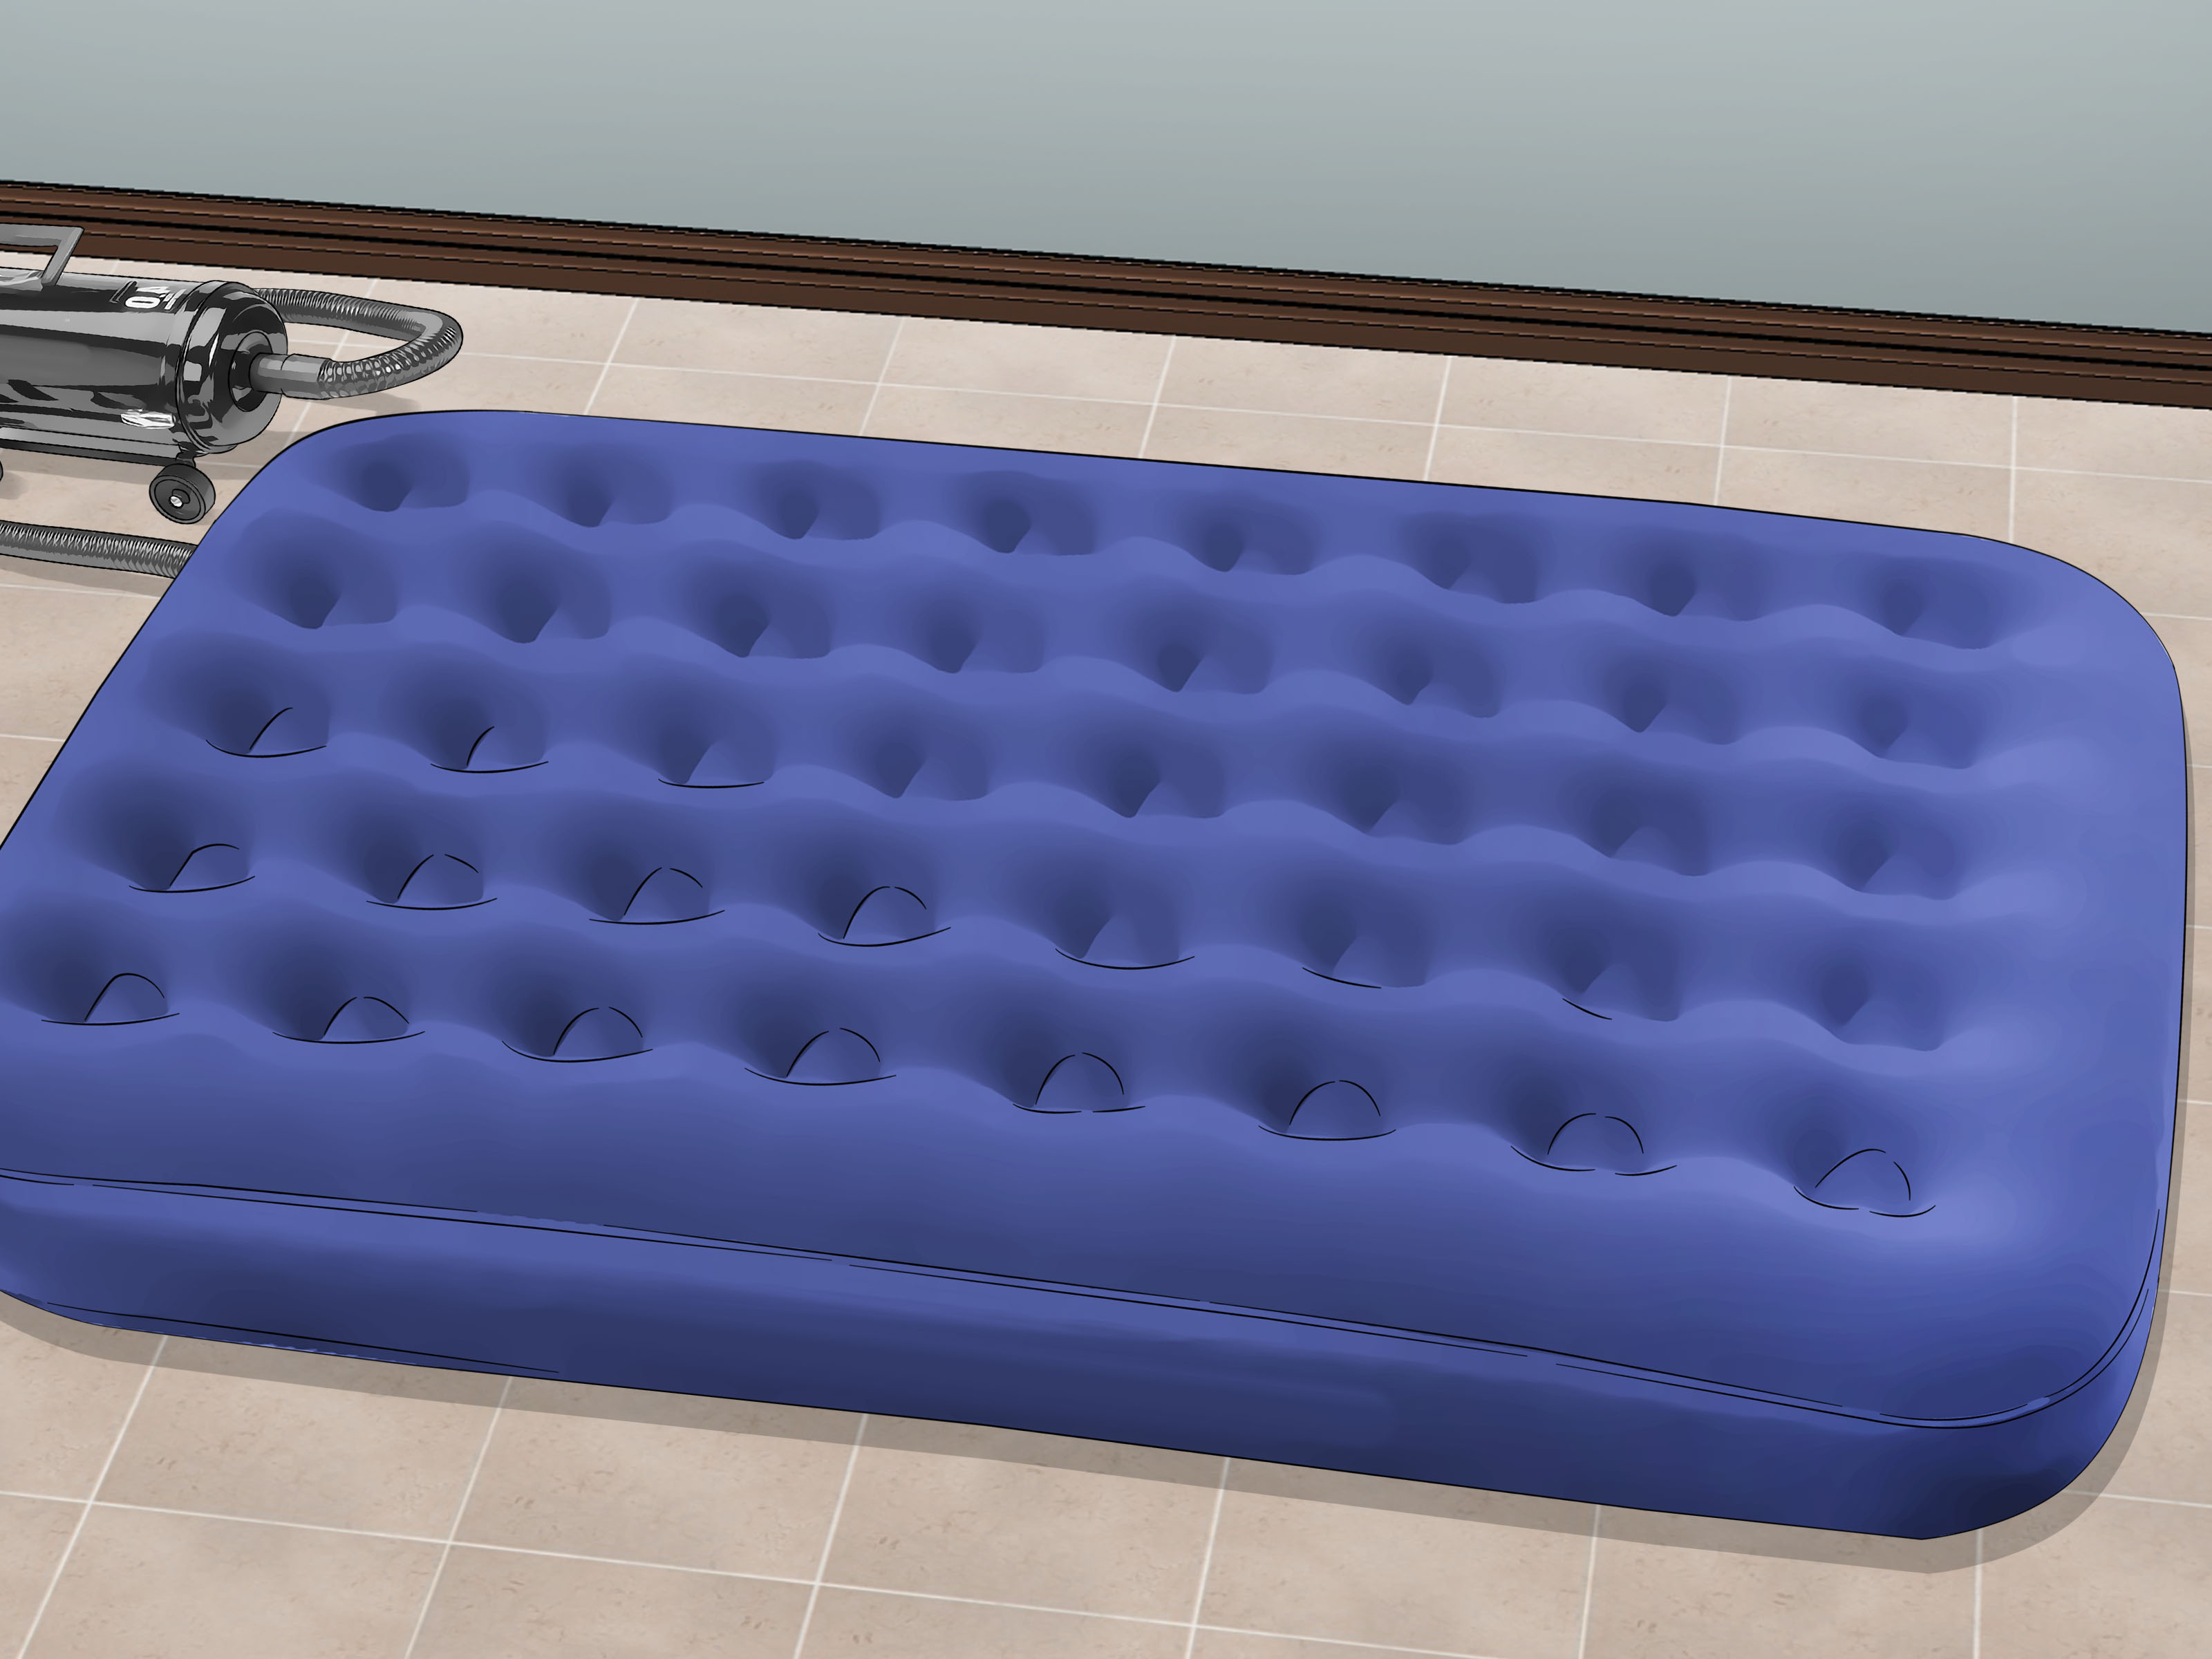
Start by inflating the mattress until it is firm but not overfilled. A well-inflated mattress makes leaks easier to find because the air pressure pushes air through the hole. Do not sit, kneel, or bounce on it while searching. Extra pressure can stretch a small puncture into a bigger tear, and nobody wants to turn a pinhole into a home-improvement subplot.
Step 2: Listen Carefully for Escaping Air
Move around the mattress slowly and listen for a faint hissing sound. Check the bottom first because that area often comes into contact with sharp objects, floor grit, rocks, or the mysterious crumbs that appear whenever guests visit. Then inspect the sides, seams, top surface, and the area around the valve.
If the room is noisy, turn off fans, televisions, and loud appliances. A tiny leak can sound like a shy snake whispering from across the room.
Step 3: Use the Hand Test
If you cannot hear the leak, use your hand or forearm to feel for cool air escaping. Slowly pass your skin about one or two inches above the surface while gently pressing nearby areas. Your skin may detect the air stream before your ears do. This works especially well on smooth vinyl areas.
Step 4: Try the Soapy Water Method
Mix water with a few drops of dish soap in a spray bottle. Spray a small section of the inflated mattress and gently press down. If there is a leak, bubbles will form and grow where air escapes. Work section by section instead of soaking the whole mattress at once. Start around the valve, seams, and underside because these are common trouble spots.
When you find bubbles, wipe the area and mark the leak with a permanent marker. Do not rely on memory. A tiny puncture can vanish faster than your motivation on laundry day.
Step 5: Check the Valve Carefully
Many “holes” are actually valve problems. Inspect the valve cap, plug, gasket, and surrounding material. Make sure the valve closes tightly and is not cross-threaded, cracked, dirty, or slightly open. Spray soapy water around the valve while the mattress is inflated. If bubbles appear around the valve, the repair may require cleaning, reseating the cap, replacing a gasket, or contacting the manufacturer for a replacement part.
If the leak is where the valve is bonded to the mattress body, patching can be more difficult because that area flexes and carries stress. A flexible adhesive may help small leaks, but a badly separated valve is often not worth repairing unless replacement parts are available.
Step 6: Deflate the Mattress Completely
Once you have found and marked the leak, fully deflate the mattress. A patch will not bond properly if air keeps pushing against it from underneath. Lay the mattress flat on a clean surface with the damaged area facing up. Smooth out wrinkles so the patch can sit evenly.
Do not patch while the mattress is inflated unless the repair kit specifically says you can. Most adhesive repairs need a flat, relaxed surface to cure properly.
Step 7: Clean the Repair Area
Clean an area at least one to two inches larger than the patch. Use a lint-free cloth with mild cleaner or rubbing alcohol, depending on the material and adhesive instructions. Remove dirt, oil, soap residue, and dust. Let the area dry completely before moving on.
This step is not glamorous, but it matters. Adhesive hates dirt the way cats hate closed doors. A dirty surface can make even a good patch peel off too soon.
Step 8: Sand Flocked or Velvety Surfaces
If the leak is on the soft, fuzzy, flocked side of the mattress, you must create a smooth bonding surface. Lightly sand the area with fine-grit sandpaper until the fuzzy texture is reduced and the underlying surface is smoother. Do not grind aggressively. You are preparing the surface, not trying to excavate a tunnel.
After sanding, wipe the area again and let it dry. Patches stick much better to smooth vinyl or PVC than to fuzzy fabric fibers.
Step 9: Cut the Patch to Size
Choose a patch that covers the hole with at least half an inch of extra material on every side. For larger punctures, give yourself even more overlap. Cut the patch into a round or oval shape, or round the corners of a square patch. Rounded corners are less likely to lift, catch, and peel over time.
Use a patch designed for vinyl, PVC, or inflatable products. Random plastic from household packaging may work in a desperate emergency, but a proper repair patch is far more reliable.
Step 10: Apply the Adhesive Correctly
Follow the directions on your patch kit or adhesive tube. Some self-adhesive patches only require peeling and pressing. Others need vinyl cement or flexible urethane adhesive. If adhesive is required, apply a thin, even layer around the leak and on the patch if instructed. Too much glue can create lumps, wrinkles, or weak spots.
For pinholes, a small amount of sealant may be enough, but a patch usually gives better long-term protection. For tears, use both adhesive and a patch whenever possible.
Step 11: Press the Patch Firmly
Place the patch directly over the leak and press firmly from the center outward. This helps push out air bubbles and wrinkles. Hold pressure for at least 30 seconds, or longer if the adhesive instructions recommend it. For better bonding, place a flat, heavy object over the patch while it cures. A book works well. A bowling ball works too, but that feels a little dramatic.
Make sure the edges are sealed. Lifted edges are the first place air, moisture, and movement will attack the repair.
Step 12: Let the Patch Cure
This is where patience earns its paycheck. Many repairs need several hours to cure, and some adhesive patches perform best after sitting overnight. Do not reinflate too soon unless your repair kit specifically allows quick use. Inflating early can weaken the bond before the adhesive has fully set.
If you are repairing the mattress before guests arrive, start earlier than you think. Nothing says “welcome” like offering someone a bed that is still tacky with glue.
Step 13: Reinflate and Test the Repair
After the cure time, inflate the mattress and check the patch with the soapy water method. If no bubbles appear, let the mattress stay inflated for several hours or overnight. If it remains firm, your repair worked. If it still loses air, inspect the same area and search for additional leaks. Air mattresses can have more than one puncture, especially after camping trips or rough storage.
What If the Hole Is Too Large?
Small punctures and short tears are usually repairable. Large rips, seam failures, and damaged valve mounts are harder. If the cut is long, the seam has separated, or the material is stretched and brittle, a patch may only delay the inevitable. In that case, check the manufacturer warranty or replacement-part options before buying a new mattress.
A good rule of thumb: if the damaged area flexes heavily under body weight or the tear keeps spreading, the repair may not hold. You can try a larger patch with flexible adhesive, but manage expectations.
Common Air Mattress Repair Mistakes
Patching Before Finding the Real Leak
Do not patch a random suspicious spot and hope for the best. Confirm the exact leak with air, sound, touch, bubbles, or submersion for small camping pads.
Skipping the Cleaning Step
Oil, dust, soap, and fabric fibers can ruin the bond. Clean and dry the repair area thoroughly.
Using the Wrong Adhesive
Not every glue works on vinyl or PVC. Use adhesive made for inflatables, vinyl, PVC, or flexible outdoor gear.
Reinflating Too Soon
A patch that looks dry may not be fully cured. Give it the time recommended by the product instructions.
How to Prevent Future Air Mattress Leaks
Prevention is easier than repair. Always clear the floor before setting up the mattress. Look for nails, splinters, pet claws, gravel, sharp toys, and rogue snack debris. Use a blanket, tarp, foam pad, or rug underneath the air bed when placing it on rough surfaces.
Avoid over-inflating the mattress. More air does not always mean more comfort; it can increase stress on seams. Keep pets off the mattress if possible, and do not let kids use it as a trampoline unless your goal is to create a very flat bouncy castle. Store the mattress dry, loosely folded, and away from heat, moisture, and sharp objects.
Experience Notes: What Actually Works in Real Life
Repairing an air mattress sounds simple until you are on your knees at midnight, spraying soapy water over a queen-size inflatable bed while everyone else asks, “Did you find it yet?” From experience, the hardest part is not applying the patch. The hardest part is finding the leak without losing your patience.
The first practical lesson is to start with the underside. Most leaks happen where the mattress touches the floor, tent groundsheet, truck bed, or storage shelf. Tiny stones, wood splinters, and even dried crumbs can create pinholes. If you used the mattress outdoors, inflate it in a quiet room and inspect the bottom slowly. The leak may be smaller than a pencil dot.
The second lesson is that soapy water beats guessing. Listening works for larger leaks, but small punctures often make no obvious sound. A spray bottle with dish soap can reveal the hole in seconds because bubbles appear exactly where air escapes. Just remember to wipe and dry the area afterward. Patching over soap residue is a classic mistake, and the patch may peel off like a bad sticker on a humid day.
The third lesson is to respect flocked surfaces. Many air mattresses have a velvety top that feels comfortable but is terrible for adhesion. If the leak is on that fuzzy side, lightly sanding the area makes a big difference. The patch needs contact with the actual mattress material, not just the soft fibers. It feels wrong the first time you sand your bed, but it is often the difference between a repair that lasts and one that gives up before breakfast.
The fourth lesson is to use a patch larger than you think you need. A tiny patch over a tiny hole may work, but a slightly larger rounded patch gives the adhesive more surface area and handles movement better. Air mattresses stretch, flex, and shift under body weight, especially when two people sleep on them. A generous patch is not ugly; it is insurance.
The fifth lesson is that cure time matters. Many people patch the mattress, wait 20 minutes, inflate it, and then blame the repair when it fails. Adhesive needs time. Overnight curing is often the safest choice. If you need the mattress immediately, use a fast field-repair product, but understand that a slower full repair is usually stronger.
Finally, test before the big moment. If guests are arriving Saturday, repair the mattress Thursday or Friday. Inflate it overnight with no one on it. If it stays firm, you can relax. If it softens again, you still have time to search for a second leak or prepare a backup sleeping option. Nothing ruins hospitality like handing someone a pillow and a slowly collapsing plastic raft.
Conclusion
Learning how to repair an air mattress is a small skill that can save money, reduce waste, and rescue a night of sleep. The process is straightforward: confirm the leak, locate it carefully, clean and prepare the surface, apply the right patch, let it cure, and test the repair before using the mattress again.
Most small holes and pin leaks can be fixed at home with basic supplies and a little patience. Valve problems, large tears, and seam failures are more challenging, but even then, careful inspection helps you decide whether repair, replacement parts, or a new mattress makes the most sense. Treat your air bed gently, store it properly, and keep a patch kit nearby. Your future selfsleeping comfortably above floor levelwill be grateful.
SEO Tags