
Note: This original article is written for web publication and synthesizes established garment-sewing practices from sewing educators, pattern companies, machine brands, and professional sewing tutorials, including Threads, BERNINA WeAllSew, Mood Fabrics, Seamwork, Sew4Home, Craftsy, Janome, Brother, Professor Pincushion, and related sewing education resources.
An invisible zipper is one of those sewing techniques that sounds like it escaped from a magician’s toolbox. “Invisible?” “With lining?” “Thirteen steps?” Relax. Nobody is asking you to pull a rabbit out of a pincushion. Once you understand the order of construction, sewing an invisible zipper with lining becomes a clean, repeatable process that makes handmade dresses, skirts, jumpsuits, and formal garments look dramatically more professional.
The secret is not sewing faster, buying the fanciest machine, or threatening the zipper with tiny scissors. The secret is preparation: stabilizing the zipper opening, placing the zipper right sides together, stitching close to the coil, and finishing the lining so the inside looks as polished as the outside. A properly installed invisible zipper disappears into the seam from the right side of the garment, while the lining covers the zipper tape and raw edges on the inside.
This guide walks you through how to sew an invisible zipper with lining in 13 practical steps. It is written for home sewists who want a beautiful finish without turning their sewing room into a crime scene of thread tails and regret.
What Is an Invisible Zipper?
An invisible zipper is a zipper designed so the teeth sit behind the seamline. Unlike a centered or lapped zipper, the coils are curled toward the back of the tape. When sewn correctly, only the zipper pull is visible from the outside, and even that can be tucked neatly at the top of the garment.
Invisible zippers are commonly used in dresses, skirts, fitted bodices, eveningwear, lined garments, cushions, and tailored separates. They are especially useful when you want the fabric, print, or silhouette to be the star of the shownot a shiny zipper track waving hello from center back.
Tools and Supplies You’ll Need
Before sewing, gather everything you need. Invisible zippers reward calm preparation and punish chaotic optimism.
- Invisible zipper, preferably slightly longer than the zipper opening
- Main garment pieces
- Lining pieces
- Matching thread
- Invisible zipper foot or adjustable zipper foot
- Regular zipper foot for closing the seam below the zipper
- Lightweight fusible interfacing or stay tape
- Iron and pressing cloth
- Pins or sewing clips
- Seam gauge or ruler
- Fabric marker or tailor’s chalk
- Hand-sewing needle for optional finishing
- Seam ripper, because we are honest people here
Before You Begin: Important Sewing Tips
Choose the Right Zipper Length
For most garments, choose an invisible zipper that is at least 1 to 2 inches longer than the opening. A longer zipper lets you move the pull below the stitching area, making it easier to sew close to the teeth without wrestling the slider like it owes you money.
Stabilize the Zipper Opening
Apply a narrow strip of fusible interfacing to the wrong side of the garment along the zipper opening. This prevents stretching, rippling, and the dreaded wavy zipper. Lightweight fabrics, bias seams, loosely woven fabrics, and curved areas especially need this support.
Press the Zipper Coils Open
Invisible zipper coils naturally curl inward. Gently press them open with the tip of the iron so the needle can stitch closer to the coil. Use low heat and a pressing cloth. Do not melt the zipper teeth unless your creative vision is “tiny plastic disaster.”
How to Sew an Invisible Zipper with Lining: 13 Steps
Step 1: Finish the Raw Edges of the Zipper Opening
Start by finishing the raw edges of the center back or side seam where the zipper will go. You can use a serger, zigzag stitch, overcast stitch, or another seam finish suitable for your fabric. If the fabric frays easily, do not skip this step.
Finish both the main fabric and the lining edges if they will remain exposed during construction. A clean edge makes the zipper easier to manage and helps prevent stray threads from getting caught in the teeth.
Step 2: Mark the Seam Allowance and Zipper Stop
Use tailor’s chalk or a washable fabric marker to mark the seam allowance on both sides of the zipper opening. Common seam allowances are 1/2 inch or 5/8 inch, depending on your pattern.
Next, mark where the zipper will stop. If your pattern indicates a notch or dot, use that. If not, place the zipper along the opening and mark just above the zipper stop. This mark tells you where to stop stitching the zipper and where to begin sewing the rest of the seam below it.
Step 3: Prepare and Press the Invisible Zipper
Unzip the zipper completely. Place it wrong side up on the ironing board and gently uncurl the coils with your fingers. Using a low heat setting, press the zipper tape near the coils so the teeth roll slightly outward.
This tiny prep step makes a huge difference. The closer you can stitch to the coil, the more invisible the zipper will look from the outside.
Step 4: Position the First Side of the Zipper
Lay the garment right side up. Place one side of the open zipper face down on the right side of the fabric. The zipper teeth should point away from the raw edge and toward the garment body. Align the zipper coil with the marked seamline.
The top of the zipper tape should sit slightly below the raw top edge if the garment still needs a waistband, facing, or neckline seam. If the top edge is already finished, position the zipper so the pull will close neatly without creating bulk.
Step 5: Pin or Baste the First Side
Pin the zipper tape in place or hand baste it for extra control. Basting is especially helpful on slippery lining fabrics, satin, chiffon, rayon, or anything that behaves like it has weekend plans.
Check that the zipper is not twisted and that the coil is sitting exactly on the seamline. Accuracy here prevents the zipper from looking uneven after it is closed.
Step 6: Stitch the First Side of the Zipper
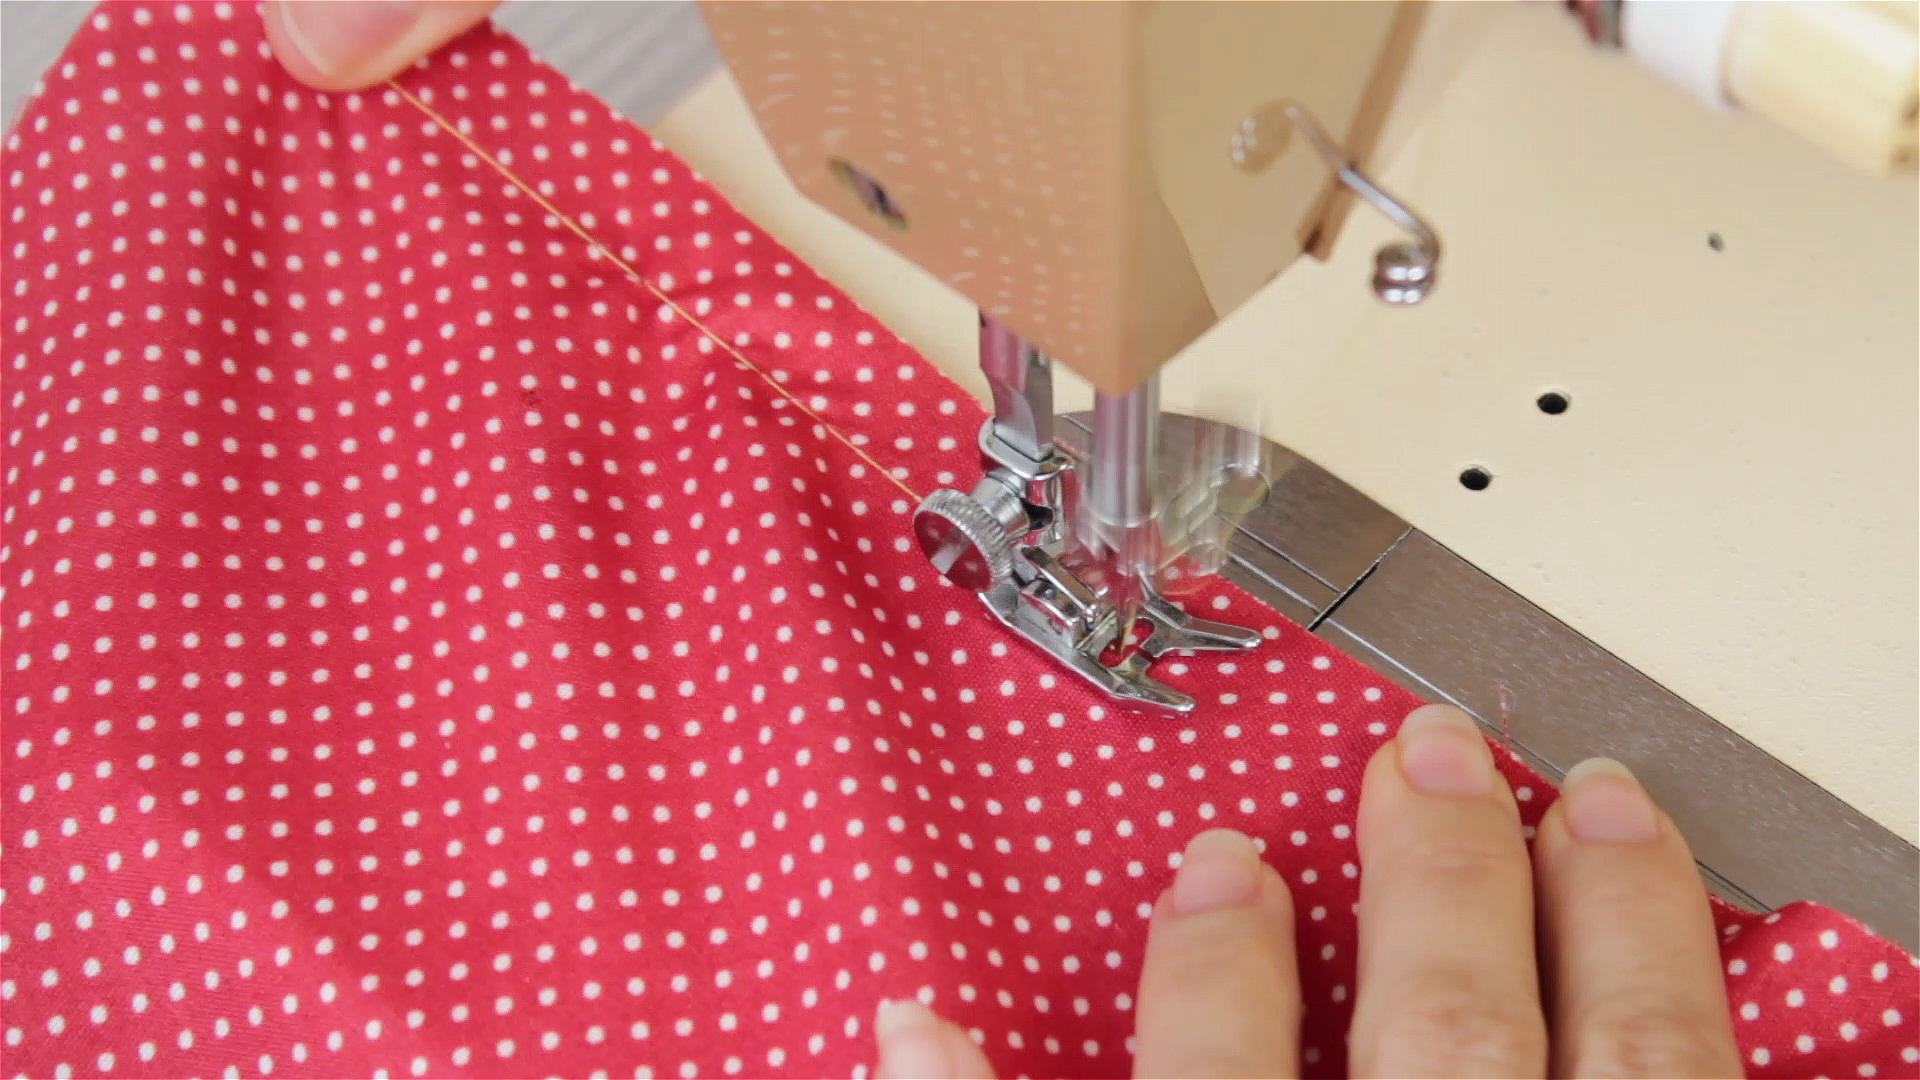
Attach an invisible zipper foot to your sewing machine. The groove of the foot should ride over the zipper coil, gently rolling it open as you sew. If you are using a regular zipper foot, adjust the needle position so you can stitch close to the coil without sewing over the teeth.
Start at the top and sew down toward the zipper stop. Stitch slowly and stop just above the pull or zipper stop. Backstitch carefully, or reduce stitch length near the bottom to secure the seam.
Step 7: Position and Stitch the Second Side
Close the zipper temporarily and mark any important matching points, such as the waist seam, neckline seam, waistband seam, or horizontal design lines. This is the step that saves your garment from having one side casually higher than the other.
Open the zipper again. Place the second zipper tape face down on the opposite side of the garment, right sides together. Match the top edges and any marked seamlines. Pin or baste, then stitch from the top down just as you did on the first side.
Step 8: Test the Zipper Before Adding the Lining
Close the zipper and inspect the outside of the garment. The seam should meet smoothly, and the zipper teeth should be hidden. If one side is higher, the fabric puckers, or the zipper refuses to close, fix it now before the lining joins the party.
It is much easier to adjust the zipper at this stage than after everything is enclosed. Your future self will send a thank-you card.
Step 9: Sew the Seam Below the Zipper
With the zipper closed, place the garment right sides together below the zipper. Pull the zipper tail out of the way. Using a regular zipper foot, begin stitching slightly above or beside the last zipper stitches, then continue down the remaining seam.
The goal is to close the seam neatly without leaving a gap or bump below the zipper. Press the seam allowance open below the zipper, using a tailor’s ham if needed for curved seams.
Step 10: Attach the Lining at the Top Edge
Now it is time to bring in the lining. Depending on your garment, this may mean sewing the lining to the neckline, waistband, or upper edge. Place the lining and main garment right sides together, matching seams and notches.
Sew the top edge according to your pattern instructions. Trim, grade, clip curves, and understitch if appropriate. Understitching helps the lining roll to the inside instead of peeking out like it wants attention.
Step 11: Fold the Lining Around the Zipper Tape
Turn the lining toward the inside of the garment. At the zipper opening, fold the lining seam allowance under so the folded edge sits just beside the zipper teeth. The lining should cover the zipper tape but stay clear of the teeth so the zipper can open and close smoothly.
Press this fold carefully. A crisp fold makes the final finish look intentional rather than “I fought the lining and the lining won.”
Step 12: Secure the Lining by Machine or Hand
You have two good options for attaching the lining to the zipper area.
Machine method: With the garment wrong side out, sandwich the zipper tape between the main fabric and lining. Stitch the lining close to the zipper tape, making sure you do not catch the zipper teeth.
Hand-sewn method: Fold the lining edge under and slipstitch it to the zipper tape by hand. This is slower but gives excellent control and a soft couture-style finish. Use small stitches and avoid stitching through to the right side of the garment.
Step 13: Final Press and Quality Check
Close the zipper and inspect the garment from the outside and inside. The outside seam should look smooth, with the zipper hidden. The inside should have the lining neatly covering the tape and raw edges.
Press lightly from the wrong side using a pressing cloth. Avoid crushing the zipper teeth. Finally, open and close the zipper several times to make sure the lining does not catch. If it does, move the lining fold slightly farther away from the teeth and secure it again.
Common Mistakes When Sewing an Invisible Zipper with Lining
Mistake 1: Sewing Too Far from the Zipper Teeth
If you sew too far from the coil, the zipper tape may show on the outside. The fix is simple: press the coils open and stitch closer to the teeth. An invisible zipper foot makes this much easier.
Mistake 2: Forgetting to Interface the Opening
Skipping interfacing can cause rippling, stretching, and puckering. A small strip of lightweight fusible interfacing can make the zipper area behave like a responsible adult.
Mistake 3: Catching the Lining in the Zipper
If the lining sits too close to the teeth, it can snag when the zipper opens or closes. Keep the folded lining edge close enough to cover the zipper tape but far enough away from the coil to move freely.
Mistake 4: Closing the Back Seam Before Installing the Zipper
Invisible zippers are usually easier to install before the seam below the zipper is fully sewn. Working with two flat garment edges gives you better control and cleaner placement.
Mistake 5: Not Matching Waist or Bodice Seams
Always mark matching points before sewing the second side. This matters most on dresses with waist seams, skirts with waistbands, and garments with prints, stripes, or color blocking.
Best Fabrics for Practicing Invisible Zippers
If this is your first invisible zipper with lining, practice on stable woven fabrics such as cotton poplin, quilting cotton, medium-weight linen, or cotton sateen. These fabrics press well, hold pins, and do not slide around like they are auditioning for a soap opera.
Once you are comfortable, move on to trickier fabrics such as satin, crepe, rayon challis, chiffon, silk, and lightweight suiting. For delicate fabrics, test interfacing on scraps first to make sure it does not change the drape or show through.
Machine Sewing vs. Hand Finishing the Lining
Machine finishing is fast, durable, and efficient. It works well for everyday dresses, skirts, and garments that will be washed often. The key is stitching accurately so the lining covers the tape without interfering with the zipper teeth.
Hand finishing takes more time, but it gives you maximum control. It is excellent for formalwear, bridal sewing, delicate fabrics, and garments where the inside needs to look especially polished. A neat slipstitch can make the lining appear almost magically attached.
Troubleshooting: Why Your Invisible Zipper Isn’t Invisible
If your invisible zipper is showing, check three things. First, did you press the coils open before sewing? Second, did your stitching line sit close enough to the coil? Third, did the fabric shift while sewing the second side?
If the zipper bubbles, the opening may not have been stabilized, or the fabric may have stretched during stitching. Try interfacing the seam allowance and basting the zipper before machine stitching. If the zipper jams, inspect the lining placement and trim loose threads around the teeth.
Practical Experience: What Sewing Invisible Zippers with Lining Teaches You
After sewing a few invisible zippers with lining, you start to notice that the technique is less about bravery and more about sequence. Beginners often think the zipper itself is the problem, but the real trouble usually begins earlier: the seam allowance was not marked, the fabric was not stabilized, or the lining was allowed to wander too close to the teeth. In sewing, chaos loves an unmarked seamline.
One of the best habits is to treat the zipper opening as its own mini-project. Before attaching the zipper, pause and check the fabric. Is the edge stretched? Is the seam allowance consistent? Are the left and right sides the same length? This two-minute inspection can save twenty minutes of unpicking. And yes, unpicking an invisible zipper is technically character building, but most of us have enough character already.
Another useful experience is learning when to hand baste. Many sewists avoid basting because it feels old-fashioned, but basting is not a punishment from the sewing ancestors. It is control. On a lined dress, especially one with a waist seam, hand basting the zipper in place lets you close the zipper and check alignment before committing to permanent stitches. If the waist seam matches perfectly, you can sew with confidence. If not, you can adjust before drama arrives.
Lining also teaches patience. The lining should make the garment feel luxurious, but it should not fight the zipper. A good rule is to fold the lining just beside the zipper teeth, not on top of them. If you can zip the garment three times without catching lining, you are in good shape. If the lining snags, do not simply yank harder. That is not sewing; that is zipper bullying. Move the lining back slightly, press the fold again, and secure it with small stitches.
Pressing is another quiet hero. Press the zipper tape before installation, press the seam below the zipper open, press the lining fold, and press the finished area lightly. The word is “press,” not “iron aggressively like you are flattening a grilled cheese.” Lift and lower the iron. Use steam only if your fabric allows it. Use a pressing cloth when working with delicate fabrics or synthetic zipper teeth.
Finally, invisible zippers improve with repetition. Your first attempt may look good from three feet away. Your second may look good from one foot away. By the fifth, you may find yourself casually saying, “Oh, invisible zippers? They’re not bad,” which is how sewing confidence announces itself. The goal is not perfection on the first try. The goal is understanding the process well enough to diagnose problems and fix them calmly.
In real garment sewing, invisible zippers with lining are worth learning because they create a finish that feels store-bought in the best way. The outside looks clean, the inside looks intentional, and the garment is more comfortable to wear. Whether you are sewing a bridesmaid dress, a pencil skirt, a cocktail dress, or a fully lined bodice, this technique makes the difference between “I made this” and “I made this, and yes, you may admire the inside too.”
Conclusion
Learning how to sew an invisible zipper with lining is a major upgrade for any garment sewist. The process may look intimidating at first, but it becomes manageable when broken into clear steps: stabilize the opening, mark the seamline, press the zipper coils, sew each side accurately, close the seam below the zipper, and finish the lining neatly around the tape.
The best invisible zipper is not forced into submission. It is prepared, aligned, stitched slowly, pressed carefully, and checked before moving on. Once you master this technique, your lined dresses, skirts, and formal garments will look cleaner, feel better, and survive close inspection from that one friend who always asks, “Did you make that?”
Yes. Yes, you did. And the zipper is invisible. Take the win.