
Few painting problems are more irritating than a brown wood knot slowly reappearing through a beautiful white finish. You clean the surface, apply primer, brush on twfpfore they migrate into the topcoat. This guide explains how to stop knots from showing through paint using proper preparation, a reliable stain-blocking primer, and a little patience.
Why Do Wood Knots Show Through Paint?
Knots are dense sections of wood formed where branches once grew from the tree. They often contain higher concentrations of resin, sap, and natural extractives than the surrounding lumber. Pine, fir, spruce, cedar, and redwood are especially likely to cause discoloration.
When ordinary water-based primer or paint is applied directly over a knot, moisture in the coating can activate water-soluble compounds in the wood. Those compounds migrate through the primer and paint film, producing yellow, tan, or brown marks. This process is commonly called knot bleeding, resin bleed, or tannin bleed-through.
The stain may appear within hours, or it may wait several months before making its grand entrance. Warm temperatures and direct sunlight can soften resin and make the problem worse. That is why a painted pine door may look perfect in winter but develop suspicious brown circles during summer.
Why More Paint Usually Does Not Solve the Problem
Standard wall paint is designed to provide color, washability, and surface protection. It is not necessarily designed to trap aggressive wood stains. Adding coat after coat can temporarily hide the discoloration, but the resin may continue moving through the new layers.
The effective strategy is to create a barrier with a stain-blocking sealer. Shellac-based primers are widely used for stubborn knots because they dry quickly and form a strong barrier against sap and wood extractives. Certain oil-based or specialty water-based stain blockers may also work, but the product label must specifically state that the primer seals knots, sap streaks, tannins, or severe stains.
Tools and Materials You May Need
- Protective gloves and safety glasses
- Drop cloths or plastic sheeting
- Degreasing cleaner or paint-preparation cleaner
- Clean rags and sponges
- Paint scraper or putty knife
- 120-, 180-, and 220-grit sandpaper
- Vacuum with a brush attachment
- Paintable wood filler or two-part wood repair compound
- Shellac-based or specialty stain-blocking primer
- General-purpose wood primer, when required
- High-quality synthetic or natural-bristle brush recommended for the primer
- Interior or exterior finish paint appropriate for the project
Read the primer label before buying brushes, rollers, or cleanup supplies. Shellac-based products may require denatured alcohol or another manufacturer-recommended solvent for cleanup, while oil-based primers commonly require mineral spirits. Water alone will not persuade an alcohol- or oil-based primer to leave your brush peacefully.
How to Stop Knots from Showing Through Paint in 10 Steps
Step 1: Confirm That the Stain Is Coming From a Knot
Before repairing the finish, make sure you are dealing with knot bleed-through rather than a different problem. Knot stains usually appear as round, oval, or irregular brown patches that match visible knots in the wood. They may also follow amber-colored sap streaks.
Water leaks often produce larger stains with soft or spreading edges. Rust from nails creates small reddish-brown dots. Mildew may look gray, black, or green and can return when moisture remains present. Fix leaks, corrosion, and biological growth before repainting; primer is talented, but it is not a plumber, roofer, or mold-remediation crew.
Step 2: Prepare the Work Area Safely
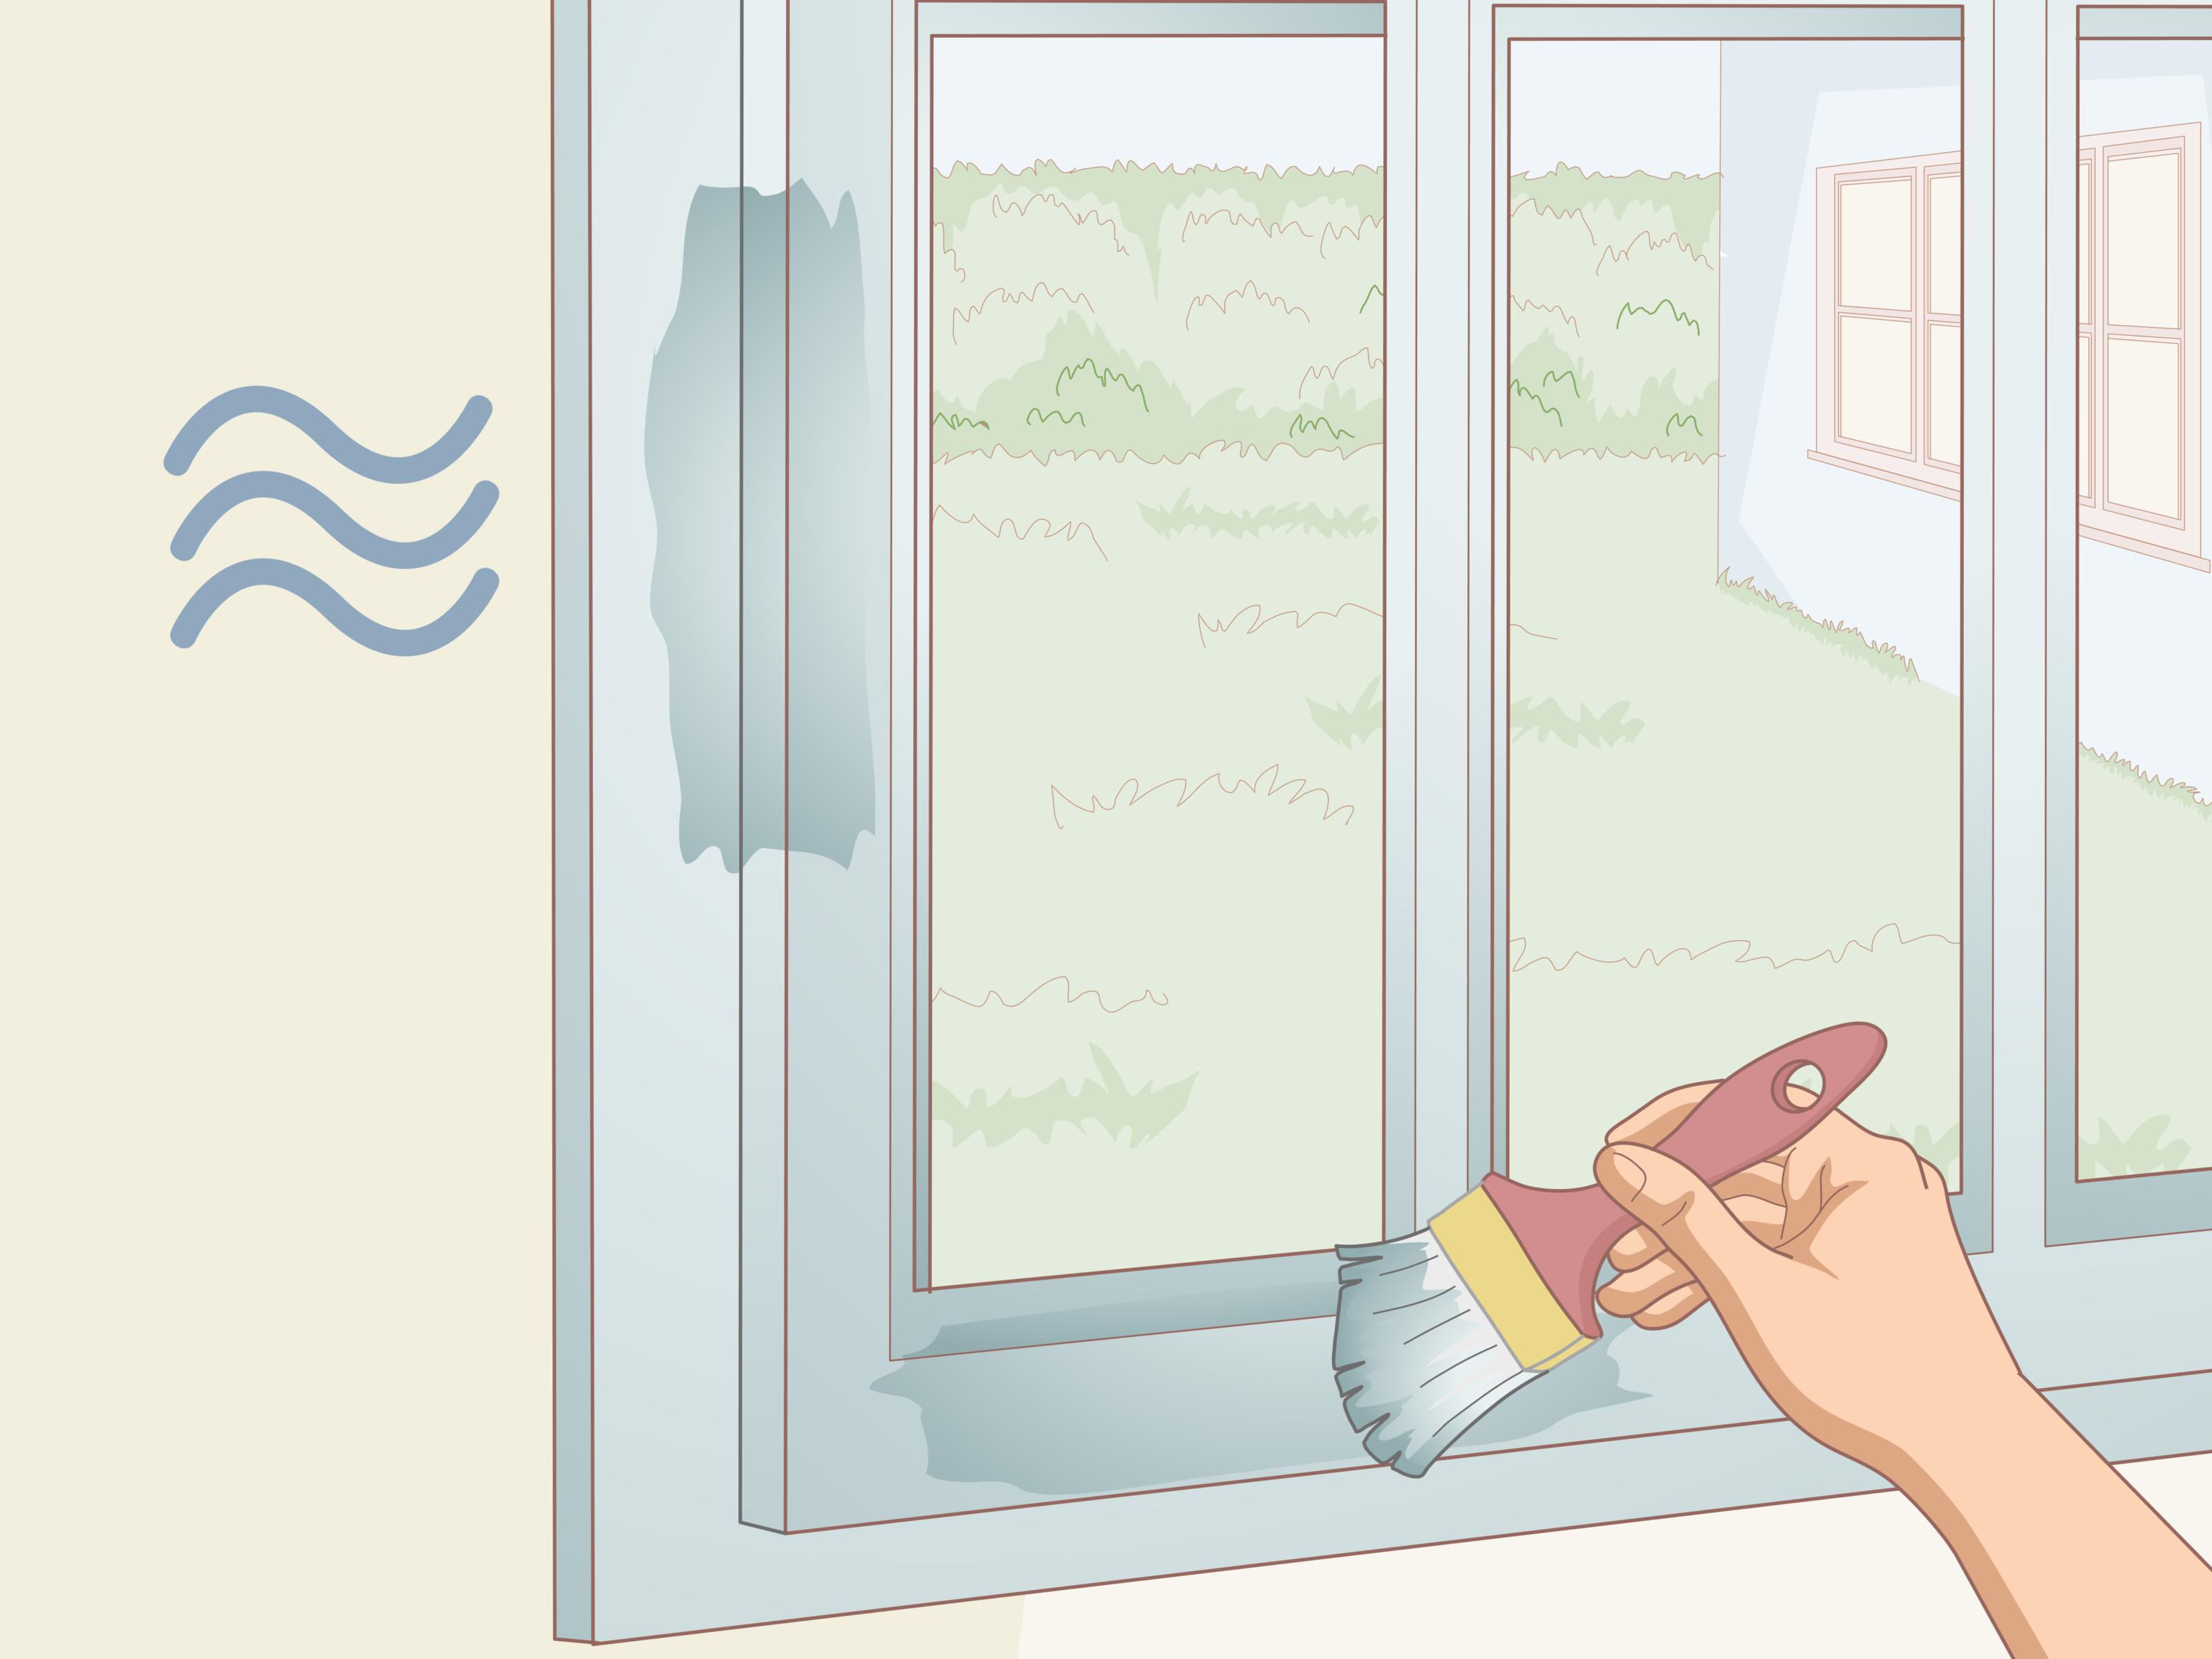
Open windows and create cross-ventilation before using solvent-based or shellac-based products. Keep the primer away from cigarettes, pilot lights, sparks, heaters, and open flames. Wear the protective equipment recommended on the product label and safety data sheet.
If you will scrape or sand painted wood in a home built before 1978, consider the possibility of lead-based paint. Have the finish tested or follow lead-safe renovation practices. Avoid uncontrolled dry sanding that sends potentially hazardous dust throughout the room. Children and pregnant people should remain away from the work area while hazardous paint preparation is underway.
Step 3: Clean the Wood Thoroughly
Primer cannot perform well when it is sitting on grease, furniture polish, smoke residue, wax, or kitchen grime. Wash the surface with a cleaner suitable for painted or unfinished wood. Cabinets near a stove and old knotty-pine paneling often need extra attention because years of airborne grease and household residue can create an invisible adhesion barrier.
Rinse when required by the cleaner instructions, wipe away residue, and let the wood dry completely. Do not seal damp lumber. Trapped moisture can cause adhesion problems and may contribute to future discoloration.
Step 4: Scrape Loose Paint and Sand the Area
Remove peeling, blistered, or poorly bonded paint with a scraper. Feather the edges of the remaining finish so there is no sharp ridge around the repair. Sand bare wood and glossy coatings enough to produce a clean, dull surface that accepts primer.
For many projects, 120- to 180-grit sandpaper works well for the initial preparation. Follow with 180- or 220-grit paper when a smoother finish is needed. Avoid aggressively grinding the knot. Excessive heat from power sanding can warm the resin and smear it across the surrounding wood.
Vacuum the area and wipe away all dust. A beautifully chosen primer applied over sanding debris merely produces professionally sealed sanding debris.
Step 5: Repair Loose Knots, Cracks, and Knot Holes
Inspect each knot carefully. A solid, stable knot can usually be sealed in place. A loose knot, deep crack, or empty knot hole needs repair before priming. Remove material that is clearly detached, but do not excavate sound wood simply because the knot looks dramatic.
Fill small defects with a paintable wood filler that is compatible with the location and coating system. For large holes, damaged exterior trim, or repairs requiring greater strength, a two-part exterior-grade wood repair compound may be more appropriate. Allow the repair to cure fully, then sand it flush.
Remember that filler corrects the shape of the surface; it does not necessarily block resin. Prime the repaired area and any remaining knot material with a stain-sealing product.
Step 6: Spot-Prime Each Knot With a Stain Blocker
Apply a thin, even coat of shellac-based or manufacturer-approved knot-sealing primer over the knot. Extend the primer at least one or two inches beyond the visible edge because resin can travel through nearby grain that looks innocent.
A brush gives good control on trim, furniture, paneling grooves, and small repairs. Aerosol stain blockers can be convenient for isolated knots, but protect surrounding surfaces from overspray. On large areas of knotty pine, brushing or rolling may be more efficient than creating an indoor cloud of primer.
Do not substitute a standard drywall primer unless its label specifically lists knot, sap, or tannin blocking. PVA drywall primer is excellent for fresh drywall and impressively unhelpful against determined pine resin.
Step 7: Apply a Second Sealing Coat When Needed
One coat may be sufficient for mild discoloration, but stubborn knots often deserve a second coat. Let the first coat dry for the full time specified by the manufacturer. Then inspect the surface under strong light.
If the brown color is still wet-looking, unusually dark, or visible around the edges, apply another thin coat. Brushing the second coat in a different direction can help cover tiny pinholes or thin spots. A second coat is inexpensive insurance compared with repainting an entire wall after twenty knots return for a reunion.
Drying and stain-blocking times are not always identical. A primer may feel dry to the touch quickly but require additional time before it reaches its best stain-sealing performance. Follow the label rather than relying on a finger tap and optimism.
Step 8: Prime the Entire Surface
After spot-sealing the knots, prime the full board, door, cabinet, or wall when the project requires a uniform painting base. Full priming improves adhesion, evens out porosity, and prevents shiny or dull patches over the spot repairs.
On heavily knotted pine paneling, many professionals use a stain-blocking primer across the entire surface. On a new piece of pine trim with only two small knots, spot-sealing followed by a compatible general wood primer may be enough. Check that the full-surface primer is compatible with both the knot sealer and the chosen finish paint.
Apply the primer evenly and avoid heavy ridges. On tongue-and-groove paneling, brush primer into grooves before rolling the wider faces. Watch for pooling around knots, edges, and decorative profiles.
Step 9: Sand Lightly and Perform a Test
Once the primer has dried completely, sand it lightly with fine-grit paper, usually around 220 grit. The goal is to remove dust nibs, brush marks, and rough raised fibersnot to sand through the protective barrier you just worked so hard to create.
Remove the dust and inspect every knot. For a demanding project, apply a small amount of finish paint to one or two repaired areas and let it dry. If discoloration appears, stop and add another coat of stain-blocking primer. Testing a six-inch section is much more cheerful than discovering a failure after painting forty feet of paneling.
Step 10: Apply Two Thin Finish Coats and Allow Them to Cure
Apply a quality interior or exterior paint suitable for the surface. Use two thin, even coats rather than one overloaded coat. Thin coats level more predictably, dry more evenly, and are less likely to sag around trim details.
Respect the recommended recoat time. Cool temperatures, high humidity, and poor air movement can slow drying. After the final coat, allow the paint to cure before scrubbing, reinstalling hardware, closing sticky cabinet doors, or placing objects on furniture.
Dry paint is not necessarily fully cured paint. A cabinet door may feel dry in an afternoon while the coating remains vulnerable to dents and sticking for days. Treat the new finish gently until it reaches its intended hardness.
Common Mistakes That Let Knots Bleed Through Again
Using Ordinary Latex Primer
General water-based primer may improve adhesion and color coverage without creating a sufficient resin barrier. Choose a product that specifically advertises stain blocking for knots, sap, or tannin-rich wood.
Applying the Sealer Only to the Dark Center
The visible knot is not always the full contaminated area. Extend the stain blocker beyond its edges so resin cannot simply appear as a brown halo around the repair.
Applying Thick, Wet Coats
A thick coat does not automatically block stains better. It may dry unevenly, wrinkle, sag, or trap solvents. Two controlled coats are generally more reliable than one heroic blob.
Painting Before the Primer Is Ready
Rushing can soften the primer, reduce stain resistance, or cause adhesion problems. Use the stain-blocking time stated on the label, especially for severe knots.
Ignoring Moisture
Exterior siding, bathroom paneling, and window trim may develop discoloration because moisture is entering from behind the wood. Seal gaps, repair leaks, and correct ventilation problems before repainting.
Interior Versus Exterior Knot Sealing
Shellac-based primers are frequently recommended for interior work and for limited exterior spot priming. However, not every shellac product is intended to cover an entire outdoor surface. Use only products approved for the project location.
Exterior wood expands, contracts, absorbs moisture, and experiences temperature changes. After spot-sealing knots, apply an exterior wood primer and exterior-grade finish paint when the coating system calls for them. Pay special attention to end grain, joints, nail holes, and horizontal surfaces where water can linger.
For new exterior construction, coating all accessible faces and edges before installation can reduce uneven moisture movement. Once the boards are installed, the hidden back surfaces become considerably less interested in cooperating.
Experience Notes: What Real Knot-Bleed Repairs Teach You
The most useful lesson from painting knotty wood is that the quality of the final coat depends heavily on work that disappears beneath it. On one pine shelving project, the knots were covered with a general-purpose acrylic primer because the can promised excellent hiding. The shelves looked flawless after two coats of white enamel. Three weeks later, faint yellow circles began appearing. By the second month, every knot was visible enough to count from across the room.
The repair required lightly sanding the affected spots, applying two coats of shellac-based stain blocker, priming the full shelf again, and repainting. The second attempt used less finish paint than the first because the sealed surface covered more evenly. It also took less time than repeatedly touching up individual brown marks. The experience proved that “high hiding” and “stain sealing” are not interchangeable promises.
Another common lesson comes from older knotty-pine walls. These surfaces may hold decades of smoke residue, furniture polish, cooking grease, and cleaner buildup. A homeowner can purchase the strongest primer in the store and still experience peeling if the paneling was not cleaned. On old walls, a white rag is an excellent detective. If it turns brown or greasy while wiping the surface, the wall is not ready for primer.
Grooved paneling also teaches the importance of application technique. Rolling only the flat faces leaves thin primer inside the grooves and around the knot edges. Those missed areas often become the first places where discoloration returns. Brushing the grooves, knots, seams, and corners before rolling the broad sections produces much more consistent coverage.
Fresh pine furniture presents a different challenge. New lumber may contain active resin, especially around dark knots. If a knot feels sticky, looks glossy, or releases amber beads in a warm room, it needs extra attention. Scraping off hardened resin, cleaning the area as directed by the coating manufacturer, and applying two sealing coats is safer than trapping a soft lump beneath paint.
Color choice can affect how quickly a problem is noticed but does not eliminate it. Brown bleed-through is obvious beneath bright white and pale gray paint, while darker colors may disguise it temporarily. The stain is still migrating, however, and may eventually alter the sheen or create a visible patch. Proper sealing matters even when the topcoat is navy blue or forest green.
Patience is another practical advantage. Many failed repairs happen because every step is compressed into one afternoon. Cleaning moisture remains in the grain, filler is sanded before it hardens, primer is recoated too soon, and the finish paint is applied before solvents have escaped. Extending the project over two or three days often improves the result without adding much actual labor.
Finally, keep a small labeled container of the stain-blocking primer after the project. Future nail holes, scratches, or repairs may expose another portion of a knot. Having the original sealer available makes small maintenance jobs easier. Store it according to the manufacturer’s directions, keep the lid tightly closed, and never place a solvent-based product near heat or flame.
The overall experience is simple: do not fight knot stains with decorative paint. Isolate them with the correct barrier. Once the resin is properly sealed, the finish coat can finally focus on being attractive instead of working a second job as an underqualified stain blocker.
When Should You Replace the Wood Instead?
Sealing is appropriate for sound wood with stable knots. Replacement may be smarter when knots are loose, rotten, excessively resinous, or located in structural areas. Severely warped siding, crumbling trim, and wood damaged by chronic moisture need more than cosmetic treatment.
For premium painted cabinetry or furniture, selecting clear, paint-grade lumber or stable engineered material can reduce future problems. Knotty pine is affordable and full of character, but sometimes its character insists on being visible through three layers of white paint.
Conclusion
To stop knots from showing through paint, focus on sealing rather than covering. Clean the wood, repair defects, sand carefully, and apply a primer specifically designed to block knots, sap, and tannin stains. Use a second sealing coat when necessary, prime the complete surface for consistency, and finish with two controlled coats of paint.
The extra preparation may add a few steps, but it prevents recurring brown spots, wasted paint, and frustrating do-overs. Treat each knot as a stain that must be isolated, not merely a dark color that needs to be hidden, and your painted wood will stay cleaner and more uniform for years.
SEO Information