
A plain natural-fiber rug can become the graphic centerpiece of a room with one stencil, a modest amount of paint, and the discipline to keep your roller almost comically dry. This guide explains how to plan, test, stencil, align, dry, and care for a sisal rug decorated with a Shipibo-inspired pattern.
Editorial note: The requested title uses “Sisel,” but the plant fiber is correctly spelled sisal. This article also uses “Shipibo-inspired” for a commercial stencil. Traditional Shipibo-Conibo designs carry cultural and spiritual meaning and should not be presented as generic decoration or falsely sold as authentic Indigenous artwork.
Why a Stenciled Sisal Rug Works
Sisal rugs are strong, textured, neutral, and useful in almost any decorating style. Their quiet color makes them an excellent base for paint, while a repeating geometric stencil adds movement and personality without the price of a designer rug.
A Shipibo-inspired pattern is especially striking because its interlocking lines create visual rhythm across a large surface. The natural weave softens the precision, so the finished rug feels handmade rather than factory printed. However, sisal is coarse, absorbent, and sensitive to excess moisture. Clean results depend on light paint loads, careful alignment, and a willingness to test before committing.
A Brief Cultural Note About Shipibo Design
Traditional Shipibo-Conibo art from the Peruvian Amazon includes intricate rectilinear and curving designs on textiles, pottery, clothing, and other objects. Museum descriptions connect these patterns with nature, cosmology, visions, and highly valued artistic knowledge.
For a respectful DIY project, describe a commercial motif as Shipibo-inspired rather than authentic Shipibo art. Do not copy a living artist’s work without permission. When posting the project, credit the inspiration accurately and consider supporting Indigenous artists or organizations. Cultural appreciation looks better than cultural amnesiaand it never goes out of style.
Tools and Materials
- A clean, flat-weave sisal rug
- A reusable Shipibo-inspired stencil with registration marks
- Low-tack painter’s tape and a plastic drop cloth
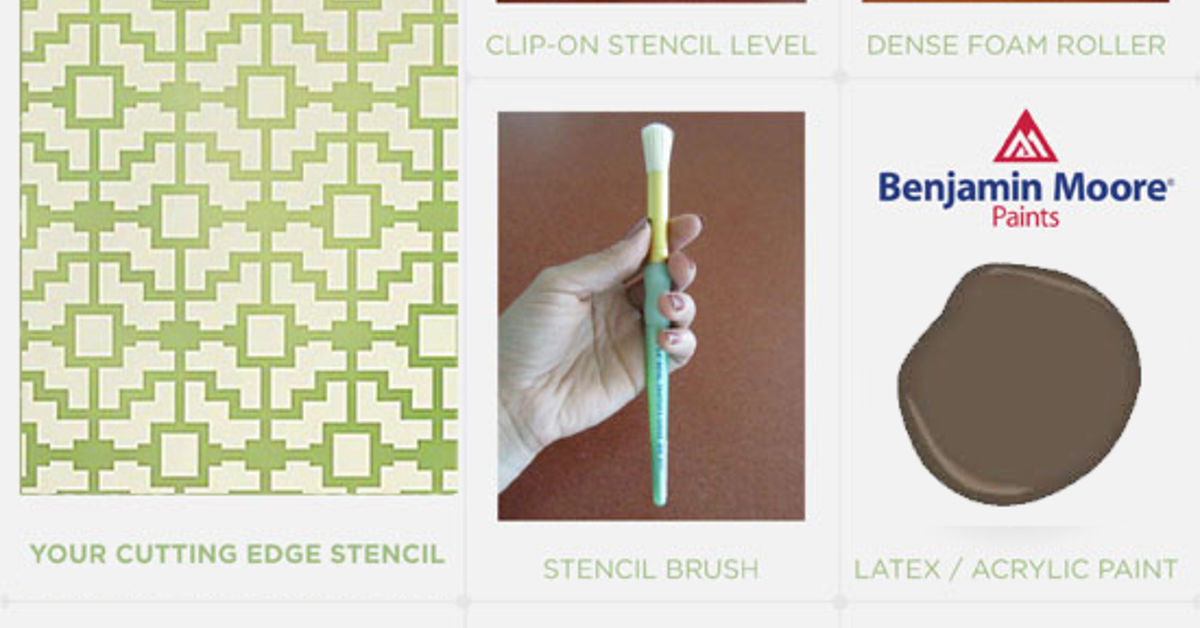
- A dense 3- or 4-inch foam roller and stencil brushes
- Water-based acrylic, latex, or chalk-style paint suitable for the project
- Optional fabric medium, used only according to its label
- A tray, paper towels, measuring tape, ruler, pencil, and removable chalk
- Scrap cardboard, a vacuum, gloves, a fan, and good ventilation
Choose the Rug Carefully
Select a tight, low, even weave. Deep ribs, loose fibers, large knots, or heavy stains make clean repetition harder. A bound rug is convenient because the binding can be masked to create a finished border.
Read the care label. Some rugs marketed as “sisal” are synthetic products with a sisal-like texture. Synthetic and true plant-fiber rugs react differently to moisture and paint, so identify the material before choosing a coating.
Choose Paint and Color
Chalk-style paint covers texture well, acrylic craft paint can be paired with a compatible fabric medium, and interior acrylic latex paint can work in thin coats. Thick applications may make the rug stiff.
Do not add water automatically. Although some rug tutorials thin paint to help it enter the weave, true sisal can brown, shrink, or distort when over-wet. Test the exact mixture first and use the least moisture needed.
Charcoal on natural tan, indigo on flax, terracotta on beige, and warm white on dark brown all show the pattern clearly. Tonal colors are more forgiving and hide tiny alignment errors like a stylish conspiracy.
Prepare the Rug and Pattern
1. Vacuum and Flatten the Rug
Vacuum the front, back, and floor beneath the rug. Loose grit can become trapped in the paint. Lay the rug flat on a protected surface until curled corners relax, and never stencil a damp rug.
2. Test Before Painting
Practice on cardboard to learn how little paint the roller needs. Then test the mixture on the rug’s underside or a similar scrap. Check color, bleeding, adhesion, stiffness, and drying. A five-minute test can prevent a five-foot regret.
3. Mask the Border
Cover the binding with low-tack painter’s tape and press the inner edge firmly. For a wider unpainted border, measure inward equally on all four sides and add another tape line.
4. Plan the Repeat
Measure the rug and stencil. Centering the first full motif usually gives an intricate pattern the best balance. Mark light horizontal and vertical guides with removable chalk, then dry-fit one row before opening the paint. This reveals whether the repeat will end in an awkward sliver at the opposite edge.
How to Stencil a Sisal Rug Step by Step
Step 1: Secure the Stencil
Place the stencil on your guide marks and tape its corners. Keep delicate bridges as flat as possible without covering the design openings.
Step 2: Load, Then Offload
Roll a small amount of paint onto the foam roller, then roll repeatedly over folded paper towels until it looks almost dry. This feels wrong. It is also the secret. Excess paint floods the weave and sneaks beneath the stencil.
Step 3: Apply Light Passes
Roll gently over the stencil in several thin passes. Keep pressure even. For narrow details, pounce with a stencil brush rather than scrubbing sideways, which can lift the stencil and cause smears.
Step 4: Peek at Coverage
Lift one corner without shifting the stencil. The first pass may color only the raised fibers, creating an attractive textured effect. Add another light pass for stronger coverage, but resist the urge to saturate the rug.
Step 5: Lift and Realign
Lift the stencil slowly and straight up while the impression is fresh. Wipe heavy paint buildup from its back. Align the next repeat using registration marks or a small overlap with the previous motif.
Step 6: Check the Pattern Often
Work in rows from the center outward or from one straight side across the rug. Compare the repeat with your chalk line every few placements. Tiny errors multiply across a large surface; one small drift can become a full geometric migration.
Step 7: Finish the Edges
Near the border, switch from the roller to a stencil brush for control. A cleanly cropped motif usually looks more professional than a complete design squeezed into the final inch.
Step 8: Add a Second Coat if Needed
Let the first layer dry according to the paint label. If the design is too faint, realign the stencil and add another thin pass. Two controlled coats feel better underfoot than one heavy, crunchy coat.
Step 9: Remove Tape and Cure
Pull the border tape slowly at a low angle after the paint has dried as directed. Keep shoes, furniture, pets, and enthusiastic children away until the coating has fully cured. Dry-to-touch is not the same as ready-for-a-dining-table.
Common Problems and Fixes
Fuzzy or Bleeding Edges
The roller was too wet, pressure was too heavy, or the stencil moved. Offload more paint, use lighter passes, and secure the stencil. Minor imperfections can be touched up after drying or accepted as part of the woven texture.
Pattern Drift
Stop and re-establish a straight guide from the rug edge. Align the next repeat to both the guide and the previous motif. From normal viewing distance, consistent spacing matters more than microscopic perfection.
Stiff Painted Areas
Heavy paint formed a film on top of the fibers. Prevent this with thin coats and a compatible paint system. After full curing, gentle vacuuming may loosen the surface. Avoid sanding unless a test proves it will not damage the rug or backing.
Patchy Color
Natural texture creates variation, especially with pale paint. Apply another light coat instead of soaking the fibers. A slightly weathered finish can make the pattern feel more handcrafted.
Care and Placement
Vacuum regularly using the gentlest setting recommended by the rug manufacturer, and rotate the rug to distribute wear. Keep true sisal away from damp bathrooms, uncovered patios, and wet entryways. Blot spills promptly; do not rub, soak, steam-clean, or machine-wash the rug. Major stains may require a professional familiar with plant fibers.
A clear topcoat is not automatically helpful. Sealers may darken the fiber, add shine, trap dirt, or make the surface stiff. Use one only after confirming compatibility and testing it.
The finished rug is best suited to a home office, guest room, reading area, formal living room, or other dry, low-to-moderate traffic space. Repeat one of its colors in pillows, pottery, or artwork, and pair the intricate motif with larger-scale or solid surrounding patterns.
Experience Notes: What This Project Is Really Like
The instructions make rug stenciling sound like a calm sequence of measuring, rolling, and admiring your own excellent taste. The real experience is slightly messier and far more useful. The first lesson is that preparation feels slow only until the paint appears. Once paint touches the rug, every skipped measurement becomes suddenly fascinating.
A typical first attempt begins with an optimistic roller. It is loaded generously because generous paint seems likely to create generous coverage. The first lift reveals a bold motif surrounded by fuzzy halos. That moment teaches the central rule better than any manual: the roller must be nearly dry. After most of the paint is offloaded onto paper towels, two light passes create a cleaner pattern than one wet pass.
The second lesson involves alignment. A Shipibo-inspired stencil can contain so many intersecting paths that the eye stops noticing which line forms the actual repeat. Marking registration points with tiny pieces of tape saves time. So does stepping back after every two or three impressions. Up close, the brain studies individual lines; from six feet away, it immediately sees whether the entire row is leaning toward the sofa.
Edges are usually the slowest part. The roller that moved confidently across the center becomes a paint-covered bulldozer near the binding. Switching to a stencil brush is slower but safer. It also gives better control over partial motifs. In practice, a cleanly cropped design looks more professional than a complete motif squeezed awkwardly into the last inch.
Color also behaves differently on sisal than it does on a sample card. Tan fiber warms cool colors, texture creates shadows, and the first coat may look uneven until it dries. A smoky blue can become muted slate; a crisp white may turn creamy oatmeal. This can be beautiful, provided the surprise happens on the underside rather than in the center of the room.
Keeping the stencil clean is another real-world lesson. Paint gradually collects around fine openings and changes their shape. Pause whenever details begin looking thick, place the stencil on a protected surface, and clean it according to the manufacturer’s instructions. Five careful minutes can rescue every remaining repeat.
Drying demands patience. The rug may feel dry on top while paint remains soft between deeper fibers. Moving furniture too soon can flatten the design or transfer color to chair legs. A fan can improve airflow, but high heat is unnecessary and may be unkind to natural fibers.
The best results come from treating the rug as a handmade object rather than a printed product. Slight changes in color density and edge sharpness give it depth. The project rewards control, not speed: small paint loads, frequent alignment checks, clean tools, and breaks taken before your shoulders begin negotiating with gravity.
Finally, the cultural inspiration deserves the same care as the technique. Learning about Shipibo-Conibo art changes the project from “interesting boho lines” into an opportunity to acknowledge a living artistic tradition. The rug can remain playful, personal, and proudly DIY while carrying a more accurate story.
Conclusion
To stencil a sisal rug successfully, begin with a tight, clean weave; protect the binding; center the pattern; and use surprisingly little paint. Test every material, offload the roller until it is nearly dry, apply light passes, and check alignment throughout the project.
The reward is a custom rug that combines natural texture with bold geometry. Give the design proper cultural context, let the paint cure fully, and maintain the rug with dry, gentle care. Your once-quiet floor covering will have considerably more to saywithout requiring you to refinance the coffee table.