
Outdoor furniture has a rough job description. It is expected to survive blazing sun, spring pollen, surprise thunderstorms, barbecue sauce, bird commentary, and at least one guest who rocks back in a chair that was never designed to rock. After a few seasons, even a well-built patio set can look tired, chalky, rusty, faded, or simply out of step with the rest of the yard.
That does not automatically mean it belongs on the curb. Re-fabbing outdoor furniturecleaning, repairing, refinishing, and restyling what you already owncan extend the useful life of solid pieces while giving a patio, deck, balcony, or porch a more intentional look.
The best results come from treating wood, metal, wicker, plastic, and fabric as different materials with different needs. One miracle product for everything is usually how a small makeover becomes a large apology.
What Does “Re-Fab Outdoor Furniture” Mean?
“Re-fab” is a playful way to describe making old furniture fabulous again. It sits somewhere between routine maintenance and full restoration. A simple project might involve washing a resin chair and adding a new cushion. A more ambitious patio furniture makeover could include tightening joints, removing rust, sanding old paint, applying primer, repainting the frame, and sewing replacement covers.
The goal is not always to return a piece to factory condition. In many cases, the better objective is to preserve its structure while updating its finish, comfort, and visual personality.
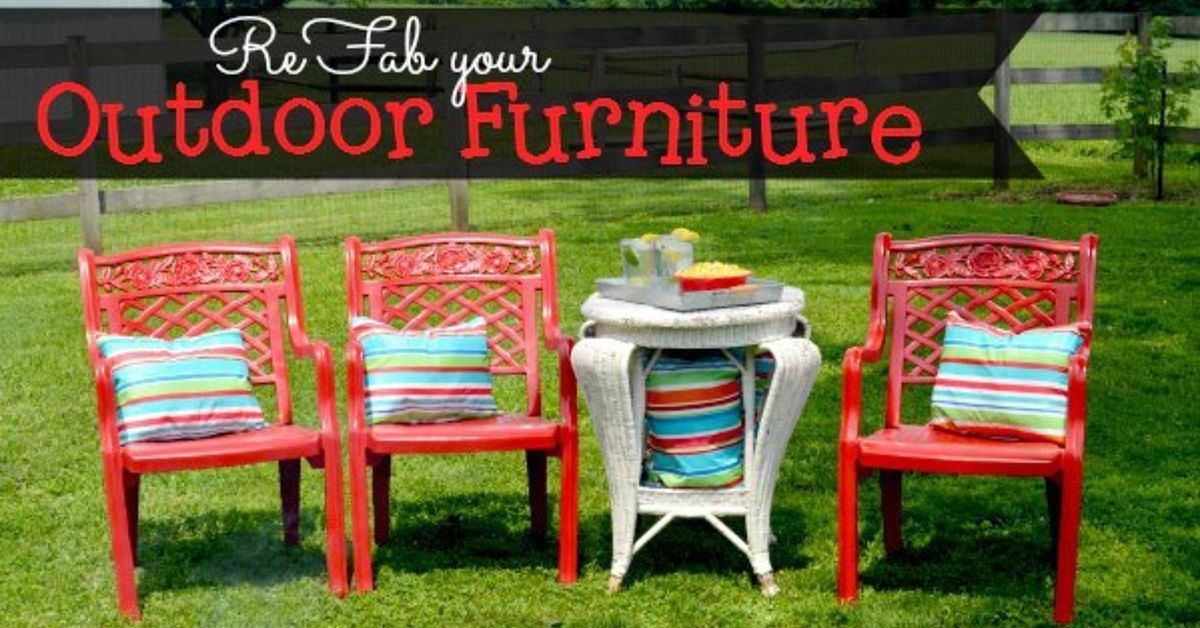
A faded black bistro set can become glossy garden green. A gray, weathered bench can be cleaned and stained to reveal its grain. A mismatched collection of secondhand chairs can feel like a deliberate set when the pieces share one color palette.
Why Restore Outdoor Furniture Instead of Replacing It?
Quality outdoor furniture can be expensive, especially when a project involves a dining table, several chairs, cushions, side tables, and storage. Restoring a structurally sound set often costs less than replacing every piece.
Refurbishing also keeps usable furniture in circulation. Extending the life of an existing table or chair reduces household waste and avoids some of the materials, packaging, and transportation associated with buying a replacement.
There is a design advantage as well. Older wrought-iron chairs, substantial wood benches, and vintage aluminum frames may have proportions or decorative details that are difficult to find in inexpensive new furniture. Re-fabbing lets you keep the character while losing the peeling paint and the mysterious stain shaped like Ohio.
Start With an Honest Inspection
Before buying paint or falling in love with a fabric pattern, decide whether the furniture is worth saving. Cosmetic wear is normal. Structural failure is a different matter.
Good Candidates for Restoration
- Solid frames with surface rust, faded color, or peeling finish
- Wood furniture with weathering, minor cracks, or loose hardware
- Synthetic wicker with intact framing and limited strand damage
- Cushions with supportive foam but stained or faded covers
- Plastic furniture that is dull but not brittle or deeply cracked
Pieces That May Need Professional Repair or Replacement
- Severely rusted metal at load-bearing joints
- Rotten wood that crumbles under light pressure
- Broken welds, major frame distortion, or unstable legs
- Brittle plastic with cracks around the seat or back
- Foam that remains damp, smells musty, or has lost its shape
Sit carefully in each chair, press on the arms, and check every connection. Tighten loose bolts and replace missing hardware with corrosion-resistant equivalents. A beautiful finish cannot compensate for a chair that folds itself during lunch.
Tools and Materials for an Outdoor Furniture Makeover
A basic outdoor furniture restoration kit may include mild soap, buckets, microfiber cloths, soft brushes, a toothbrush for crevices, sandpaper in several grits, a sanding sponge, scraper, rust-removal brush, tack cloth, drop cloth, gloves, eye protection, primer, exterior paint or stain, and replacement hardware.
For fabric projects, add a tape measure, outdoor-rated thread, a zipper or hook-and-loop tape, and outdoor upholstery fabric. Solution-dyed fabrics are popular for patios because color is incorporated into the fibers rather than applied only to the surface.
Choose coatings according to the material and exposure. Products labeled only for indoor use are not suddenly inspired to become weatherproof because they can see the garden. Follow the manufacturer’s directions for preparation, temperature, humidity, ventilation, recoat windows, and curing.
How to Re-Fab Outdoor Furniture Step by Step
1. Clean Before You Sand, Repair, or Paint
Remove cushions, caps, glides, and detachable hardware. Vacuum or brush off dry dirt and pollen before adding water. Wet pollen can turn into surprisingly stubborn grime.
Wash the frame with a material-appropriate mild cleaner, working from top to bottom. Use low-pressure water for rinsing. Aggressive pressure washing can damage wood fibers, force water into joints, loosen wicker, or strip an already weakened finish.
Rinse thoroughly and allow the furniture to dry completely. This may require more time than expected, especially with wood, woven pieces, and thick cushions. Trapped moisture is an excellent way to invite peeling paint, mildew, and regret.
2. Complete Structural Repairs
Tighten hardware, secure separated wood joints with an exterior-suitable adhesive, replace rotten slats, and address broken welds before refinishing. Fill minor wood defects with exterior-rated filler if the piece will be painted.
For transparent stains, choose repair materials carefully because filler may absorb color differently from the surrounding wood.
On metal furniture, remove loose rust and inspect what remains. Surface rust can often be treated. Deep pitting at a leg, seat support, or welded joint may indicate reduced strength and should not simply be hidden under paint.
3. Prepare the Surface
Preparation determines whether the new finish lasts beyond the first enthusiastic weekend. Scrape away loose coating, then sand to smooth the transitions between bare and painted areas. Sand wood in the direction of the grain. On metal, remove rust and feather peeling paint into the stable surrounding finish.
Wipe away sanding dust before applying primer, paint, stain, or sealer. Even fine residue can create a rough surface and interfere with adhesion.
You do not always need to strip a piece to bare material. A stable finish can often be cleaned, scuff-sanded, spot-primed, and recoated. Full stripping makes more sense when the old coating is failing extensively, several thick layers obscure the details, or you want to reveal natural wood.
Choose the Correct Method for Each Material
Wood Outdoor Furniture
Wood offers three broad design directions: preserve a naturally weathered appearance, refresh the grain with an exterior stain or oil system, or cover the surface with exterior paint. The best option depends on the wood species, existing finish, exposure, and desired maintenance schedule.
For stain, clean and sand evenly, test the color in an inconspicuous area, and apply the product in manageable sections. Prevent stain from pooling around slats, joints, and decorative details.
For paint, use a compatible exterior primer where required, followed by thin, even coats of exterior-rated paint. Pay particular attention to end grain, feet, undersides, and joints where moisture tends to enter.
Do not assume that more coating always means more protection. Heavy layers can remain soft, trap moisture, or peel. Several controlled coats are generally more dependable than one heroic coat applied with the emotional intensity of a home-makeover finale.
Metal Patio Furniture
For steel or wrought iron, remove loose paint and rust with a wire brush, sanding tool, or appropriate rust-removal product. Clean away the residue and allow the surface to dry.
Apply a rust-inhibiting metal primer followed by exterior metal paint. Intricate frames are often easier to spray because aerosol paint can reach curves, mesh, and decorative scrollwork more evenly than a large brush.
Use multiple light passes rather than holding the nozzle in one place. Rotate the furniture and view it from several angles. Missed undersides and interior corners are where rust likes to establish a branch office.
Aluminum does not rust in the same way as iron, but it can oxidize. It still requires cleaning, proper scuffing, and a coating system designed to adhere to aluminum.
Wicker and Woven Furniture
First identify whether the weave is natural rattan or synthetic resin. Natural wicker is more vulnerable to prolonged moisture and rough scrubbing. Synthetic wicker is generally more tolerant, but abrasive brushes can still scratch or fray it.
Vacuum the weave, brush debris from the crevices, wash gently, rinse, and let it dry thoroughly. Repair loose strands before painting.
Spray application generally provides more even coverage on complicated woven surfaces. Apply several light coats from the front, back, sides, top, and underside. Do not bury the texture under so much paint that the chair begins to resemble a frosted pastry.
Plastic and Resin Furniture
Many plastic chairs can be dramatically improved with careful cleaning. Use a soft sponge and mild cleaner, then rinse well. Avoid harsh abrasives that can leave a permanently dull surface.
Before painting, confirm that the coating is intended for the specific type of plastic and perform a hidden adhesion test. Some plastics resist paint, while brittle, heavily sun-damaged chairs are poor restoration candidates regardless of how attractive the chosen color may be.
Outdoor Cushions and Fabric
Begin by checking the care label and determining whether the covers are removable. Vacuum loose debris, blot fresh spills instead of rubbing them, and test cleaning solutions in a hidden area.
Mild soap and lukewarm water are common starting points for outdoor fabrics, but the fabric manufacturer’s instructions should control. Rinse away all soap residue and air-dry the covers and foam completely before returning cushions to the frame.
If the foam remains supportive, new covers can deliver the most visible transformation in the project. Measure the existing cover rather than the compressed cushion, include seam allowances, and use outdoor-rated fabric and thread.
Patterns can disguise minor stains, while solid colors help mismatched furniture look coordinated. Add zippers when practical so future cleaning does not require a wrestling match.
Design Ideas That Make a Re-Fab Look Intentional
A successful DIY patio furniture makeover is not only about repair. It should also make the outdoor area feel connected to the home.
Begin with a restrained palette: one frame color, one main textile, and one or two accents. Deep green, navy, charcoal, warm white, terracotta, and muted blue work especially well with plants, brick, stone, and natural wood.
For an eclectic collection, repeat one element across all the pieces. Paint different chair styles the same color, use matching cushions, or repeat a stripe in the pillows and outdoor rug.
Replace visibly mismatched hardware with a consistent finish. Add furniture glides to protect the legs and the patio surface. Small details create the difference between “curated vintage” and “the yard sale ended here.”
Common Outdoor Furniture Restoration Mistakes
The most common mistake is rushing the drying and curing stages. Paint can feel dry while remaining vulnerable underneath. Adding cushions too soon, stacking chairs, or dragging a table across concrete can mark a finish before it reaches full durability.
Other frequent problems include painting over dirt, ignoring rust beneath intact-looking paint, using indoor coatings outside, spraying too heavily, and failing to coat hidden edges.
Another mistake is cleaning every surface with the same acidic or abrasive household mixture. A cleaner that works on plastic may cloud a wood finish, discolor metal, or weaken natural fibers. Match the cleaning method to the material and test it before treating the entire piece.
How to Maintain Restored Patio Furniture
Maintenance is easier than another complete restoration. Brush off leaves and pollen regularly, clean spills promptly, and keep furniture dry when practical. Use breathable, properly fitted covers rather than trapping moisture under a loose tarp.
Store cushions in a dry, ventilated location during long periods of bad weather. Never store cushions while they are damp, even when they feel only slightly cool to the touch.
Inspect finishes at the beginning and end of the outdoor season. Touch up chips before exposed metal rusts. Refresh wood finishes when the surface looks dry, uneven, or no longer repels water effectively.
Tighten hardware and replace worn glides. Ten minutes of attention can prevent next year’s “quick project” from becoming a three-week documentary.
Experience-Based Field Notes From Re-Fab Projects
The following field notes summarize recurring experiences from successful outdoor furniture restoration projects. They are useful because the instructions on a paint can describe coverage and drying time, but they cannot warn you that one decorative chair may contain approximately nine thousand tiny angles.
The Rusty Bistro Set: Preparation Took Longer Than Painting
A typical metal bistro set may look like a one-afternoon project. The frame is small, the paint comes in a spray can, and optimism is free. In practice, removing flaking finish from mesh seats and curved legs can consume most of the work time.
The useful lesson is to stop thinking of sanding as a preliminary nuisance. It is the project. Once the unstable rust and failed paint are removed, the primer and color coats move relatively quickly.
Light coats also outperform one thick coat. Heavy spraying collects along the lower edges of mesh, creates drips on scrollwork, and leaves soft areas that take longer to cure. Turning each chair upside down for the first passes makes it easier to cover the feet and undersides. New plastic glides finish the job and keep freshly painted metal from scraping directly against concrete.
The Weathered Wood Bench: Drying Time Changed the Schedule
Weathered wood often looks ready for a new finish once its surface feels dry. However, moisture may remain around joints, end grain, and screw holes after washing.
Projects tend to go better when cleaning is completed on one day and sanding or coating begins later, after the furniture has dried in favorable conditions. That pause feels unproductive, but it can prevent cloudy finishes and weak adhesion.
A second lesson is that the first wet coat of oil or stain can make dry wood look miraculously perfect. The appearance may change as the product penetrates and cures, so a test area matters. It reveals the color, absorption rate, and whether old patches or repairs will remain visible.
For a bench with uneven weathering, a more opaque exterior stain or paint may produce a more consistent result than a transparent finish.
The Woven Chair: Cleaning Revealed the Real Condition
Wicker and synthetic weave can conceal dirt, broken strands, and old paint in their recesses. Vacuuming and gentle brushing sometimes improve a chair so much that the original makeover plan changes. A piece assumed to need paint may only require a small repair and thorough cleaning.
Conversely, washing can reveal cracks that were hidden by dust. This is another reason cleaning should come before buying finishing supplies.
When paint is appropriate, spraying only from the front leaves shadowed strips inside the weave. Better coverage comes from light passes made from the front, back, sides, top, and underside. The finish looks more natural when every coat remains thin enough to preserve the woven texture.
The Cushion Makeover: Measuring Beat Guessing
Replacement cushion covers can make old frames look new, but fabric projects punish casual measuring. Outdoor foam compresses and old covers stretch, so measuring several points and labeling every cushion avoids confusion.
On a dining set, seat cushions may appear identical while differing by half an inchjust enough to make the finished cover look strangely tight or loose.
Pattern placement also affects the result. Large stripes or botanical prints should align across the visible front edges, especially when several chairs sit in a row. Using plain fabric on concealed back panels can save expensive patterned material without changing the finished appearance.
Zippers are worth the additional effort because removable, washable covers make future maintenance considerably easier.
The Biggest Shared Lesson: Fix the Weakest Layer
Across wood, metal, wicker, plastic, and textiles, a finish performs only as well as the layer beneath it. Fresh paint cannot stabilize rust flakes. Expensive fabric cannot rescue collapsed foam. A clear coat cannot repair rotten wood.
Successful re-fab projects identify the weakest layer first, correct it, and then move outward toward color and styling. That approach may sound less exciting than choosing a dramatic paint shade, but it creates the satisfying kind of makeover: furniture that still looks good after the photos, the first rainstorm, and the neighbor’s child discovers ketchup.
Conclusion
Re-fab outdoor furniture is equal parts practical repair and creative reinvention. Begin with a structural inspection, clean according to the material, repair before refinishing, and use products designed for exterior exposure.
Wood needs moisture-aware preparation, metal needs rust control, wicker needs gentle handling, plastic needs adhesion testing, and cushions need thorough drying and accurate measurements.
The reward is larger than a prettier patio. You preserve useful furniture, spend money where it matters, and create an outdoor setting that feels personal rather than pulled directly from a catalog.
Most importantly, you learn that old patio furniture is not necessarily finished. Sometimes it is simply waiting for soap, sandpaper, a patient coat of paint, and a second chance to host iced tea.