
Dye transfer on suede shoes has a special talent for appearing at the worst possible moment. Perhaps dark jeans rubbed against your beige sneakers, a red shopping bag leaned against your gray boots, or one damp shoe spent an unfortunate evening pressed against another. Whatever caused it, the result is usually the same: a colorful streak sitting proudly on delicate suede as though it pays rent.
The good news is that many surface-level dye stains can be reduced or removed at home. The less-good news is that suede is not a material that appreciates improvisation. Its soft finish is made from raised fibers, commonly called the nap, which can become flattened, discolored, or rough when exposed to too much moisture, aggressive scrubbing, or unsuitable chemicals. That is why the best approach is to begin with the gentlest dry-cleaning method and move gradually toward stronger treatments.
Important note: These methods are intended for dye transferred onto suede, not for stripping away the shoe’s original factory color. No home treatment can guarantee complete removal, particularly when the unwanted dye has soaked deeply into pale, vintage, unfinished, or luxury suede. Always test a treatment on a hidden area first.
Before You Start: Identify the Material and the Stain
First, confirm that the upper is genuine suede, nubuck, or synthetic microsuede. These materials may look similar but can respond differently to cleaners. Check the care label, product description, or manufacturer’s website. When the information is unavailable, treat the shoe as delicate suede and use as little moisture as possible.
Next, consider what transferred the dye. Indigo from denim often sits near the surface and may respond well to brushing or an eraser. Dye from wet fabric, leather, ink, or a strongly colored bag may penetrate more deeply. A stain that arrived five minutes ago is also generally easier to manage than one that has enjoyed six months of peaceful residence in the fibers.
Gather These Supplies
- A clean suede brush or soft-bristled toothbrush
- A white or colorless suede eraser
- Several clean white microfiber cloths
- White vinegar or 70% isopropyl rubbing alcohol
- A suede- and nubuck-safe foaming cleaner
- White tissue paper or plain paper for stuffing the shoes
Use white cleaning materials whenever possible. A brightly colored towel can transfer more dye and turn a small cleaning project into a sequel nobody requested.
Prepare the Shoes Properly
- Remove the laces and detachable insoles.
- Allow damp shoes and wet stains to dry naturally.
- Stuff the shoes lightly with plain white paper to preserve their shape.
- Brush away dust, dried mud, and loose debris before treating the dye.
- Test the selected method beneath the tongue, near the heel, or along an inside edge.
Do not use newspaper for stuffing because damp ink may transfer. Do not place suede shoes beside a radiator, under a hair dryer, or in direct blazing sunlight. Controlled air-drying protects both the nap and the shoe’s structure. Footwear-care guidance also consistently recommends removing loose debris before applying moisture or cleaner.
Method 1: Lift Surface Dye with a Suede Brush and Eraser
This should be your first attempt when the transferred dye looks dry, powdery, faint, or limited to the tips of the suede fibers. It is particularly useful for light denim transfer, minor color rub-off, and marks caused by another shoe.
Step 1: Brush in One Direction
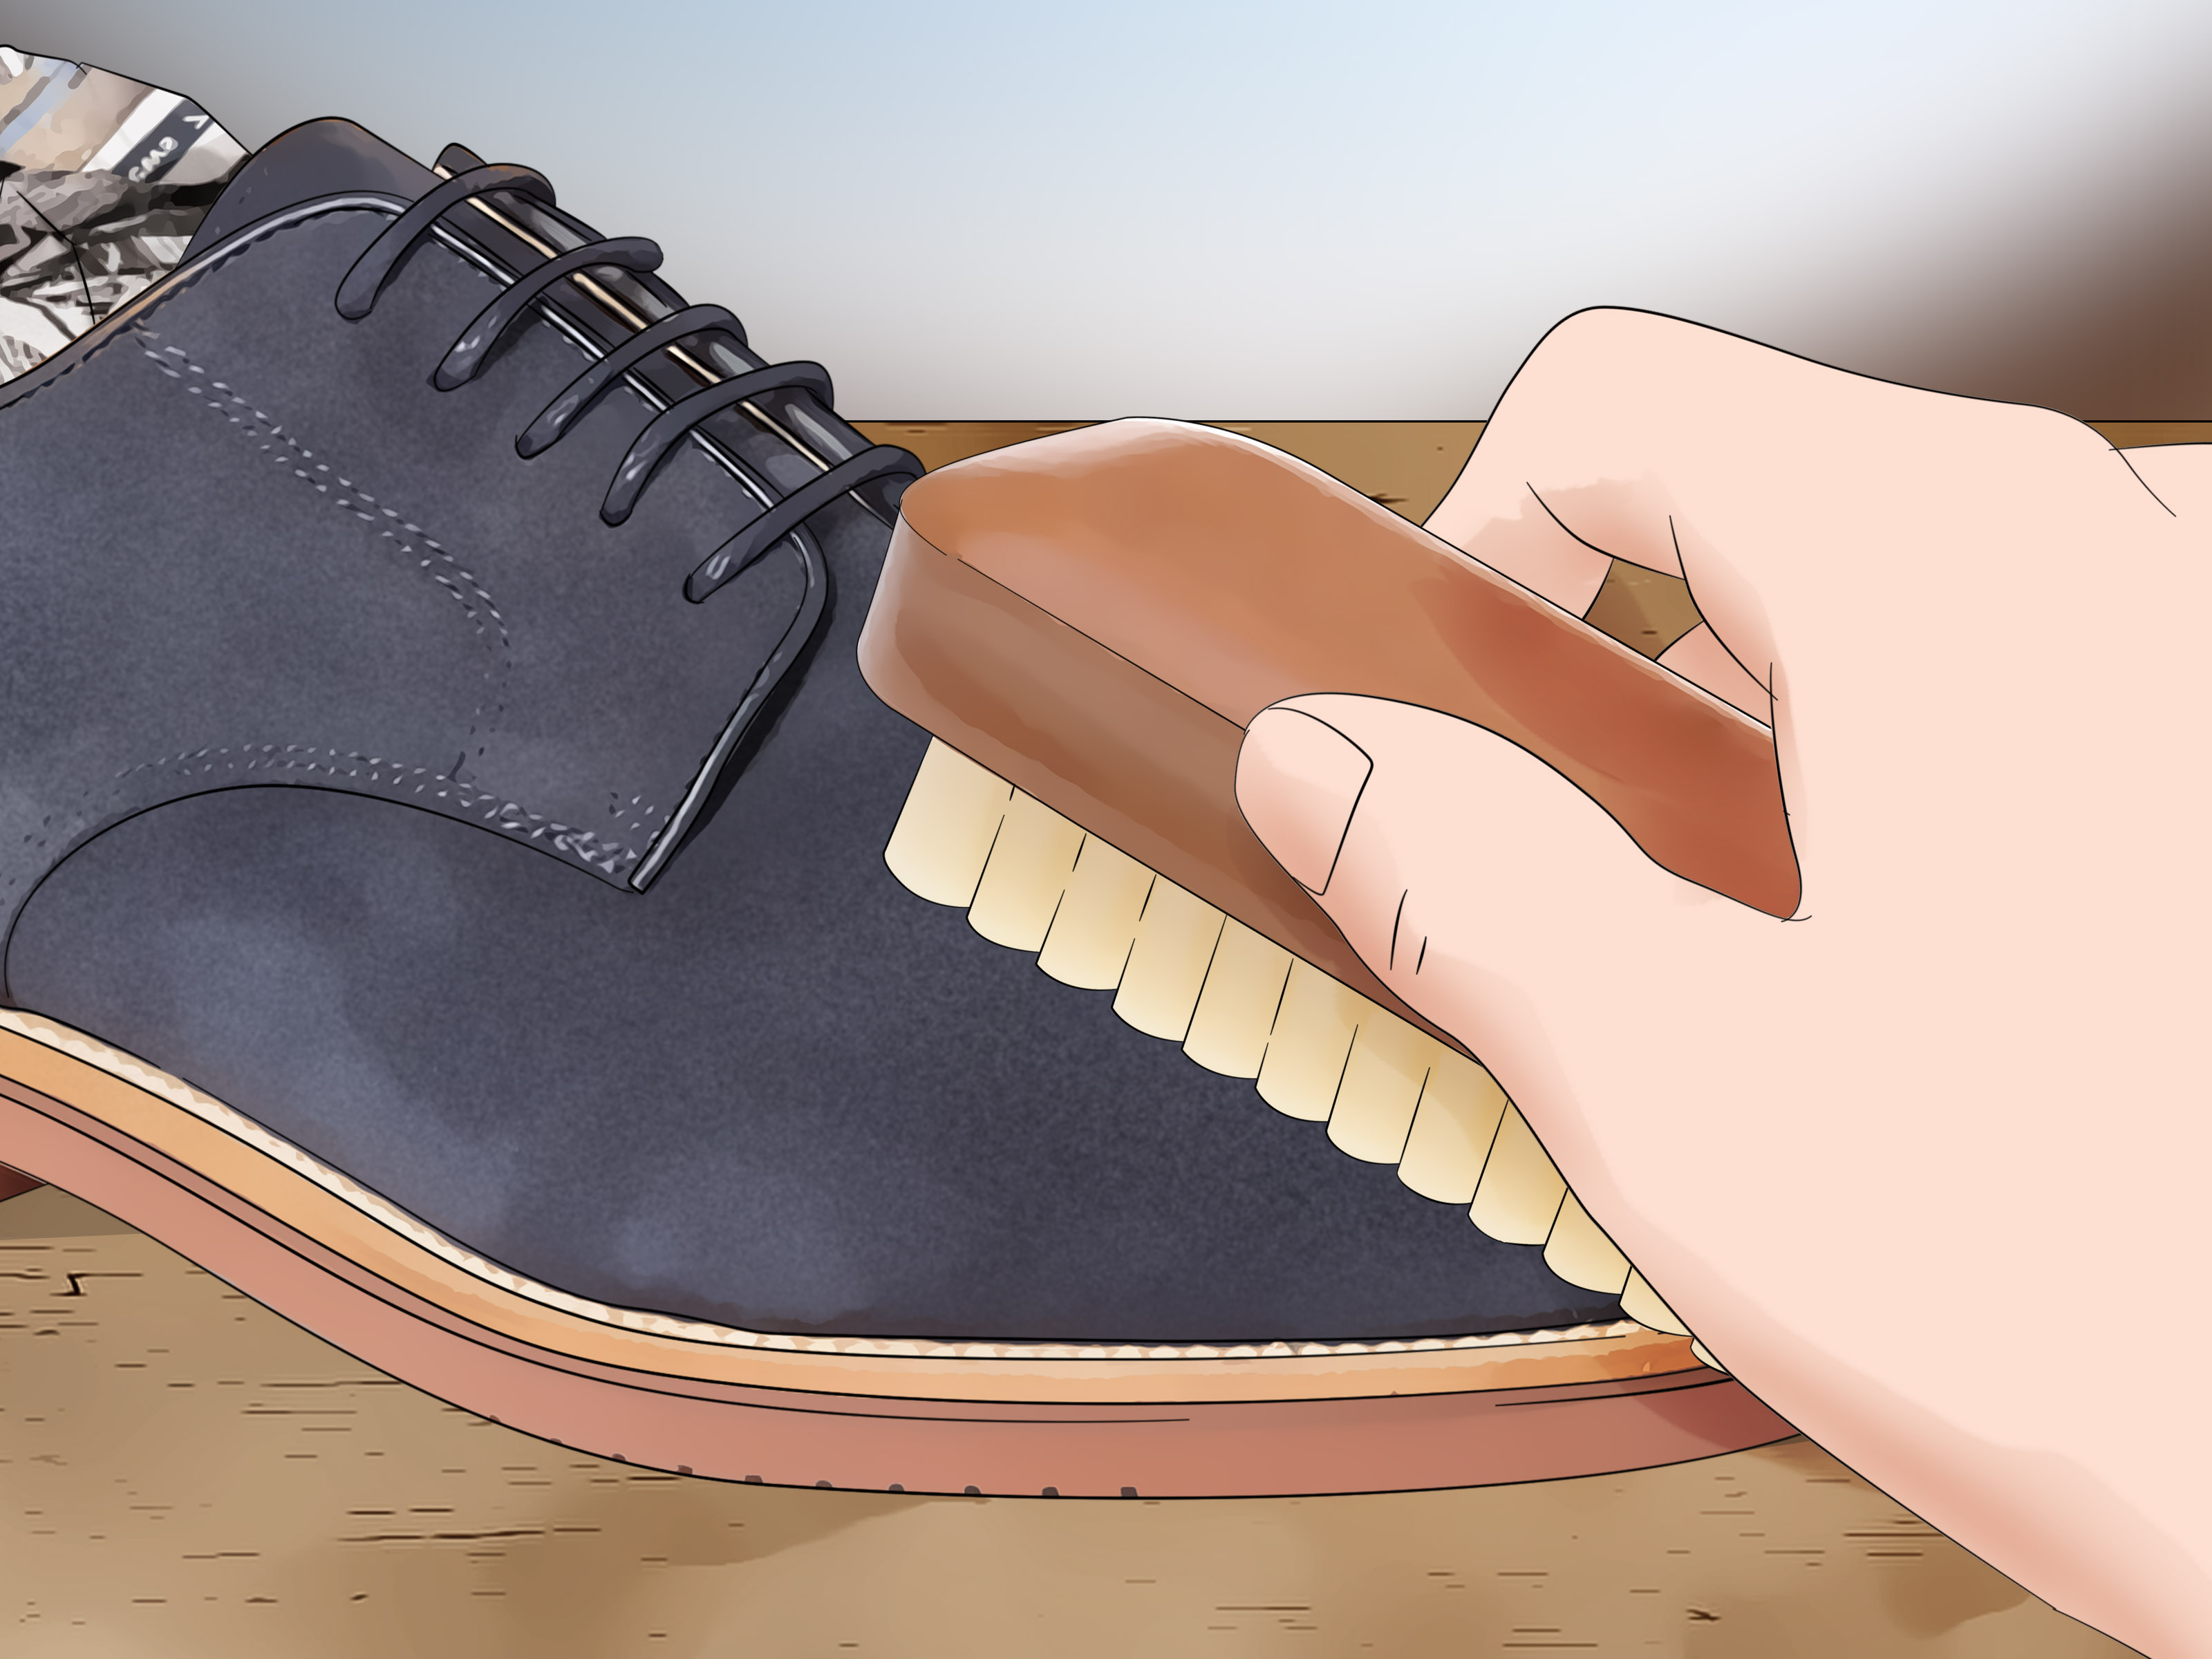
Place the dry shoe on a towel and gently brush the stained area in the natural direction of the nap. Use short, controlled strokes. The objective is to loosen pigment sitting between the fibers, not to sand the upper into a new geological formation.
Step 2: Work the Fibers from Different Angles
If the stain remains, change the brushing angle slightly. A gentle back-and-forth motion can help separate compressed fibers, but avoid forceful circular scrubbing. Stop if the suede begins to look shiny, thin, fuzzy, or lighter than the surrounding area.
Step 3: Use a Clean Suede Eraser
Rub a white or colorless suede eraser over the dye transfer using light pressure. Work from the outer edge toward the center so you do not spread the pigment. Brush away eraser crumbs periodically and inspect the result under natural light.
A plain white art-gum eraser can work in an emergency. Avoid pink, blue, or novelty erasers because their own coloring may transfer. Shoe manufacturers and suede-care specialists commonly recommend a dry brush-and-eraser combination for scuffs and surface marks because it minimizes moisture exposure.
Repeat the process once or twice rather than scrubbing continuously. Several gentle passes are safer than one heroic attack fueled by frustration.
Method 2: Dab the Dye with White Vinegar or Rubbing Alcohol
When dry cleaning leaves a visible shadow, a small amount of white vinegar or rubbing alcohol may help release the transferred color. Both evaporate more readily than plain water, making them useful for controlled spot treatment. Use one product at a time; do not mix them.
How to Use White Vinegar
- Pour a teaspoon of plain white vinegar into a small clean container.
- Dampen one corner of a white microfiber cloth. It should not drip.
- Press the cloth against the stain for a second, then lift it straight away.
- Move to a clean section of cloth whenever pigment transfers onto it.
- Allow the suede to dry completely before deciding whether another pass is necessary.
Some care guides recommend diluted vinegar, while others use a very small amount of undiluted vinegar for stubborn marks. Begin conservatively with equal parts vinegar and water if the suede is pale or unfamiliar. Because water can create rings, apply the mixture sparingly and feather the dampness slightly beyond the sharp edge of the stain.
How to Use Rubbing Alcohol
Dampen a cotton swab or white cloth with 70% isopropyl alcohol. Dab the dye transfer without soaking the backing material beneath the suede. Blot with a dry cloth, allow the spot to air-dry, and repeat only if the shoe’s original color remains stable.
Never pour vinegar or alcohol directly onto the shoe. Do not scrub while the suede is wet, since damp fibers are more vulnerable to distortion. Once the area is completely dry, brush it gently to raise the nap and blend its texture with the surrounding material. White vinegar and rubbing alcohol are widely recommended as carefully controlled treatments for certain suede stains, but spot testing remains essential.
Method 3: Use a Suede-Safe Foaming Cleaner
A commercial suede cleaner is the next step when the dye covers a larger area, has become embedded in the nap, or has left an uneven shadow after dry treatment. Choose a product that explicitly lists suede or nubuck as a suitable material. Ordinary leather conditioner, sneaker wipes, laundry stain remover, and multipurpose household spray are not automatic substitutes.
Follow the Product Instructions First
Cleaning formulas vary. Some are ready-to-use foams, while others require dilution. Follow the label even when an online cleaning video insists that twelve pumps are “probably fine.” The manufacturer knows the concentration; the person filming from a kitchen floor may not.
Apply Cleaner to the Tool, Not the Shoe
Place a small amount of foam on a white cloth or delicate cleaning brush. Work it into the stained section with light strokes. For a large mark on a single panel, clean that entire panel evenly instead of creating one heavily treated circle. This reduces the likelihood of a visible cleaning halo.
Extract Excess Moisture
Press a dry microfiber towel against the area to absorb suspended dirt, dye, and excess cleaner. Do not rinse the shoe beneath a faucet. If the product requires residue removal, use a barely damp cloth and follow the label precisely.
Dry and Restore the Nap
Stuff the shoe with clean white paper and let it dry in a ventilated room away from direct heat. Drying may take several hours or overnight. Once completely dry, brush the suede in gentle, even strokes. The final brushing step is important because cleaning can temporarily flatten the fibers.
Major footwear brands and specialist-care companies favor material-specific foam, soft brushes, controlled moisture, natural drying, and post-cleaning brushing for suede. These products may lift difficult transfer without exposing the material to the risks associated with strong household solvents.
Method 4: Ask a Cobbler to Clean or Restore the Color
Professional help is the smartest fourth method when the stain is severe, the shoe is expensive, or the treatment cloth begins picking up the suede’s original color. A skilled shoe-repair professional may use specialized solvents, controlled extraction equipment, recoloring products, or complete panel restoration.
Choose Professional Treatment When:
- The dye has spread across several panels.
- The stain came from ink, permanent marker, paint, or unknown chemicals.
- The suede is very light, vintage, hand-dyed, or unusually soft.
- Previous cleaning has created a pale patch or stiff texture.
- The shoes have high financial or sentimental value.
- The original color appears on your cleaning cloth.
Ask whether the service includes stain removal only, color matching, complete redyeing, nap restoration, or protective treatment. Request realistic expectations before approving the work. Deep dye may not be removable without changing the shoe’s original shade, so professional recoloring can sometimes produce a better cosmetic result than further stain extraction.
Established cleaning experts recommend turning to a shoe-repair shop when home treatment cannot safely remove a suede stain. Knowing when to stop is part of successful shoe care; enthusiasm is useful, but suede does not award bonus points for persistence.
What Not to Use on Dye-Stained Suede
Avoid these aggressive shortcuts unless the shoe manufacturer or a professional specifically approves them:
- Bleach: It may strip the original color, weaken fibers, and create yellow or pale patches.
- Acetone or nail-polish remover: It can dissolve finishes, spread pigment, and permanently alter texture.
- Wet melamine sponges: Their abrasive action may damage or flatten suede.
- Colored wipes or towels: They can introduce additional dye.
- Leather polish or wax: Products made for smooth leather may darken and mat suede.
- A washing machine: Saturation and agitation can cause fading, warping, stiffness, and adhesive failure.
- Direct heat: Hair dryers, heaters, and radiators can shrink, harden, or distort leather.
Suede and nubuck footwear should normally be cleaned by hand with material-appropriate tools. Cleaning authorities also warn against saturating porous suede or machine-washing it.
How to Prevent Future Dye Transfer
Protect New Suede Before Wearing It
Apply a suede-compatible water-and-stain repellent in a ventilated area. Test it first, hold the container at the distance stated on the label, and apply light, even coats. Allow the shoes to dry fully before wearing them.
Be Careful with New Denim
Dark, unwashed jeans are frequent offenders. Their hems can rub against light suede with every step. Cuff the jeans, wash them before pairing them with pale shoes, or reserve your cream suede sneakers for clothing that has stopped releasing excess dye.
Store Shoes Separately
Do not press light suede against dark leather, dyed tissue paper, or colored fabric in a humid closet. Use breathable shoe bags, plain tissue, or separate boxes. Make sure footwear is clean and dry before storage.
Brush Suede Regularly
A quick brushing after several wears removes dust and keeps the nap from becoming compacted. It also makes new stains easier to spot before they settle in permanently. Suede-care brands commonly recommend cleaning before applying a protector and refreshing protection periodically according to the product directions.
Common Questions About Removing Dye from Suede Shoes
Can Denim Dye Be Removed from Suede?
Light indigo transfer can often be reduced with a suede brush, eraser, vinegar, alcohol, or suede cleaner. Success depends on the shoe color, the amount of transferred pigment, moisture exposure, and how long the mark has remained untreated.
Will Vinegar Change the Color of Suede?
It can temporarily darken suede while damp and may permanently alter poorly fixed or delicate dyes. Use a tiny amount, test a hidden area, and wait until the test spot is completely dry before treating the visible stain.
Should I Clean Both Shoes?
For a tiny mark, spot treatment may be enough. When a cleaner noticeably changes the nap or tone, lightly cleaning the corresponding panel on the other shoe can create a more consistent appearance. Do not perform unnecessary full-shoe cleaning merely for symmetry.
What If the Suede Becomes Stiff?
Allow it to dry completely, then massage and brush the fibers gently. Persistent stiffness may indicate excess cleaner, oversaturation, heat damage, or altered leather. At that point, professional evaluation is safer than adding more liquid.
Practical Experiences and Lessons from Dye-Transfer Scenarios
The following representative scenarios illustrate how the four methods work in everyday situations. Results vary by suede type, shoe color, stain age, and the dye involved, but the lessons can help prevent common mistakes.
Experience 1: Indigo Transfer on Tan Suede Sneakers
A typical case involves new dark-blue jeans rubbing against tan suede sneakers. The transfer often appears as a blue-gray band around the collar or outer heel. Because this pigment usually begins near the surface, dry treatment is the logical first move.
After the shoes are allowed to dry, brushing may remove the dusty blue cast but leave a defined line. A clean suede eraser can then reduce the remaining mark. The most important lesson is to inspect progress frequently. Once the stain becomes faint, additional rubbing may damage more original tan color than blue transfer. A tiny vinegar treatment can address the final shadow, but the area should be allowed to dry before judging the result. Damp suede nearly always looks darker, and premature panic has launched many unnecessary second cleanings.
Experience 2: Red Fabric Dye on Pale Gray Boots
Red transfer on light gray suede looks dramatic even when only a small amount of pigment is present. Dry brushing may have little effect because the dye was transferred while damp. In this situation, controlled dabbing with rubbing alcohol can be more effective than broad scrubbing.
A cotton swab provides excellent control along the edge of the stain. As red pigment appears on the swab, switching to a clean one prevents redepositing it. The useful lesson is patience: one light application followed by complete drying is safer than repeatedly wetting the area during a single session. When the dry boot is brushed, a mark that seemed alarming while wet may become barely noticeable.
Experience 3: Black Dye across a Beige Suede Panel
When another dark shoe rubs against a beige loafer inside a suitcase, the transferred dye may cover most of one side panel. Spot-treating only the darkest center can leave a clean circle surrounded by a gray haze. Applying suede-safe foam lightly and evenly across the complete panel usually creates a more uniform result.
The key experience here is moisture extraction. Pressing a clean microfiber towel into the suede lifts loosened grime and excess foam. Scrubbing harder does not necessarily remove more dye; it often pushes wet pigment sideways. After natural drying, brushing the whole panel in one direction helps restore an even finish.
Experience 4: Knowing When Home Cleaning Is Finished
The most valuable lesson often arrives when the cleaning cloth starts showing the shoe’s original color. For example, treating a green transfer on vintage cream suede may initially lift green pigment. If later passes produce cream pigment instead, continued cleaning is no longer targeting only the stain.
That is the moment to stop, let the shoe dry, and consult a cobbler. A professional may decide that gentle blending or partial recoloring is safer than further extraction. Home care is successful when it improves the shoe without causing additional damagenot only when every molecule of unwanted dye has surrendered.
Conclusion
To remove dye from suede shoes safely, begin with a dry suede brush and eraser. Escalate to carefully dabbed white vinegar or rubbing alcohol only after testing. For larger or stubborn stains, use a suede-specific foaming cleaner and allow the shoes to air-dry naturally before restoring the nap. When the transferred dye is deep, the footwear is valuable, or the original color begins lifting, hand the job to a professional.
The golden rule is simple: use less liquid, less pressure, and more patience. Suede may be high-maintenance, but it is not impossible to rescue. Treat it gently, check your progress between steps, and resist the seductive but disastrous idea that stronger chemicals must produce stronger results.