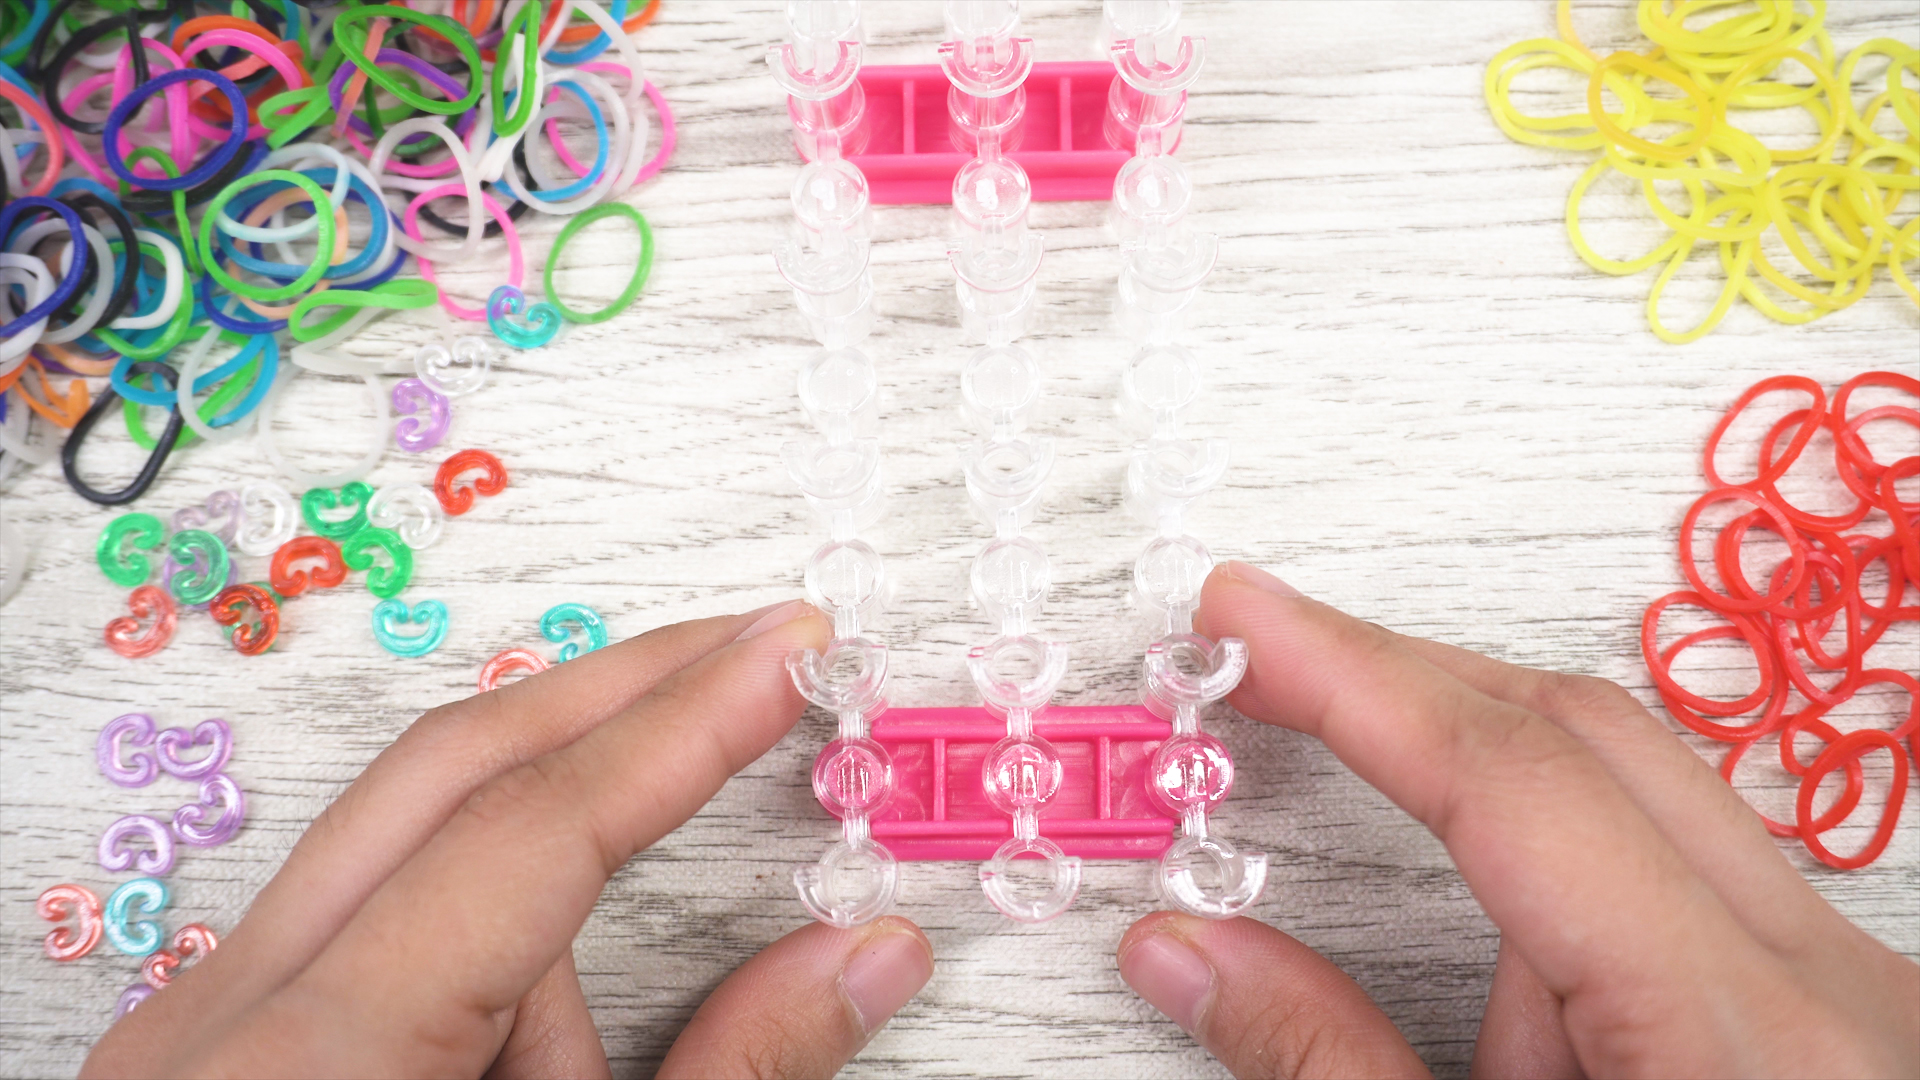

Rubber band bracelets are tiny, stretchy proof that you do not need a jewelry studio, a bank account with dramatic background music, or years of crafting experience to make something fun. With a handful of colorful bands and a clip, you can create a bracelet that looks bright, personal, and surprisingly satisfying. The best part? If your first one turns out a little lopsided, congratulationsyou have made what crafters call “a learning experience.” Very exclusive.
In this guide, you will learn how to make a rubber band bracelet using beginner-friendly methods, including a simple finger bracelet, a pencil method, and a basic loom bracelet. We will also cover supplies, sizing, color patterns, troubleshooting, safety tips, and creative ways to make your bracelet look less like “I wrestled spaghetti” and more like “I meant to do that.”
What Is a Rubber Band Bracelet?
A rubber band bracelet is a handmade accessory created by looping small elastic bands together. Many people know them as loom band bracelets, Rainbow Loom bracelets, fishtail bracelets, or rubber band friendship bracelets. Some are made with a plastic loom and hook, while others can be made with fingers, pencils, forks, or a mini loom.
The most common beginner styles are the single chain bracelet and the fishtail rubber band bracelet. The single chain is thin, flexible, and easy to learn. The fishtail is thicker and has a braided look, making it a favorite once you understand the basic motion of looping the bottom band over the top bands.
Supplies You Need
You do not need many supplies to start. In fact, the supply list is so short it almost feels like the craft is trying to be polite.
Basic Supplies
- Colorful rubber bands or loom bands
- One C-clip or S-clip
- Your fingers, two pencils, or a loom
- A loom hook or small crochet hook, optional but helpful
- A clean, flat workspace
Optional Supplies
- Beads with large enough holes for loom bands
- Charms
- A mini loom
- A small container for sorting colors
- Measuring tape for bracelet sizing
Use bands made for bracelet crafting whenever possible. Regular office rubber bands are usually thicker, less colorful, and less comfortable on the wrist. They also have the personality of a tax form. Loom bands are softer, smaller, and designed for weaving into jewelry.
Safety Tips Before You Start
Rubber band bracelets are fun, but small bands and clips can be choking hazards for young children. Keep bands, clips, and beads away from children under three, and supervise younger crafters. If you are making bracelets with kids, choose an open table, keep extra bands in a bowl, and clean up dropped pieces when you finish.
Also, do not snap bands toward anyone’s face, and avoid wearing a bracelet that feels too tight. A bracelet should rest comfortably on the wrist without leaving deep marks. Cute is good. Wrist tourniquet? Not the vibe.
Method 1: How to Make a Rubber Band Bracelet with Your Fingers
This is the easiest no-loom method and a great place to begin. You will use two fingers like tiny bracelet-making posts. Your index and middle finger work well, but two pencils are better if your fingers get tired.
Step 1: Choose Your Colors
Pick two or three colors for your first bracelet. A simple pattern, such as blue-white-blue-white or pink-purple-pink-purple, helps you see how the bracelet grows. If you use every color in the bag at random, the bracelet can still look great, but it may also look like a rainbow sneezed. Sometimes that is exactly the goal.
Step 2: Make a Figure Eight
Take your first rubber band and twist it once into a figure-eight shape. Place one loop around your index finger and the other loop around your middle finger. This twisted first band helps lock the bracelet structure together.
Step 3: Add Two More Bands
Place a second band over the same two fingers, but do not twist it. Add a third band above it, also without twisting. You should now have three bands on your fingers: the twisted band at the bottom and two regular bands above it.
Step 4: Loop the Bottom Band
On one finger, pull the bottom band up and over the two bands above it, then drop it into the center between your fingers. Repeat on the other finger. The bottom band should now wrap around the middle of the bracelet.
Step 5: Add Another Band
Add one new band on top. You should always have three bands on your fingers before looping the bottom one. Pull the new bottom band over the top two bands, first on one side, then the other. Continue adding one band, looping the bottom band, and repeating.
Step 6: Check the Length
As the bracelet grows, gently pull the chain downward to keep the pattern neat. Wrap it around your wrist occasionally to check the fit. For most wrists, a fishtail-style bracelet may need around 25 to 35 bands, depending on band size, wrist size, and how tightly you weave.
Step 7: Clip the Ends
When the bracelet is long enough, stop adding new bands. Carefully remove the loops from your fingers and attach them to one side of a C-clip or S-clip. Then connect the other end of the bracelet to the other side of the clip. Your bracelet is finished, and yes, you may admire it like you just discovered electricity.
Method 2: How to Make a Rubber Band Bracelet with Two Pencils
If your fingers feel cramped, use two pencils instead. This method works almost exactly like the finger method, but pencils give you more room and keep the bracelet tension more even.
Step 1: Hold Two Pencils Side by Side
Place two pencils parallel to each other with a small gap between them. You can hold them in one hand, tape them lightly to a table, or stick them into a piece of foam so they stand upright. The fancy term for this setup is “homemade loom.” The less fancy term is “two pencils doing their best.”
Step 2: Add the First Twisted Band
Twist your first band into a figure eight and loop it over both pencils. Push it down slightly so there is room for more bands above it.
Step 3: Add Two Untwisted Bands
Add two more bands over both pencils without twisting them. Keep the colors in your chosen order. If you want a striped bracelet, alternate colors one by one. If you want thicker blocks of color, use three or four bands of one color before switching.
Step 4: Loop and Repeat
Pull the bottom band on the left pencil up and over the two top bands, dropping it into the middle. Do the same on the right pencil. Add one new band on top, then loop the bottom band again. Keep repeating until the bracelet fits your wrist.
Step 5: Finish with a Clip
Once the bracelet is long enough, attach the remaining loops to a clip. Connect the clip to the starting end of the bracelet. Tug gently to even out the pattern.
Method 3: How to Make a Basic Rubber Band Bracelet with a Loom
A loom gives you more control, especially if you want to try patterns beyond the fishtail. The basic single chain bracelet is the best beginner loom pattern because it teaches you how to place, loop, remove, and clip bands.
Step 1: Set Up the Loom
Place the loom in front of you with the arrows pointing away from your body. Many beginner patterns begin by placing bands in the direction of the arrows, then turning the loom around before looping.
Step 2: Place the Bands
Start at the bottom center peg. Stretch one rubber band from that peg to the next peg above it. Add another band from that peg to the next one above. Continue placing bands in a straight line until the chain is long enough for your wrist.
Step 3: Turn the Loom Around
Turn the loom so the arrows point toward you. This is important because it helps you loop the bands in the correct direction. Many beginner bracelet disasters start with forgetting this step. The bracelet will not judge you, but it may dramatically fall apart.
Step 4: Start Looping
Use a hook to reach inside the band on the first peg. Grab the lower band and pull it up and over to the next peg. Continue this motion down the row, looping each band forward over itself. The bands should begin forming a chain.
Step 5: Attach the Clip
At the end of the loom, slide your hook through the final loop and attach a C-clip or S-clip. Carefully pull the bracelet off the loom, one peg at a time. Attach the starting loop to the other side of the clip.
How to Choose Rubber Band Bracelet Colors
Color choice can make a simple bracelet look custom. Here are easy combinations that work well:
- Classic rainbow: Red, orange, yellow, green, blue, and purple.
- Team colors: Use school, sports, or club colors.
- Ocean style: Blue, teal, white, and clear bands.
- Candy style: Pink, yellow, mint, and lavender.
- Bold contrast: Black and neon green, red and white, or navy and gold.
- Soft gradient: Light pink, rose, coral, and peach.
For a clean look, repeat the same color order throughout the bracelet. For a playful look, grab colors randomly. There is no official bracelet police, and if there were, they would probably wear glitter badges.
How to Size a Rubber Band Bracelet
A comfortable bracelet should slide over the hand or open with the clip, then sit loosely around the wrist. It should not pinch, pull skin, or feel tight. Before finishing, wrap the bracelet around your wrist and check the length. Remember that some patterns stretch more than others. A single chain is stretchier and thinner, while a fishtail is denser and may feel snug with fewer bands.
If your bracelet is too short, add an extension chain. Make a small chain of extra bands, connect it to one end, and clip it again. If your bracelet is too long, remove a few bands before clipping or remake the final section. Yes, remaking is annoying. No, the bracelet does not care about your schedule.
Common Mistakes and Easy Fixes
The Bracelet Falls Apart
This usually happens when the final loops are not secured before removing the bracelet from your fingers, pencils, or loom. Always attach the clip while the end loops are still held in place.
The Pattern Looks Twisted
A little twisting is normal, especially for beginners. Gently roll the bracelet between your fingers to settle the bands. Make sure you only twist the first band for most beginner fishtail patterns, not every band.
The Bands Keep Snapping
Old bands, dry bands, or low-quality bands may break easily. Try fresh loom bands and avoid pulling too hard. Store unused bands away from heat and direct sunlight.
The Bracelet Is Too Tight
Add more bands or make the bracelet with looser tension. If it leaves marks on your wrist, it is too tight. Comfort matters more than squeezing in one fewer band.
Creative Rubber Band Bracelet Ideas
Once you learn the basic technique, you can make the project more personal. Add beads every few bands, use glow-in-the-dark bands, create matching friendship bracelets, or make holiday color themes. Red and green work for Christmas, orange and black for Halloween, pastels for spring, and metallic shades for a bracelet that says, “I craft, but I also have flair.”
You can also make a stack of bracelets in different widths. Wear a single chain with a fishtail bracelet for contrast. Add a charm to the clip if it does not make the bracelet uncomfortable. If you are gifting bracelets, choose colors that match the person’s favorite team, birthstone, school colors, or favorite outfit.
How to Care for Rubber Band Bracelets
Rubber band bracelets last longer when treated gently. Avoid stretching them too far, wearing them in pools for long periods, or leaving them in hot cars. Heat and sunlight can make rubber bands brittle over time. If the bracelet gets dirty, wipe it gently with a damp cloth and let it air dry.
Store bracelets flat in a small box or pouch. If you toss them into a drawer with keys, hair clips, and mystery crumbs, they may stretch, snag, or collect lint. A little care keeps them wearable and gift-ready.
Experience Notes: What Making Rubber Band Bracelets Teaches You
The first thing most makers notice when learning how to make a rubber band bracelet is that the process looks easier in finished photos than it feels in real life. The supplies are tiny, the bands are springy, and the first few loops can feel like they are trying to escape. That is normal. The beginning of a bracelet is usually the messiest part because the pattern has not built enough weight to hang neatly yet. After five or six bands, the bracelet starts behaving better, almost like it finally read the instructions.
A helpful experience-based tip is to slow down during the first inch. Many beginners rush because the steps are repetitive: add a band, pull the bottom band over, add a band, pull again. But if one side is looped and the other side is missed, the bracelet can develop a gap or twist. Working slowly at the start saves time later. It is much easier to fix a loose loop right away than to discover it after making a bracelet long enough to qualify as a small necklace.
Color planning also matters more than expected. When bands are in a pile, every color looks exciting. Once woven together, some combinations look bold and clean, while others blend into a visual smoothie. Alternating two colors is the easiest way to get a neat design. A three-color repeat looks more advanced without being difficult. For example, navy-white-gold creates a polished look, while pink-purple-blue feels cheerful and playful. Random colors can be fun too, especially for kids, party crafts, or bracelets made as quick gifts.
Another lesson is that tension changes everything. If you pull too tightly, the bracelet becomes stiff and smaller than expected. If you work too loosely, the bands may look uneven. The sweet spot is gentle tension: firm enough to keep the loops in place, relaxed enough that the bracelet can stretch comfortably. Think of it like shaking hands with the rubber bands, not challenging them to a wrestling match.
Clips are small but important. Many bracelet fails happen at the finishing step, not during weaving. Before removing the bracelet from your fingers, pencils, or loom, make sure both final loops are secured on the clip. Hold the bracelet close to the end while attaching the clip so the loops do not slip away. If you do not have a clip, you can sometimes tie the ends with an extra band, but clips are cleaner, easier, and more reliable.
Making rubber band bracelets is also a great patience project. It gives quick results, but it still rewards focus. Kids can practice following patterns, counting bands, and correcting mistakes. Adults can use the process as a relaxing craft break that does not require expensive tools. There is something oddly satisfying about turning a pile of tiny bands into a wearable bracelet in ten or fifteen minutes.
The biggest experience takeaway is simple: your first bracelet does not need to be perfect. It needs to be finished. Once you complete one bracelet, your fingers understand the motion better. The second bracelet usually looks cleaner. The third one may inspire dangerous confidence, such as “I could definitely make ten of these before dinner.” And honestly, you might.
Conclusion
Learning how to make a rubber band bracelet is simple, affordable, and surprisingly fun. Start with a finger or pencil fishtail bracelet if you do not have a loom, or try a single chain bracelet if you are using a loom for the first time. Choose comfortable sizing, secure the ends carefully, and experiment with colors once you understand the basic loop. With a little practice, you can make bracelets for yourself, friends, parties, school events, or handmade gifts that look cheerful instead of complicated.
The secret is repetition. Add a band, loop the bottom, check the pattern, and keep going. Before long, you will have a bracelet that proves small things can become something bright, wearable, and proudly handmade.