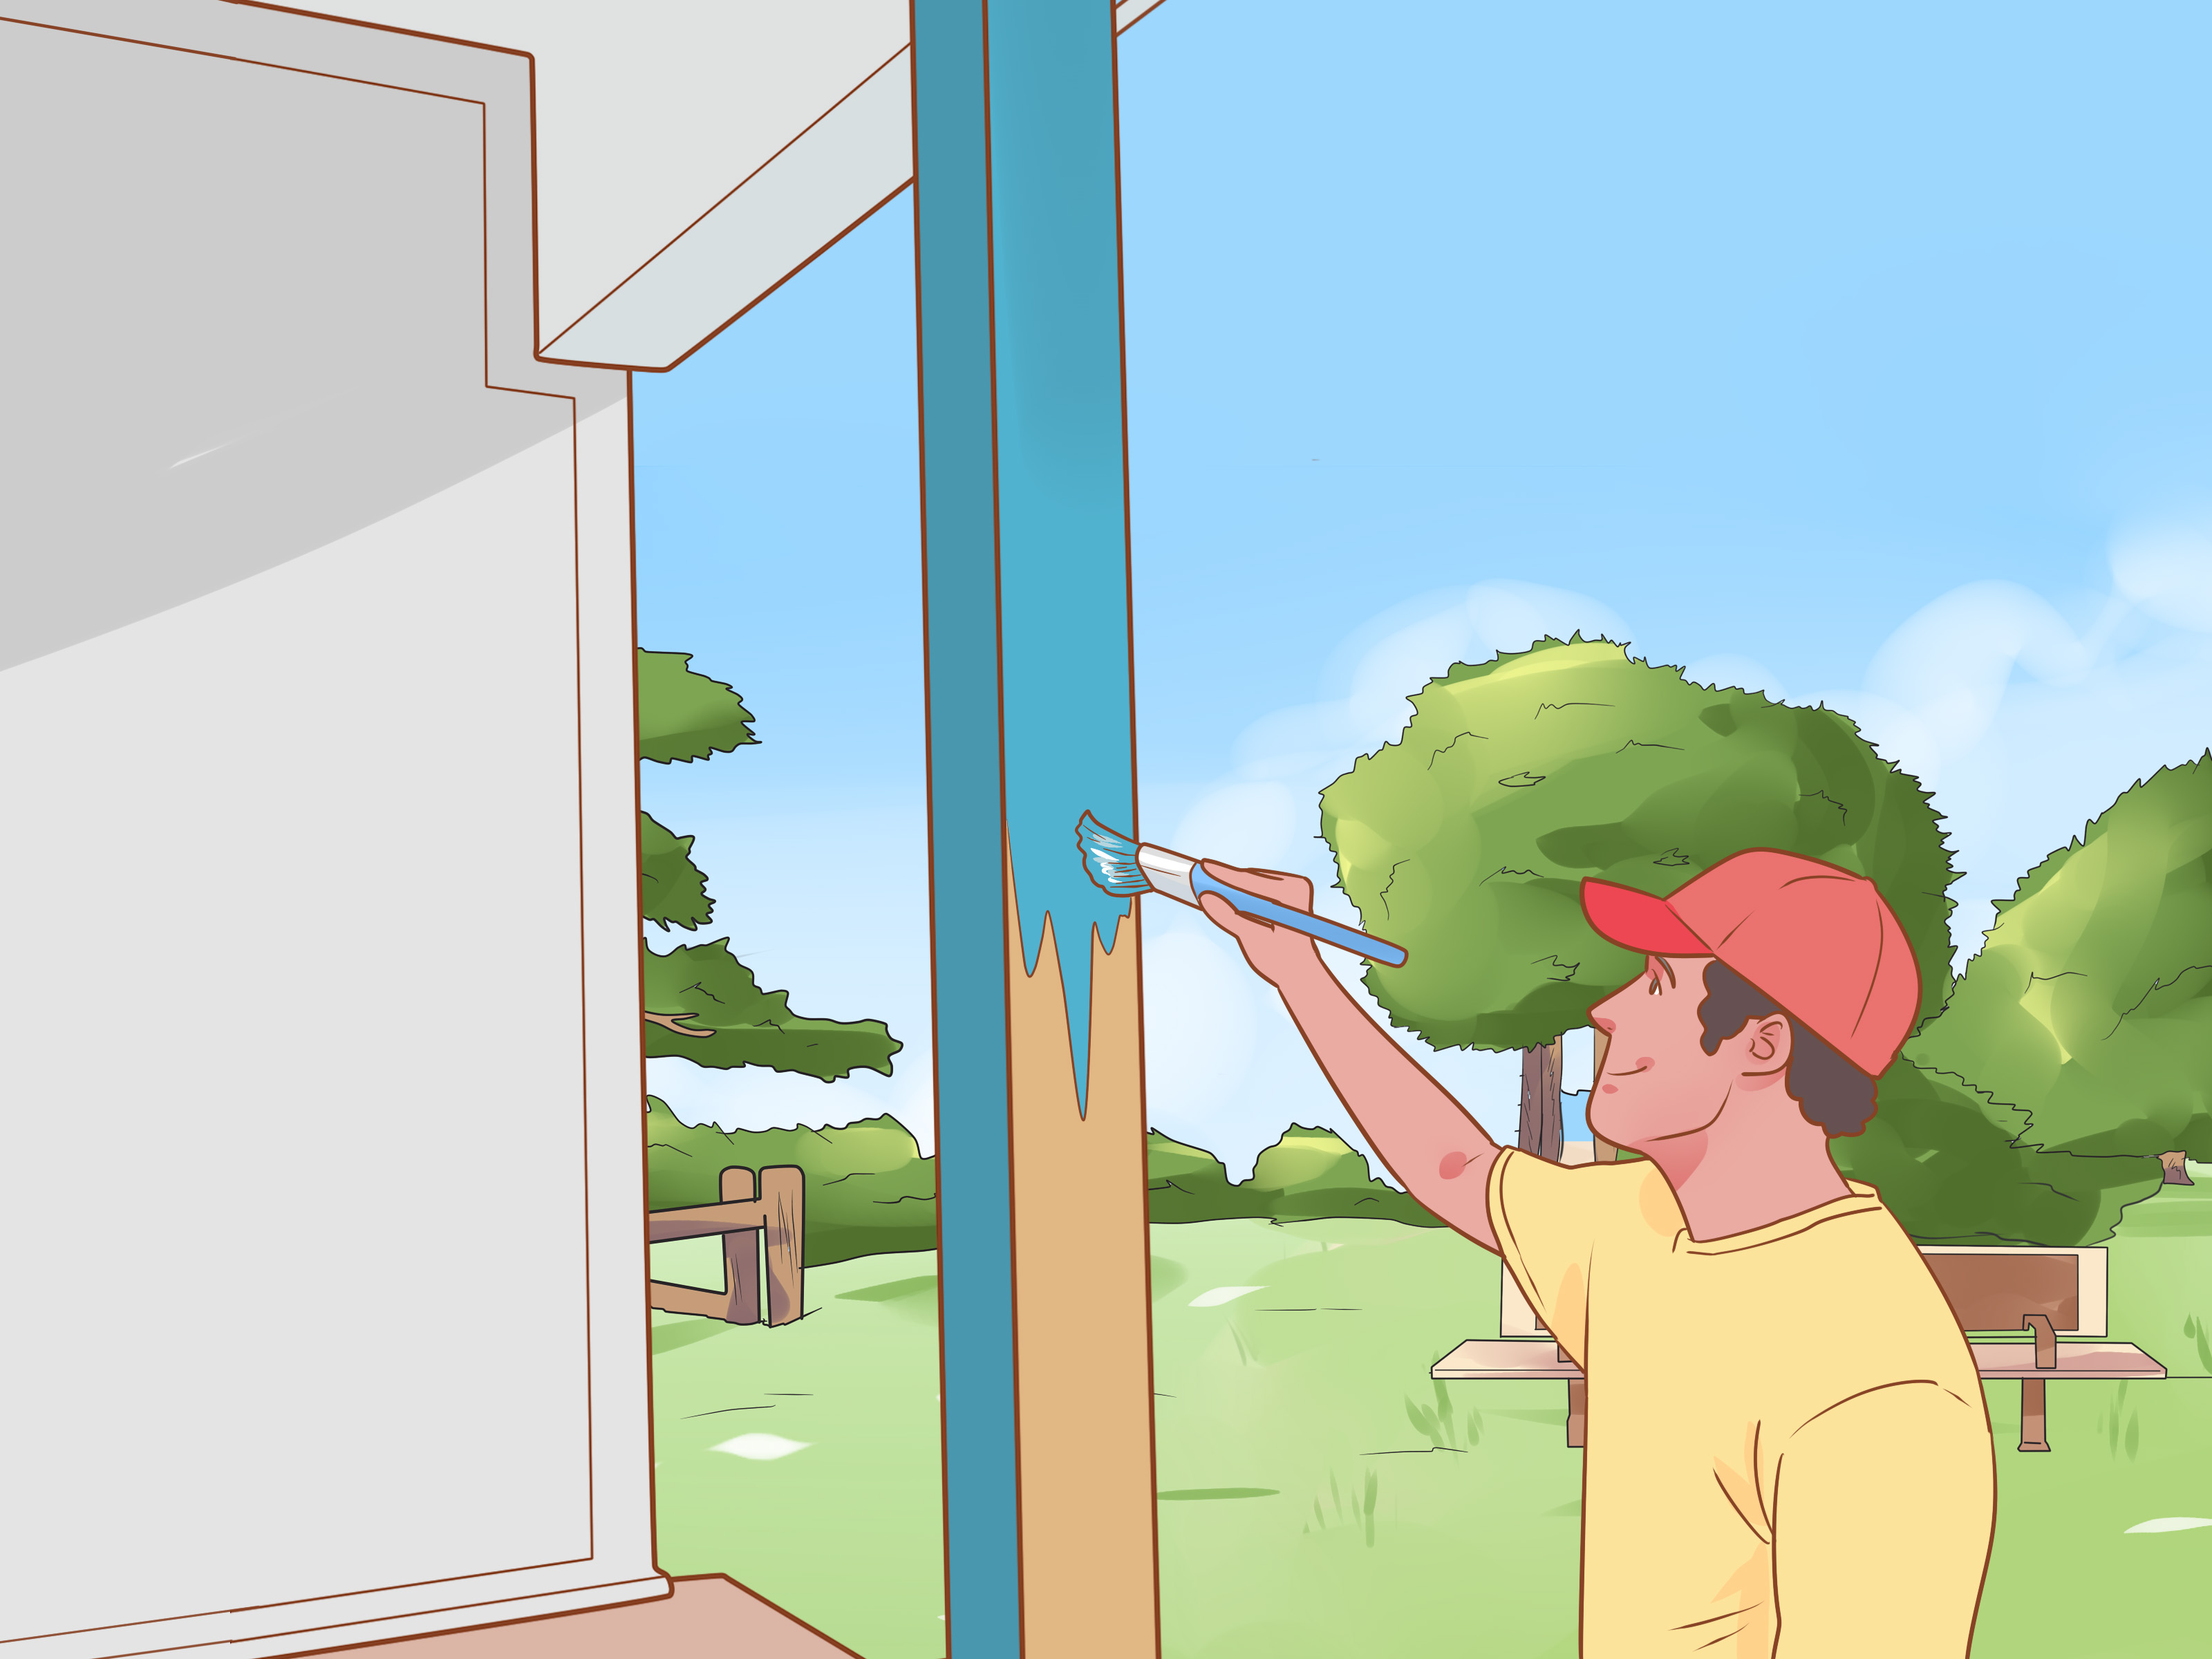

Porch posts are like the eyebrows of a house: you may not notice them when they look right, but when they are skinny, cracked, peeling, or awkwardly plain, the whole face of the home looks a little surprised. The good news is that you do not always need to replace structural porch posts to give your entryway a major upgrade. In many cases, you can wrap porch posts with wood and turn basic supports into handsome, custom-looking columns.
This step-by-step guide explains how to wrap porch posts with wood safely, cleanly, and beautifully. We will cover planning, measuring, choosing materials, building the wood wrap, trimming it out, sealing it against weather, and avoiding the sneaky little mistakes that cause rot, gaps, and regret. The project is beginner-friendly if you are comfortable measuring, cutting, fastening, caulking, and painting. Think of it as giving your porch posts a well-tailored jacket instead of sending them to architectural boot camp.
What Does It Mean to Wrap Porch Posts with Wood?
Wrapping porch posts with wood means building a decorative wood sleeve around an existing structural post. The original post still carries the load of the porch roof. The wood wrap is mainly cosmetic, though it also helps hide surface damage, outdated metal supports, narrow 4×4 posts, or mismatched repairs.
A porch post wrap can be simple and square, craftsman-style with a chunky base, farmhouse-inspired with clean trim, or more traditional with cap molding and raised panels. The design depends on your home’s architecture, your budget, and your willingness to argue with a miter saw before lunch.
Before You Start: Safety and Structural Checks
Before cutting a single board, inspect the existing porch posts. This step matters because a wrap should never be used to hide structural failure. If the post is rotten, badly cracked, leaning, pulling away from the beam, sinking into the floor, or sitting on a soft base, stop and call a qualified contractor. Wood wraps are decorative. They are not magic wands with sawdust on them.
Your posts should be plumb, stable, and firmly attached at the top and bottom. The porch floor should drain properly, and the base of each post should not sit in standing water. Also check local building codes, especially if you are working on a porch with railings, stairs, or load-bearing columns. When in doubt, get a professional opinion before changing anything around a structural support.
Tools and Materials You Will Need
Tools
- Tape measure
- Pencil
- Level
- Speed square
- Miter saw or circular saw
- Table saw, if boards need ripping
- Nail gun or drill/driver
- Exterior-rated fasteners
- Caulk gun
- Clamps
- Sander or sanding block
- Paintbrush and roller
- Safety glasses and hearing protection
Materials
- Exterior-grade wood boards, such as cedar, redwood, treated pine, or primed exterior trim boards
- Wood spacers or blocking
- Exterior construction adhesive
- Exterior wood glue, if appropriate for your design
- Stainless steel or coated exterior nails/screws
- Exterior caulk or sealant
- Wood filler or exterior-grade patching compound
- Primer
- Exterior paint or stain
- Optional trim boards for base, cap, and decorative details
Choosing the Best Wood for Porch Post Wraps
The best wood for wrapping porch posts is stable, weather-resistant, and suitable for exterior exposure. Cedar is popular because it is lightweight, attractive, and naturally resistant to decay when properly finished. Redwood performs well too, though availability and cost vary by region. Pressure-treated pine is affordable and durable, but it must be dry enough before painting or staining. Primed engineered exterior trim can also work well when installed according to manufacturer instructions.
Avoid untreated interior boards, MDF, and cheap trim that is not rated for outdoor use. They may look fine for a season, then swell, split, and turn your porch into a tragic woodworking documentary. If your porch gets heavy rain, snow, intense sun, or sprinkler spray, choose materials and finishes with moisture protection in mind.
Step 1: Decide on the Finished Size and Style
Start by deciding how wide you want the finished wood-wrapped post to appear. A skinny 4×4 post can often be wrapped to look like a 6×6, 8×8, or larger column. The right size depends on the scale of the porch. A small cottage may look charming with slim square columns, while a wide farmhouse porch may need beefier posts to look balanced.
Stand back from the street and look at the porch as a whole. Consider the roofline, railings, front door, window trim, and siding. The post wrap should feel like it belongs to the house, not like it wandered in from another zip code. For a craftsman look, use a thicker base and tapered or boxed upper column. For a modern farmhouse look, keep the lines clean and square. For a traditional home, add cap and base trim with simple molding details.
Step 2: Measure Each Porch Post Carefully
Measure the height from the porch floor to the underside of the beam or ceiling. Do this for every post, even if they look identical. Porches settle, floors slope, and houses enjoy keeping DIYers humble. Write down each measurement separately.
Next, measure the width and depth of the existing post. If the post is not perfectly square or plumb, note the variation. Use a level to check all sides. Minor imperfections can usually be handled with shims or spacers, but serious leaning should be corrected before wrapping.
Also measure the space around railings, brackets, steps, and ceiling trim. You need enough room to install boards and decorative trim without blocking rail connections or creating awkward gaps.
Step 3: Plan for Moisture Drainage
Moisture is the villain in this story. Wood porch columns often fail at the bottom because water collects at the base, soaks into end grain, and stays trapped. When you wrap porch posts with wood, you should design the wrap so water can drain and air can circulate.
Do not seal the bottom so tightly that trapped water has nowhere to go. Prime and seal all cut ends, especially the bottom edges. Keep wood slightly above surfaces where water may pool. Use caulk wisely on vertical seams and top joints, but avoid creating a bathtub around the post base. If your porch floor slopes, respect that slope rather than fighting it.
Step 4: Cut and Install Spacers
Spacers create a solid nailing surface and help center the wood wrap around the existing post. They are especially useful when turning a narrow post into a wider column. Cut short blocks from exterior-grade wood and attach them to the sides of the existing post with exterior construction adhesive and fasteners.
Place spacers near the top, middle, and bottom of the post. Make sure they line up evenly so the wrap boards sit flat. Use a level as you go. If one spacer sticks out too far, the finished column may bulge like it ate too much at Thanksgiving.
Leave room at the base for drainage and trim details. If the post is slightly out of plumb, spacers can help create a straighter finished appearance, but do not use them to disguise a serious structural problem.
Step 5: Cut the Main Wrap Boards
Most DIY porch post wraps use four boards to create a box around the post. Two opposite boards are installed first, then the remaining two boards overlap or meet them depending on the design. You can use butt joints for a straightforward build, mitered corners for a cleaner custom look, or rabbeted edges if you have the tools and patience.
Cut each board slightly shorter than the measured height if you plan to add cap and base trim. Dry-fit the boards before fastening. This is the moment when you discover whether your measuring was heroic or “creative.” Adjust as needed before glue, nails, or screws become involved.
Step 6: Prime the Hidden Sides and Cut Ends
Before installation, prime or seal the back sides and cut ends of the boards. This step is easy to skip because nobody sees those areas, but the weather sees everything. End grain absorbs moisture quickly, and hidden surfaces can trap humidity. A good primer or exterior wood sealer gives your porch post wrap a much better chance of lasting.
If you plan to stain the wood, use a compatible exterior stain and follow the product instructions. If you plan to paint, use a high-quality exterior primer and paint system. Painted porch columns can look crisp and classic, but only if the prep work is done properly.
Step 7: Attach the First Two Boards
Apply exterior construction adhesive to the spacers, then position the first board against the post. Check for plumb and alignment. Fasten it with exterior-rated nails or screws. Repeat on the opposite side. Keep fasteners evenly spaced and avoid driving them too deep.
Use clamps if needed to hold the boards tight while fastening. Check that the boards are parallel and square. This is the foundation for the rest of the wrap, so do not rush. A slightly crooked first board can turn into a noticeably crooked finished column, and nobody wants a porch post that looks like it is trying to leave.
Step 8: Attach the Remaining Boards
Install the third and fourth boards to complete the box. If you are using butt joints, the face boards may overlap the edges of the side boards. If you are using mitered corners, apply exterior wood glue where appropriate and clamp carefully so the corners close tightly.
Fasten the boards into the spacers and into the edges of the adjacent boards if your design allows. Keep checking with a level. Wipe away excess adhesive before it dries. Small gaps can be filled later, but tight joints make finishing much easier.
Step 9: Add Base Trim
The base trim gives the column weight and style. Many porch post wraps look best with a wider base, especially on craftsman, farmhouse, and traditional homes. You can build the base from layered trim boards, such as a square plinth block, lower band, and cap strip.
Cut the base trim pieces to fit around the column. Dry-fit them first, then attach with adhesive and exterior fasteners. Leave a small reveal where appropriate and make sure the trim does not trap water against the floor. If the porch surface gets wet often, consider keeping the bottom edge slightly elevated and sealing all exposed ends.
Step 10: Add Top Trim and Decorative Details
Top trim helps the wrapped post connect visually to the porch beam or ceiling. A simple square band may be enough, or you can add crown-style molding for a more traditional look. Keep the trim proportional. Oversized molding on a tiny porch can feel like putting a cowboy hat on a teacup.
You can also add panel trim, vertical battens, or small decorative brackets. Just remember that every extra piece creates more seams to seal and maintain. Beauty is wonderful; unnecessary caulk lines are less wonderful.
Step 11: Fill Holes, Sand, and Caulk
Fill nail holes with exterior-grade wood filler or patching compound. Sand rough edges and joints until the surface feels smooth. Use exterior caulk on vertical seams, top trim joints, and areas where water could enter. Choose paintable caulk if you are painting.
Do not over-caulk the bottom in a way that blocks drainage. The goal is to shed water, not imprison it. Smooth caulk lines with a damp finger or caulk tool, then allow everything to cure according to the manufacturer’s instructions.
Step 12: Paint or Stain the Wood Wrap
Apply primer to any bare wood, patched areas, and exposed edges. Once the primer is dry, apply two coats of quality exterior paint. Semi-gloss or satin finishes are popular for porch trim because they clean more easily and highlight architectural details without looking too shiny.
If staining, choose an exterior stain suited to your wood species and exposure level. Clear finishes show the wood grain beautifully but usually require more frequent maintenance than solid-color stains or paint. In sunny or wet climates, plan on regular touch-ups. Outdoor wood is lovely, but it does not believe in “set it and forget it.”
Common Mistakes to Avoid
Wrapping Rotten Posts
Never cover up rot and hope for the best. Rot is not shy. It will continue spreading behind the new wrap, and the repair will become more expensive later.
Skipping Primer on Cut Ends
Cut ends are thirsty. Seal them before installation, especially near the bottom of the column.
Ignoring Drainage
A beautiful wrap that traps water is a short-term decoration, not a long-term improvement. Design the base so water can escape.
Using Interior Materials Outside
Interior trim boards, MDF, and non-exterior fillers are poor choices for porch post wraps. Use materials made for weather exposure.
Making Columns Too Large
Bigger is not always better. A column should match the scale of the porch and house. Oversized posts can look heavy and awkward.
How Much Does It Cost to Wrap Porch Posts with Wood?
The cost depends on the number of posts, wood species, trim complexity, fasteners, adhesive, primer, and paint. A simple DIY wood wrap may cost less than buying prefabricated column wraps, especially if you already own the tools. Cedar and redwood cost more than treated pine, while elaborate trim adds both material cost and labor time.
For a basic porch with two to four posts, many homeowners can complete the project over a weekend. More detailed craftsman columns may take longer, especially if you add bases, panels, or stained finishes. The best value comes from careful planning and good weatherproofing. A cheap wrap that fails quickly is not cheap; it is just an invoice wearing a disguise.
Maintenance Tips for Wood-Wrapped Porch Posts
Inspect your wrapped porch posts at least once or twice a year. Look for peeling paint, cracked caulk, soft wood, open seams, mildew, and water stains near the base. Clean dirt and pollen from the posts with mild soap and water. Touch up paint when needed, and recaulk seams before water finds its way inside.
Keep sprinklers from spraying the porch posts directly. Trim bushes and vines so air can circulate. Make sure gutters and downspouts are working properly, because roof runoff can shorten the life of exterior wood. A little maintenance every year is much easier than rebuilding the columns later.
Design Ideas for Wood Porch Post Wraps
For a craftsman-style porch, create a wider base and a slightly slimmer upper shaft. Add simple square trim around the top and bottom. For a modern farmhouse look, use clean vertical boards with minimal trim and paint them white, charcoal, or a color that matches the house trim. For a rustic porch, stained cedar can add warmth and texture.
If your home has existing shutters, railing, or window trim, echo those shapes and colors in the post wrap. This creates a coordinated exterior rather than a random collection of “things we liked at the store.” Matching details help the porch feel intentional, polished, and welcoming.
When Should You Hire a Professional?
Hire a professional if the porch roof is sagging, the existing posts are damaged, the base is rotten, the porch floor is unstable, or you need to temporarily support the roof while replacing structural parts. You should also bring in help if your design involves load-bearing changes, masonry bases, electrical work, complex railings, or historic restoration requirements.
For straightforward cosmetic wrapping, many careful DIYers can handle the project. But structural work is different. A porch roof is heavy, gravity is undefeated, and YouTube confidence is not a building permit.
Real-World Experience: What Homeowners Learn When Wrapping Porch Posts
The first practical lesson is that no porch is perfectly square. Even newer homes often have slight slopes, uneven post spacing, or small differences from one column to another. That is normal. The trick is to measure each post individually and cut pieces for that specific location. Label boards as you go: “front left,” “back right,” “top trim post 2,” and so on. This feels overly organized until you have twelve similar boards on the floor and no idea which one was supposed to go where.
Another lesson is that dry-fitting saves the day. Many DIYers get excited and start fastening too soon. Then they discover that the final board does not sit flush, the trim overlaps a railing bracket, or the top cap hits the porch ceiling at a weird angle. Dry-fit the main wrap, base trim, and top trim before permanent installation. It is much easier to adjust a loose board than to remove one covered in adhesive and emotional damage.
Moisture protection is also more important than most beginners expect. The bottom of a porch post wrap takes abuse from rain splash, snow melt, wet shoes, and morning dew. Homeowners who seal every cut end, prime hidden surfaces, and maintain paint usually get better long-term results. Homeowners who skip sealing often end up with swelling, peeling, or soft wood near the base. The difference may not show in the first month, but it definitely shows after a few seasons.
Choosing the right style matters too. A common mistake is making the posts too bulky because large columns look impressive in photos. In real life, oversized columns can crowd a small porch and block natural light. Before building, tape cardboard or scrap boards around one post to simulate the finished size. Step back to the sidewalk and look at it from the street. If the column looks like it could support a courthouse, scale it down.
Painting takes longer than expected, especially with trim details. Every seam, corner, and reveal needs attention. The best-looking projects usually come from patient prep: sanding sharp edges, filling fastener holes, caulking cleanly, and applying two even finish coats. A rushed paint job can make good carpentry look messy. On the other hand, careful paint can make simple carpentry look surprisingly high-end.
One useful experience-based tip is to build for future maintenance. Do not create tiny ledges where water and dirt collect. Avoid complicated trim near the floor if your porch gets heavy rain. Use fasteners that will not rust and bleed through paint. Keep a small container of the paint color for touch-ups. Future you will be grateful, and future you is notoriously hard to impress.
Finally, wrapping porch posts with wood often changes the entire feel of the house more than expected. The porch can suddenly look finished, grounded, and intentional. It is one of those projects where guests may not know exactly what changed, but they notice the home looks better. That is the quiet power of good exterior trim: it does not shout; it just stands there looking confident.
Conclusion
Learning how to wrap porch posts with wood step-by-step is a smart way to upgrade curb appeal without rebuilding the entire porch. The key is to start with sound structural posts, choose exterior-rated materials, measure carefully, install spacers, build a square wood sleeve, add proportionate trim, and protect every seam and cut end from moisture. Done well, wood-wrapped porch posts can make a plain entry feel custom, warm, and welcoming.
The project is not complicated, but it rewards patience. Take your time with layout, dry-fitting, sealing, caulking, and painting. Your porch posts will look better, last longer, and finally stop giving your house that “builder-grade handshake” energy.
Note: This article is written for general DIY guidance. If your porch posts are load-bearing, damaged, rotten, leaning, or connected to a sagging roof structure, consult a licensed contractor before wrapping or modifying them.