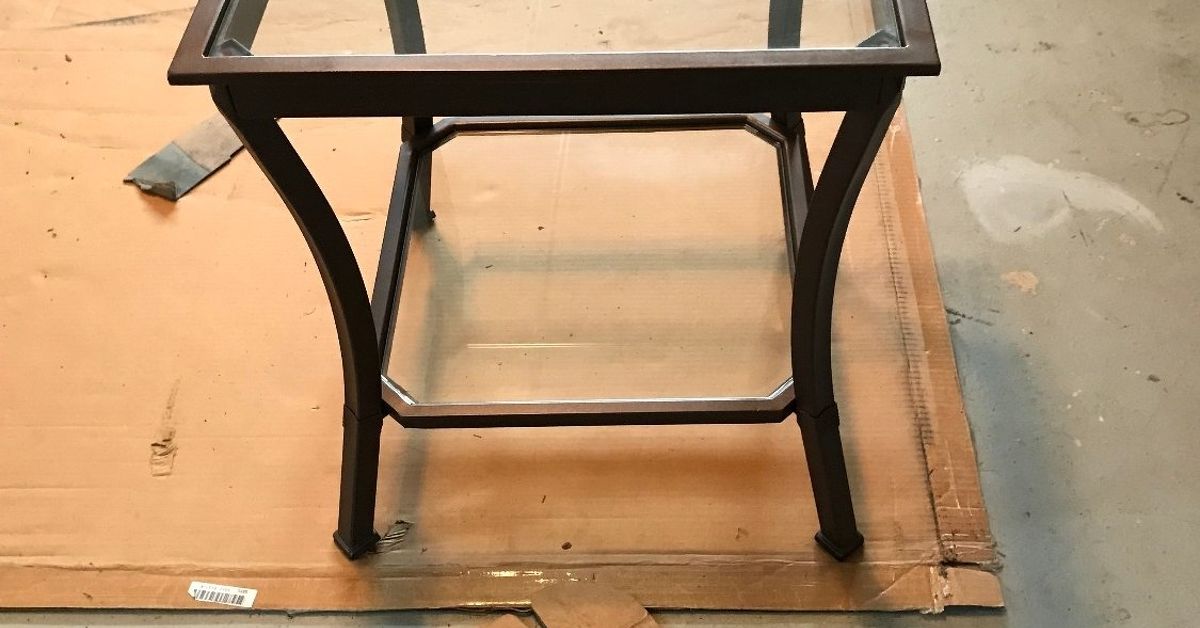

Every living room has one: the coffee table that has bravely served as a snack station, remote-control runway, homework desk, footrest, plant stand, puzzle arena, and emergency dinner table. After years of loyal service, it may have rings, scratches, chipped corners, mystery dents, and one questionable stain nobody wants to discuss. The good news? A tired coffee table is not furniture trash. It is a makeover opportunity wearing dust.
A coffee table transformation can completely refresh a living room without forcing your wallet to perform a dramatic fainting scene. With sanding, paint, stain, wood filler, sealant, hardware, styling, or even a clever upcycling idea, you can turn an outdated piece into a custom-looking centerpiece. Whether your style is farmhouse, modern, coastal, mid-century, boho, industrial, or “I found this on the curb and now I’m emotionally invested,” the right makeover plan can make the table look intentional instead of ignored.
This guide walks through practical coffee table makeover ideas, refinishing steps, paint and stain choices, styling tips, and real-life lessons from the wonderfully messy world of DIY furniture transformation.
Why Transform a Coffee Table Instead of Buying a New One?
Buying new furniture is easy, but transforming what you already have is often smarter. A solid wood coffee table can last for decades, and even veneer or laminate pieces can be updated with the right preparation. Instead of paying for a new table that looks like everyone else’s online shopping cart, you get a piece that fits your space, your budget, and your personality.
There is also the sustainability factor. Furniture makeovers keep usable pieces out of landfills and reduce the demand for newly manufactured items. That does not mean every coffee table is a priceless heirloom. Some are just particleboard rectangles with ambition. But many older tables have better bones than modern bargain furniture. Strong frames, real wood details, carved legs, storage drawers, and interesting shapes are worth saving.
A coffee table transformation is also a beginner-friendly DIY project because the piece is small enough to manage but large enough to make a visual impact. You can complete many makeovers over a weekend, especially if you choose paint or a simple refresh. More involved refinishing projects may take longer, but the payoff is huge: your living room gets a new focal point, and you get bragging rights every time someone asks, “Where did you buy that?”
Start With a Coffee Table Reality Check
Before grabbing sandpaper like a superhero with a home-improvement cape, inspect the table carefully. The best transformation starts with knowing what you are working with.
Check the Material
Solid wood is the easiest candidate for sanding, staining, repairing, and refinishing. Veneer can also be beautiful, but it requires a gentler touch because the thin wood layer can be sanded through if you get aggressive. Laminate and particleboard are better suited for painting than staining because they do not absorb stain like natural wood.
Look at the edges, underside, and any chipped areas. If the grain continues through the piece, it may be solid wood. If you see a thin wood layer over a different core, it is veneer. If the surface looks printed or plasticky, it is probably laminate. No judgment. Even laminate deserves a second act.
Look for Damage
Minor scratches, water rings, small dents, and worn finish are normal. Deep gouges, loose legs, peeling veneer, warped tops, or unstable joints need repair before the pretty part begins. Wood filler can fix small holes and chips. Wood glue and clamps can tighten loose joints. Peeling veneer may need adhesive, patching, or, in some cases, a painted finish to disguise the damage.
Decide: Restore, Paint, Stain, or Reimagine?
A coffee table makeover usually falls into one of four categories: restore the original finish, stain the wood a new color, paint the piece, or completely reimagine it. A beautiful wood grain deserves to be shown off with stain and clear coat. A damaged or mismatched table may look better painted. A boxy table might become a tufted ottoman. A plain table could gain a tile top, cane shelf, new legs, or hidden storage.
Coffee Table Transformation Ideas That Actually Work
The best coffee table transformation is the one that matches how you live. A formal living room table can be elegant and sculptural. A family-room table must survive snacks, toys, feet, and the occasional juice-box tragedy. Here are practical makeover ideas that blend style with real-life durability.
1. Sand and Stain for a Natural Wood Refresh
If the table has attractive wood grain, sanding and staining can make it look expensive again. Start by removing the old finish, then sand with progressively finer grits until the surface feels smooth. Many DIY guides recommend moving through medium to fine grits rather than jumping straight to ultra-fine sandpaper. This helps remove damage while still leaving the wood open enough to accept stain.
Choose a stain color that complements your room. Warm walnut adds richness, oak feels classic, espresso looks dramatic, and natural or clear finishes fit Scandinavian and modern organic interiors. After staining, protect the top with polyurethane, furniture oil, or another durable topcoat. Remember: a coffee table is a high-contact surface. It needs protection from cups, plates, books, and that one friend who refuses to use a coaster.
2. Paint It for a Bold New Personality
Paint is the great furniture equalizer. It can hide mismatched wood, outdated orange tones, stained veneer, or a finish that has seen more drama than a reality TV reunion. For a smooth painted coffee table, clean the surface thoroughly, lightly sand glossy areas, use a bonding primer when needed, and choose furniture-friendly paint.
White, black, navy, sage green, charcoal, cream, and mushroom beige are popular because they work with many interiors. For a playful look, try terracotta, dusty blue, olive, mustard, or deep burgundy. If your table has carved details, paint can highlight them beautifully. If it is very plain, a bold color can give it confidence. Think of paint as coffee for furniture: suddenly, it has energy.
3. Try a Two-Tone Finish
A two-tone coffee table is a smart compromise when you love wood but also want color. Paint the base and stain the top. This works especially well on farmhouse, cottage, transitional, and vintage tables. A black base with a warm wood top looks modern and grounded. A white base with a natural top feels relaxed and coastal. A green base with a walnut top brings character without overpowering the room.
This approach also helps when the top is in better condition than the legs, or vice versa. You can show off the best part and disguise the rest like a DIY magician with a sanding block.
4. Add a Tile, Stone, or Mosaic Top
If the tabletop is badly damaged, consider covering it. Peel-and-stick tile, ceramic tile, stone-look panels, mosaic sheets, or even a custom wood plank top can transform the surface. Tile is practical for households that need durability, but weight matters. Make sure the table frame can support the added material.
A tiled coffee table works beautifully in Mediterranean, bohemian, Spanish-inspired, eclectic, and patio-adjacent living spaces. Keep the base simple so the top can shine. If the tile pattern is busy, let it be the star and avoid cluttering the surface with too many accessories.
5. Turn It Into an Ottoman
A scratched coffee table can become a cushioned ottoman with foam, batting, fabric, and upholstery staples. This is especially helpful in family rooms where soft edges are welcome. Add a tray on top, and the ottoman still works for drinks, books, and snacks.
Choose durable upholstery fabric, especially if pets or kids are involved. Performance fabric, canvas, denim, faux leather, or indoor-outdoor fabric can handle daily use. Tufting adds a polished look, but a simple upholstered top can be just as attractive and much easier for beginners.
6. Upgrade the Legs
Sometimes the tabletop is fine, but the legs are dragging the whole piece into the design basement. Swapping legs can change the table’s entire style. Hairpin legs create a mid-century or industrial look. Turned legs feel traditional or farmhouse. Chunky square legs look modern. Tapered legs add lightness.
Before replacing legs, check the table height. A coffee table typically works best when it sits close to the height of the sofa seat or slightly lower. If the new legs make the table too tall, guests may feel like they are reaching up to a tiny dining table. If it is too low, everyone will perform awkward snack yoga.
Step-by-Step Coffee Table Refinishing Plan
For a classic coffee table transformation, refinishing is the most rewarding option. Here is a practical process that works for many wood tables.
Step 1: Clean the Table Thoroughly
Start with a serious cleaning. Dust, grease, furniture polish, candle wax, and hand oils can interfere with paint, stain, and topcoat adhesion. Use a mild cleaner appropriate for the surface, then let the table dry completely. Pay attention to corners, carved details, drawer edges, and the underside of the tabletop.
Step 2: Remove Hardware and Make Repairs
If the table has drawers, handles, knobs, hinges, or decorative metal pieces, remove them before sanding or painting. Tighten screws, glue loose joints, fill holes, and patch chips. Let repairs cure fully before sanding. Skipping this step is like putting a tuxedo on a raccoon: technically dressed up, but still chaotic underneath.
Step 3: Strip or Sand the Old Finish
If the table has a thick varnish, old paint, or heavy stain, you may need a chemical stripper or more aggressive sanding. Work in a ventilated area and follow product instructions carefully. A plastic scraper helps remove softened finish without gouging the wood. If sanding, use an orbital sander for flat areas and hand-sand detailed sections.
For veneer, be cautious. Sand lightly and evenly. Once you sand through veneer, the “oops” is not subtle. If the veneer is too thin or damaged, painting may be the better choice.
Step 4: Sand Smoothly
Move through grits gradually. A common approach is to start with a medium grit to remove old finish and scratches, then progress to finer grits for a smooth surface. Always sand with the grain when hand-sanding wood. After sanding, remove dust with a vacuum, tack cloth, or slightly damp microfiber cloth. Dust left behind can ruin an otherwise gorgeous finish by creating tiny bumps that whisper, “You rushed.”
Step 5: Apply Paint or Stain
If staining, test the color on the underside or an inconspicuous spot first. Apply stain with the grain, let it penetrate, then wipe away excess. Multiple light coats often look better than one heavy coat. If painting, use thin, even coats and allow proper drying time between layers. A small foam roller can help create a smooth top, while a quality brush works well for edges and details.
Step 6: Seal the Surface
A coffee table needs a protective finish. Polyurethane is popular because it creates a durable barrier. Water-based polyurethane dries clear and is useful over light paint or pale wood. Oil-based polyurethane can add warmth but may amber over time. Furniture wax can create a soft matte look, but it may require more maintenance and is not always the best choice for heavy-use surfaces.
Apply thin coats, let each coat dry, and lightly sand between coats when recommended by the product. Do not rush the curing stage. Dry to the touch does not always mean fully cured. Your coffee table may look ready for a mug, but the finish may still be quietly hardening and judging your impatience.
How to Style Your Transformed Coffee Table
The makeover does not end when the paint dries. Styling helps the transformed table feel integrated into the room. The goal is not to cover the entire surface with decorative objects. The goal is balance, function, and personality.
Use a Tray
A tray instantly organizes remotes, coasters, candles, and small objects. It also makes the table easier to clear when you need space for snacks, games, or a laptop. Choose a tray that contrasts with the tabletop. A woven tray warms up a painted table. A metal tray adds polish to rustic wood. A wood tray softens glass or stone.
Vary Heights and Textures
Use a stack of books, a small vase, a candle, a bowl, or a sculptural object. Varying heights keeps the arrangement interesting. Mixing textureswood, ceramic, glass, metal, fabric, greenerymakes the table look curated instead of flat. Just leave breathing room. Negative space is not empty; it is design taking a deep breath.
Keep It Useful
A coffee table should still serve real life. Include coasters, a small box for remotes, a basket underneath, or a lidded container for clutter. If you have kids, pets, or frequent guests, avoid fragile arrangements that turn every movie night into a museum-security situation.
Common Coffee Table Makeover Mistakes to Avoid
The fastest way to ruin a furniture makeover is to skip preparation. Paint does not magically stick to grease, dust, or glossy surfaces. Sanding and cleaning may not be glamorous, but they are the reason a finish lasts.
Another mistake is choosing the wrong product for the table’s daily use. Wall paint, for example, may not hold up well on a high-touch furniture surface unless properly sealed. A delicate wax finish may look lovely but struggle against water glasses and pizza boxes. Think about your household habits before choosing a finish.
Over-sanding veneer is another common problem. Veneer can be restored, but it does not tolerate heavy sanding like solid wood. If you are unsure, start gently. You can always sand more, but you cannot unsand your way back to yesterday.
Finally, avoid styling the table so heavily that it stops functioning. A coffee table covered in seven candles, four books, two vases, and a decorative chain may look great in a photo, but where does the popcorn go? Design should support life, not make it file a complaint.
Experience Notes: What a Coffee Table Transformation Teaches You
There is something oddly personal about transforming a coffee table. Unlike a dresser tucked into a bedroom or a side table hiding near a wall, the coffee table sits right in the center of daily life. It sees everything. Morning coffee. Late-night snacks. Board games. Bills. Feet. Birthday cake. That one cup someone promised was “not sweating” five seconds before it left a ring. When you refinish it, you are not just updating furniture; you are editing the visual history of the room.
One of the first lessons is that the “before” stage always looks worse before it gets better. Once the top is sanded unevenly, the old stain is half-gone, and dust is floating around like tiny judgmental confetti, it is easy to panic. This is normal. Most DIY projects include a middle phase where the table appears to have lost a fight with a hardware store. Keep going. The ugly stage is usually proof that the transformation is underway.
The second lesson is patience. The project may seem simple: sand, paint, dry, done. But the best results come from respecting each layer. Cleaning matters. Sanding matters. Primer matters. Dry time matters. Topcoat matters. If you rush, the table will remember. Paint may peel, stain may look blotchy, or the finish may dent because it was used too soon. A coffee table transformation rewards the person who can walk away while the topcoat cures. This is difficult, because staring at drying furniture is somehow both boring and emotionally intense.
The third lesson is flexibility. Maybe the stain color looks different than expected. Maybe the wood grain is not as pretty as you hoped. Maybe the table you thought was solid wood is actually veneer with a dramatic personality. Good DIYers adapt. If staining fails, paint. If the top is damaged, add tile. If the legs look dated, replace them. If the table is too plain, add trim, cane, a lower shelf, or new hardware. The best transformations often come from problem-solving, not from a perfect original plan.
The fourth lesson is that small details create the “wow.” A smooth topcoat, clean edges, properly filled holes, centered hardware, balanced styling, and a few well-chosen accessories make the piece feel finished. People may not consciously notice these details, but they feel them. The table looks less like a craft project and more like something that belongs in the room.
Finally, a coffee table makeover teaches confidence. Once you revive one piece, you start seeing potential everywhere. That scratched end table? Candidate. The outdated console? Suspiciously transformable. The thrift-store bench? Practically begging for a second chance. DIY furniture transformation has a sneaky side effect: it makes you believe your home can evolve without a giant budget. And that is the real magic. A coffee table may be small, but transforming it can change how the whole room feelsand how capable you feel in it.
Conclusion
A coffee table transformation is one of the most satisfying DIY projects because it combines creativity, practicality, and instant visual impact. Whether you refinish natural wood, paint a bold color, add a tile top, replace the legs, or turn the table into an ottoman, the project can make your living room feel refreshed without requiring a full redesign.
The secret is preparation. Clean well, repair damage, sand properly, choose the right finish, and protect the surface for everyday life. Then style the table with restraint, texture, and function. A transformed coffee table should look beautiful, but it should also survive coffee, books, remotes, snacks, and actual humans.
In the end, the best coffee table makeover is not about perfection. It is about seeing potential in something worn and giving it a second life. A few scratches, a little dust, and an outdated finish are not the end of the story. They are the opening scene. With the right plan, your old coffee table can become the centerpiece your living room has been waiting forminus the designer price tag and plus one very satisfying DIY victory dance.