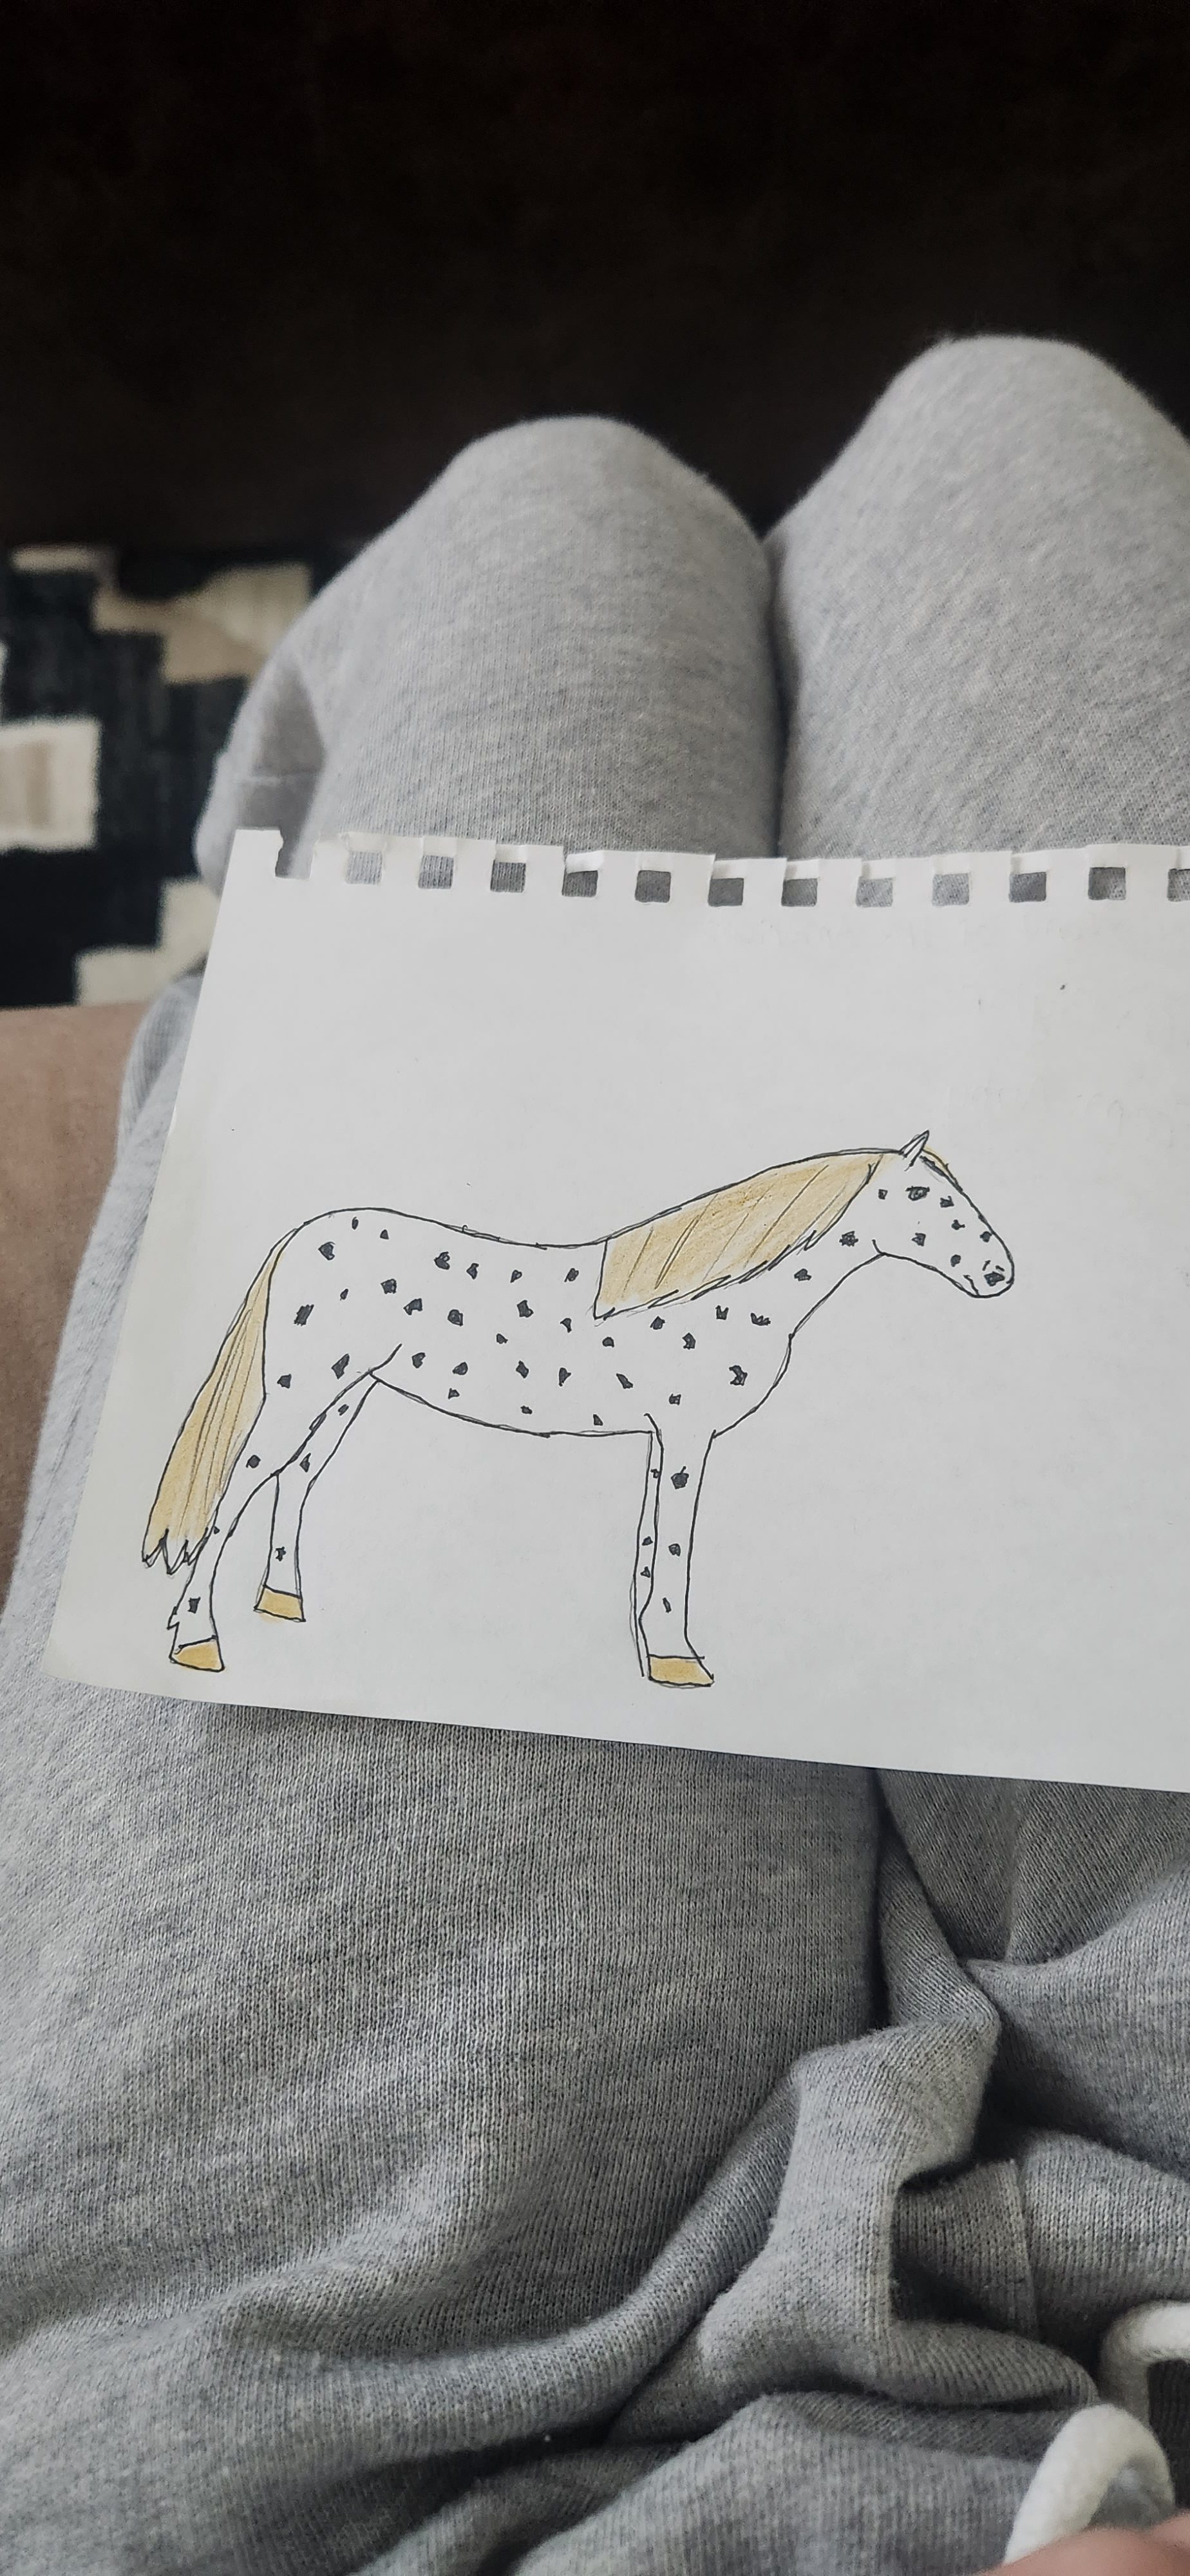

There are two kinds of people in this world: those who think drawing a horse is easy, and those who have actually tried. A horse looks simple until your pencil meets the page. Suddenly, the legs have opinions, the neck becomes a plumbing pipe, and the face lands somewhere between noble stallion and confused kitchen appliance. But that is exactly why the phrase “Draw A Horse And Post It” is such a fun creative challenge. It is not about perfection. It is about starting, finishing, sharing, and letting the internet see the honest little miracle that came out of your hand.
Horse drawing has always had a strange power over artists. Horses appear in cave paintings, Renaissance studies, equestrian portraits, Western sketches, children’s doodles, fantasy art, animation, comics, and social media challenges. They represent movement, strength, elegance, stubbornness, and occasionally the feeling of trying to draw four knees per leg without panicking. When you draw a horse and post it, you are joining a long visual tradition, but with a modern twist: your sketch can go from notebook to public gallery in under a minute.
This guide explores how to draw a horse, how to make the process less intimidating, how to prepare your artwork for online sharing, and how to turn one drawing into a small creative habit. Whether your horse looks ready to win a race or ready to ask for directions, the goal is simple: draw it, learn from it, post it, and keep going.
Why “Draw A Horse And Post It” Works So Well as a Creative Challenge
The best creative challenges are easy to understand but difficult enough to keep people interested. “Draw A Horse And Post It” fits perfectly. The instruction is short, friendly, and impossible to overthink for too long. You do not need an expensive studio, a professional easel, or a dramatic scarf blowing in the wind. You need paper, a pencil, a reference image, and the courage to let a horse-shaped idea escape into public view.
Horses are excellent drawing subjects because they force you to practice several core art skills at once. You deal with proportion, gesture, anatomy, texture, shading, and expression. A standing horse teaches balance. A galloping horse teaches rhythm. A horse head teaches structure. A tiny cartoon horse teaches simplification. Even a funny, wobbly horse teaches confidence because it reminds you that art is not a magic trick reserved for people born holding charcoal.
Posting the finished drawing adds another useful layer. It turns a private exercise into a visible milestone. The act of sharing gives the artwork a finish line. Instead of hiding the sketch in a drawer and pretending it never happened, you document your progress. Tomorrow’s drawing can be better because today’s drawing exists.
Start With the Horse, Not the Panic
Many beginners begin a horse drawing by outlining the entire animal in one confident line. This is bold, dramatic, and usually the artistic equivalent of assembling furniture without reading the instructions. A better method is to build the horse from simple shapes.
Use Basic Shapes First
Start with a large oval for the body. Add a smaller circle or oval for the chest. Place another shape for the hindquarters. Sketch the head as a wedge or rounded rectangle, then connect it to the body with two curved lines for the neck. At this stage, your horse may look like a collection of potatoes with legs. That is normal. In fact, that is progress.
Simple shapes help you avoid the biggest beginner problem: chasing details too early. If you draw the eye, nostril, mane, and tail before the body is balanced, you may end up with a beautifully shaded horse face attached to a body that appears to be melting. Structure comes first. Details are the dessert.
Think About the Spine and Gesture
A horse is not just a box with legs. It has flow. Before adding muscles and hair, draw a light gesture line through the body. This line shows the energy of the pose. Is the horse standing calmly? Trotting? Rearing? Turning its head? A good gesture line gives the drawing life before the anatomy becomes complicated.
Gesture drawing is especially helpful for horses because their beauty is tied to movement. Even a still horse feels like it could move at any second. Quick sketches train your eye to capture that sense of motion without getting trapped in tiny details. Try drawing five horses in two minutes each. They may look ridiculous, but your hand will start understanding the animal faster.
Horse Proportions: The Part Where Everyone Sweats a Little
Horse proportions can feel tricky because the animal is both powerful and delicate. The body is large, the legs are long, the head has planes and angles, and the neck must look strong without becoming too thick. The secret is not memorizing every measurement like a biology exam. The secret is comparing parts.
Look at the horse’s body length compared with its height. Notice where the chest sits. Watch how the legs connect under the body rather than dangling from the sides. Pay attention to the joints: shoulder, elbow, knee, fetlock, hock, and hoof. You do not need to name every part to draw better, but you do need to observe where the bends happen.
Do Not Draw Table Legs
A common beginner mistake is drawing horse legs as four straight sticks. Real horse legs have angles, tapering forms, and joints. Think of them as connected cylinders and wedges. The upper parts are stronger. The lower legs are slimmer. The hooves are small but important because they anchor the animal to the ground.
If the legs look wrong, do not immediately blame your talent, your pencil, or Mercury in retrograde. Lightly sketch the skeleton line of each leg first. Add small circles at the joints. Then build the leg around that framework. This approach makes the pose more believable and reduces the chance of creating a horse that appears to be standing on drinking straws.
The Head Has Planes, Not Just a Cute Nose
The horse head is another challenge. It is long, angular, and expressive. The forehead, muzzle, cheek, jaw, and nostril areas all have distinct planes. Begin with a simple wedge shape. Add the cheek as a rounded form. Place the eye high enough and the nostril near the front of the muzzle. The ears should follow the angle of the head and help show mood.
A horse can look alert, sleepy, nervous, proud, or deeply unimpressed by your drawing skills. The ears and eyes do much of that storytelling. Small changes matter. Forward ears can suggest curiosity. Relaxed ears can suggest calm. A lowered head can feel gentle. A raised head can feel energetic or dramatic.
Use References Without Feeling Guilty
Some beginners believe using a reference image is cheating. It is not. It is how artists learn. Great animal artists study real animals, photographs, skeletons, museum works, and motion references. Drawing from memory is useful later, but drawing from observation is how your memory becomes smarter.
Use clear reference photos where the horse’s body, legs, and head are easy to see. Avoid starting with extreme angles unless you enjoy suffering recreationally. Side views are excellent for learning proportions. Three-quarter views are great once you are ready for depth. Motion photos help you understand rhythm, but they can be more difficult because the legs overlap.
Historical horse drawings can also teach you a lot. Museum collections include horse studies by artists who carefully observed movement, anatomy, and posture. Look at how older sketches often show multiple attempts on the same page. That should be comforting. Even master artists did not always draw one perfect horse and then casually leave for lunch. They studied, corrected, repeated, and refined.
Choose a Style Before You Post
Before posting your horse drawing, decide what kind of artwork it is. Not every horse sketch needs to be realistic. Style gives the viewer a way to understand your intention.
Realistic Horse Drawing
A realistic horse drawing focuses on anatomy, proportion, shading, and texture. This style works well if you want to show skill and patience. Use value changes to shape the muscles, neck, face, and legs. Keep the outline lighter than the internal forms so the horse feels three-dimensional rather than like a sticker.
Cartoon Horse Drawing
A cartoon horse simplifies the body and exaggerates personality. You can make the head larger, the eyes more expressive, and the legs more playful. This style is perfect for social media because it reads quickly and can be funny. A cartoon horse with a suspicious side-eye can sometimes communicate more than a carefully rendered saddle.
Loose Sketch or Gesture Horse
A loose sketch celebrates movement and process. It does not hide construction lines. It shows energy. This style is great for daily posting because it lowers the pressure. You are not saying, “Here is my masterpiece.” You are saying, “Here is today’s practice, and yes, the back leg has entered its abstract era.”
How to Make the Drawing Look Better Before Posting
Once the horse is drawn, give it a quick quality check. This does not mean overworking it until the paper gives up. It means improving the presentation so people can actually see what you made.
Clean Up the Edges
Erase the most distracting construction lines, but keep a few if they add charm. Darken the final lines where needed. Add slightly stronger shadows under the belly, neck, and legs to ground the animal. A small cast shadow under the hooves can make even a simple sketch feel more finished.
Add One Interesting Detail
You do not need to detail every hair in the mane. Choose one feature to make special. Maybe the mane has flowing lines. Maybe the eye has a tiny highlight. Maybe the horse has a patterned coat, a braided tail, a saddle blanket, or a little star marking on its forehead. One memorable detail gives the viewer something to enjoy.
Photograph or Scan It Properly
A good photo can make a pencil sketch look clean and professional. Use natural light if possible. Place the paper near a window, but avoid harsh shadows. Hold the phone straight above the drawing. Crop out clutter, coffee cups, snack crumbs, and anything that says, “I created this during a mild desk emergency.” Increase brightness slightly, adjust contrast carefully, and keep the texture of the paper visible.
How to Post Your Horse Drawing Online
Posting art is not just uploading an image and hoping the algorithm gallops by with flowers. A good post helps people understand what they are seeing, why it matters, and how they can respond.
Write a Caption That Tells a Tiny Story
A caption does not need to be long. It should give context. For example: “Today’s challenge: draw a horse and post it. The front half is ready for a royal parade. The back half has questions.” That kind of caption is specific, human, and lightly funny. It invites people into the process instead of pretending the drawing arrived from a flawless cloud.
You can also write a more educational caption: “Practicing horse proportions today. I focused on the leg joints, neck curve, and keeping the body from looking too boxy.” This helps other beginners learn from your post and may attract viewers who are also practicing animal drawing.
Use Keywords Naturally
Search-friendly captions matter. Use clear phrases like “horse drawing,” “beginner horse sketch,” “how to draw a horse,” “animal drawing practice,” and “pencil horse illustration” where they fit naturally. Do not stuff every possible keyword into one caption like you are feeding hay to a search engine. A readable caption is better than a desperate one.
Add Alt Text
Alt text describes the image for people who use screen readers. It also makes your post more accessible and more professional. A useful alt text example would be: “Pencil sketch of a standing horse in side view, with loose construction lines, shaded mane, and simple shadow under the hooves.” That is clear, respectful, and helpful.
Pick Hashtags With Purpose
Hashtags can help categorize your post, but they should be relevant. A small set of specific tags often looks better than a giant wall of random labels. Try a mix such as #HorseDrawing, #AnimalDrawing, #SketchbookPractice, #PencilDrawing, #BeginnerArtist, and #DrawAndPost. The goal is to help the right audience find the artwork, not to make the caption look like a spilled keyboard.
What to Do After You Post It
The moment after posting can feel strange. You may start checking for likes before the image has even finished loading. Resist the urge to measure your artistic worth by instant reactions. Social media response depends on timing, audience, platform behavior, image quality, caption clarity, and pure digital weather. A quiet post does not mean a bad drawing.
Instead, use posting as a record. Save the image in a folder. Add the date. Write one sentence about what you learned. For example: “May 20: legs improved, head too small, mane looks great.” Over time, this becomes a progress archive. After thirty drawings, you will see growth that one post cannot show.
Common Horse Drawing Mistakes and How to Fix Them
The Body Looks Too Long
Check the relationship between the chest, ribcage, and hindquarters. Beginners often stretch the middle of the body. Use reference points to place the front and back legs correctly under the mass.
The Legs Look Confusing
Simplify the pose. Draw the nearest legs slightly darker and the far legs lighter. Mark joints before adding thickness. If the legs overlap, focus on the silhouette first.
The Horse Looks Flat
Add value. Shade under the neck, belly, and muscles. Use curved strokes that follow the form. Even simple shading can make the horse feel solid.
The Face Looks Odd
Study the angles of the muzzle and forehead. Move the eye higher if needed. Make the nostril follow the plane of the nose. Avoid making the mouth too human.
You Hate the Drawing
Take a break. Look again later. Often the drawing is not as bad as the dramatic courtroom in your head suggests. Find one thing that worked and one thing to improve next time.
Turning One Horse Drawing Into a Series
If you enjoy the challenge, turn it into a series. Draw one horse a day for a week. Try different angles: side view, front view, head study, gallop pose, cartoon version, realistic eye, and fantasy horse. Post each one with a short note about what you practiced. This creates consistency, and consistency is one of the most underrated art skills.
You can also invite others to join. Ask friends to draw a horse and post it too. The results will be funny, surprising, and encouraging. Some people will draw elegant horses. Some will draw creatures that appear to be spiritually related to horses but legally distinct. That is part of the joy. Shared creative challenges make art feel less lonely.
Experiences Related to “Draw A Horse And Post It”
The first time you try to draw a horse and post it, you may experience a very specific emotional journey. It begins with confidence. You think, “I know what a horse looks like.” Then you draw the first oval. Still fine. You add the neck. Fine-ish. You add the legs, and suddenly the drawing develops the posture of a folding chair. This is the moment many people quit. But if you stay with it, something interesting happens: your eye gets sharper.
One practical experience is learning that mistakes become funny instead of fatal when you share them honestly. A caption like “Today I learned that horse knees are not where my brain wanted them to be” can turn a flawed drawing into a relatable post. People respond to effort. They enjoy seeing the process. They may even share their own attempts, which makes the post feel like a tiny community event instead of a personal performance review.
Another experience is discovering that reference images change everything. Drawing a horse from memory often produces a creature made of guesses. Drawing from a photo teaches you what is actually there: the curve of the neck, the weight of the chest, the angles in the legs, the size of the head compared with the body. After a few attempts, you stop drawing the symbol of a horse and begin drawing the structure of one.
Posting also teaches you presentation. A rushed photo under yellow room light can make a good sketch look tired. A clean crop, natural light, and a simple background can make a beginner drawing feel intentional. This does not mean faking quality. It means respecting the work enough to show it clearly. Even a messy sketch deserves good lighting.
The most valuable experience, however, is learning not to wait until you are “good enough.” Many artists delay sharing because they imagine an invisible judge waiting behind every screen. In reality, most viewers scroll past, smile, comment, or move on. The world does not collapse because your horse has a suspicious ankle. Posting while learning builds resilience. It also creates proof that you are practicing.
Over time, the phrase “Draw A Horse And Post It” becomes less about the horse and more about creative momentum. Draw the thing. Finish the thing. Share the thing. Learn from the thing. Repeat. That rhythm is useful for any creative skill, whether you are sketching animals, painting portraits, writing stories, designing characters, or making short videos. The horse is simply a charmingly difficult teacher with excellent hair.
So draw a horse and post it. Post the elegant one, the awkward one, the dramatic one, the tiny one, the one that looks like it has just heard bad news. Each drawing is a step. Each post is a marker. And one day, you will look back at the first horse and realize it was not embarrassing at all. It was the beginning.
Conclusion
“Draw A Horse And Post It” is more than a playful art prompt. It is a practical lesson in observation, patience, courage, and creative visibility. Horses challenge artists because they combine anatomy, movement, proportion, and personality in one beautiful, complicated package. But that challenge is exactly what makes the subject rewarding.
Start with simple shapes. Build the gesture. Study the legs. Use references. Add one strong detail. Photograph the drawing clearly. Write a caption with personality. Add useful alt text. Use relevant keywords and hashtags. Then post it, not because it is perfect, but because sharing your progress is part of becoming better.
Your first horse drawing may not belong in a museum, but it belongs somewhere even more important: at the beginning of your next improvement. Pick up the pencil, give the horse four reasonable legs, forgive the questionable mane, and let the world see what you made.